Trumpeter 1/48 DKM U-Boat Type VIIC U-552 Full Build and Diorama

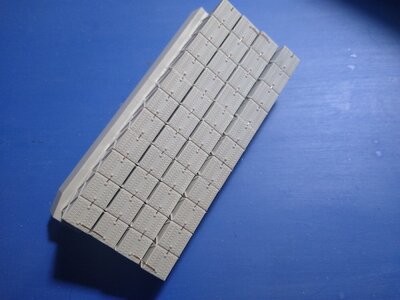
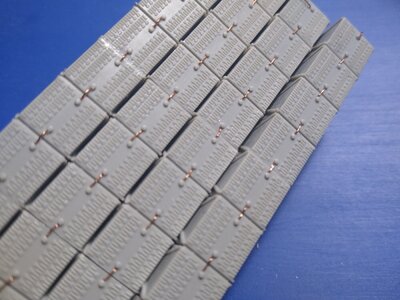
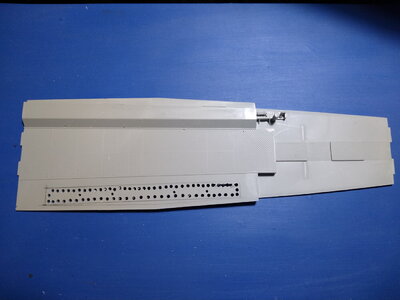
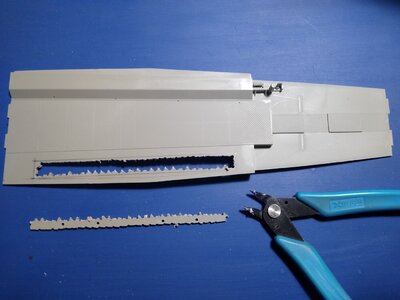
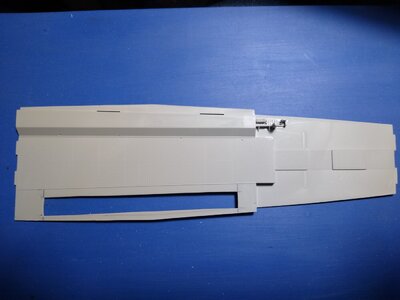
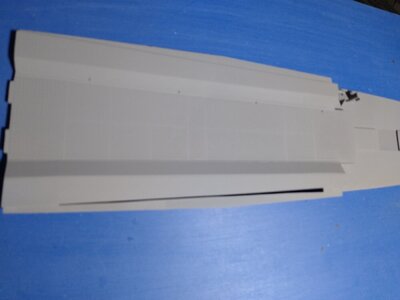
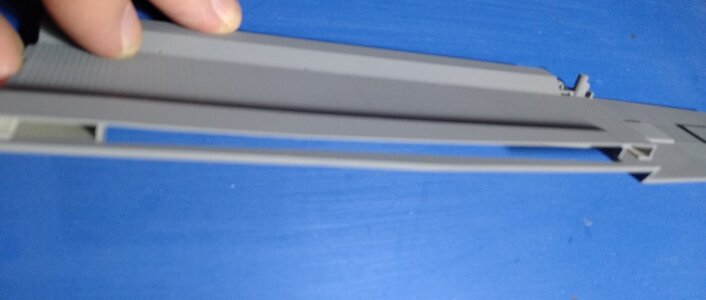
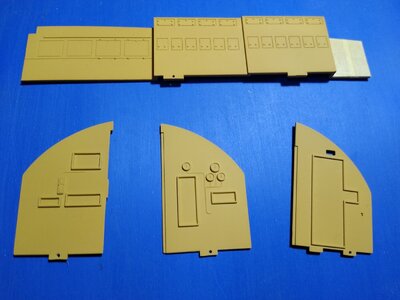
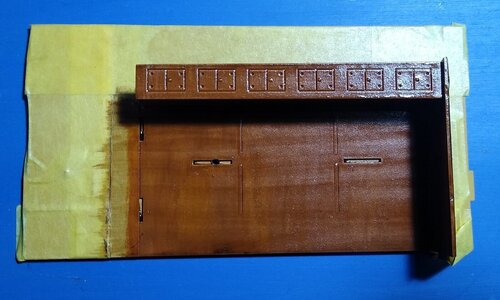
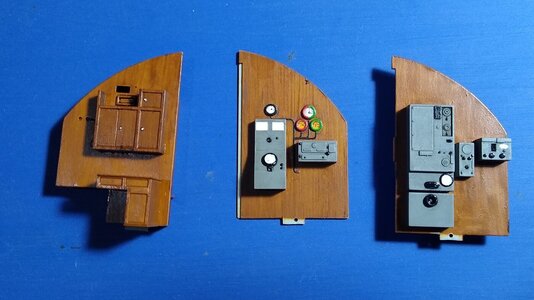
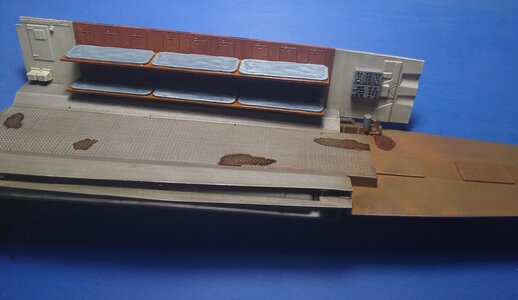
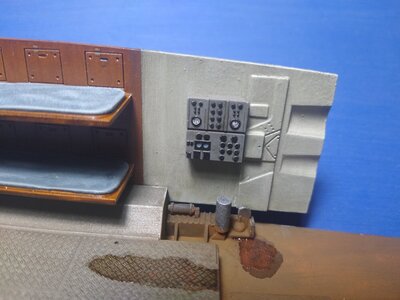
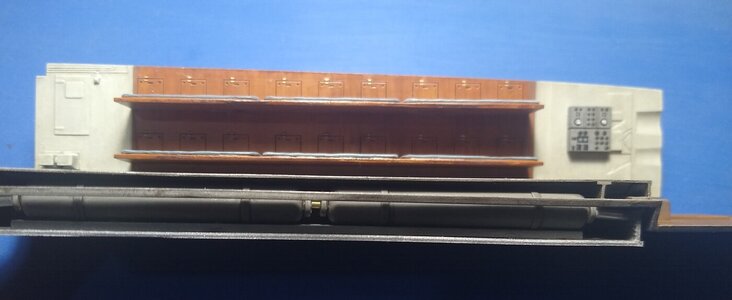
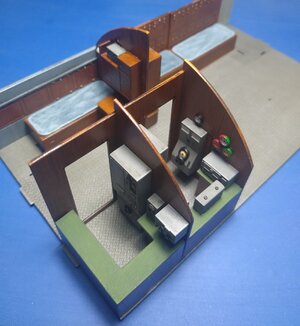
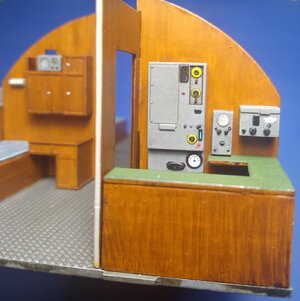
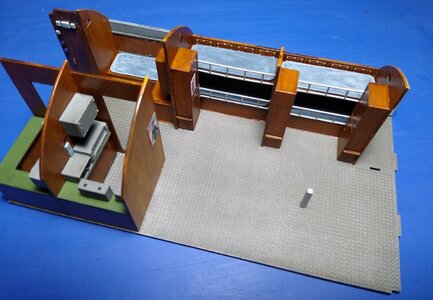
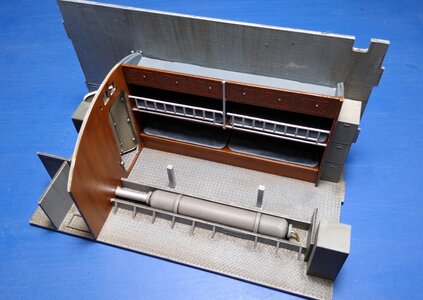
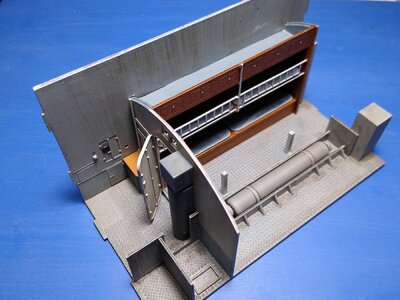
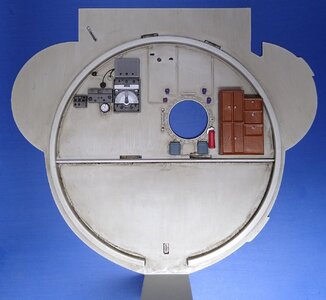
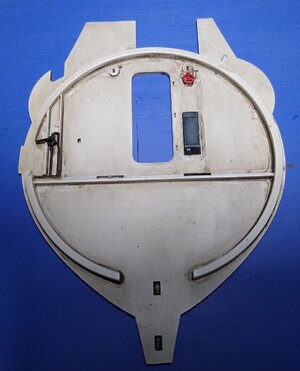
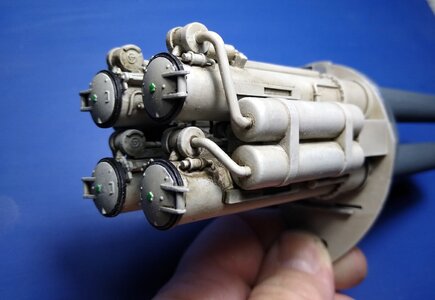
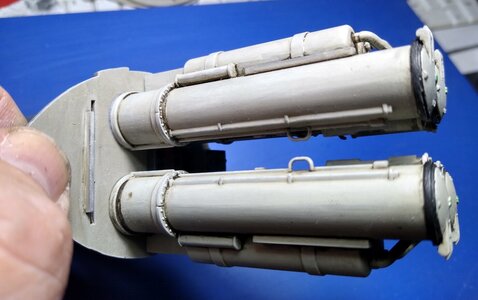
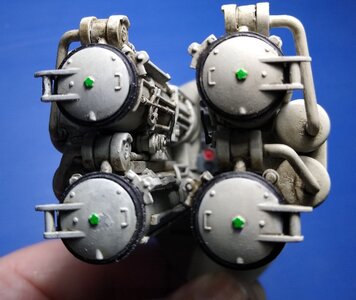
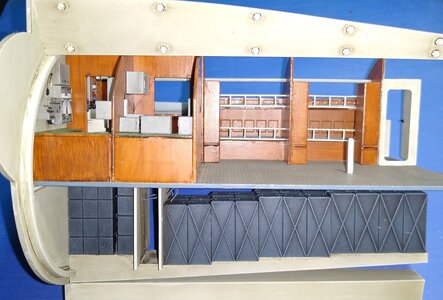
Hi folks, I'm new to the site however my modelling experience stretches back over fifty years covering pretty much every genre and scale. As well as being a hobbyist, I've also built professionally for clients and also built prototypes and test shots for several manufacturers. As the title says, the build involves the superb Trumpeter 1/48 U-552 which builds into a fine replica straight from the box, however I will also be adding the extensive RC Subs etched sets, the Eduard replacement main gun, and the Small Scale Lights lighting kit. The clear hull of the sub will be turned into a true cutaway to maximise the view of the interior, and the whole thing will be mounted in a diorama depicting U-552 at a dockside being replenished with supplies for it's next mission. I'm sure a lot of you are already familiar with the Trumpeter kit, but for those who are not here are some images from the flyer....View attachment 324659View attachment 324660View attachment 324661
Hi

I built this fantastic model a few years ago and it seems there are now a lot of really interesting upgrade parts. I agree with you on the cutaway approach. The clear plastic does not allow the inside to be seen probably. Cutting the clear plastic was a bit scary but definitely worth it. Are you going to add lights? I did and also added sound. I created different scenarious - e.g attacked by depth charges, sounds of sonar pings and other scenarios. The navigation lights, control room and other rooms can be swithed on and off independently including the ability to switch the control room from white to red for when the sub is in attack mode. I used the Arduino microprocessor and sound card etc and then controlled the various lights and sounds using a IR remote control . The Arduino is programmed using C. If anyone wants a copy of my code I am happy to share.
 
Last edited:
Hi

Apologies for multiple posts. My internet connection is very slow and I pressed post reply a couple of times! I cannot see how to delete a post once published. Is it possible?

Thanks
 
Last edited:
After a brief hiatus I'm back on board and tackling some detailing on the basic parts that Trumpeter provides....
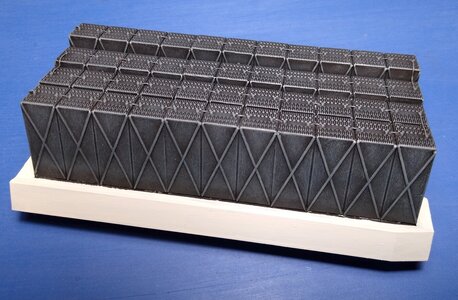
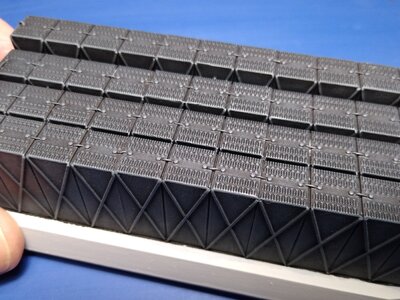
First up is some wiring to represent the connections between the individual batteries in the lower hull....

IMG_20220906_231557722.jpgIMG_20220906_231613649.jpg

Next is the floor of the forward torpedo room....Trumpeter would have you mount two cylindrical pressure tanks directly to the floor whereas the floor should match the opposite side and the tanks sit beneath.
I began by chaindrilling the section of floor out....

IMG_20220829_224258545.jpg


The centre was then removed using cutters then cleaned up with a hobby knife and files....

IMG_20220829_224634686.jpgIMG_20220829_230944934.jpg
 
This is the floor with a coat of grey primer...I built up the missing step in the floor using sheet styrene to match the opposite side, I'll now add a lower section to accommodate the tanks....

IMG_20220910_230347621.jpgIMG_20220910_230356707.jpg

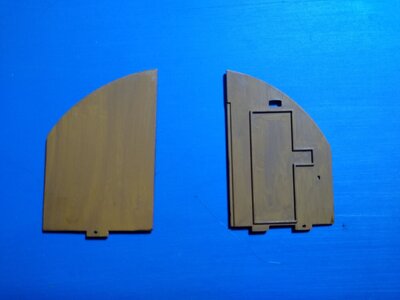
I've also started on every piece that needs a woodgrain effect. The first step is to prime in flat yellow auto primer....

IMG_20220910_230441759.jpg
 
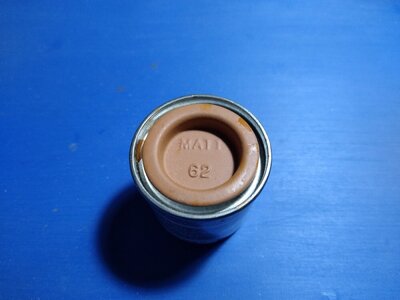
The next step is to brush on a thin coat of Humbrol 62 Matt Leather...this darkens the background yellow and adds a slight grain....

IMG_20220910_231935978.jpgIMG_20220913_212523270.jpg

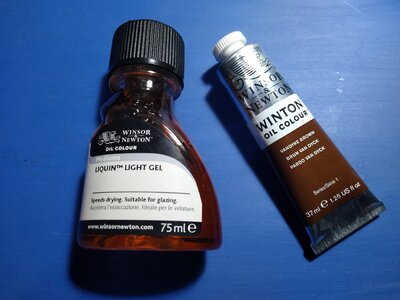
I then used a mixture of Winsor & Newton Liquin gel tinted with a small amount of Vandyke Brown oil paint....

IMG_20220913_214127557.jpg

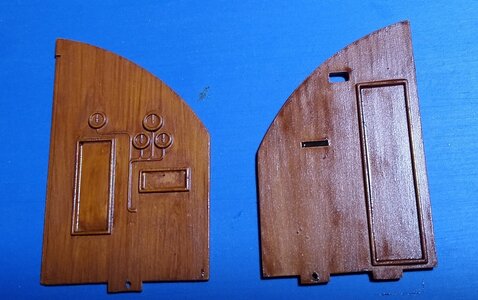
The oil mix was brushed onto each piece requiring woodgrain with a soft flat brush in the direction the grain would follow....once dry these areas will be given a satin clear coat to tone down the shine....

IMG_20220913_212619616.jpgIMG_20220913_212624434.jpg
 
The next step is to brush on a thin coat of Humbrol 62 Matt Leather...this darkens the background yellow and adds a slight grain....

View attachment 328247View attachment 328248

I then used a mixture of Winsor & Newton Liquin gel tinted with a small amount of Vandyke Brown oil paint....

View attachment 328251

The oil mix was brushed onto each piece requiring woodgrain with a soft flat brush in the direction the grain would follow....once dry these areas will be given a satin clear coat to tone down the shine....

View attachment 328249View attachment 328250
Wow. Your wood grain technique is impressive. Thank you for sharing.
 
Bunks added to the forward torpedo compartment. The front floor section sits below the torpedos so would be difficult to reach to maintain and subject to corrosion from seawater that entered the compartment as the torpedo tubes were cycled. I've still to add more washes to the walls and floor...

IMG_20221002_215702083.jpg

Various MIG stains were used to add interest for the floor....

IMG_20221002_215711147.jpg

Air tanks moved to their correct position beneath the floor....

IMG_20221002_215731680.jpg

Work started on the radio room....

IMG_20221002_215818160.jpg

Interior starting to come to life...some touch ups needed and lots of details yet to add....

IMG_20221002_215839092.jpg
 
More progress on the interior....now I've settled on the interior colour and weathering I'm starting to make faster progress....
I installed the lockers and the bunk rails....
IMG_20221022_000946827~2.jpg

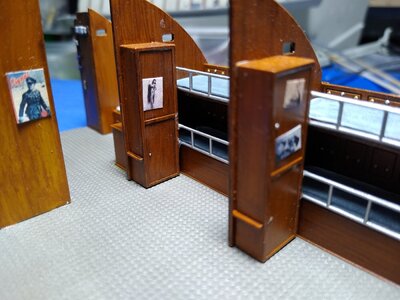
I've started adding some pin ups and other personal items....once the table is installed I'll add figures and clutter it up with other personal gear...
IMG_20221022_001003578.jpg

Rear quarters features a cutaway showing an air tank...I added some pipework here....
IMG_20221022_001116570~2.jpgIMG_20221022_001130021.jpg

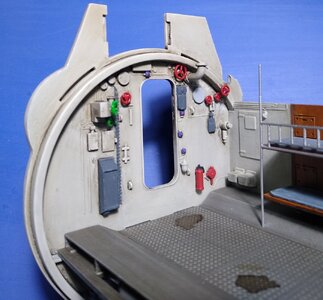
Radio room bulkhead....the main colour is Humbrol 147 Light Grey FS36495...once cured I used MIG 1009 Starship Wash applied with a brush then dabbed off with a paper towel....once dry it was blended smooth with a make up sponge....the details were then added or picked out with a fine brush...
IMG_20221022_001056550~2.jpg

Bulkhead for the bathroom end...door and sink yet to be added....
IMG_20221022_001150645~2.jpg

Battery compartment....the batteries were painted Humbrol 33 Matt Black and left to cure then drybrushed with Revell 09 Anthracite followed by Humbrol 112 Field Blue then Revell 76 USAF Light Grey....once cured I'll wash the lower section as I did the bulkheads...
IMG_20221022_001213654~2.jpgIMG_20221022_001229062.jpg

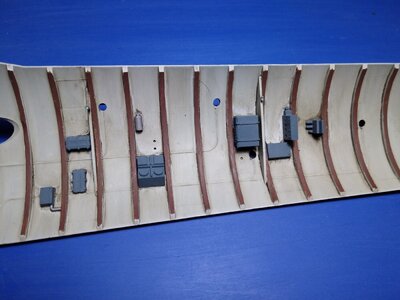
Ceiling of the forward torpedo compartment....painted and weathered as the bulkheads were, the ribs were then given a coat of Tamiya XF-79 Linoleum Deck Brown. The various equipment boxes are picked out in Humbrol Matt 79 Blue Grey and will be individually weathered...
IMG_20221022_001257969.jpg
 
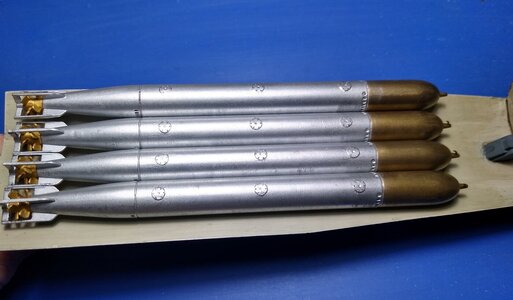
Torpedoes were painted with AK True Metal Steel and Old Bronze....it's a wax-based colour that's brushed onto a flat black base, left for half an hour or so then buffed with a tissue. Four are stored beneath the floor although once the floor is added I think only the one is visible....
IMG_20221025_232257990_HDR~2.jpg

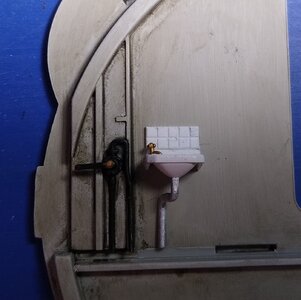
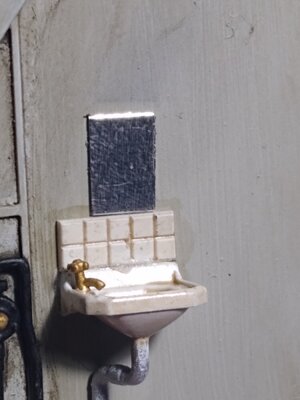
The sink was fixed to the washroom wall....I added some tiles as a splashback...
IMG_20221025_232333209~2.jpg

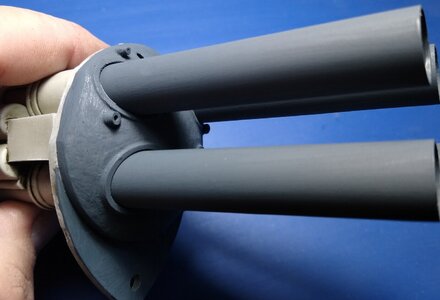
Torpedo tubes were installed in the forward bulkhead...
IMG_20221025_232359691~2.jpgIMG_20221025_232424217_HDR~2.jpg

There's some lovely detail on the tubes but I think most of this will be hidden once installed...I still have the numbers to add to the hatches...
IMG_20221025_232413788~2.jpg

Beyond the bulkhead I added the RC Subs 3D printed part to replicate the domed end of the pressure vessel...
IMG_20221025_232452473~2.jpg
 
I would love to build on someday, but no time or room for a nice U-boat, as it would need a US Sub to go with it and not sure a good kit of American built sub in same scale is available yet.
 
Added some tiles and a mirror to the washbasin....
IMG_20221026_152232187.jpg

Bulkhead installed in torpedo compartment....
IMG_20221026_225450125~2.jpg

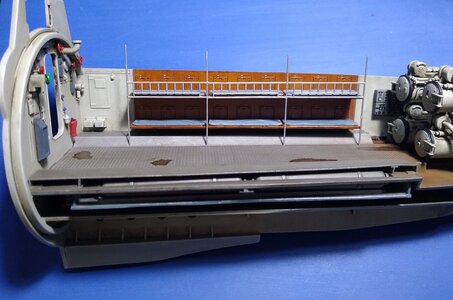
Forward torpedo compartment minus the roof....what impresses with this kit is the exceptional fit of the main components with each compartment being a kit in it's own right....
IMG_20221026_225538313~2.jpg

Radio and sonar compartment now with overhead structure and batteries below....
IMG_20221026_225632265~2.jpg
 
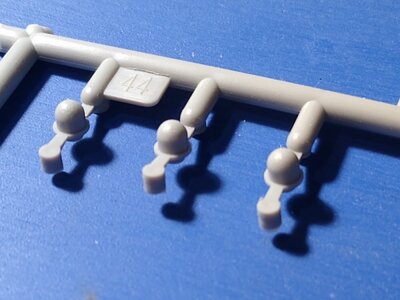
I plan on lighting the kit however Trumpeter only provide solid plastic lamps....
IMG_20221031_231714651.jpg

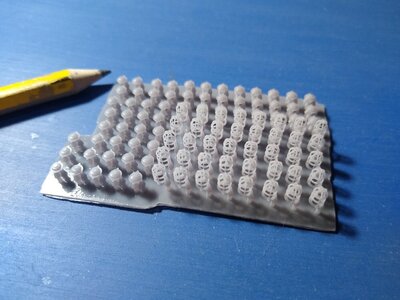
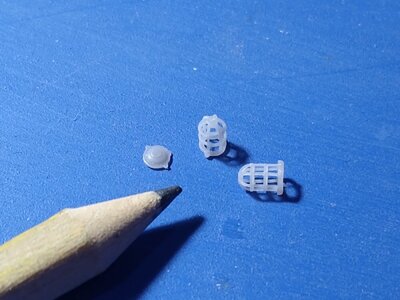
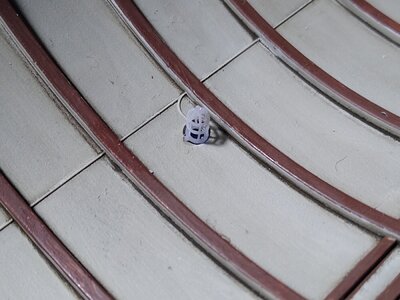
So....I used my 3D printer to create some industrial light cages....
IMG_20221031_225936802.jpg

I'll use these to encapsulate the SMD's for a more realistic look....
IMG_20221031_230432163.jpg
 
Back
Top