• Win a Free Custom Engraved Brass Coin!!!
    As a way to introduce our brass coins to the community, we will raffle off a free coin during the month of August. Follow link ABOVE for instructions for entering.

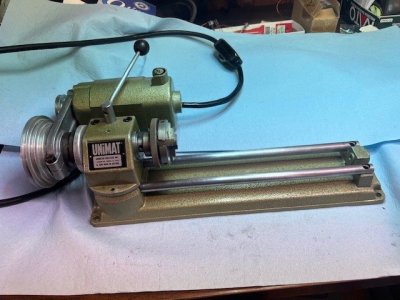
Unimat Hobby Lathe Restoration

I have one of those low speed motor brackets on order, now just to wait and see when it gets here how much more useful it will be. Adds say it can be used to bring RPMs down to mid 300's range.
 
I can really care less about the merger, and don't think the name will change, as the UP is historical and been around a lot longer then NS.

I am really a MoPac Missouri Pacific fan, and did research of the first of the big mergers back in 80's. When UP and MP merged, MoPac was the larger more solvent railroad but management wanted to stay with the UP name, as it had broader name recognition from its historic beginnings.
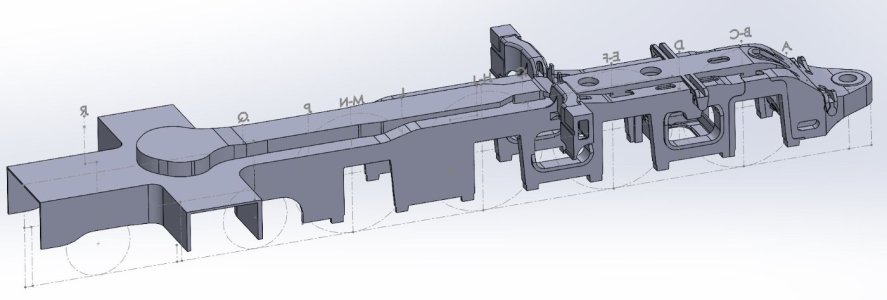
I'm not a railfan at all but I do have a thing for steam locos, especially the Union Pacific 4000 class. I bought some blueprints from the UP Historic Society a few years back and have been slowly working on doing up some of the parts in SolidWorks.
sdfsdfsddfsd.JPG
bdfgbdfbdfb.JPG

I've been enjoying watching Blondiehacks build her Pennsylvania Switcher, too.
 
I have one of those low speed motor brackets on order, now just to wait and see when it gets here how much more useful it will be. Adds say it can be used to bring RPMs down to mid 300's range.
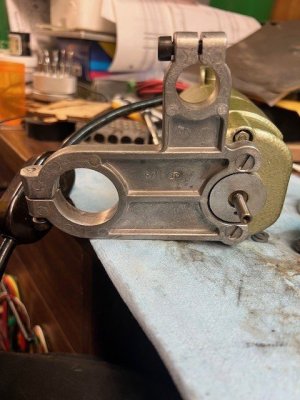
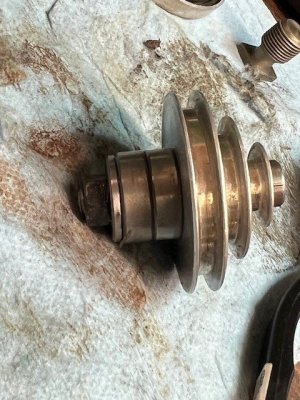
I had a 220VAC - 50Hz U90 (British mains) eight-minute intermittent duty motor on mine when I got my Unimat. I replaced that motor with a U100 continuous duty motor. I put a 120VAC - 60Hz plug on the 220VAC motor. It now runs on U.S. 110VAC - 60Hz power at roughly half-speed. I think a lot of Unimat owners have now gone to using simple "plug and play" 120VAC speed control rheostats to slow down their Unimats.
 
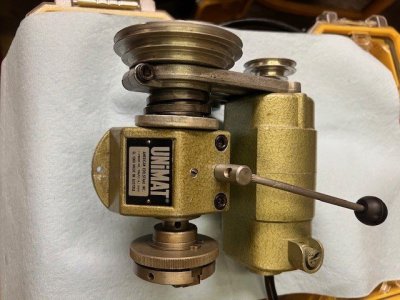
So I got more work done with motor, spindle and headstock assembly completed.

After giving all the parts a good cleaning and lube where needed I started connecting pieces together to build up the powered headstock unit.

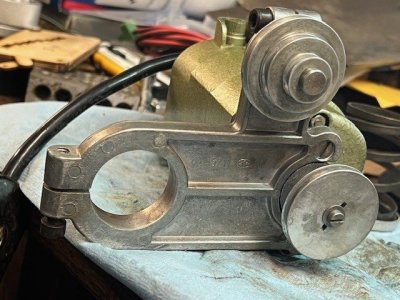
First up was to screw the motor to the motor bracket with two countersunk screws.

Then I assembled the idler pulley assembly which has two ball bearing on shaft, after good cleaning, inspection, lube and testing I think these are still good.

Motor Bracket Installed.jpgIdler Pulley.jpgMotor Mount Bracket.jpg

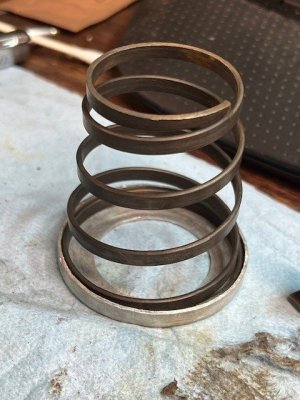
Nest up was to add this motor bracket to the spindle and headstock, which took some temp removal of the spindle drive pulley, to allow the bracket to slide over end of spindle, but I had to also add the headstock spring back in correctly and then get all aligned up. I used a thin metal 6" ruler as spacer between pulley and bracket to allow for free spinning of spindle. But after a few tries I get it back together and when done did a temp fit on the base unit still being cleaned.Spring Unit.jpgMotor Headstock Assembly.jpgtest assembly.jpg

That's all for now, more to come later as I get time to post.
 
When I get my photos transferred off my cell phone, I will post more, as I now have a nearly fully functional lathe assembled and ready to operate, all I lack is a qualified operator and stock to work on.
 
Congratulations Kurt, well done!

One adventure completed and many more to come.
Enjoy.
 
OK, here we go, a week after I received my unit and tore it down for cleaning. These are staged photos as not all it put together for final assembly, just wanted to show progress overall. I will add some more posts on steps involved in this process.

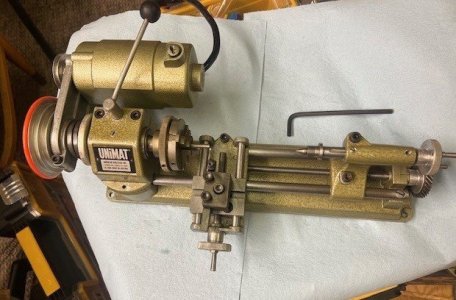
So here is overview of "ready to use" with fake setup.

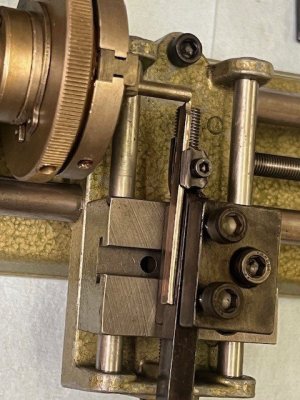
Overview assembled.jpgTool Head Closeup.jpg

The stock is a small drill bit installed in 3-jaw backwards for looks, and the cutter has not been shimmed to proper height yet.
 
...all I lack is a qualified operator and stock to work on.

Are you familiar with "machinable wax?" This is a wax used by machinists to "practice" or make prototype test runs on lathe and mill work. It's used a lot in the CNC machining industry to confirm programming without wasting valuable metal stock. Using the "machinable wax" is much less expensive and wearing on cutting tools than using the final intended material. You can buy "machinable wax" online or in machining supply houses, but, while endlessly recyclable by simply melting down and recasting into blocks or rounds, it costs money. You can easily make your own on the kitchen stove. It's a melted combination of wax and LDPE polyethylene (plastic bags.) You can use candle wax from the craft store or paraffin wax (in the U.S.A, not "paraffin" as in British kerosene!) sold for canning in the supermarket or hardware store. You can color it with melted crayons if you want. Save the chips and swarf and it can be remelted and used again. There are several YouTube videos on how to make it yourself.

See: https://www.youtube.com/results?search_query=How+to+make+machinable+wax?

 
I will have to post photos soon as I transfer them, but I did my first turn on the little machine today.

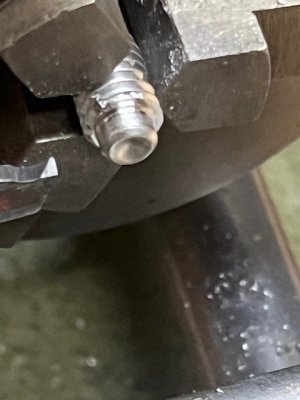
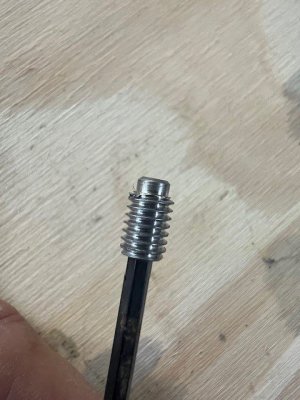
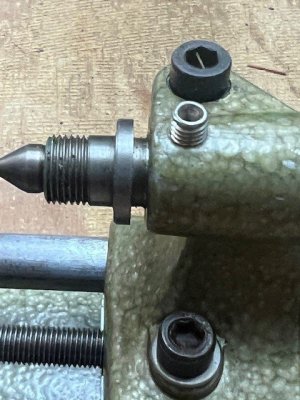
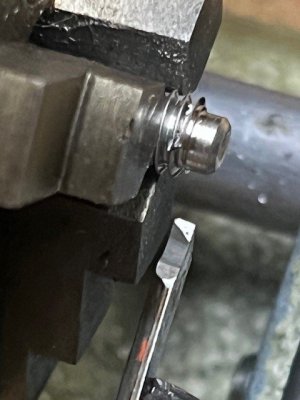
I was missing the forward set screw for tailstock, a setscrew with extension on bottom to fit in slot of headstock quill. While I found allen screws in local hardware store that fit the hole and tap size, none had the needed base, so I got one and mounted in 3-jaw and use the one tool I have, which I think is a parting tool and managed to shave down the threads and using my calipers I measured the width of slot and turned the allen screw down to fit. Installed and it works fine for temp install, till proper hardware arrives by snail mail.
 
Are you familiar with "machinable wax?" This is a wax used by machinists to "practice" or make prototype test runs on lathe and mill work. It's used a lot in the CNC machining industry to confirm programming without wasting valuable metal stock. Using the "machinable wax" is much less expensive and wearing on cutting tools than using the final intended material. You can buy "machinable wax" online or in machining supply houses, but, while endlessly recyclable by simply melting down and recasting into blocks or rounds, it costs money. You can easily make your own on the kitchen stove. It's a melted combination of wax and LDPE polyethylene (plastic bags.) You can use candle wax from the craft store or paraffin wax (in the U.S.A, not "paraffin" as in British kerosene!) sold for canning in the supermarket or hardware store. You can color it with melted crayons if you want. Save the chips and swarf and it can be remelted and used again. There are several YouTube videos on how to make it yourself.

See: https://www.youtube.com/results?search_query=How+to+make+machinable+wax?
Another product you might want to become familiar with is Tooling Board or Resin Board, more commonly known by the trademark of Ren Shape. It's a relatively dense resin and urethane board like product that machines really well. We used to use it to make sheet metal forms when I worked for a company the restored old fighter planes. It holds detail incredible well, especially the higher density ones. If you can get your hands on some off cuts of that, you'll be golden.

 
OK, I think I am in correct posting today, so here are photos of my first attemp at turning on a lathe. I was missing the tailstock quill lock pin, which fit down into slot in top of the quill to keep it from rotating. I found a suitable replacement at local hardware store, where metric items are limited.

The end needed reduced to fit down in slot. It took be a few times of cutting and measuring to get it to fit.

Mounted.jpgFinished.jpgReady.jpgInserted.jpg
 
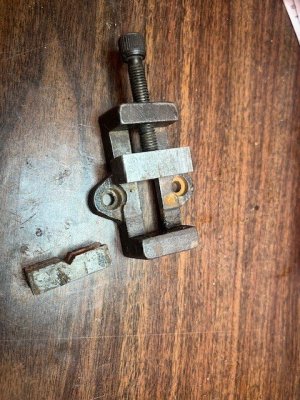
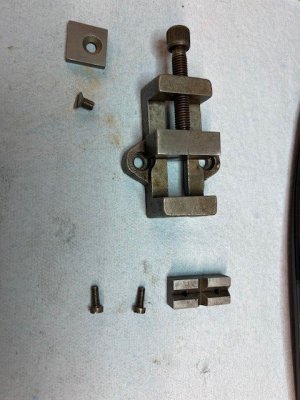
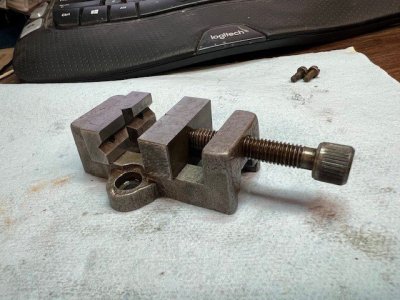
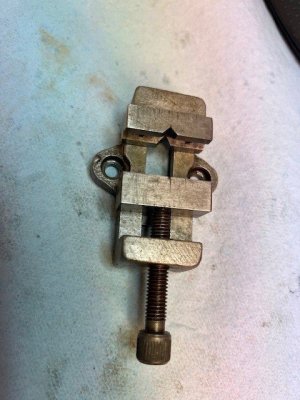
OK, next up in sub parts worked is the machining vise, which is not big or hard to work, I still need to get two T-nuts and screws to attach to the cross slide for use.

I had to degrease, and then soaked in white vinegar to get rid of slight rust on surfaces, and then a good old scrub with brush, brushes and scotch bright, and a final coat of WD-40 to keep from rusting again.

mini vice.jpgVice Parts Ready.jpgVise Complete side view.jpgVise Complete.jpg
 
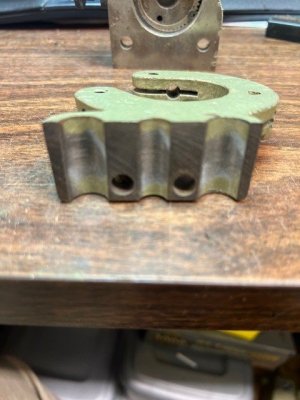
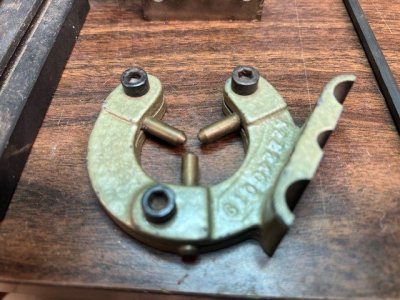
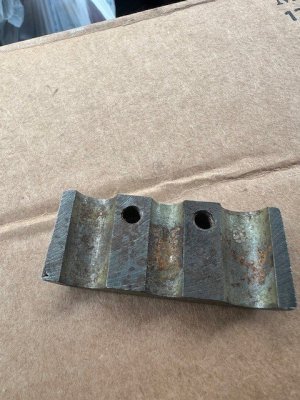
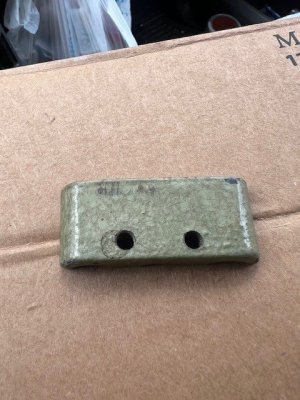
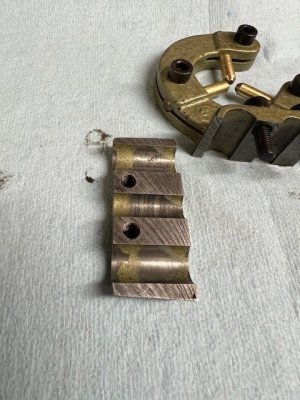
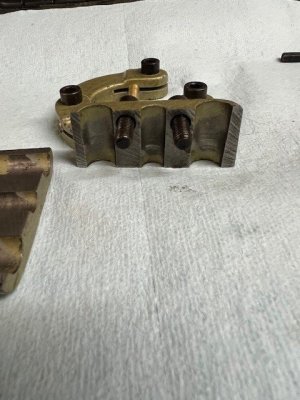
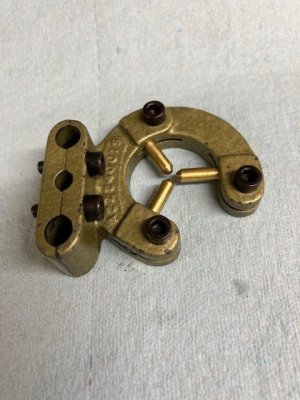
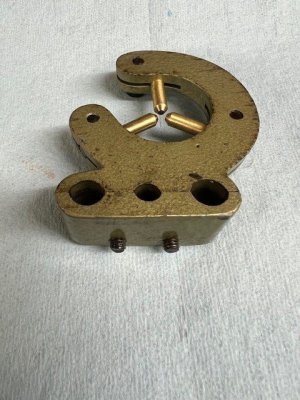
OK, now for photos of the Steady Rest, for those who don't know what that is, it is circular tool used to help hold long items to keep them from wobbling while being worked on. Originally this part was missing the bottom and Dave found it in a box of stuff and sent it to me.


Steady Rest Bottom.jpgSteady Rest.jpg

After some cleanup and polishing of surfaces, and getting the bottom, now I have a complete and ready to use tool rest. This item must have been well used, as it has lots of wear marks in the paint.

Bottom Inside.jpgbottom outside.jpgReady for Base.jpgReady to assemble.jpgCompleted Front.jpgCompleted Back.jpg
 
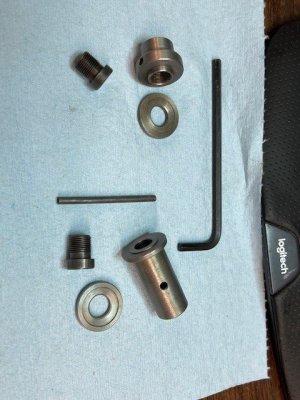
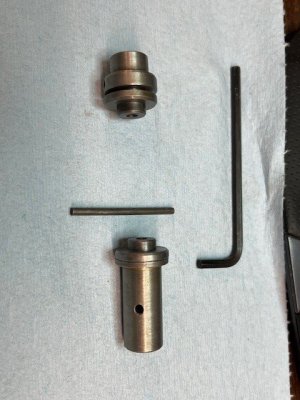
OK, a small project was cleaning and assembling the holders for grinder disks, and the saw blade for table saw attachment.
Both were basically 3 pieces, base, head cap and screw, minor differences in the inside diameter of what they are holding, different diameters for grinder disks and saw blades. The saw blade arbor came with a post to insert to help loosen and tighten the cap screws.

Grinder parts.jpgParts Complete.jpg
 
Back
Top