- Joined
- Aug 16, 2019
- Messages
- 870
- Points
- 343

Taking note and admiring
Will you use peg to fix the mast or just place it with glue
Will you use peg to fix the mast or just place it with glue
 |
As a way to introduce our brass coins to the community, we will raffle off a free coin during the month of August. Follow link ABOVE for instructions for entering. |
 |
 |
The beloved Ships in Scale Magazine is back and charting a new course for 2026! Discover new skills, new techniques, and new inspirations in every issue. NOTE THAT OUR FIRST ISSUE WILL BE JAN/FEB 2026 |
 |


Yeah that's just a function of a crummy camera on my crummy phone. :-(View attachment 113120
You're build looks fantastic. It's coming along very nicely.
I noticed in the photo above that the grain is very pronounced- I'm not sure if that was the effect you were trying to achieve or the camera/light makes it look that way?
Years ago I had a similar result and found it to be very frustrating as it wasn't the look I was after. I prepared the parts very well; sanding them to a fine finish and then, after I applied my first coat of acrylic paint, all my hard work was ruined when the grain raised.
I later found that the water in the acrylic paint raised the grain giving this look.
Now I sand the wood to final finish and apply a very lightly dampened cloth over the wood which will raise the grain, I let it dry (the grain will remain raised after drying) and give it a final light sand that gets rid of the raised grain. Only a few short sanding strokes is required. The grain will only raise once.
Or you can give the wood a coat of paint, let the grain raise and sand the first coat of paint after it is completely dry- it should remain smooth after that.
You may already know this, just thought I'd mention it so as to prevent others from going through the same frustration I went through.
I hope you do not find offense with my comment- my intentions is only to give help to others where I can.

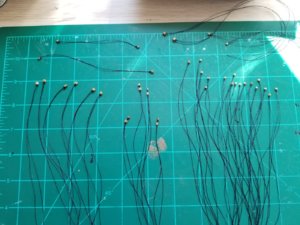
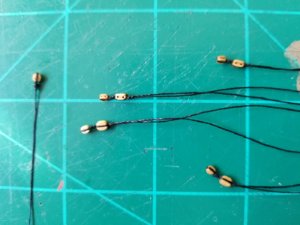

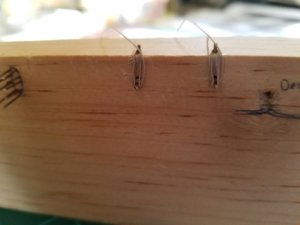
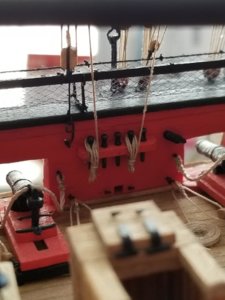

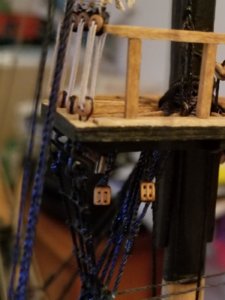
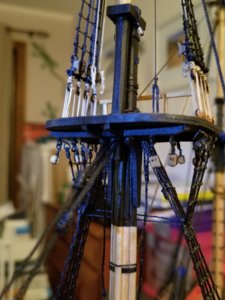


Beautifull rigging, very delicate.

