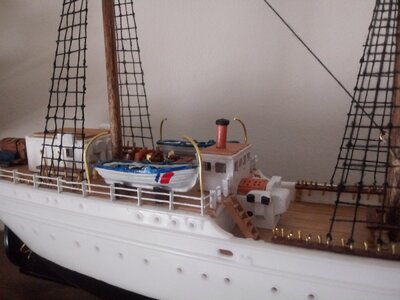
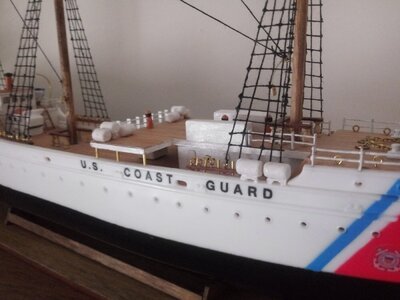
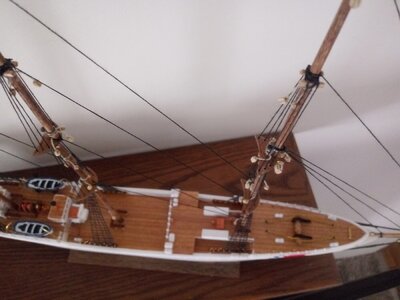
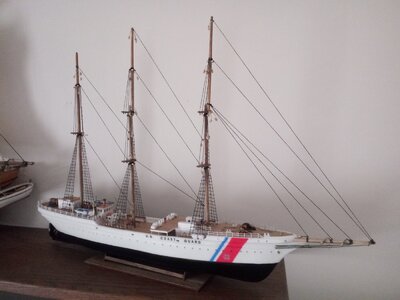
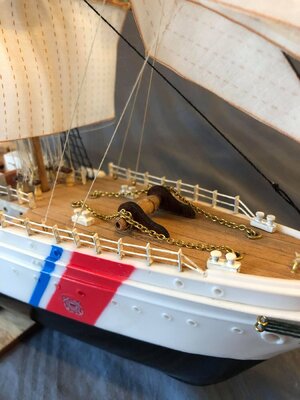
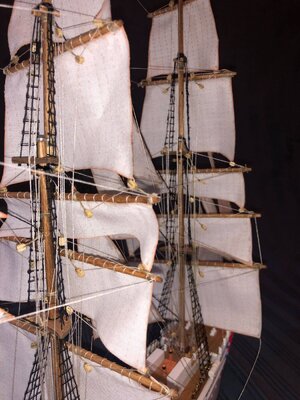
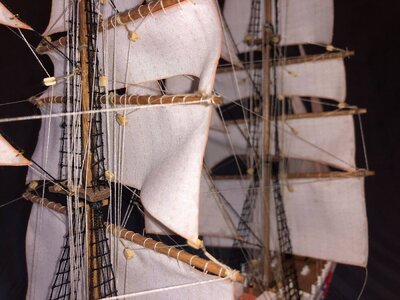
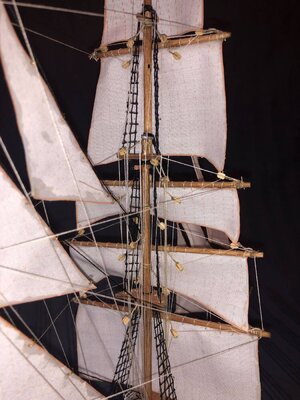
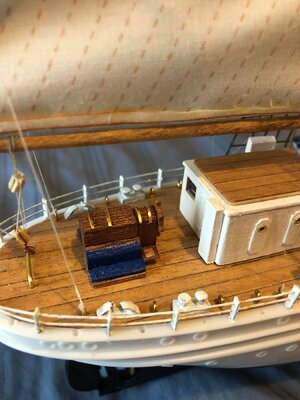
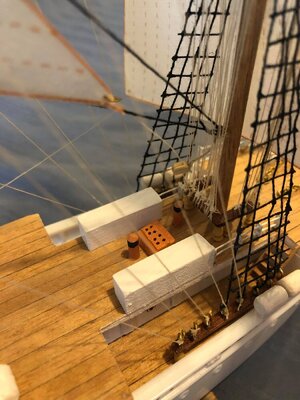
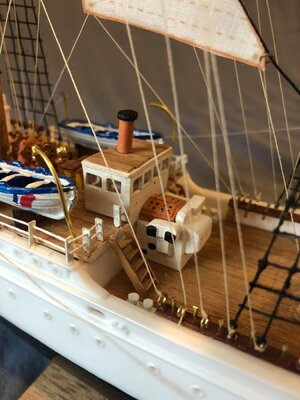
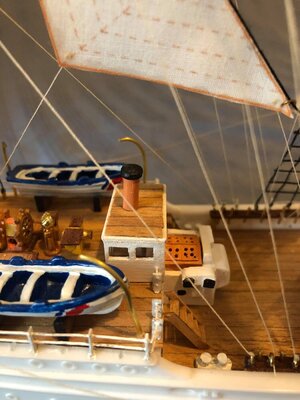
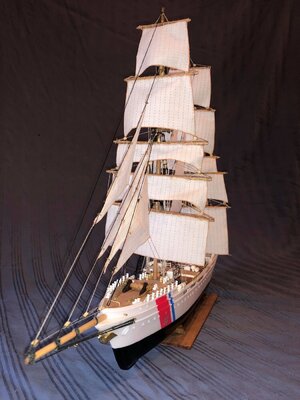
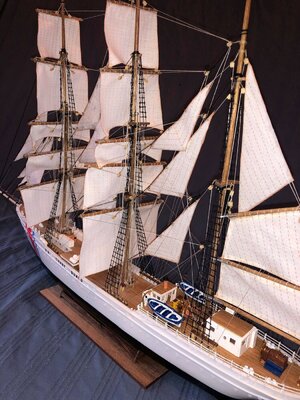
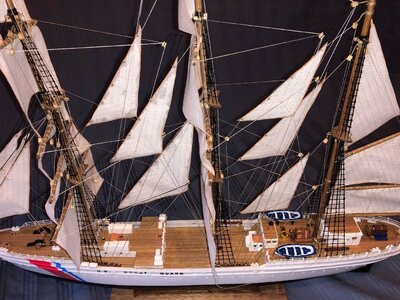
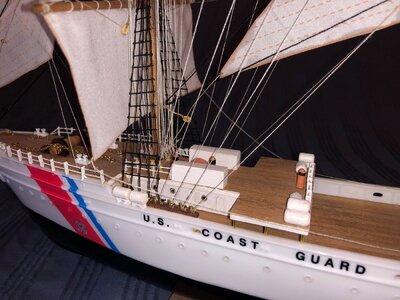
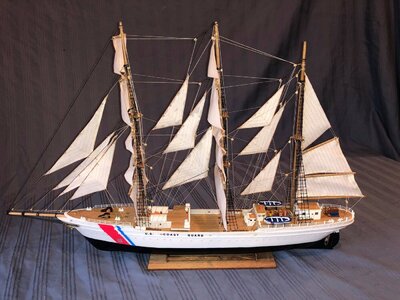
USCGC (Barque) Eagle by Constructo

Your doing a great job of upgrading the kit to look more realistic.

One thing we modelers have to remember, is scale distance when viewing.

We often look hard and close in macro lens level at details to get thing near perfect as we can, but most people who view the ship when done, will be viewing at arms length or better and won't even notice the minute fine details you have installed.

As for the chicken on the nose, take a hatchet and chop the birds head off.

There are one or more members of this forum who can 3d print small items much better than what is supplied by the manufacture.

Keep working at it and it will look great when your done!

Kurt
 
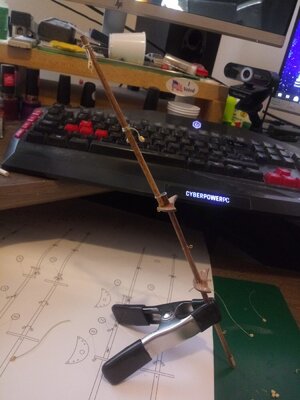
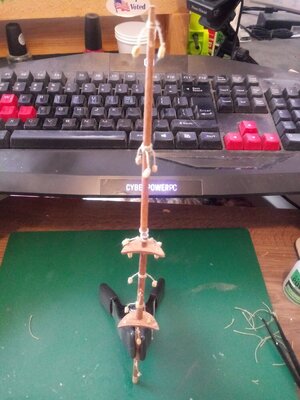
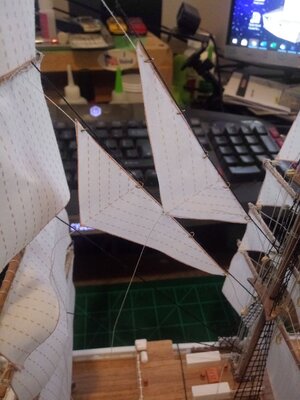
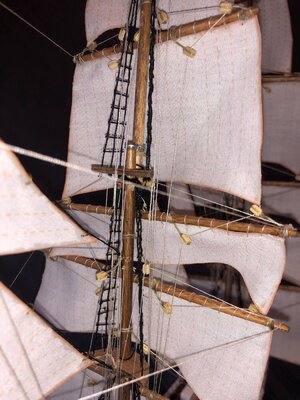
Been a bit lazy with the uploads so I thought I better get caught up. Here is the beginning of the masts.
Eagle_086.jpgEagle_087.jpg

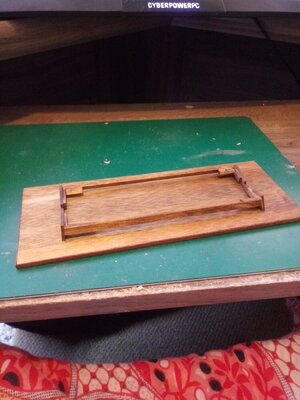
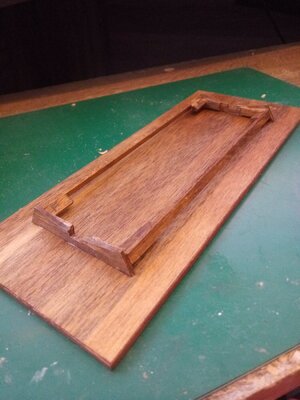
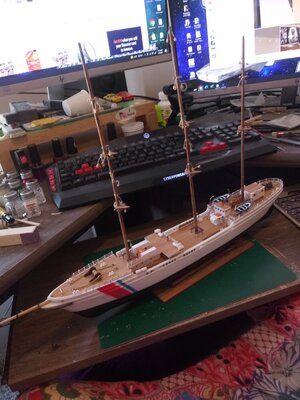
In the process of mounting the masts, I had to break down and build at least a simple stand because most boats don't like to stand up straight on their keels.

Eagle_089.jpgEagle_090.jpg
 
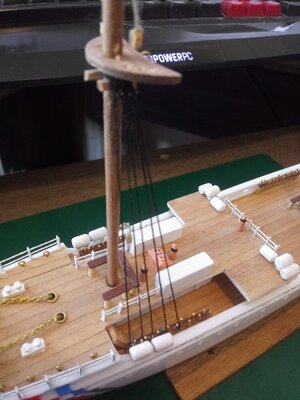
With the masts mounted, it was time to start the vertical portion of the ratlines. I hate ratlines, and in the process of doing these I created a cheat to make them easier to create the horizontal lines on these small scale boats. It involves stiffening the thread with super glue and cutting the stiffer thread into sections, then interweaving them through the verticals, and finally gluing them in place. If you look close, you can see the basket weave I used, and some might not like the effect, but at a few feet you can hardly tell I did it. Made this part of the build much faster.
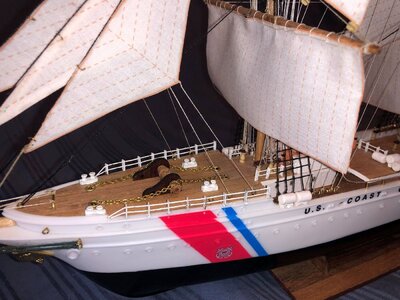
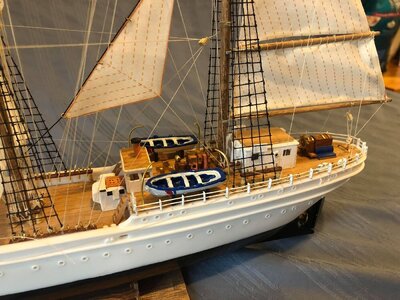
Eagle_091.jpgEagle_092.jpgEagle_094.jpg
Eagle_095.jpgEagle_096.jpgEagle_097.jpgEagle_098.jpg
Eagle_093.jpg
 
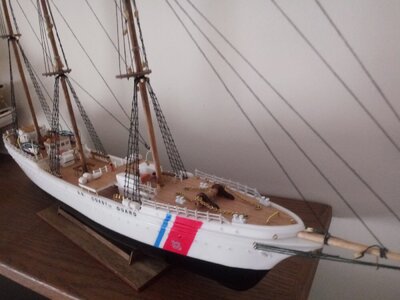
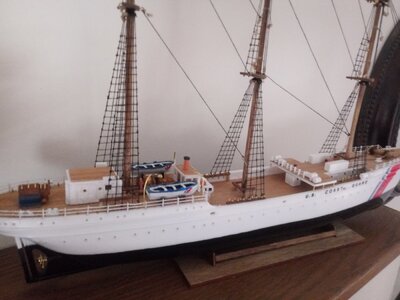
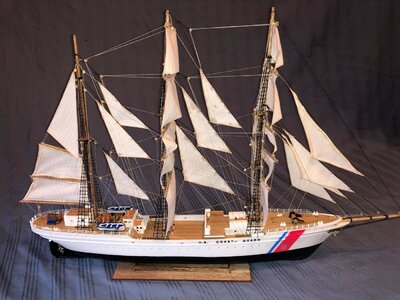
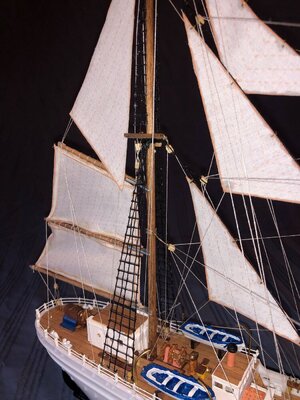
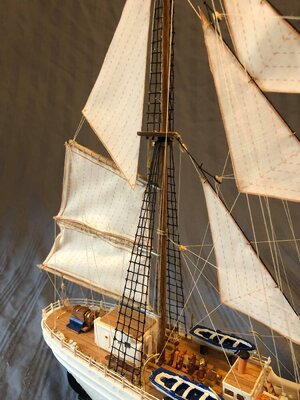
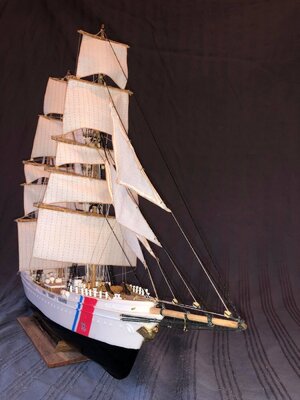
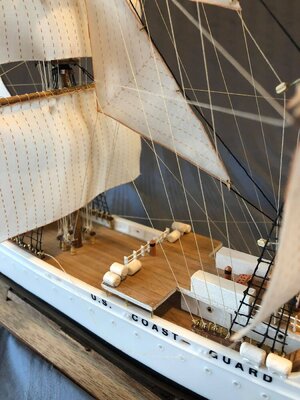
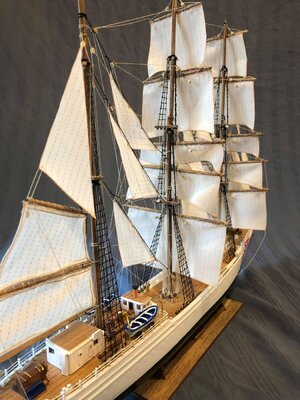
Sorry I've really let dust settle on this post. I've been very busy with work and a side job I've been doing, but I took this past week off work and made up my mind to finish the Eagle. My daughter came over and took some glamour shots of it, and I'd like to share them with you now.Eagle_001.jpgEagle_002.jpgEagle_003.jpgEagle_004.jpgEagle_005.jpgEagle_006.jpgEagle_006.jpgEagle_007.jpgEagle_008.jpg
 
I am building this kit as a present for a former Coastie. I looked to see if there were any build logs for this one and didn't find any, so I thought it might help others when deciding is this is a good first kit or not. The pre-painted plastic hull can be a major selling point for some, and it does look good. However, it also presents some issues of it's own that will be addressed soon.

The packaging is nice, and everything seems to be well thought out. The instructions took me a minute to familiarize myself with, but once I figured out their method it all becomes pretty straight forward. However, they could go a bit deeper and explain some of the things that will need to be done in order to make parts fit, such as shaping the undersides of the decks to get them to fit down into the hull. I've started making some changes to make it more scale and accurate to the original, but when I do I will try to show how the kit expected it to be built as per the instructions and included materials.
Hallo @CallMeKristy
we wish you all the BEST and a HAPPY BIRTHDAY
Birthday-Cake
 
So here's the first real stumbling block. The ship is called the Eagle, with a beautiful gold eagle on the bow.

View attachment 240566

What the heck do I do with this goose they expect me to glue to the bow of the ship?

View attachment 240567

As you can see, it looks nothing like an eagle, and doesn't even fit well on the bow. I'm not any good at carving things, so I'm at a loss as to what to do with this small but important detail. I'm not using their chicken/duck thing.
To get a good Eagle for the bow, you may need to have one of the SoS members produce a new one for you. I believe he goes by Szkutnik, and does cnc, and 3d printing.
 
Back
Top