Hi Gang,
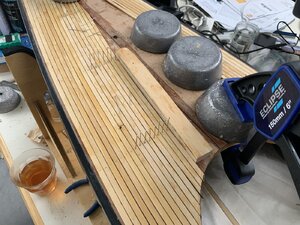
I was watching a you tube video on timber marquetry, and stumbled across a great idea. For highlighting the caulking seams on planks you can use a black graphite pencil lead.
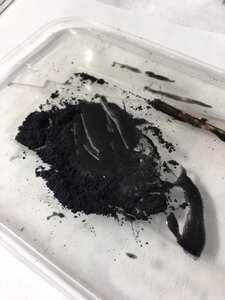
But instead of marking the side of the plank with a pencil, you mix the crushed graphite pencil lead with glue.
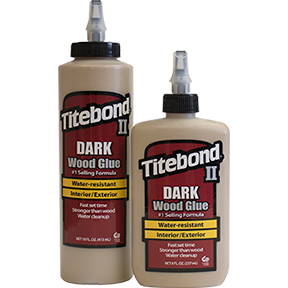
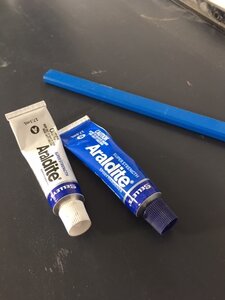
I have been experimenting with white pva glue and 2 pack epoxy glue, and both work superbly. I used one of those thick builders pencils in the picture. Just split the pencil open and extract the lead.
.


Last edited:


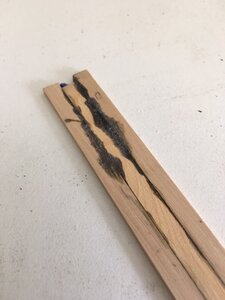
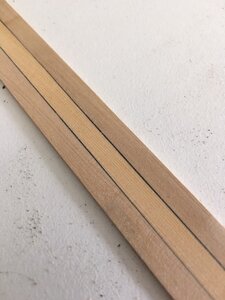


 The caulking looks like a true black rather than the dark grey you get using a normal HB pencil on the edge.I would say the one important thing with these techniques is that the plank edges need to be perfectly true and smooth.Some of the "furry" kit planking would result in a black line that waved about all over.
