-

Win a Free Custom Engraved Brass Coin!!!
As a way to introduce our brass coins to the community, we will raffle off a free coin during the month of August. Follow link ABOVE for instructions for entering.
-

PRE-ORDER SHIPS IN SCALE TODAY!
The beloved Ships in Scale Magazine is back and charting a new course for 2026!
Discover new skills, new techniques, and new inspirations in every issue.
NOTE THAT OUR FIRST ISSUE WILL BE JAN/FEB 2026
You are using an out of date browser. It may not display this or other websites correctly.
You should upgrade or use an alternative browser.
You should upgrade or use an alternative browser.
- Joined
- Jan 21, 2023
- Messages
- 372
- Points
- 138

Bryian, on your bottom picture that shows the main deck, the section of the deck between the original ship's wooden deck & the outside edge of the torpedo bulges is supposed to be flat steel plate not with those knotches. that is what happens when 3d printers use world of warships or similar games' files to print a 3d model instead of actual naval plans or US Navy Booklet of General Plans.
Hi Brian,Hello friends,
I have glued up the segmented hull of the ship and filled the seam with Tamiya putty. In addition, I have cleaned the model with detergent and warm water to remove any contamination as per instructions. Next step was priming the hull with grey plastic primer and then a fine sand with 800 grit wet and dry sandpaper.
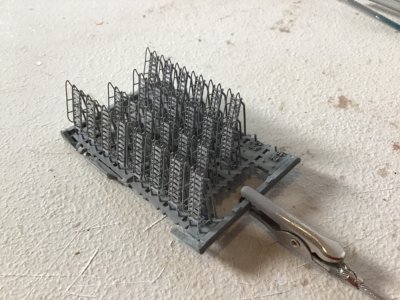
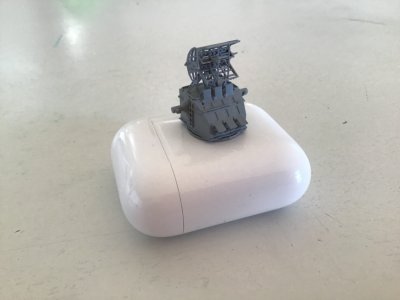
A few photos of the excellent fine detail of the 3D printing process.
View attachment 532956View attachment 532957View attachment 532958
Were the anchors, chains and hawsepipes all part of the printed bow section, or did you add those in? If they are integral to the mould, that is some amazing detail.
Hi Steve,Hi Brian,
Were the anchors, chains and hawsepipes all part of the printed bow section, or did you add those in? If they are integral to the mould, that is some amazing detail.
They are molded into the deck. Still deciding whether to remove them and add a proper anchor chain.
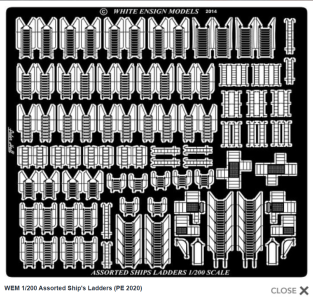
Hello Jim,The amount of 3D print details is awesome! However, I see that there are still possible ways to improve using generic PE parts for this era. Some of them are the ladders and doors, IMHO.
View attachment 532965
Yes indeed there is no photoetch and I will be adding handrails and ladders to the model.
Hello friends,
I have started painting the decks with my airbrush. Although the colour looks too bright, I’m planning on toning it down with some salt effects wash coat at a later stage when I weather the model.
In addition, thought I would try a masking tape technique I’ve seen several model builders utilise with hundreds of small squares of tape.
I will post the results soon. Thanks for your interest.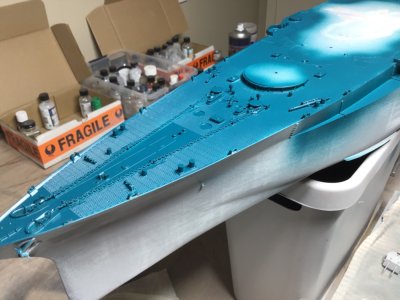
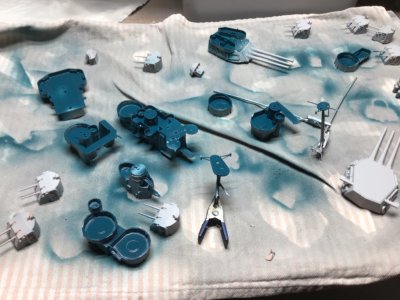
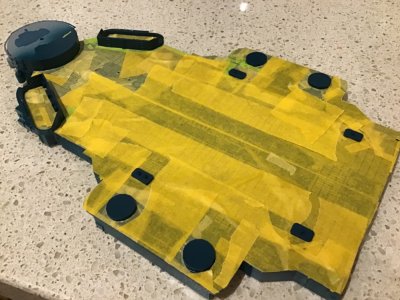
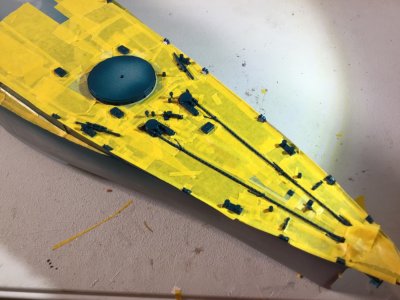
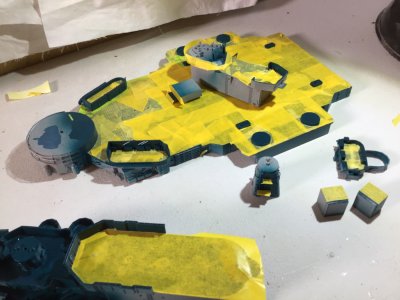


Is the masking tape technique you mentioned for doing pixilized camo on the ship, which I have used for several armor builds, or some other effect. I’m very interested if the latter.Hello friends,
I have started painting the decks with my airbrush. Although the colour looks too bright, I’m planning on toning it down with some salt effects wash coat at a later stage when I weather the model.
In addition, thought I would try a masking tape technique I’ve seen several model builders utilise with hundreds of small squares of tape.
I will post the results soon. Thanks for your interest.View attachment 533414View attachment 533415View attachment 533416View attachment 533417View attachment 533418
Ahoy shipmates,
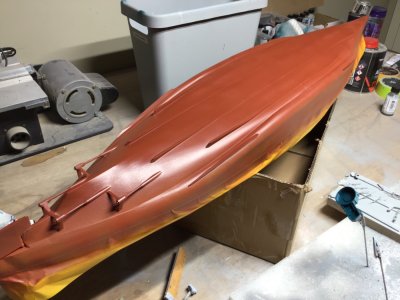
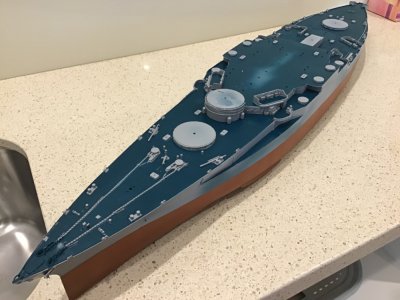
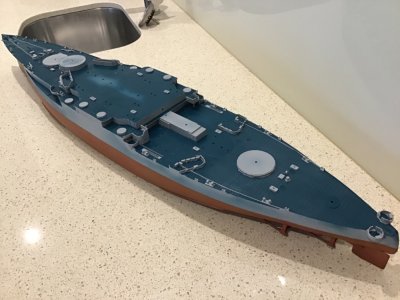
Been productive this week at my hobby bench, and have been using my airbrush to a great effect.
Hull has been painted in a combination of red oxide, anti fouling red and a mist coat of yellow ochre to achieve the weathered look. I copied this idea from a Taiwanese model builder on YouTube called
SEN NAVY model factory.
In addition I have been painting superstructure parts. I am finding this model one of the most enjoyable and best kits I have seen, and vastly superior to plastic kits in my opinion.


Last edited:
Hi guys,
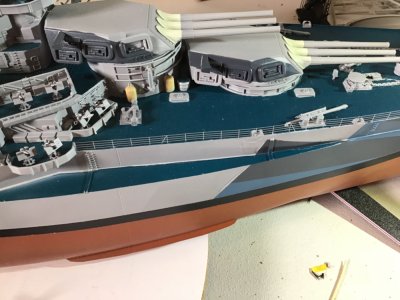
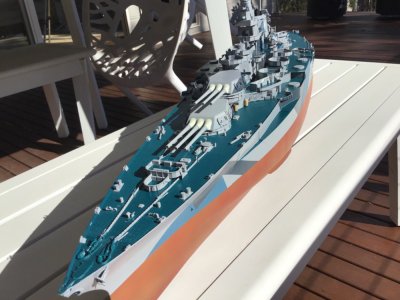
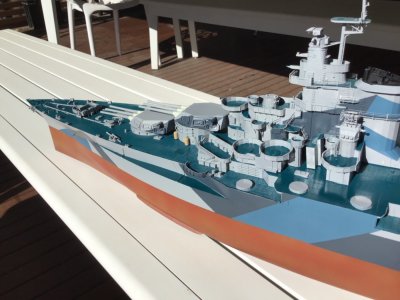
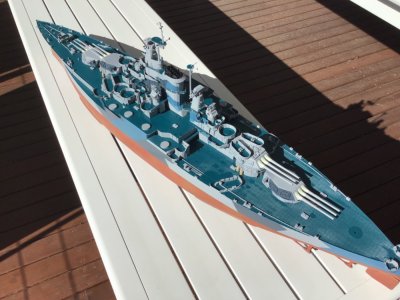
I have put in a considerable and enjoyable amount of time painting my model with an airbrush the last few weeks.
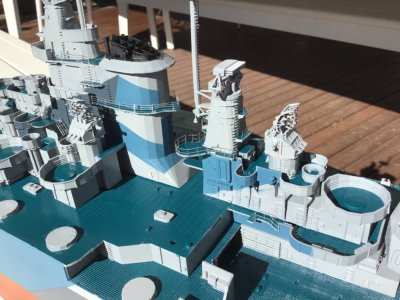
I would say I spent almost a week just masking up all the fittings with tape before painting. I carefully did the camouflage following photos of the real ship circa 1944~ 45 era.
It’s my interpretation of colours following the world of warships videos. I know it’s probably not 100 % accurate, but I’m pleased with the results so far.
I still have to apply the black “boot topping” along the waterline, and fit the secondary guns and multiple other deck fittings.
A few photos below of my progress.


Looking good Brian.Hi guys,
I have put in a considerable and enjoyable amount of time painting my model with an airbrush the last few weeks.
I would say I spent almost a week just masking up all the fittings with tape before painting. I carefully did the camouflage following photos of the real ship circa 1944~ 45 era.
It’s my interpretation of colours following the world of warships videos. I know it’s probably not 100 % accurate, but I’m pleased with the results so far.
I still have to apply the black “boot topping” along the waterline, and fit the secondary guns and multiple other deck fittings.
A few photos below of my progress.
View attachment 535456View attachment 535457View attachment 535458View attachment 535459
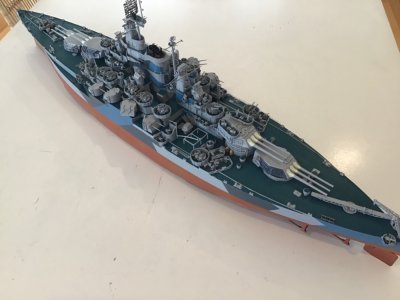
Ahoy shipmates,
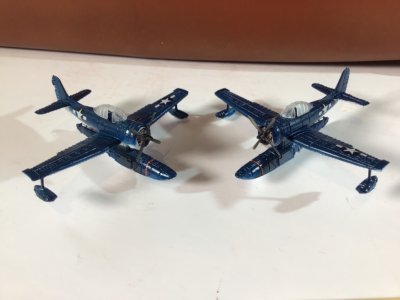
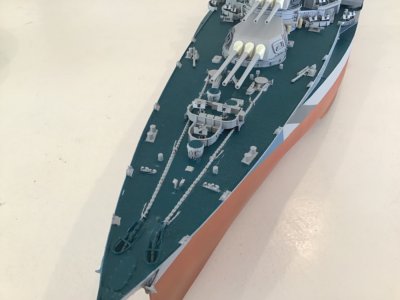
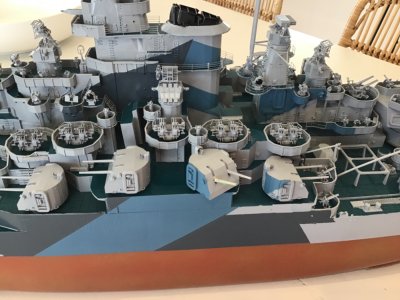
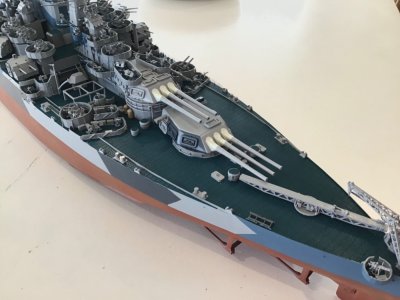
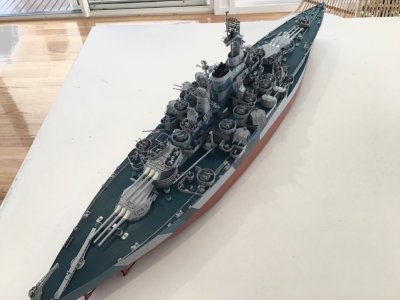
Been busy all week on my model and completed fitting all the guns and deck fittings. I still need to install the ships boats and two Corsair floatplanes to the catapult.
In addition I am currently in the process of fitting photoetch handrails. And I still need to add the black boot topping along the waterline, then I will try my hand at weathering the model. More to come and thanks for your interest.


- Joined
- Jan 21, 2023
- Messages
- 372
- Points
- 138

there appear to be at least 2 mistakes on either side of your model.
1: you have a gun director for the 20mm & 40mm guns sitting in front between 2 40mm gun tubs when it should be sitting behind but between those 2 mounts because it interferes with the firing arcs of those mounts.
2: the 40mm gun tub overhanging the last 5" gun mount on either side of the model should not be overhanging but be situated away from that 5" gun mount.
look at your #5 post showing the starboard stern aerial view of the real ship to see what i am talking about even your world of warships pictures show the correct positions.
 , thank you David.
Although this is a superbly produced model and the fine detailing in 3D printed parts are exquisite, theres no instructions whatsoever .
I am left to my own devices in trying to interpret how things should be positioned with internet photos of the real ship. In addition, I should point out to anyone considering a 3D printed kit, please be aware if you drop a piece on a hard timber floor, it will fly apart into multiple bits.
were the life rafts separate pieces or printed onto the turret sides?
they were printed to the turrets David.


