Wappen Von Hamburg, Corel, a sort of log [COMPLETED BUILD]

That photo reminds me of 6 years (1982-1988) spent in Oman with much of the time spent in the mountains of Musandam. Not military but working alongside the Sultan's forces, some of whom were Brits. While we were there a British paratroop instructor won a medal for saving an Omani trainee whose chute got tangled while training for a record for stacking. Great times!
Hi Chris, Thanks for that interesting comment, its surprising that a small comment resulted in such unexpected response, scratch the surface of a modeller and you’ll often find that they are not nerds but very interesting people who’ve had a life.
 
Last edited:
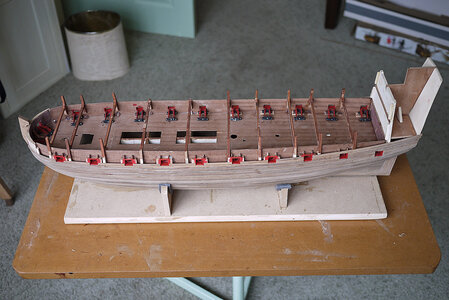
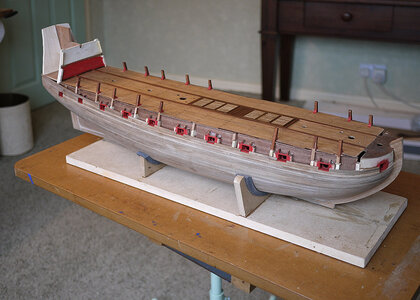
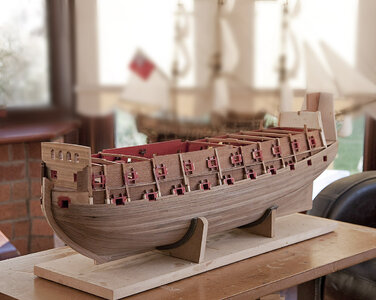
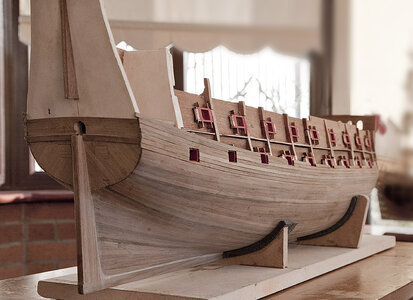
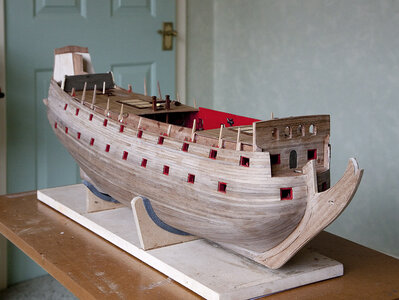
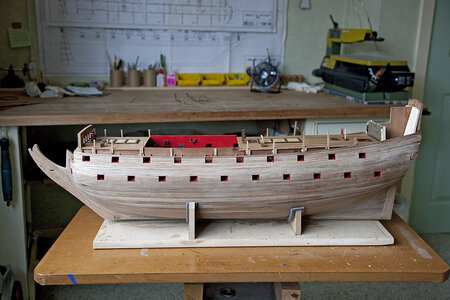
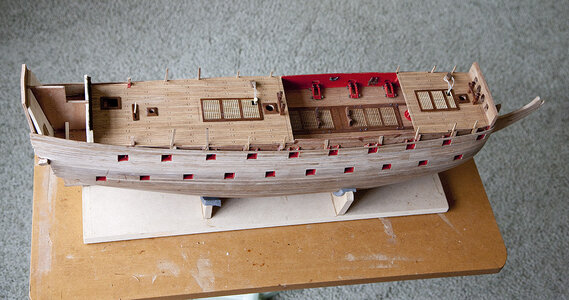
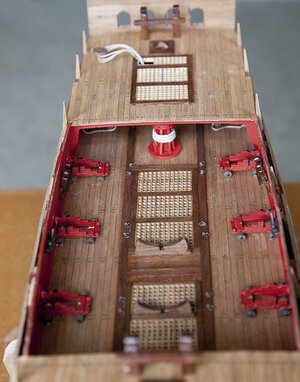
Hello ship modellers. I am going to do a very simple sort of retro log of the Wappen Von Hamburg that I built about 12 years ago, let me explain how my introduction to this hobby came about and how I ended up building this model.

I started the hobby about fifteen years ago after a hand issue which had developed. After several ops I lost part of each hand as well as fingers and because of the intrusive surgery I was left with limited movement and little sense of feeling. I was advised to take up a hobby that involved touching and manipulating different textures as a way of therapy, the physio even suggested knitting, as a woman she would, but an ex paratrooper does not do knitting so I tried my hand at building model boats, I haven’t looked back since.

I started building small kits and found that not only did they help but I thoroughly enjoyed making them and happily progressed to slightly larger but not overly difficult ones as my skills improved. I don’t think there were any forums then so I slowly learned from monthly magazines with articles from the likes of Keith Julier.

Now to the Wappen. I was browsing a local charity shop when I came across this kit, checking the box contents I saw that most of the fittings and castings appeared to be there as well as the plans which looked very good but no instructions and no hull or wooden parts. I think that the hull must have been built up and lost or abandoned; it looked to be a very old tatty kit. Talking to the staff they thought that it couldn’t be built and was only fit for spares, I explained my interest in models and said that I thought it was possible to rescue, so I was given it at a very low price. Because of the interest that our discussion had caused I was asked if I would occasionally give them updates on any build progress, this is how I came to have pictures of various stages of the build. This was never intended to be a build log and no notes were taken, at this stage it was never going to be an accurate, detailed model but just an insight into my progression through the hobby. I have only just found these pictures on an old memory stick and thought that members may be a little interested.

My first task was to determine what wood and parts were needed. I intended to re make the kit to as near as original, all strip wood for planking, keel and bulkheads cut to shape, everything tidied into bags so that when I opened the box it would have the appearance of a new kit ready to be started, this way it would encourage me more to proceed with the build. I bought in everything that I needed from Cornwall Modelboats and treated myself from Ebay to a scroll saw, the build began.

The first pictures show the strip wood, ply and mahogany sheet acquired and the parts of the kit that I re made. I’ll follow these up next with the actual build. Please be patient as I’m also doing a full log of my current build, HMS Blandford.

View attachment 409883

View attachment 409884

View attachment 409885

View attachment 409886
Best wishes from Hamburg. A complicated model. Many details and some basic things have still not been clarified. It proves true again that we all build "fantasy models" in one way or another, myself included. I wish you much success and fun with it.
 
Hello, Thanks for joining me again and for showing interest in this log.
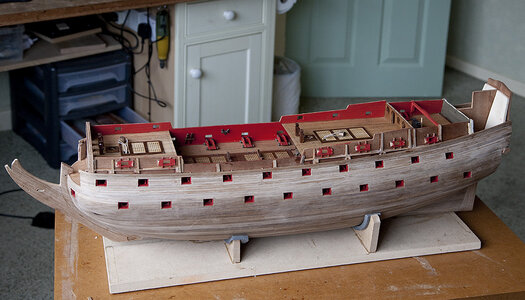
I continued with the build by installing the inner walls of the lower deck and starting the hull planking. Again because I'd cut the pieces from the plan they were a perfect fit and went in easily. First I planked the stern then to the hard part, I had little experience at planking hulls and as I mentioned earlier there were no online tutorials that I could draw on, to compound things this was a single planked hull using 2ml thick planks. I didn't know of correct practices so I just got stuck in as best as I could and tried to keep the planks tight to each other and their run natural. I used white wood glue, can't remember the brand but it grabbed quickly and worked well. I can remember taking special care to wipe away any glue residue as I noticed that on a previous build this had caused issues when varnishing. After about a dozen planks had been fitted I gave it a light sanding to get an idea of its finish and was pleasantly surprised, it gave me the encouragement I needed to continue.


View attachment 410605

View attachment 410606

View attachment 410607

View attachment 410608

View attachment 410609
Went right bloody well, I'd say!Thumbsup
By the way, I have actually heard the question asked: "Why would anybody go aboard a ship that's designed to sink or jump out of a perfectly good airplane!?"
 
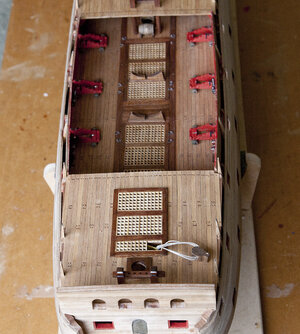
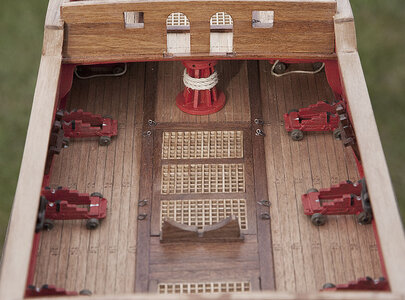
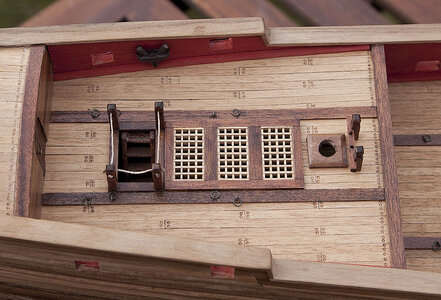
Hello, just another short update showing how I finished off the gun deck. For simulating the tree nails I cut off a small length from a syringe needle and fitted it into the end of a soldering iron, when heated a few seconds pressed into the wood left the marks shown. The diameter of the needle can be any size you need. this also worked effectivly when I used it on the wales. Perhaps a bit neater would have been better but I was learning.


View attachment 411155

View attachment 411156
what an inventive and great technique!
 
Went right bloody well, I'd say!Thumbsup
By the way, I have actually heard the question asked: "Why would anybody go aboard a ship that's designed to sink or jump out of a perfectly good airplane!?"
Hi Peter, All that I can say to yourself and Norgale is that it seemed like a good idea at the time and it was almost as good as sex, but not quite.
 
Last edited:
Hello again and thank you for you’re your interest and kind comments.

Today I’m showing the progress I was making. I made up and painted the gun carriages that fit to the lower deck, as they wouldn't be seen I didn't rig them, I would fit the barrels through the ports at a later stage, I completed and fixed the mid deck. I also covered the keel, prow and sternpost with a veneer to match the hull. Again all was going well with no problems.


020.jpg

021.jpg
 
Last edited:
Hello Ken, I stumbled onto your log here and what an interesting story that comes along with it. Yours and the others personal stories intertwined in this log make it a must watch in my book! Thanks for sharing.
Hi Daniel, Thanks for joining us on our voyage, I always try and add a little of myself to my logs, it gives the build a sort of personality and for so many to have joined in with interesting experiences of themselves definitely adds to the log.
 
Hello and welcome. Thanks again for your likes, too many to list but you know who you are.

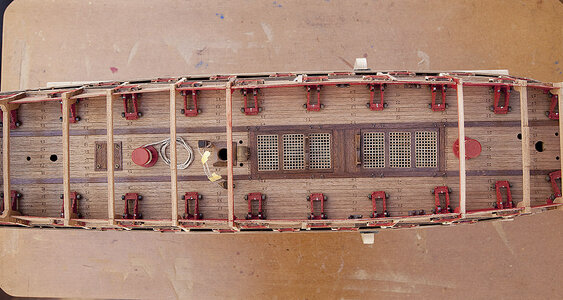
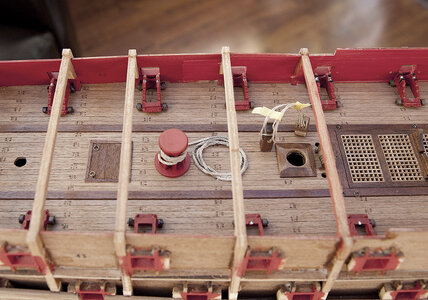
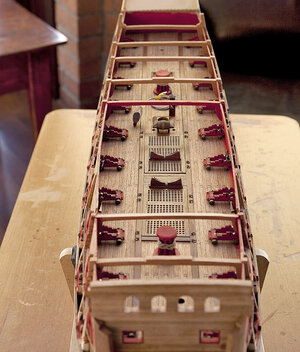
I’m trying to do a post on this each day so that I can complete the log fairly quickly and get back to my Blandford build log. Today’s episode shows quite a bit having been done, the middle deck gun ports were more of the same, the forward superstructure, capstans, hatches, bitts and some detailing as well as some more planking were done. I noticed on the rigging plan a very large block for the main yard, I rigged this to a bitt now and taped it to one side because once the upper deck is fitted there would be no access to rig it. Again I didn’t encounter any difficulties, it seemed like a well thought out build.


024a.jpg

025.jpg

026.jpg

027.jpg

028.jpg
 
Hello, Thanks for joining me again and for showing interest in this log.
I continued with the build by installing the inner walls of the lower deck and starting the hull planking. Again because I'd cut the pieces from the plan they were a perfect fit and went in easily. First I planked the stern then to the hard part, I had little experience at planking hulls and as I mentioned earlier there were no online tutorials that I could draw on, to compound things this was a single planked hull using 2ml thick planks. I didn't know of correct practices so I just got stuck in as best as I could and tried to keep the planks tight to each other and their run natural. I used white wood glue, can't remember the brand but it grabbed quickly and worked well. I can remember taking special care to wipe away any glue residue as I noticed that on a previous build this had caused issues when varnishing. After about a dozen planks had been fitted I gave it a light sanding to get an idea of its finish and was pleasantly surprised, it gave me the encouragement I needed to continue.


View attachment 410605

View attachment 410606

View attachment 410607

View attachment 410608

View attachment 410609
What a great job!
 
Ken,
As a novice, I think this presentation is one of the most instructive and informative builds that I have viewed on this or any forum to date. I am looking forward to seeing the rest of the build and I can't thank you enough for sharing it.
Respectfully, Terry
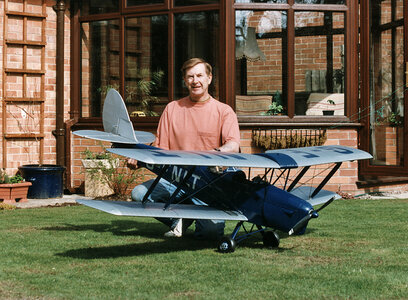
Hi Terry, I'm glad that you're enjoying my build log and thank you for such a compliment, but I think that there are many much better build logs here that over the years I've learned so much from. I was a bit of a novice with regards model boats but some years earlier I built from plans RC model aircraft, I think that this past experience was a great help when it came to building boats. If you like my style of log you may like to read some of my others which are much more complete and detailed. Ken.

a.jpg

j3.jpg
 
Hello and again thanks for following. The progress that I’m showing today is the upper deck with the start of some detailing, bitts, hatches gratings as well as the continued planking. I mentioned earlier about initially rigging some large blocks, you can see how these now pass through the upper deck. The deck planks were stained a light teak, then a sanding sealer was applied then after a light sanding I gave it a coat of satin poly, it gave the finish that I was hoping for. Again no issues were encountered at this stage.


029.jpg

030.jpg

031.jpg

032.jpg

033.jpg
 
Hi Terry, I'm glad that you're enjoying my build log and thank you for such a compliment, but I think that there are many much better build logs here that over the years I've learned so much from. I was a bit of a novice with regards model boats but some years earlier I built from plans RC model aircraft, I think that this past experience was a great help when it came to building boats. If you like my style of log you may like to read some of my others which are much more complete and detailed. Ken.

View attachment 412118

View attachment 412119
Thanks, Ken. You do have a gift for modeling. I'm just trying to finish something I started fifty years ago (before life got involved) and I find myself ill-prepared for it. Too stubborn or too dumb to quit. If I can salvage my initial efforts, I have the people on this forum to thank for it.
Terry
 
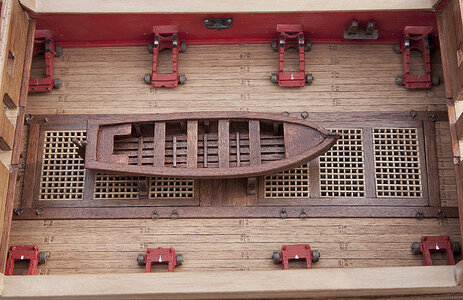
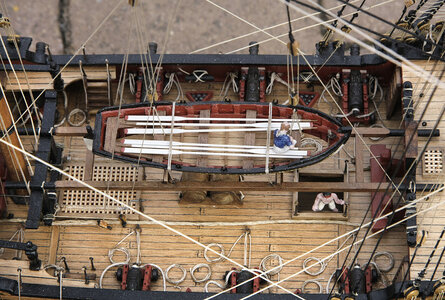
Hello, Here’s your daily dose of Wappen. The build continued with the beginnings of the quarter deck, and some more detailing, ladders, boats etc. Again coming along nicely.

034.jpg

035.jpg

036.jpg

037.jpg

038.jpg

My ships boats have improved a bit now. Here's one I scratch built on my HMS Fly

005.jpg
 
Last edited:
Back
Top