WART!
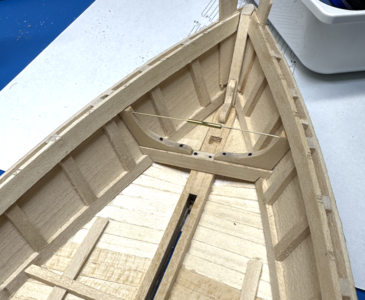
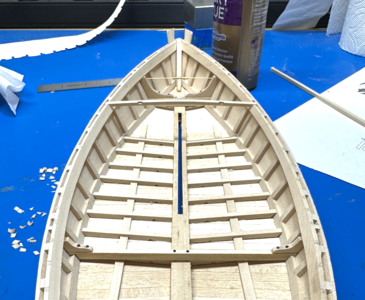
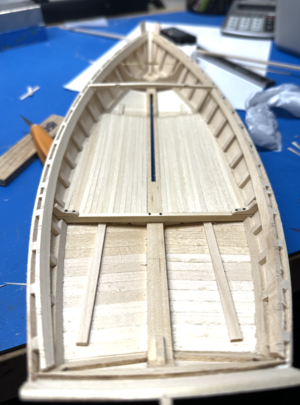
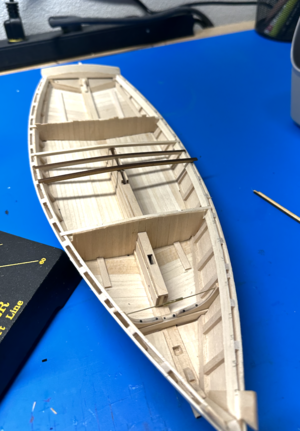
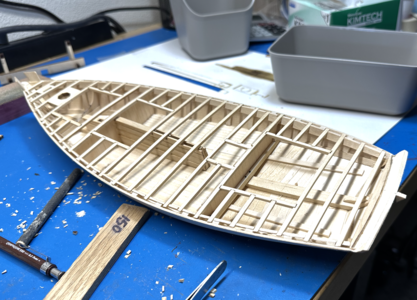
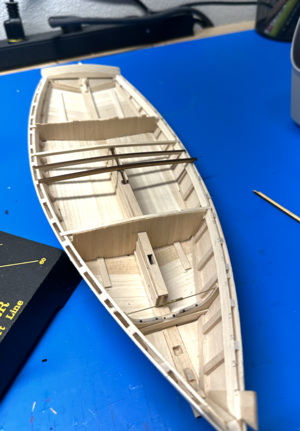
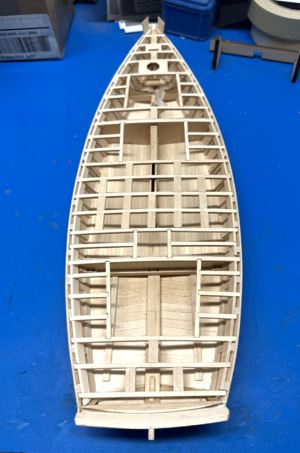
The centerboard was a total disaster! I did my best, even laser cut the posts that run up from the slot for the centerboard in the keelson. The detail in the instructions and plan are pretty crappy. You can't see everything in the plans because the centerboard drawing covers a bunch of critical shaping. At least the centerboard drawing made it easy to cut a very nice centerboard.
Getting the shaping on the parts was just very difficult and looked like poop, and not the deck. I drew it up in Illustrator, tracing the plans and making a few guesses. Then I cut it, here are the parts.
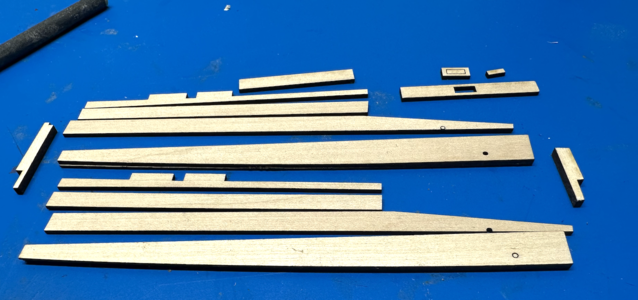
Centerboard casing parts laser cut. It made it easy to measure and cut hole and cover for fishing in the centerboard.
I had cut the keelson with the plans as well and so was able to use the previous cut to get the bottom right, which is obscured by the centerboard. The bottom board fits like a glove. I had to cheat a little though. I didn't have 3/32" stock so I cut everything 1/16" and cut the bottom pieces in 1/32" and laminated. It looks pretty good in the end.
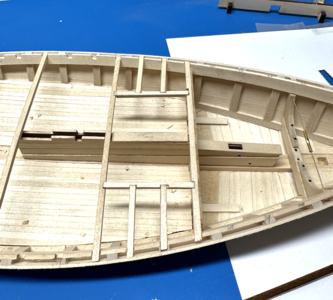
I put together the first two board and the posts. I was able to test fit the posts into the keelson after gluing onto the first board and tweaking the very tacky glue until it was nice and snug. Then I let it dry and got the next 3 pieces on. Since it is off model, I could check the alignment of the holes and sand off the little bit of the forward post that stuck out and would have thrown off the cap with the hole.

Bottom portion of the centerboard case assembled off model after the posts are positioned using the model
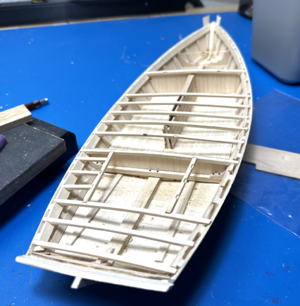
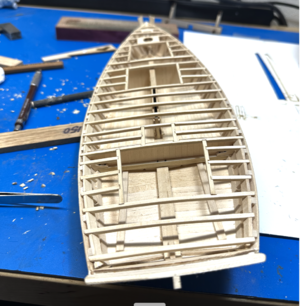
I don't think it's shipbuilding practice to do that this way, but it is a bit more reassuring for a very vaguely described portion of the build. I'm going to keep it off model like this until I lay the floor battens and ceiling for the hold. It should look a bit cleaner and be a bit easier that way. Then I'll install it, build the bulkhead to cap off the front of the casing, and add the rest of the pieces.
The centerboard was a total disaster! I did my best, even laser cut the posts that run up from the slot for the centerboard in the keelson. The detail in the instructions and plan are pretty crappy. You can't see everything in the plans because the centerboard drawing covers a bunch of critical shaping. At least the centerboard drawing made it easy to cut a very nice centerboard.
Getting the shaping on the parts was just very difficult and looked like poop, and not the deck. I drew it up in Illustrator, tracing the plans and making a few guesses. Then I cut it, here are the parts.

Centerboard casing parts laser cut. It made it easy to measure and cut hole and cover for fishing in the centerboard.
I had cut the keelson with the plans as well and so was able to use the previous cut to get the bottom right, which is obscured by the centerboard. The bottom board fits like a glove. I had to cheat a little though. I didn't have 3/32" stock so I cut everything 1/16" and cut the bottom pieces in 1/32" and laminated. It looks pretty good in the end.
I put together the first two board and the posts. I was able to test fit the posts into the keelson after gluing onto the first board and tweaking the very tacky glue until it was nice and snug. Then I let it dry and got the next 3 pieces on. Since it is off model, I could check the alignment of the holes and sand off the little bit of the forward post that stuck out and would have thrown off the cap with the hole.

Bottom portion of the centerboard case assembled off model after the posts are positioned using the model
I don't think it's shipbuilding practice to do that this way, but it is a bit more reassuring for a very vaguely described portion of the build. I'm going to keep it off model like this until I lay the floor battens and ceiling for the hold. It should look a bit cleaner and be a bit easier that way. Then I'll install it, build the bulkhead to cap off the front of the casing, and add the rest of the pieces.


