• LUCZORAMA SHIPWRECK SCAVENGER HUNT GIVEAWAY. 4 Weeks of Fun • 1 Legendary Prize ((OcCre’s Fram Ship)) • Global Crew Welcome!
    **VIEW THREAD HERE**

Yacht America 1851 scale 1:120 , cheap kit

Joined
Aug 28, 2024
Messages
29
Points
58

Well, as second attempt to made wooden model I start China's kit, America 1851 scale 1:120.
As in such cheap kit I didn't expect any high quality but in this particular, the quality is something "unknown".
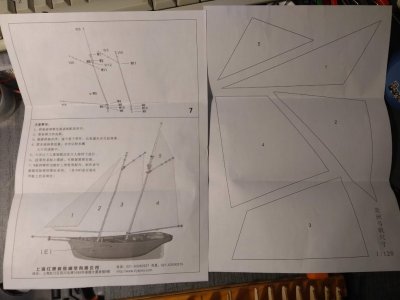
Instruction as usual, two sheets of paper without any details or dimensions.
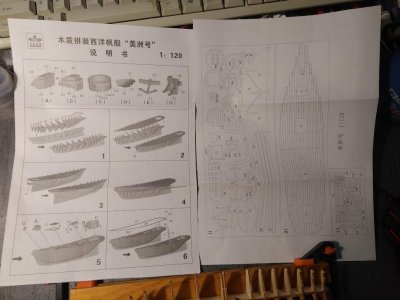
instr1.jpginstr2.jpg

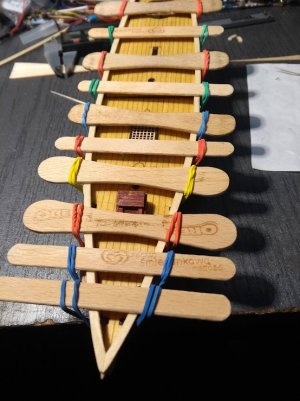
As I learned from this forum, in modeling helps a shipyard, so I made a simple one to assemble ribs, also I made some colors for deck
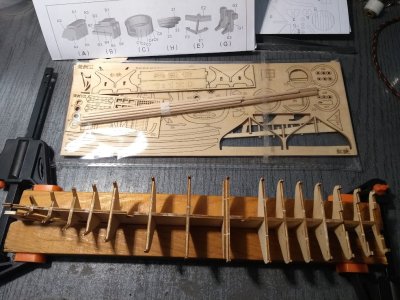
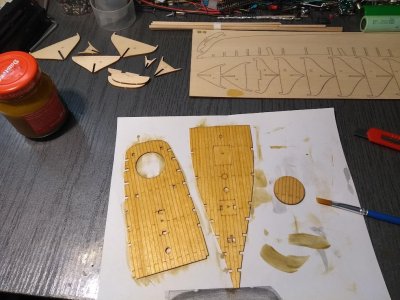
set.jpgdeck_paint2.jpg

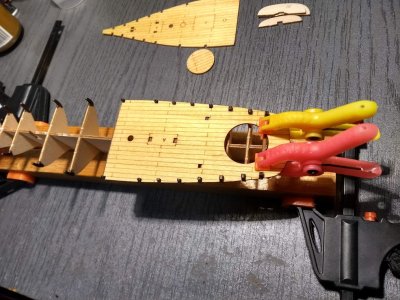
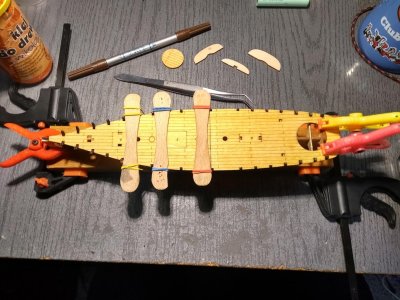
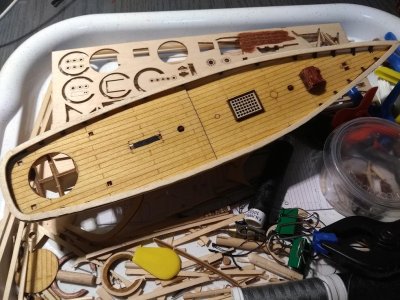
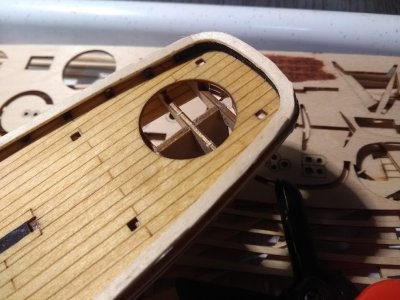
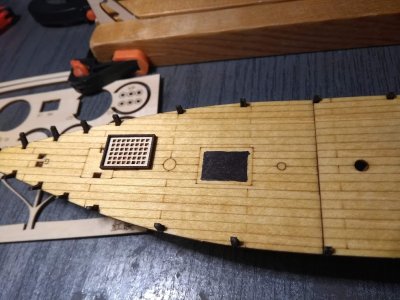
Before adding deck I made dark brown color for ribs ends, than I glued deck
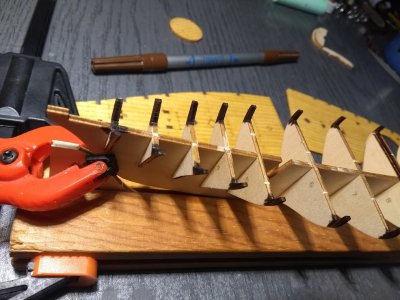
ribs_paint.jpgdeck_rear.jpgdeck_front.jpg

Is good to made a black background under grid for better look
kratka.jpg

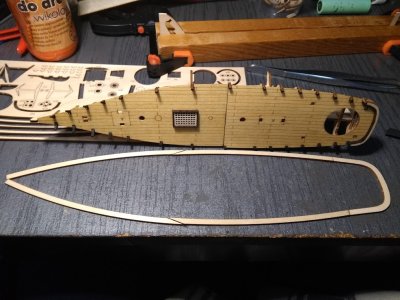
At this moment I found the small problems, the parts marked at instruction as B and C, have wrong dimensions and bad thickness (should not be made as plywood), same with circle flor part of rudder. Well this is possible for correction somehow but without pleasure of modeling Thumbsdown .
But there become a real problem with this kit, messed scales, I found after try-on, that the boat frame are much bigger than a hull/deck :) , it is so much funny :), as much as disappointing Thumbsdown .

rant2.jpgrant1.jpg


Anyway, I will try to deal with "this crap" somehow, as I like challenges ;), but I warn anyone before buying this kit, it is not a right choose for beginners, even not good for gathering experience.
 
Remzibi, I completely agree with you about how awful some “kits” can be, especially if you are someone like me who is accustomed to Tamiya plastic kits that you can shake the box and a completed model comes out. But I have found you can learn much from the crap kits, and so far your work looks great! I am going to follow your progress with great interest.
 
Last edited:
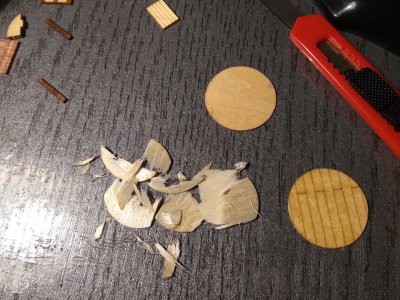
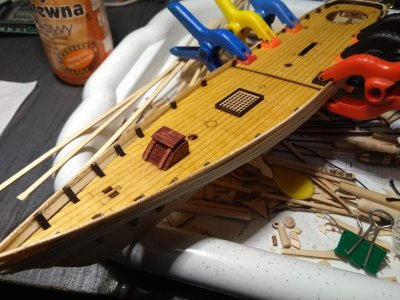
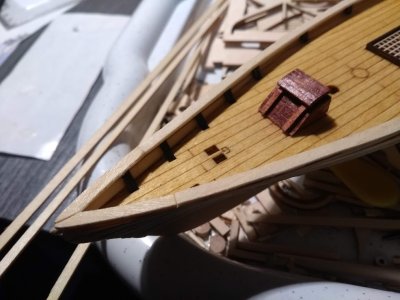
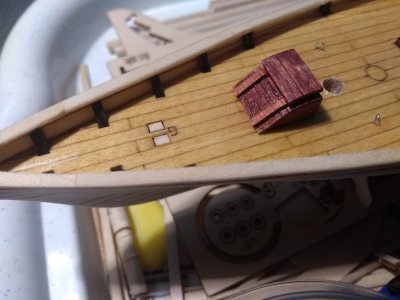
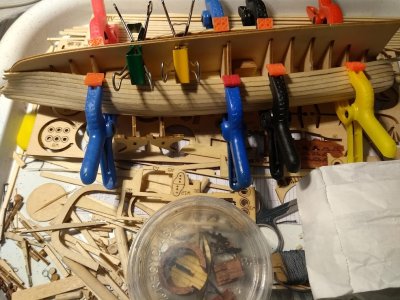
Some progress, I prepared flor for rudder, at first I separated plywood to be more thin, made front hatch and added it to deck
rudder_flor.jpg

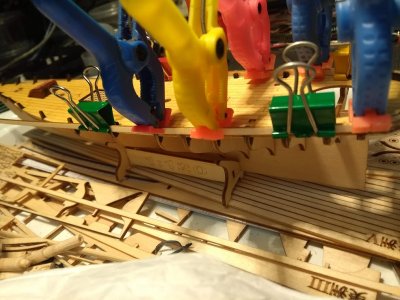
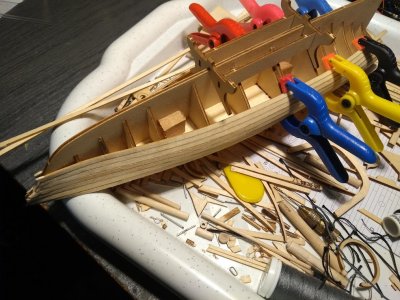
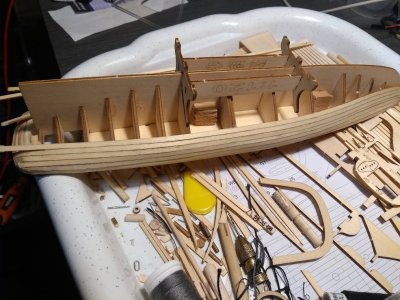
Then started planking
planking1.jpgplanking2.jpgplanking3.jpgplanking4.jpg

So now is the moment when I need to made new sideboard frame, as the one from kit is made of plywood and is over scaled (bad kit design), also I collected some plans and pictures from net, so I will made proper dimensions estimation for masts, bowsprit and sails for this particular America kit scale 1:120 (similar way I did for Halcon)
 
Last edited:
I got this kit. I didn’t know what boat it was :-)
after I planked the hull I only sanded it and stained it. I was waiting on the rigging because I had no idea where to start with no plan:-) but now I can learn from you:-) Thank you for posting your build log!
 
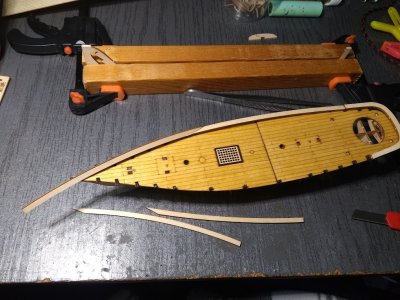
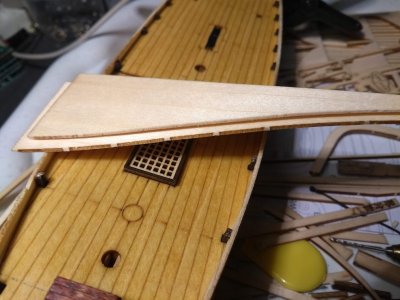
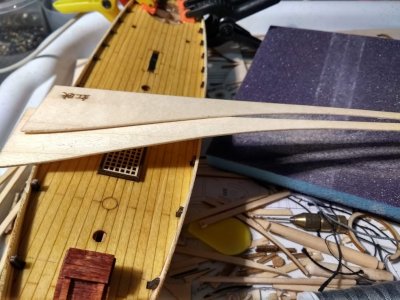
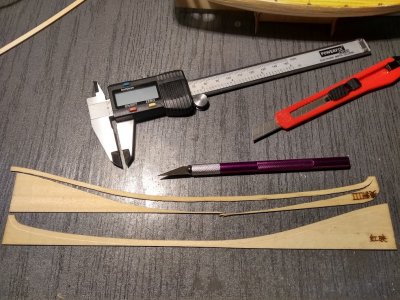
I made a new sideboard frame, because that part from kit is useless.
As material I used spare wood from deck, it already have shape useful for sideboard.
burty1.jpg

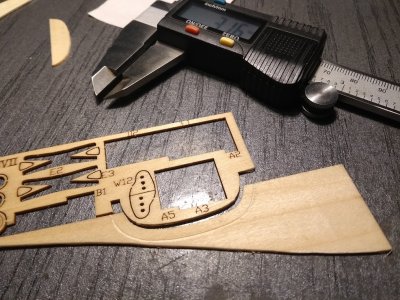
Good is to sand out black carbon remains from laser cut, so inside the sideboard frame will be nice and clean
burty2.jpg

Then using caliper set for about 3.16mm I made a parallel scratch, then cut out the both frame's parts
burty3.jpg

The same method to made using remains of rear part of sideboard frame
burty_rear.jpg

All glued together
burty5.jpg

Finally new sideboard is done, looks not bad, I hope that after sanding and coloring will look OK
burty6.jpgburty7.jpg
burty8.jpg

So, this is my way to deal with wrong parts in kit, maybe that will be somehow helpful for anyone
 
Looks like you are making a decent job of that kit, however I would change the grating hatch to a smaller one. A sailors foot would go though those grating holes.
 
Looks like you are making a decent job of that kit, however I would change the grating hatch to a smaller one. A sailors foot would go though those grating holes.
Bryian,
You're not wrong, but the current grating doesn't look distractingly out of scale for a casual observer, and scratch-building an in-scale replacement would probably be beyond the skill of most entry-level modelers. The size of the deck planking is at least as out of scale, but will go unnoticed once everything is in place. Especially with the great work Remzibi is doing.

I can see in one photo, they're ready for a snowboarding holiday! ROTF
 
You did a good job on reproducing that rail. I edge bent two of the left over planks mainly because the other didn’t fit well. I did it just to see if I could. At the stern I had to make that piece from a sheet the same thickness.
 
You did a good job on reproducing that rail. I edge bent two of the left over planks mainly because the other didn’t fit well. I did it just to see if I could. At the stern I had to make that piece from a sheet the same thickness.
I ran into the same thing with a nasty french kit I am building. The cap rails in the kit were punched out of the same plywood the bulkheads were made of. :mad:

I tried edge bending some cherry as a replacement, but couldn't get enough bend in it and ended up go a similar route as Remzibi.
 
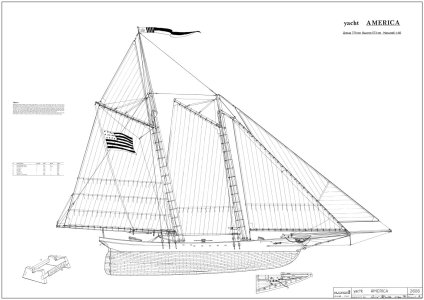
Dimensions, here we have a mess :) . Anyhow, dimensions are important for right proportions.
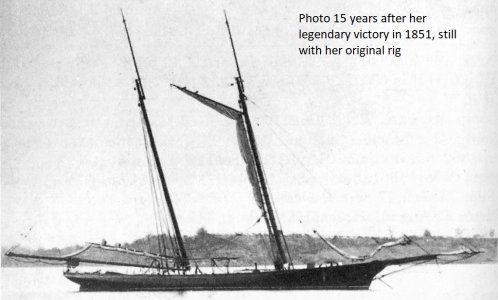
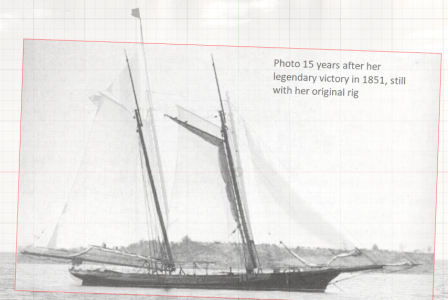
I found an original picture of America made a 15 years after 1851 run (at least was described like that).
Yacht America original.jpg

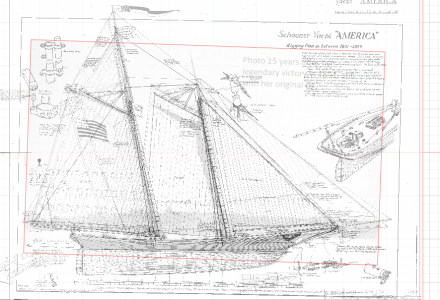
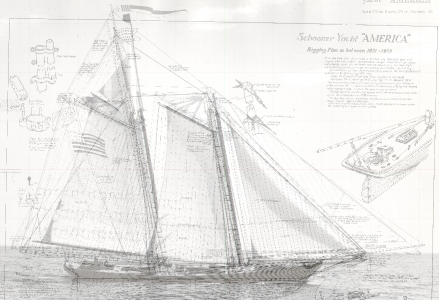
Then after resize, I compared with some plans available in internet. In all comparisons, at plans bowsprit was longer and masts was longer, than in original old picture.
There are also differences between plans, however more or less they looks the same ;)
1736680127504.png

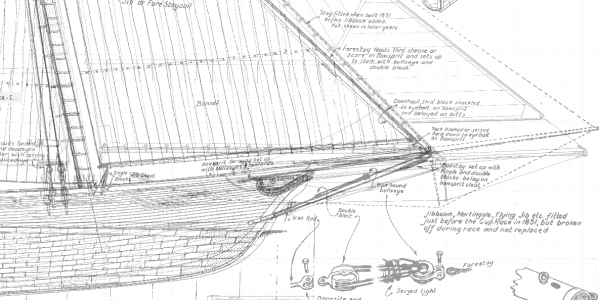
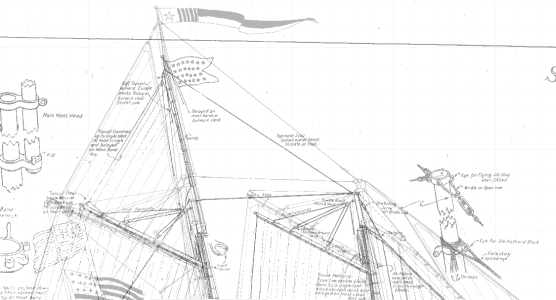
Plans differ by bowsprit length and angle, and mast length
1736680325074.png
1736680379828.png

Finally I found picture of Yacht America replica from 1897 , and looks like all plans was made at base of this replica, in this case bowsprit and masts length more-less match the plans
1736680619220.png


As reference, pictures of original and replica comparison
1736680738745.png

As you see, is hard to choose how in fact this yacht was looking like, finally I choose plans mostly matching with original and replica, this plan I will use to estimate proper dimensions for 1:120 scale model :D
plany12.jpg

BTW I add also plans.zip file with all plans I collected for America, many differences between them, I am sure will be useful in future, and some old pictures also probably useful
 

Attachments

Last edited:
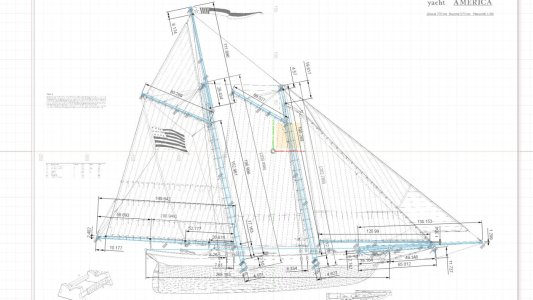
Well, I think that dimensions for 1:120 scale of America are ready, those masts dimensions are a most longer version, so on model the masts and bowsprit can be a few mm shorter (main mast extension even 10mm shorter) to even more match the original.
Generally any tolerant of few mm in one or other side, will be no problem at all in this model.
Below are samples of dimension files
America_masts v7.jpgAmerica_masts v9_sails_noRef.jpg

There are also nice pictures for stern, but I have no idea how to made them so small and how add to model
aigle poupe america.jpg

This below is captured from America animation
animation03.png


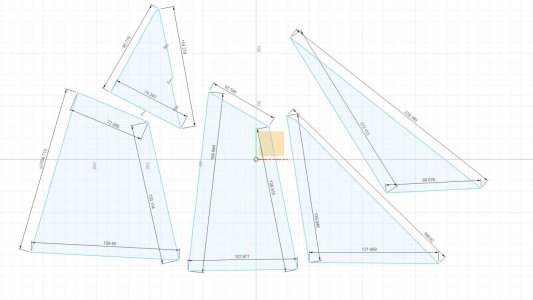
Here is also a .zip of dimension pack, there are added .pdf files with sails templates for this particular scale 1:120 of America
Maybe will be useful somehow for anyone
 

Attachments

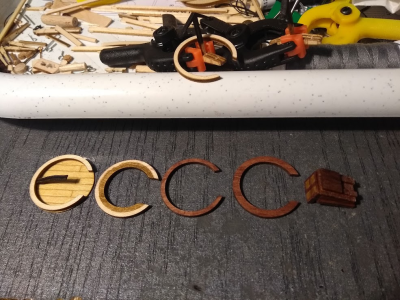
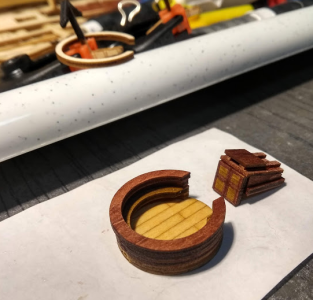
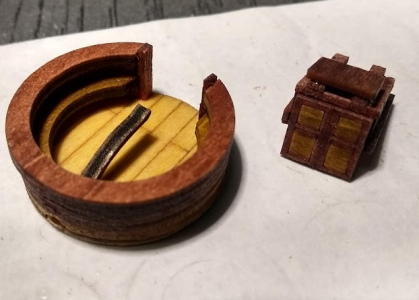
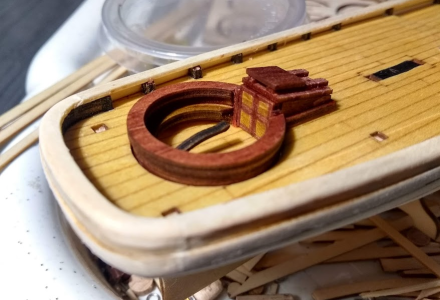
Small progress with rear "wheelhouse", the parts was cut from wrong thickness of boards, so finally it will look like cannon turret on USS "Monitor". Anyway after some try-on I separate plywood for flor to made it much thinner
1737285768095.png

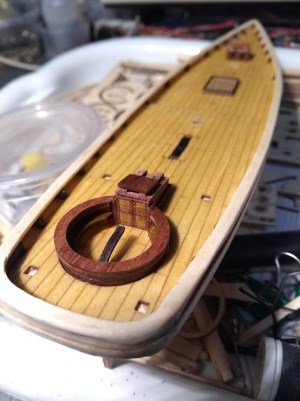
Assembling all recess without one half-circle part. In such way the overall look is proportional and matching original
1737285967636.png
1737286007291.png1737286071950.png

Is not glued to deck yet, but already looks fine for me :)
1737286098204.png1737286166316.png

I did also some pre-sanding of sideboard.
As for the masts, I need sticks with diameter more than 4mm, unfortunately there are not such in the kit, fortunate, I have spare sticks from Halcon kit, or whatever other source I will find.
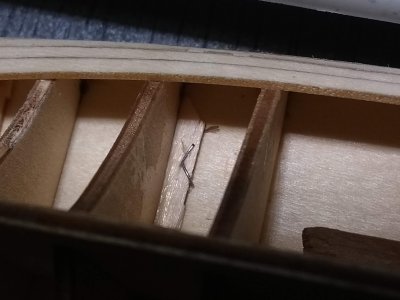
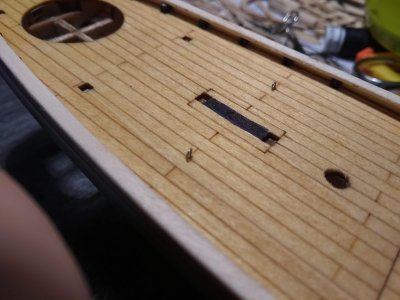
As another problem with this kit, those square holes in deck, I guess for rope holders, are much bigger than a parts going in to.
 
Finally some progress, lastly, no time for any hobby.
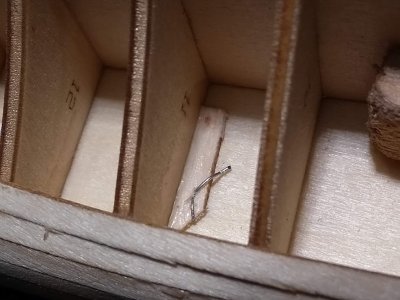
Before finishing planking, I add some wire holders for ropes at deck, is easy to add them now and secure well under deck.
kadlub1.jpg
kadlub3.jpgkadlub4.jpg

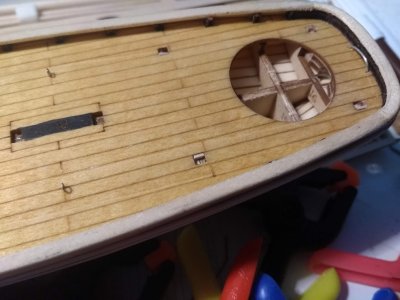
Also I closed the deck holes at bowsprit and made smaller at stern.
kadlub11.jpgkadlub10.jpg

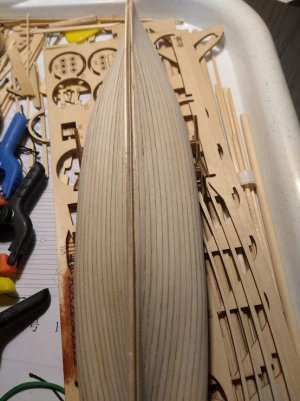
Than continue planking
kadlub5.jpg

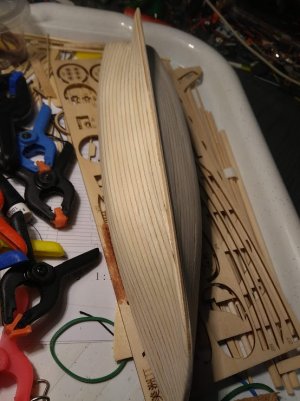
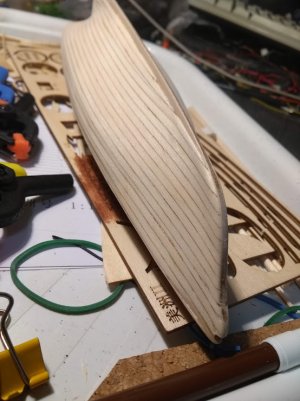
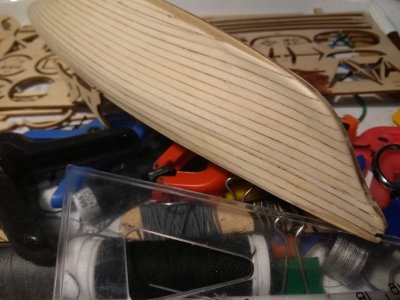
Planking is finished, in fact, it was not easy task with this kit. Especially, lack of experience not helping. However, after some sanding, hull looks OK for me.
kadlub7.jpgkadlub8.jpgkadlub9.jpgkadlub6.jpg
 
Last edited:
I made a new sideboard frame, because that part from kit is useless.
.............
Well, meanwhile, I purchased a laser head, 5W power of laser beam (really cheap on Aliexpress promotion), so, quite good for laser cutting. I tested it on my desk and it cutting some balsa wood, so works :).
There was idea to attach this laser head to my DIY CNC router or 3D printer.
However, after research, adding to 3D printer is not good idea, as it needs every time to convert g-code for proper work (and probably will need firmware changing in 3D printer), so - not.
Better and easier is to add to CNC router, however, still will need every time to reconfigure firmware GRBL for "laser mode", when I want to use laser head, so still is a problematic use.
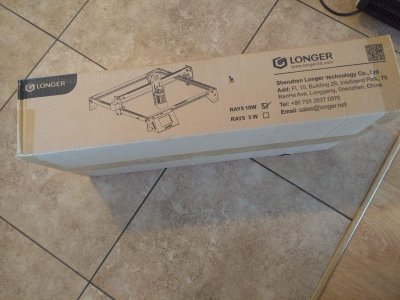
As solution, I saw another cheap (about 150$ including delivery) promotion of really nice complete laser cutter, 10W of laser beam power - that is really powerful device :).
This laser have ability to connect with and send g-code files remotely by WiFi, not need to mess with SD card :).
laser1.jpglaser2.jpg

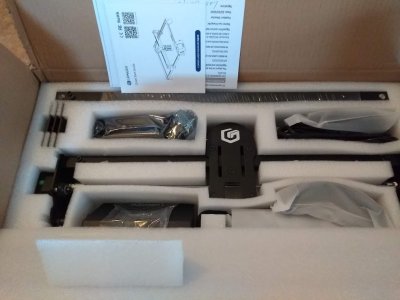
Laser cutter is stil in box, as I had no time to assemble and made it work yet, waiting for some spare time, to put hands on it.
In plans, I want add Air Assist mod for clean cuts.
I really hope, that in future, laser will help me a lot in such problematic or missing parts issues.
I will be able to simply made any CAD project with proper dimensions and details, then cut any parts I need by my self :D, or maybe preparing and cutting full kits :), ribs, decks, all details. Maybe preparing "unusual" models from paper plans :cool:
 
Last edited:
I like the idea of inserting the deck eyebolts at this stage when possible. I’ve never had one pull out when I glue them in later but it’s something that I worry about.
 
At first sight I had my doubts about the planking at the bow of your ship, but it came out just fine after sanding. Congrats.
Gonna follow this thread and already you gave some answers regarding the rigging and sails. Thanks for that.
This kit is on my stack also... Waiting for a small Harvey/Halcon, under construction now, and a restoration of the Billing Boats Sperwer.
 
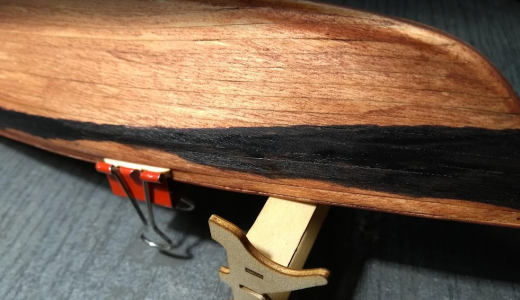
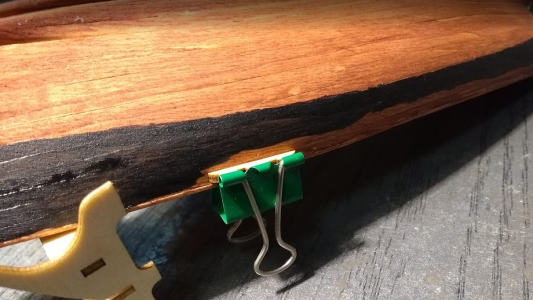
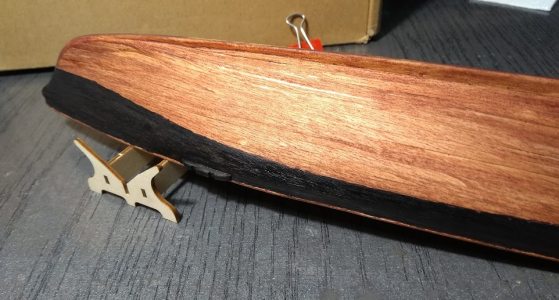
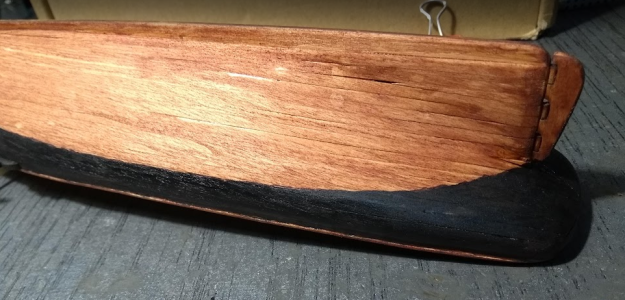
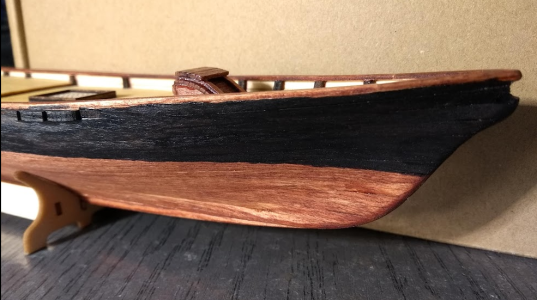
At least a bit of free time, rudder added, all hull are painted by brown staining. Then I made a water line and started paint hull of black. Used acrylic paint I found in shop with school accessories.
Looks like there should be added another layer of staining and black paint. 1750012515500.png
1750012564060.png
1750012604655.png
1750012631170.png
1750012667584.png
 
Last edited:
Back
Top