- Joined
- Jun 23, 2019
- Messages
- 89
- Points
- 103

Shipwrights,
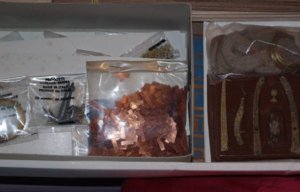
On my second build. It's a Mantua Cutty Sark 1:78. This is probably a kit manufactured in the early 90s. I'm finished with first layer of hull planking. The next step is to lay the copper sheathing at the top edge of hull, all the way round the ship.
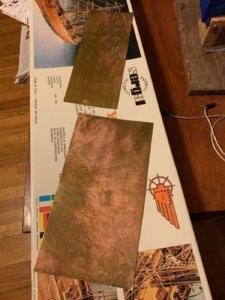
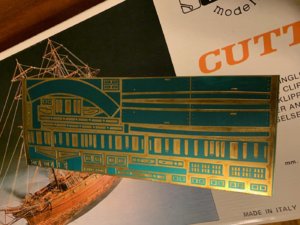
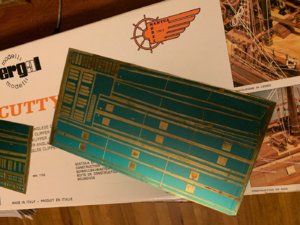
Unfortunately, this sheathing, plus all the windows and miscellaneous stuff like decorative name plates are simply part of these copper sheets, sort of like how you'd get photo etch parts included with or add ons to plastic model kits. With one giant exception. They are not precut. These parts are defined by being shaped and formed as "thicker" parts of the copper sheets.
And of course, none of the lines are straight...
I still suspected I'd have no trouble removing them: simply get my x-acto razor knife and carefully cut along the raised edge of the part to separate it from its sheet.
First problem is: the copper sheets are rather thick to begin with. And I've spent the last 20 minutes carefully scoring the line with my very sharp knife of the very first part I'm attempting. After multiple draws across the line/edge, I'm not close to creating a cut. And yes, I've begun to exert some serious pressure as I get more confident the cut is not going to wander as I draw the blade across.
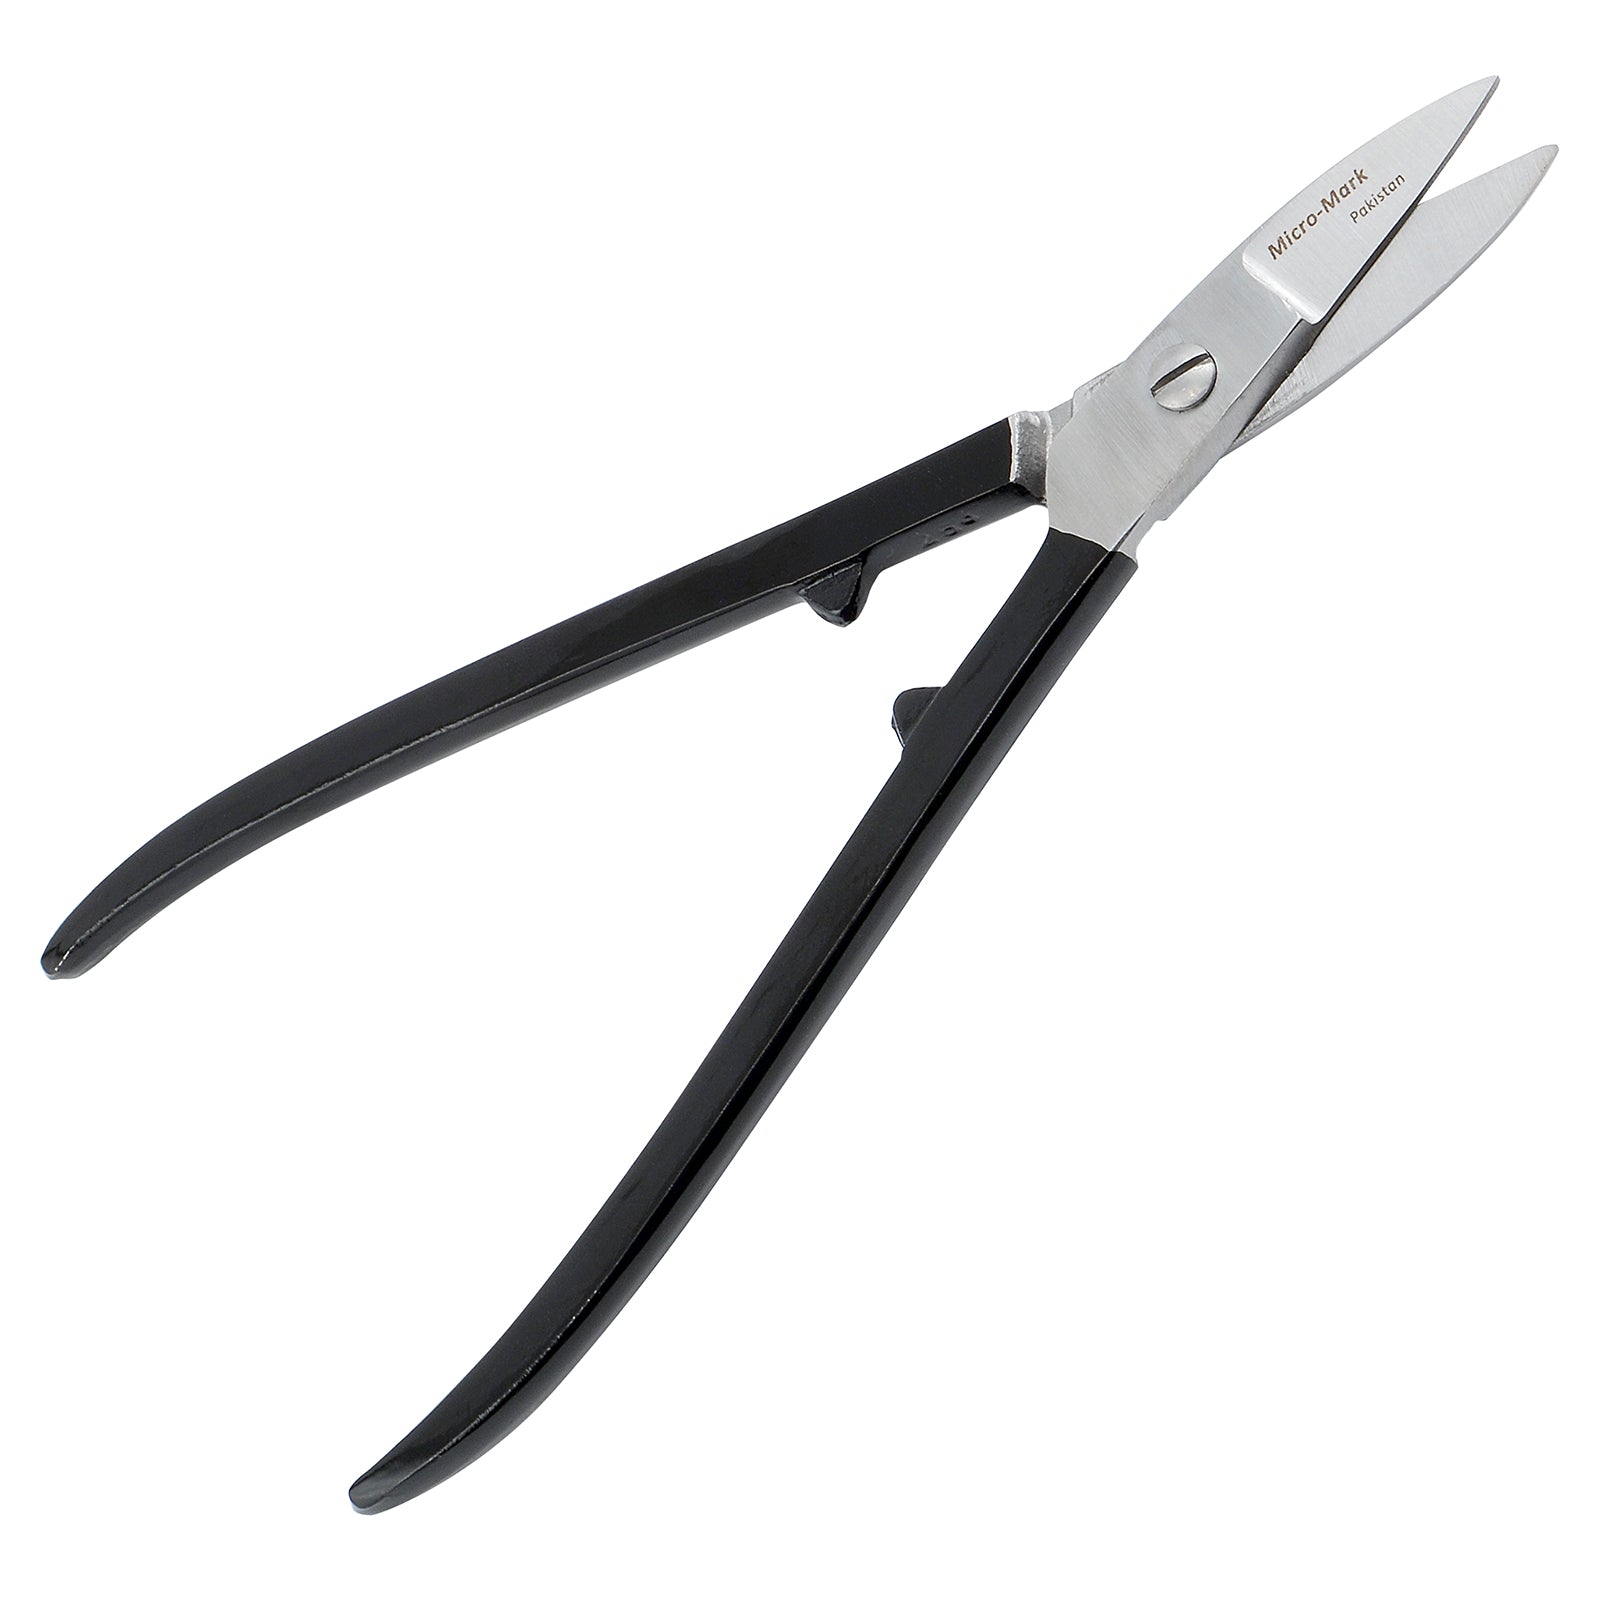
Second problem: the parts are too close together to even think about using sturdy scissors. Plus I suspect scissors would deform the shape of these parts too much to make them usable.
My next attempt without any advice from folks that have solved this issue already is to try the dremel tool with a cut-off wheel. But I suspect this will be less than ideal, as I know how "tough" copper is, from my experience of drilling copper buss bar many times as an electrician in my youth.
Hoping somebody here has solved this issue in the past...


