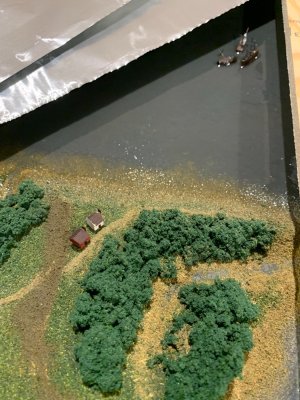
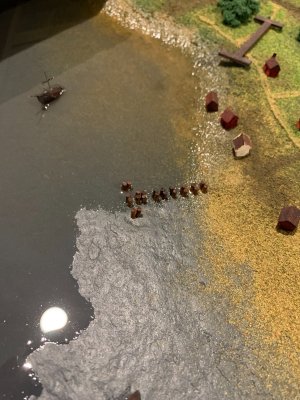
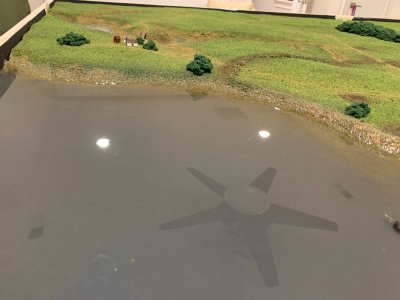
Yorktown Battlefield Diorama by Kramer

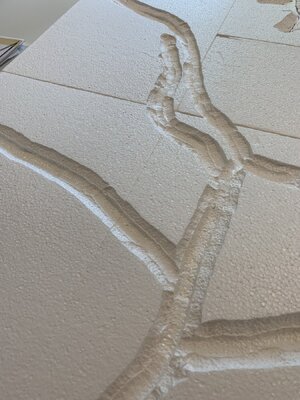
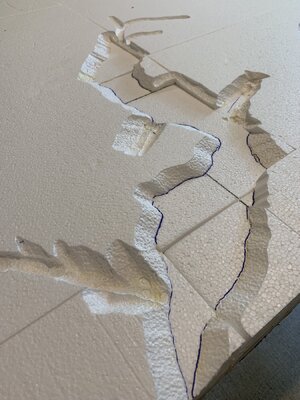
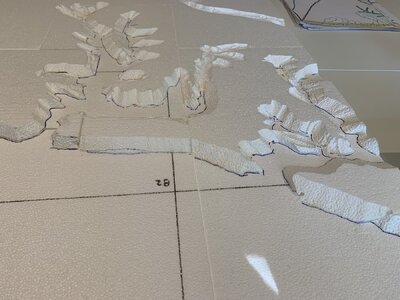
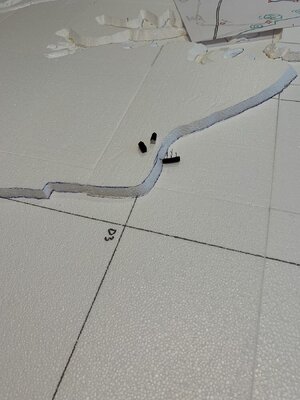
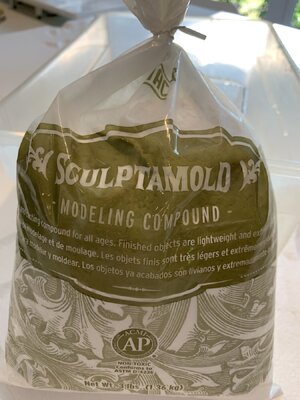
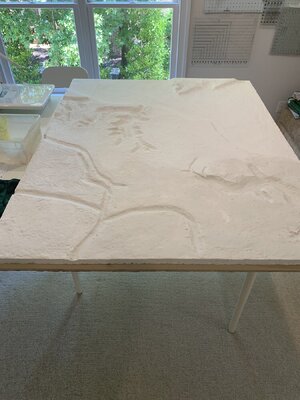
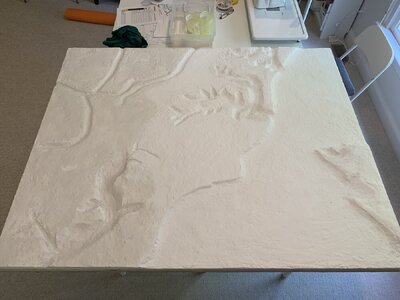
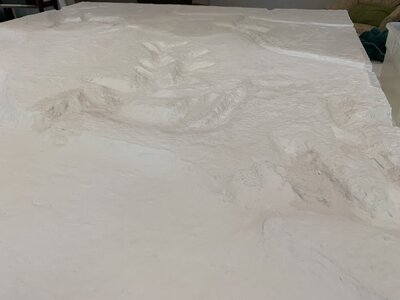
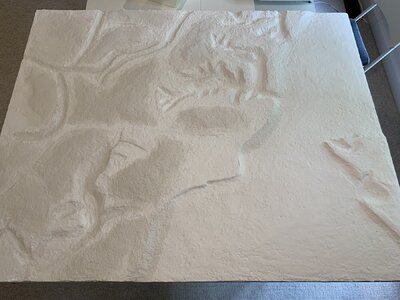
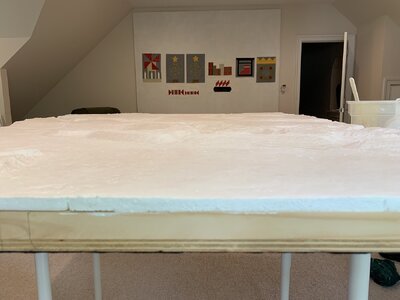
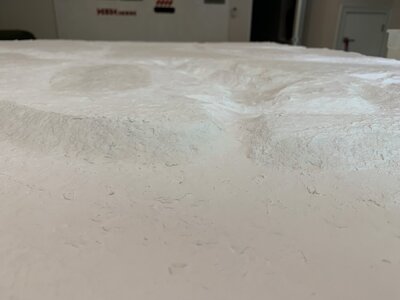
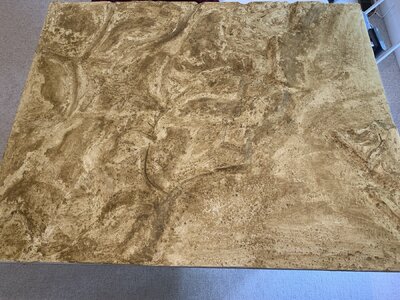
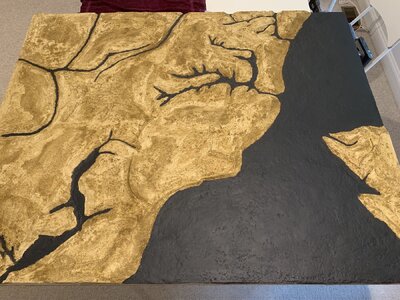
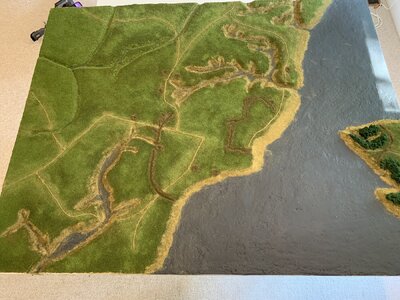
The roughing-in phase is done. Now waiting for my modeling compound to arrive and I can start building up the landscape and getting the waterways ready to fill with water. I cleaned up the waterways I carved out with the electric knife so I'd have gradual slopes on the shores.
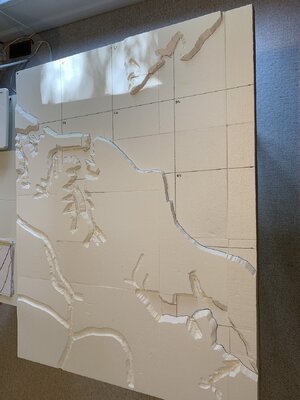
IMG_0968.jpgIMG_0969.jpgIMG_0970.jpgIMG_0971.jpg

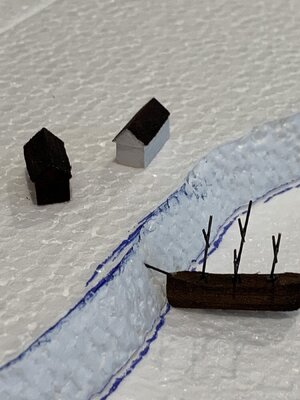
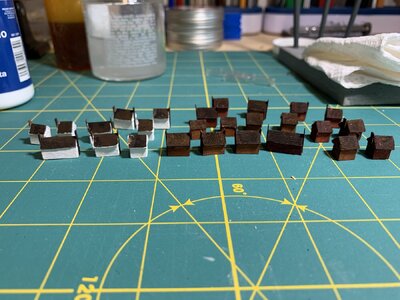
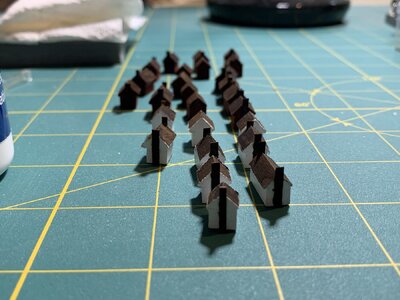
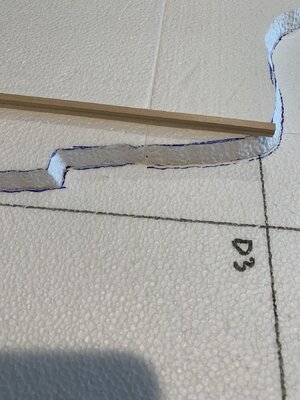
I need to start experimenting with building the houses. Because of the scale, I'm going to have to scratch-build them and give them as much detail as I can. I glued 3 2x5mm planks together, and this looks like a good start. I can cut the houses to different sizes and build a roof and chimney for each before I paint them.
IMG_0972.jpg

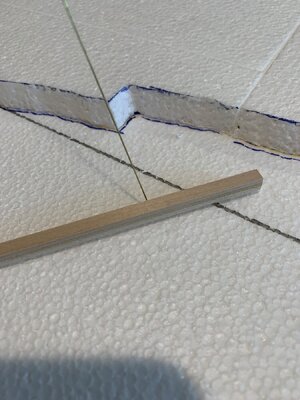
The ships are another challenge. Cornwallis sunk ships offshore to prevent the French from landing their fleet. So, I want to make some ships to sink. They're going to have to be very small, so I'll be scratch-building them too. And they don't need as much details because they'll be obscured by the murky water they'll be sunk in. I was thinking of building them similar to the houses and attaching masts. I have some leftover wire that I can blacken and glue to the ships. Then glue the ships in place before I pour the water. Unless anyone has any better ideas? Always open for your great ideas!
IMG_0973.jpg
 
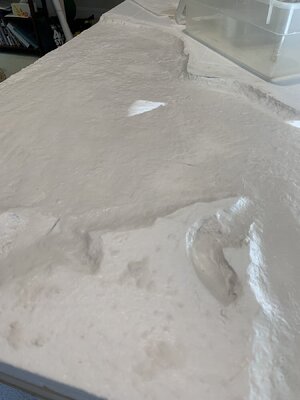
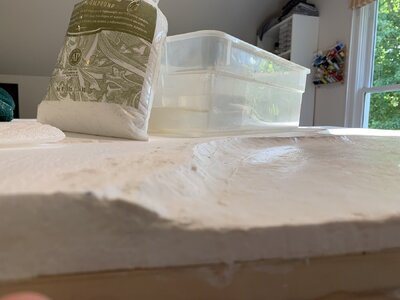
First time using modeling compound. Like everything with this hobby there is a learning curve. I had to experiment with the water to compound ratio. It also is a bit lumpy even after smoothing it out with wet fingers, but I'm pretty sure I can sand it when its good and dry. I'm not so concerned about lumpy compound on the land but want the river bed to be smooth.
IMG_0996.jpgIMG_0994.jpgIMG_0995.jpg
 
First layer of modeling compound done. That'll be the only layer for most of it. I'll have to add some compound to smooth out the transitions from land to water and to build up some topography.
IMG_0999.jpgIMG_1001.jpgIMG_1002.jpg
 
Done with the modeling compound. I've smoothed out the transitions where I needed to and added some topography to the landscape. Next weekend it should be good and cured. I'll go over it with a fine grit sandpaper and try and smooth it out as best as I can. Once I start painting and adding some base color I think it'll really start to take shape.
IMG_1003.jpgIMG_1004.jpgIMG_1005.jpg
 
It's starting to look like something now! All this in one day. It seems like it's moving faster now than the construction and roughing-up stage. I started by painting the entire diorama with an earth-toned undercoat to get rid of the white of the plaster.
IMG_1009.jpg

Next, I applied an undercoat to the water areas. This will give the river a deep-water look, and the stream will look black and swampy.
IMG_1010.jpg

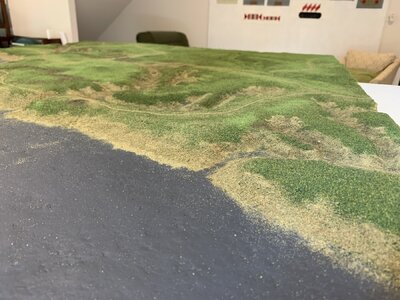
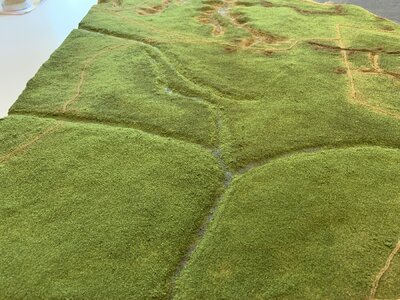
Then I started applying grass. I first brushed some glue on the surface with a foam paintbrush. The glue is already pretty thin so it brushes on easily. Then I sprinkled the grass. Once that set for a while, I used a brush to clear away the excess grass from the waterways, the redoubts, and the trenches, and sprayed the whole thing down with the glue. It should soak into the grass and firm up the surface. We'll see how it does in the morning. There will be several layers of different colored earth and grass and many layers of glue. All products I'm using are from Woodland Scenics. Pretty good stuff so far.
IMG_1013.jpg

As you can see I ran out of grass. The glue goes pretty quick so more of both on the way. My other grass and earth ground coverage is coming this week. Tomorrow I need to work on the ships and houses. I have to get the ships done before I pour the water. The ships will be partially submerged.
 
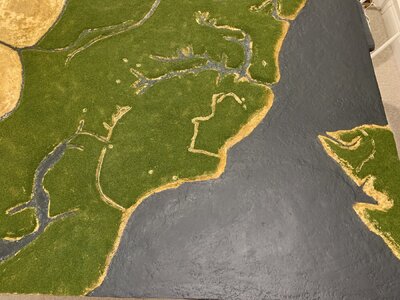
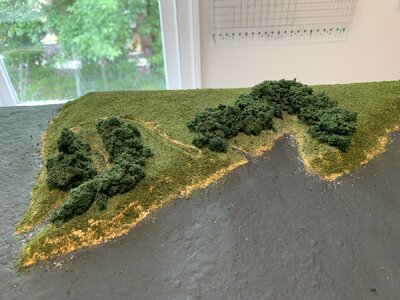
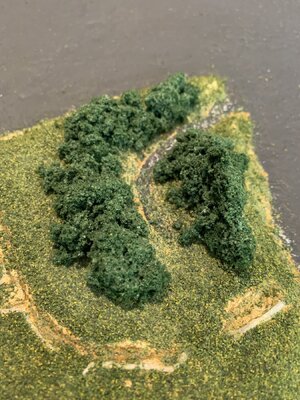
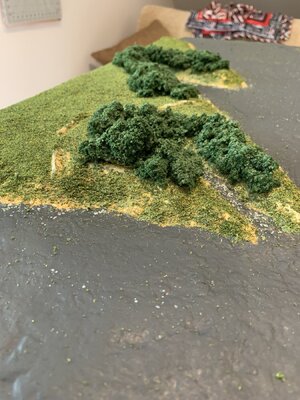
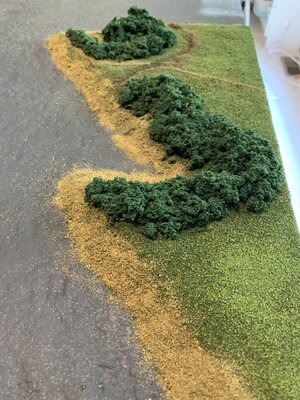
The grass seems to be sticking pretty good. But more spraying will definitely help. While I'm waiting on the rest of my ground cover, I thought I'd experiment placing some trees. I used PVA first and stuck clumps of foliage, then sprayed on some of Wood Land Scenic's scenic cement. As you can see the glue is still wet. I'm hoping this stuff does what it says it is and cements everything down. I don't want clumps of trees and grass coming up every time I handle the diorama. IMG_1014.jpgIMG_1015.jpgIMG_1016.jpg
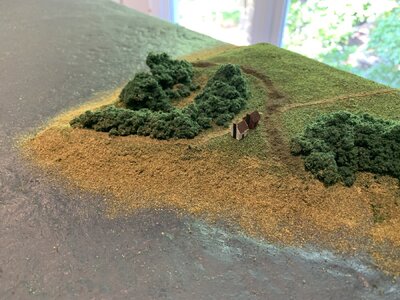
This is on the Gloucester side of the York River, where the Virginia Militia held COL Tarleton in check so he couldn't reinforce Cornwallis in Yorktown.
 
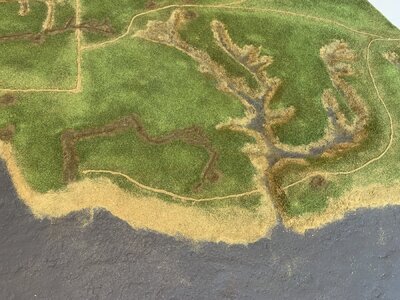
Making progress. Seems like it's moving faster now that it has grass, swamp, dirt, the roads are laid (except for the town), and the trenches and redoubts are coming along. The trenches and redoubts are taking a little work. I wanted to use some plaster or something to make the walls but it would be too out of scale. So I'm just layering glue and dirt. I'm adding glue and grass, sand, or dirt, layer after layer. I have to be careful when applying the glue, even though it's very thin, to earth because it can wash it away or clump it up. I'm ordering a mister to see if I can apply the glue that way to avoid washing earth away, as long as the mister doesn't clog up.
IMG_1018.jpgIMG_1019.jpgIMG_1020.jpgIMG_1021.jpgIMG_1022.jpgIMG_1023.jpg

I'll continue adding earth and glue until I get full coverage. Next immediate steps:
trees, mainly along the waterways
lay out the town's roads
continue building the houses and ships

Next big steps will be to build a pier and finish the ships so I can pour the water. I also need to build a 3mm thick border for the whole thing to serve as protection for the diorama, give it a finished look, and to keep the water in when I pour it.
 
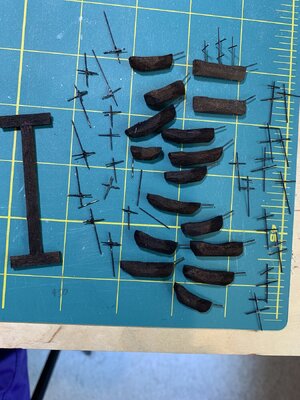
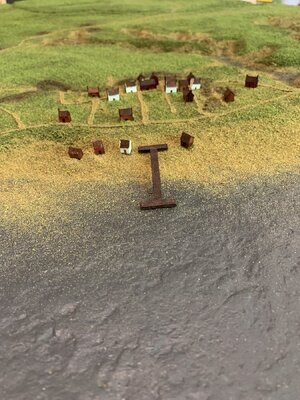
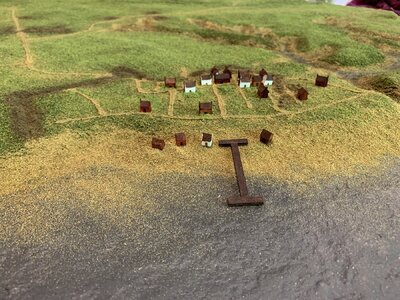
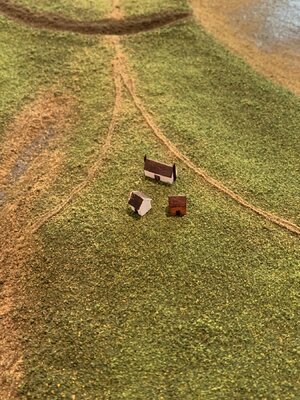
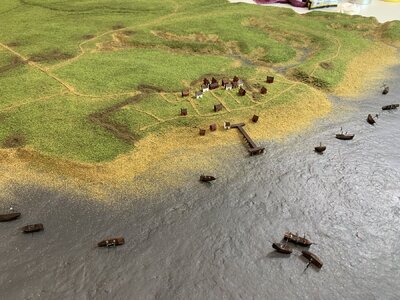
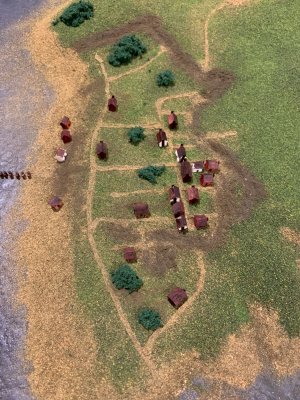
My town is ready! Fleet (most of which will be sunk) is ready for their masts. I just have to drill some holes. Then everything gets a coat of shellac.IMG_1027.jpgIMG_1028.jpgIMG_1026.jpg
 
I've attached the masts to the ships. I have to fix something with the ships, then I'm ready to affix them to the bottom of the river to signify ships sunk by Cornwallis to block French ships from landing marines in Yorktown and getting close to the city to bombard it. The town is installed!
IMG_1031.jpgIMG_1032.jpgIMG_1033.jpg
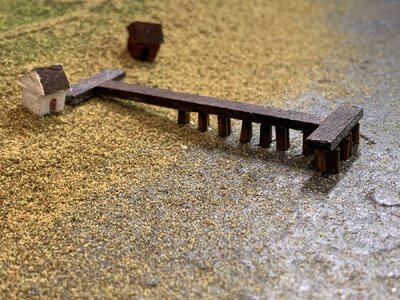
I haven't attached the pier yet. I need to figure out how I'm going to judge how deep the river will be before I do. I planned on sinking the pier's pylons into the river bed, then pour the water, then glue the pier to the pylons. But if I go too deep with the water the pier will be floating. Just another hurdle to overcome.
IMG_1029.jpg
And here's the Moore house, where they negotiated the surrender.
IMG_1030.jpg
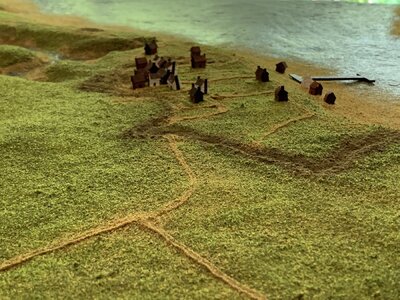
And I put a couple of houses on the Gloucester side to represent an HQ for COL Tarleton.
 
I've attached the masts to the ships. I have to fix something with the ships, then I'm ready to affix them to the bottom of the river to signify ships sunk by Cornwallis to block French ships from landing marines in Yorktown and getting close to the city to bombard it. The town is installed!
View attachment 464366View attachment 464367View attachment 464368
I haven't attached the pier yet. I need to figure out how I'm going to judge how deep the river will be before I do. I planned on sinking the pier's pylons into the river bed, then pour the water, then glue the pier to the pylons. But if I go too deep with the water the pier will be floating. Just another hurdle to overcome.
View attachment 464369
And here's the Moore house, where they negotiated the surrender.
View attachment 464370
And I put a couple of houses on the Gloucester side to represent an HQ for COL Tarleton.
That is looking great !
 
I sunk all my ships! Scuttled them really, except for the bunch of 3 that were sunk by the French battery. The Charon and 2 transports.
IMG_1035.jpg

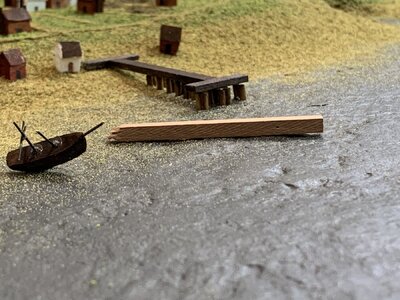
I also prepared the pier. I sunk the pylons but did not glue the pier to them yet. I've never poured water before, so I'm not really sure how that's going to go or if I have enough. I want about 4mm of depth (that piece of wood is a reference). If I glue the pier to the pylons now and my river ends up being a little more that 4mm then my pier will be underwater. Not good for a pier. So if I pour a little too much and it covers the pylons which are about 4mm exposed, I can hide the mistake and cover it with the pier.
IMG_1036.jpgIMG_1037.jpg
But before I pour the water. I need to build a thin, plywood barrier around the perimeter of the diorama. One, to make the whole thing look polished and finished. Two, to keep the water from running off the diorama. I hope to work on that this week so I can pour the water next weekend. I'm anxious and excited to pour ir.
 
I worked on the border this weekend. I didn't get as far as I thought I would have, of course. Never do. I cut all the pieces I needed to make the border. I contemplated mitering the ends of the borders but since I screwed up and cut some pieces too short I moved on. I've mounted to 2 long sides. I've cut the 2 short sides and am going to work on the handles next week. I want to mount the handles to the frame, not the border, so I need to get good with a borrowed router, which I've never used. I am an amateur woodworker at best!
IMG_1040.jpgIMG_1041.jpgIMG_1042.jpg
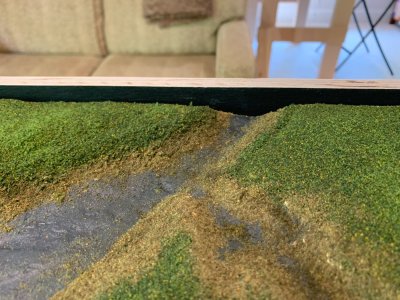
I used wood glue in addition to wood screws to mount the border pieces. I put a bead of wood glue where water would run up against the border so the seal is tight and water won't seep down between the foam and the order frame pieces. It worked pretty good, but I'll need to add a little more glue to fill it in completely.
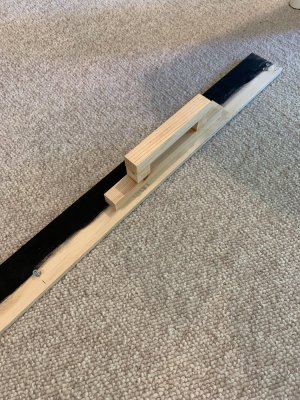
Here's one of the handles I haven't routed yet. Hopefully I'll get to it next weekend and I can show you what I mean. Makes perfect sense in my head. But we'll see.
IMG_1043.jpg
 
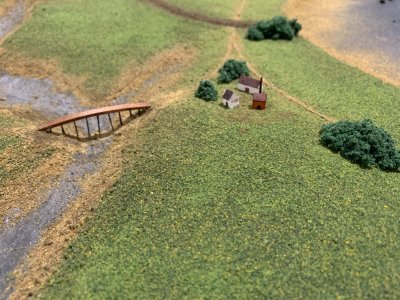
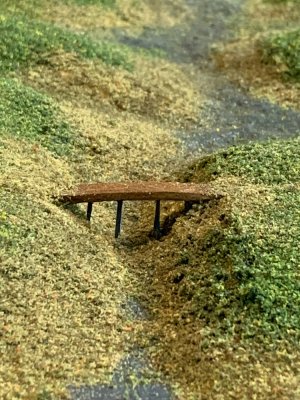
While I was waiting for the weekend to work on the diorama, I was able to tinker a bit. I built a couple of bridges and planted some happy little trees. I modeled the bridges off of the bridge in Concord where the early battles of Lexington and Concord took place.
IMG_1047.jpgIMG_1048.jpgIMG_1049.jpg
 
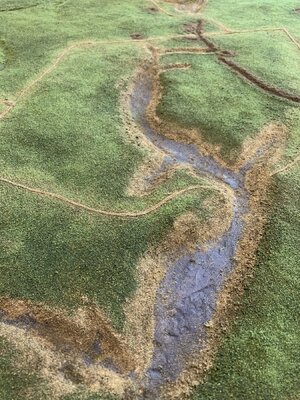
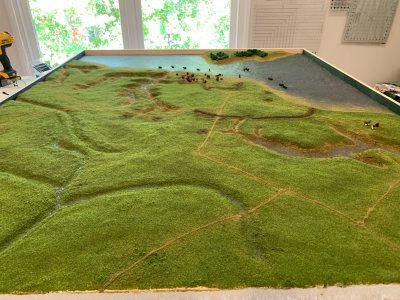
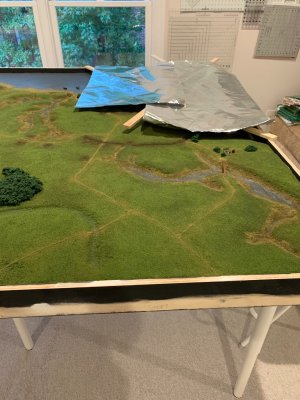
I finished the attaching the border so I was ready to pour the murky water from Woodland Scenics. I needs LOTS more water. Ordered and on the way. I had no idea how much I'd need and Woodland Scenics assured me that pouring multiple pour with possibly multiple layers would not affect the overall look. They said I shouldn't see much if any of a seam. So I poured. It's curing. The aluminum foil is supposed to redirect some of the heat from the curing process back on to the water to assist the curing process.
IMG_1052.jpg
Tomorrow I'll check and see how it looks. My only concern is that the land formations (sand and grass) has soaked up the water that came in contact. I'm wondering how it will look once it's completely cured. Where its come in contact it looks wet and is much darker now. Not a big deal, I can fix it once its completely cured. IMG_1053.jpgIMG_1054.jpgIMG_1055.jpg
Otherwise, I think the water adds a lot. I was excited, and anxious, to pour it. While I'm waiting for more water to arrive I will work on the handles I made to carry the diorama (it's not necessarily going to stay in one place) and painting the frame. Any suggestions on sealing and protecting the frame once its painted?
 
I finished the attaching the border so I was ready to pour the murky water from Woodland Scenics. I needs LOTS more water. Ordered and on the way. I had no idea how much I'd need and Woodland Scenics assured me that pouring multiple pour with possibly multiple layers would not affect the overall look. They said I shouldn't see much if any of a seam. So I poured. It's curing. The aluminum foil is supposed to redirect some of the heat from the curing process back on to the water to assist the curing process.
View attachment 469063
Tomorrow I'll check and see how it looks. My only concern is that the land formations (sand and grass) has soaked up the water that came in contact. I'm wondering how it will look once it's completely cured. Where its come in contact it looks wet and is much darker now. Not a big deal, I can fix it once its completely cured. View attachment 469064View attachment 469065View attachment 469066
Otherwise, I think the water adds a lot. I was excited, and anxious, to pour it. While I'm waiting for more water to arrive I will work on the handles I made to carry the diorama (it's not necessarily going to stay in one place) and painting the frame. Any suggestions on sealing and protecting the frame once its painted?
after you paint the frame, use some water based satin polyurethane. :) You can get it at Home Depot.
 
Back
Top