YQ Bluenose Ted R

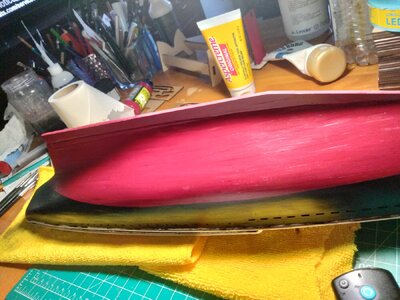
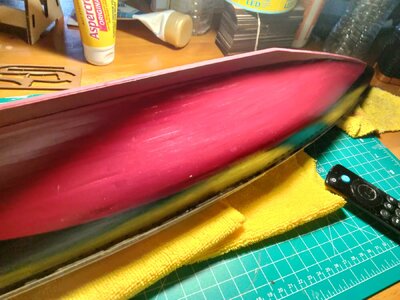
Here's the first coat of satin polyurethane. I'm really happy and proud of this model.
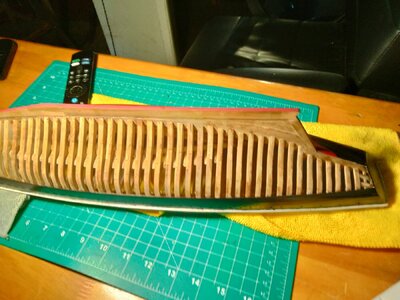
This is my first attempt at planking a hull. Thank goodness the hull profile is conducive to helping beginners. Oh, and I love the lower hull color.
Best regards for all of you that dragged me to get to this point.
Love you guys,
TedIMG20240807140129.jpgIMG20240807135708.jpgIMG20240807140124.jpgIMG20240807135641.jpg
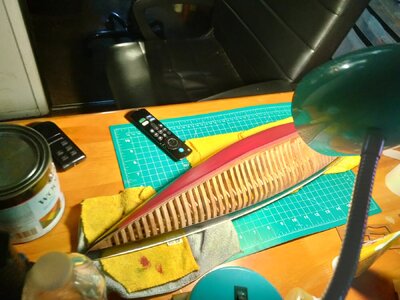
 
The Tamiya masking tape sealed with flat clear has absolutely zero bleeding
This is a great little trick that I hope others see as well. I have always used plain old 3M and sealed it but will give the Tamiya tape a try next time if you feel it is a better material than the 3M. For more on the results from using the method you describe there are some photos posted at https://shipsofscale.com/sosforums/threads/schooner-booth-bay-65.14989/ post number 6 that your followers may find interesting.
Lovely build!!
Allan
Thank you for sharing that Allan.
 
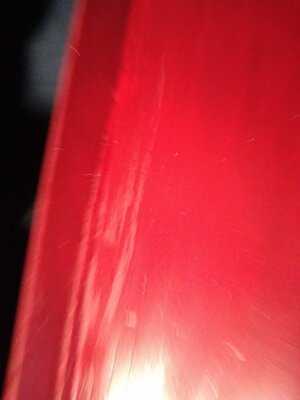
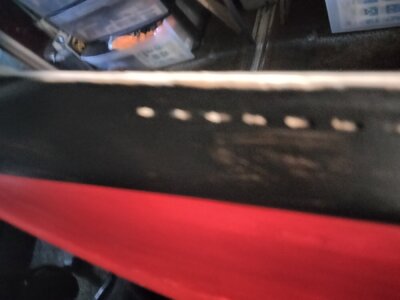
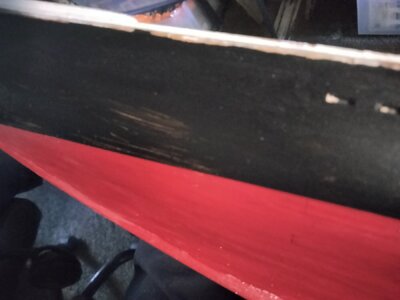
I have a few spots where the color coat lifted during application of the clear coat.
I don't.knownif the color didn't cure Long enough or if this is just an inherent danger of using a paint brush to apply the finish.
What is the process for repairing this sort of defect.
Thanks loads.
Ted IMG20240808091340.jpgIMG20240808091244.jpgIMG20240808091315.jpgIMG20240808091240.jpg
 
Ted, I have had that problem before and attribute it to applying the clear on before the undercoat has a chance to dry. I think the clear mixes with the color and dilutes the color coat or just washes the color off. Your photos by the way are blurry as if your macro shots are out of focus.
 
Ted, I have had that problem before and attribute it to applying the clear on before the undercoat has a chance to dry. I think the clear mixes with the color and dilutes the color coat or just washes the color off. Your photos by the way are blurry as if your macro shots are out of focus.
Sorry for the poor photos. What is a the solution.
Do I sand with and reapply the color or do I clear coat again first.
Thank you
Ted
 
Sorry for the poor photos. What is a the solution.
Do I sand with and reapply the color or do I clear coat again first.
Thank you
Ted
You could try and lightly use steel wool say #000 to rough up the existing surface (on the affected areas) then go back with your color coat, wait for the color to dry completely then go over the whole side with your clear. I have found that acrylic color paints will scratch off way too easy and the clear will act as a protecter if that is your problem as well. Blending a repaired paint area into the surrounding paint can be tricky. To be honest, painting is the one area I never cared for, there are others on this site who are experts though.
 
Im going to let us cure for a day or two and proceed as suggested by Daniel in the mean time started on the rudder
 
You could try and lightly use steel wool say #000 to rough up the existing surface (on the affected areas) then go back with your color coat, wait for the color to dry completely then go over the whole side with your clear. I have found that acrylic color paints will scratch off way too easy and the clear will act as a protecter if that is your problem as well. Blending a repaired paint area into the surrounding paint can be tricky. To be honest, painting is the one area I never cared for, there are others on this site who are experts though.
I have some 2000 wet/dry sandpaper coming today. I'll go ahead and use it judicially to attempt the paint corrections.
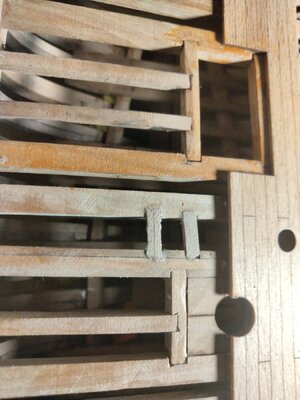
Attached is a photo of the mix I have for staining the bare pear wood. I am not completely satisfied with the color but I'm afraid of doing much more without giving the bare wood some protection against staining without coating it with something.
All the polyurethane stains I have found are semitransparent and have to be thinned so that the opaqueness doesn't cover the beautiful wood.
I'm actually pretty frustrated and fearful to proceed.
I know this must appear silly after all the rebuilding and corrections I've gone through to get to this point.
Frustrated modeler,
Ted
IMG20240811112602.jpg
 
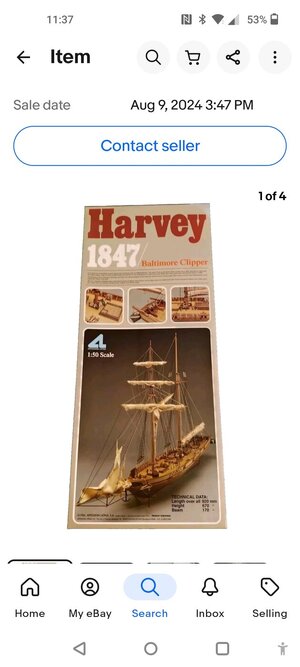
I purchased this model on eBay. $32.00 including shipping.
I'm really more interested in the ZHL San Felipe but am concerned about the quality of the kit due to its price.Screenshot_2024-08-11-11-37-04-10_260528048de7f2f358f0056f785be619.jpg
 
Last edited:
I am not completely satisfied with the color but I'm afraid of doing much more without giving the bare wood some protection against staining without coating it with something.
I'm not clear what you are after here Ted. If you want to protect the bare wood from stain, then just give it a coat of clear polyurethane. The poly can either be either gloss or matte finish when dried. If you want a stain color to soak into the wood, then do the stain first then cover with a polyurethane coat (clear or matte) to protect the result. You can also add stain directly to your poly for a one coat application but remember doing it this way seals the wood preventing any darkening with the stain once the initial coat has dried. I look at polyurethane as a final sealer which can no longer be penetrated once dried. Hope this makes sense.
 
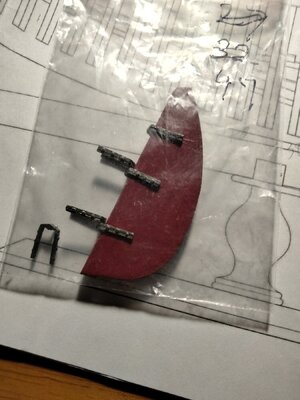
I can't find any dimensions for locating the rudder hinges. All the full size plans omit this detail. I'm just going to approximate their location from the instructions booklet unless some one corrects me.
I'm not going to install the rudder now but will wait until almost complete with the build because it looks easily damaged.
You'll have to use the drawings as FS plans and measure the required dimensions from said plans.
 
I found it on the back of the parts list page. I had it folded and forgot the full size drawing on the back
Duh
Thank you
Ted
 
I haven't been using primer on the bare pear wood where it gets painted. Is this a mistake?
Best regards
Ted
 
Back
Top