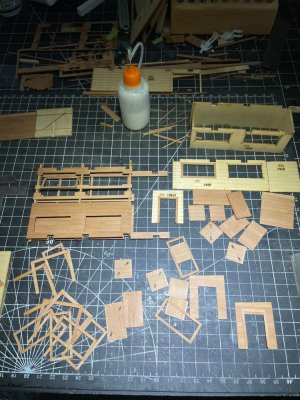
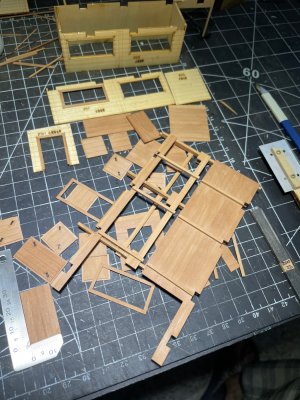
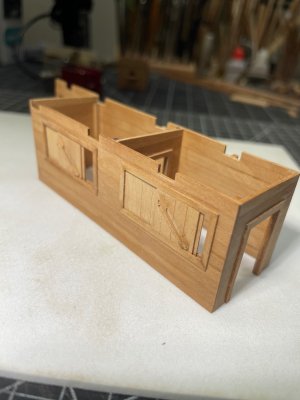
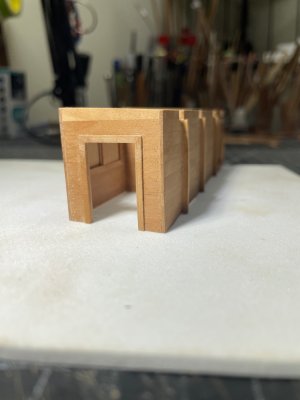
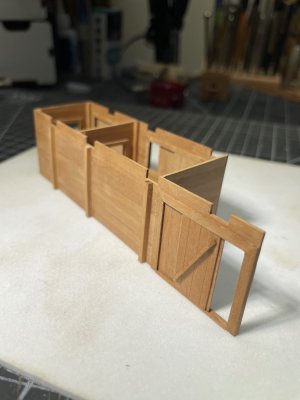
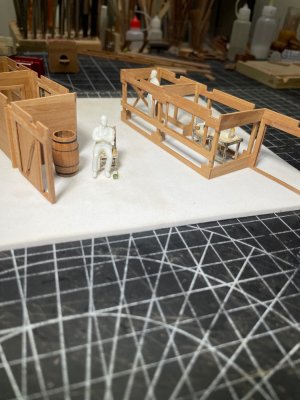
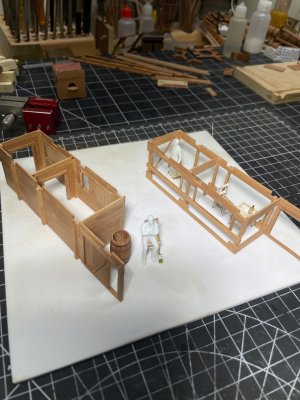
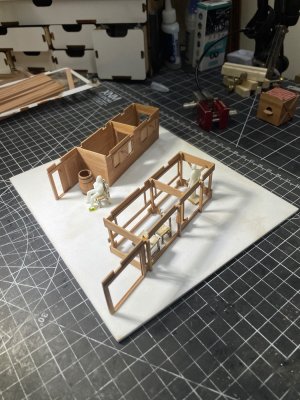
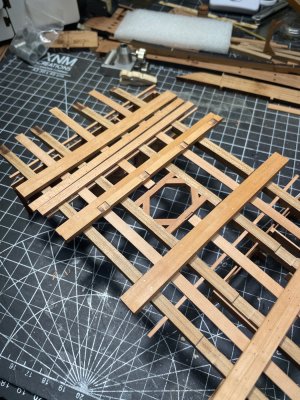
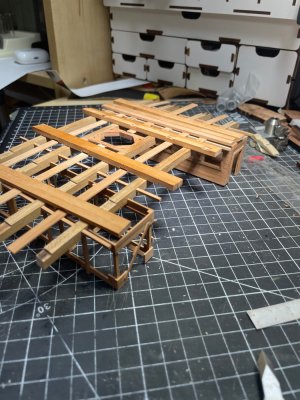
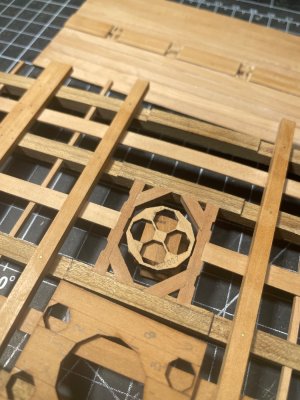
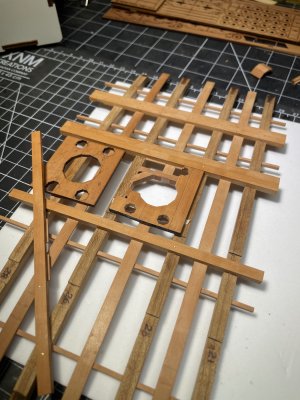
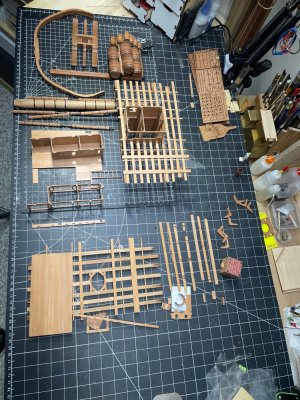
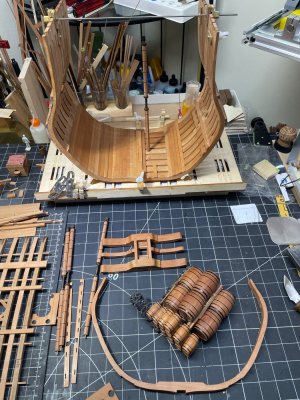
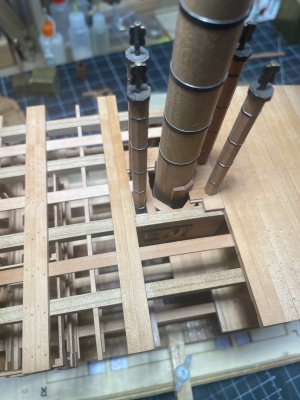
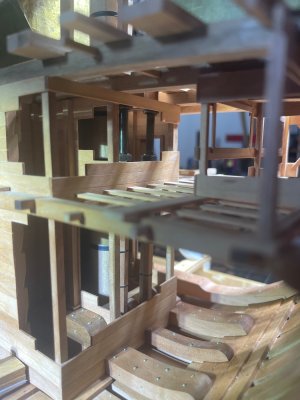
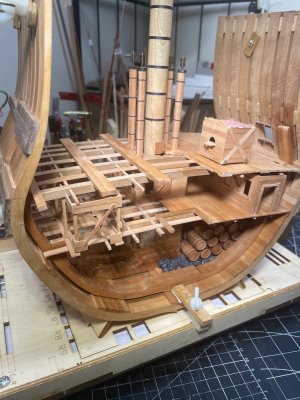
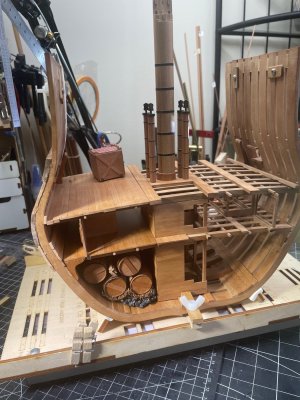
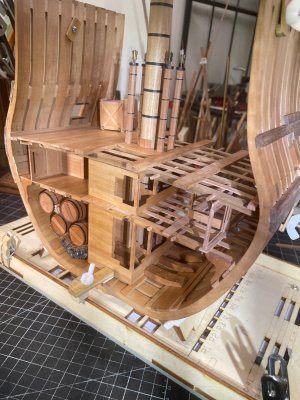
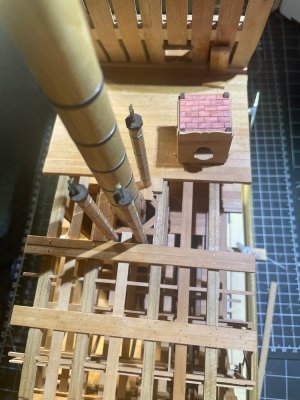
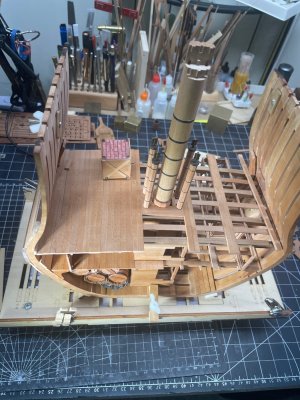
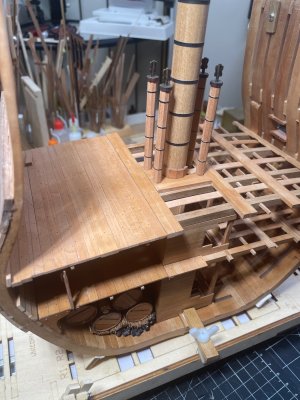
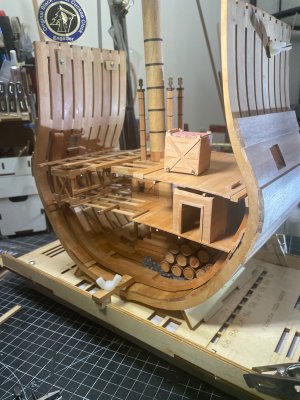
I keep thinking about this building effort and I continue to be amazed and impressed with your effort. In my humble opinion your work is museum quality! You definitely are talented/skilled and dare I say an artisan. I've only been on the SOS web site for about 2 years so my perspective is limited but for me your work is one of the finest pieces I've seen. I can only imagine creating something as good as your's! Doing this by hand with wood and tools is more impressive than creating something via a 3D printer. And provide a greater sense of accomplishment and satisfaction.
-

Win a Free Custom Engraved Brass Coin!!!
As a way to introduce our brass coins to the community, we will raffle off a free coin during the month of August. Follow link ABOVE for instructions for entering.
-

PRE-ORDER SHIPS IN SCALE TODAY!
The beloved Ships in Scale Magazine is back and charting a new course for 2026!
Discover new skills, new techniques, and new inspirations in every issue.
NOTE THAT OUR FIRST ISSUE WILL BE JAN/FEB 2026
You are using an out of date browser. It may not display this or other websites correctly.
You should upgrade or use an alternative browser.
You should upgrade or use an alternative browser.
Yuri's USS Bonhomme Richard - POF - Cross Section in Pear - 1:48
Hello,
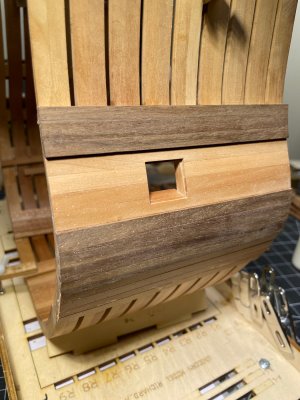
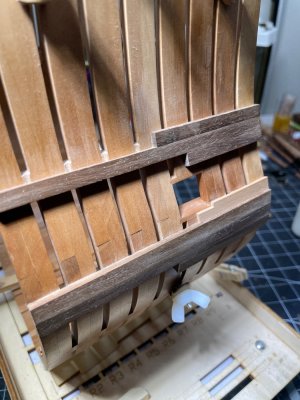
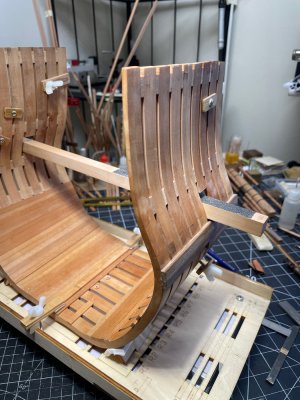
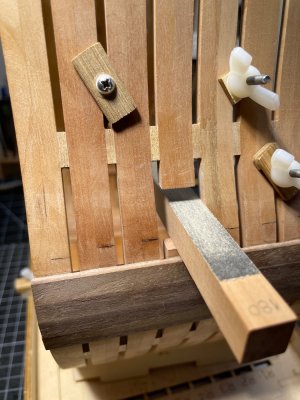
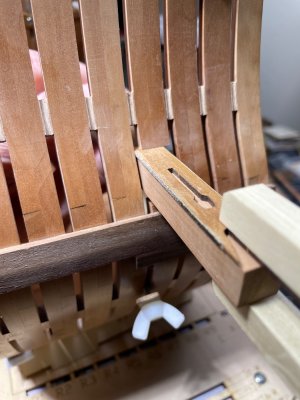
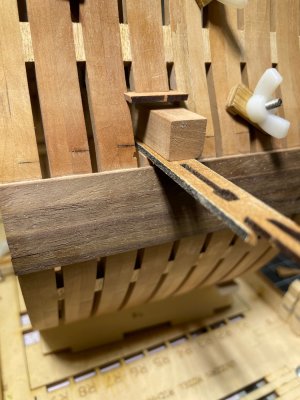
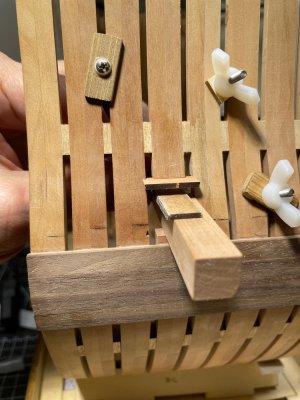
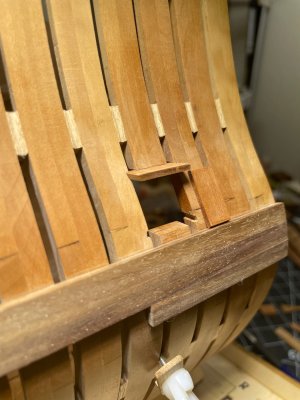
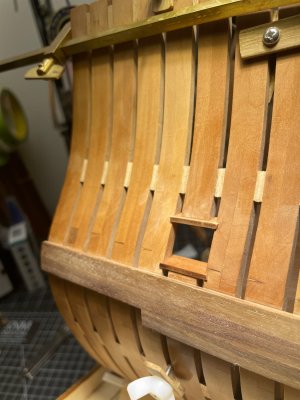
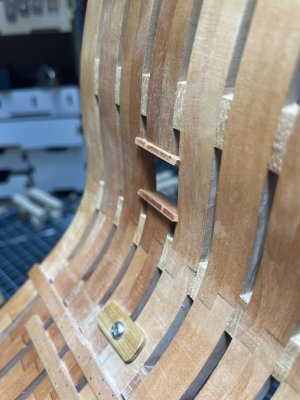
I was hesitant and procrastinated about cutting two gunports. Finally, I completed the task, keeping in mind how I would approach cutting 40 or more ports on the full model. Working with this cross-section kit has given me a better understanding of how ships were built and what to expect when constructing the full-size model. I want to express my gratitude to the amazing logs on this forum, which have provided me with so many answers and helpful tips. Thank you, everyone!
Thank you,
Yuri
I was hesitant and procrastinated about cutting two gunports. Finally, I completed the task, keeping in mind how I would approach cutting 40 or more ports on the full model. Working with this cross-section kit has given me a better understanding of how ships were built and what to expect when constructing the full-size model. I want to express my gratitude to the amazing logs on this forum, which have provided me with so many answers and helpful tips. Thank you, everyone!


Thank you,
Yuri
Yuri,
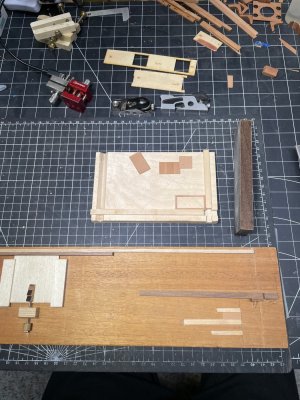
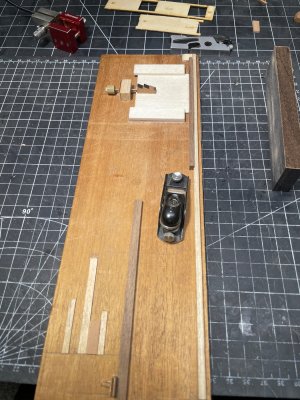
As expected, these cuts you made into the hull for the cannon ports were superbly executed!! The thought you put into the technique and the jigs you made, ensured ever cut and angle were perfect. Thanks for sharing, with such detailed photos, it will help future builders immensely!!
As expected, these cuts you made into the hull for the cannon ports were superbly executed!! The thought you put into the technique and the jigs you made, ensured ever cut and angle were perfect. Thanks for sharing, with such detailed photos, it will help future builders immensely!!
Hi Yuri
Yours is a truly a beautiful build, thanks for sharing.
This has nothing to do with the model or your extremely neat work, but seeing it called USS got me curious and I found that the use of USS before the name was not used until the 20th century. US Navy ships were given the designation USS in 1907 when President Roosevelt issued Excectuve Order 549. Prior to this there was no standard but for the 18th century they were often call Continental Ship plus the name.
This is of no real consequence to the build itself, but maybe interesting to some folks.
Allan
Love your miniature work, Yuri
Beautiful! I love the trim over the bread oven! Your joinery skills are incredible and so accurate, the doors and window trim look life-size.
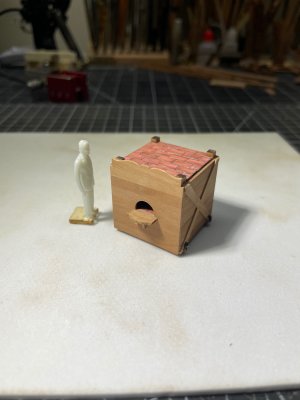
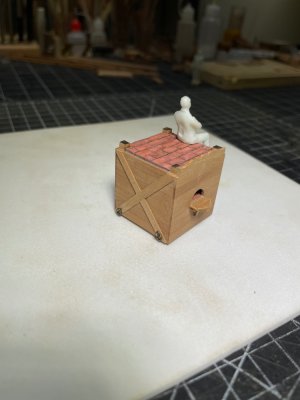
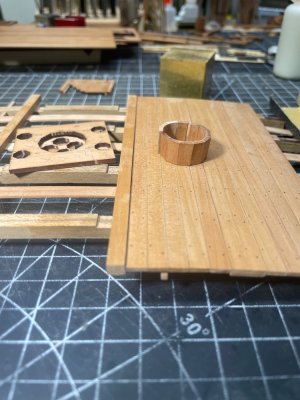
Imitation is the sincerest form of flattery Yuri! I copied your idea of making a hollow barrel. I will be filling it with resin (to simulate drinking water for the crew) and place it by my ship's oven.
Thanks for sharing this superb work...it is inspiring!!
Imitation is the sincerest form of flattery Yuri! I copied your idea of making a hollow barrel. I will be filling it with resin (to simulate drinking water for the crew) and place it by my ship's oven.
Thanks for sharing this superb work...it is inspiring!!
Hi Brad, I'd like to see water imitation, indeed. I will ask you to share the recipe, too, pleaseBeautiful! I love the trim over the bread oven! Your joinery skills are incredible and so accurate, the doors and window trim look life-size.
Imitation is the sincerest form of flattery Yuri! I copied your idea of making a hollow barrel. I will be filling it with resin (to simulate drinking water for the crew) and place it by my ship's oven.
Thanks for sharing this superb work...it is inspiring!!
Y
Yuri, I used the below amazon product. Very reasonably priced.Hi Brad, I'd like to see water imitation, indeed. I will ask you to share the recipe, too, please
Y
Resin on Amazon link
Here is my post on how it worked. Fairly simple 50/50 mix. Stir gently for 3-4 minutes. Pour. It takes 6-10 hours to completely harden.
Water Resin experiment link
Not really; it sticks a bit better than masking tape or double-sided tape, enough to prevent sliding. This makes it easy to pry off and "glue" new guides.Yuri, does white glue (PVC) stick top that cutting board?
Y
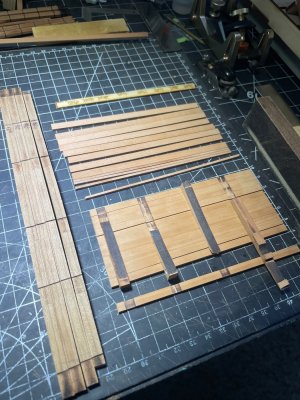
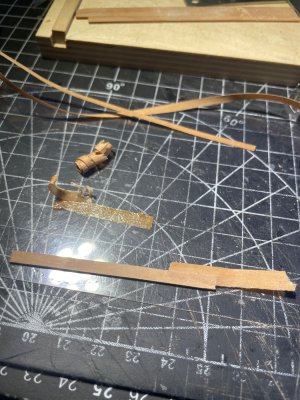
Here’s my method for gluing planks together using "Gorilla Wood PVA glue." I use clear plastic collected from various packaging materials to cover the cutting board (PVA will not bond to it), along with a temperature-controlled soldering iron fitted with a small brass tip. I've taken some photos to share my techniques in case anyone finds them useful.I'd like to find a cutting board glues like pvc and cyanoacrylate don't stick to.
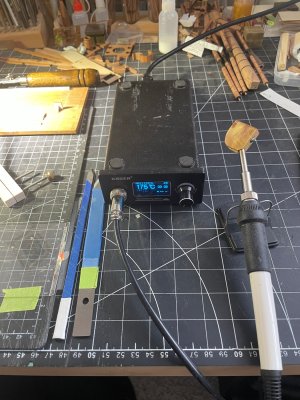
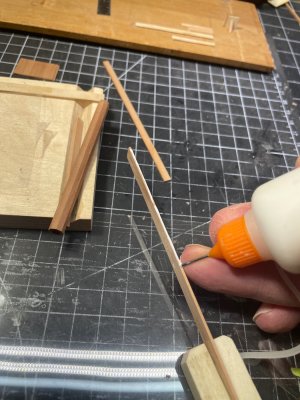
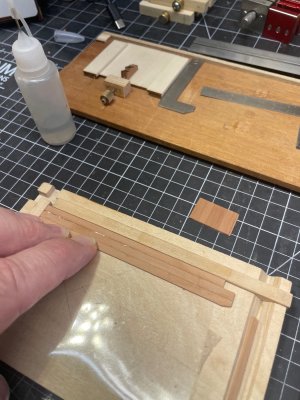
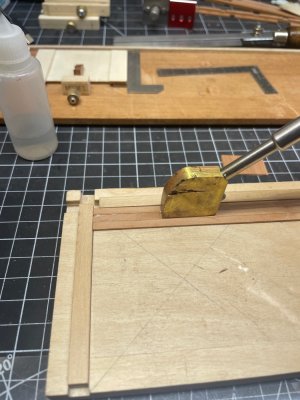
If I encounter a gluing mistake, I apply a drop of water and then fix it with heat. The final result shows three sections: the first section is untouched, the second is sanded with 200-grit sandpaper and finished with 400-grit, and the third section has been scraped.
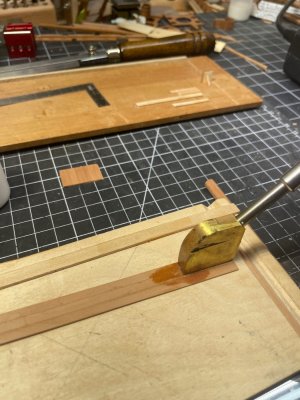
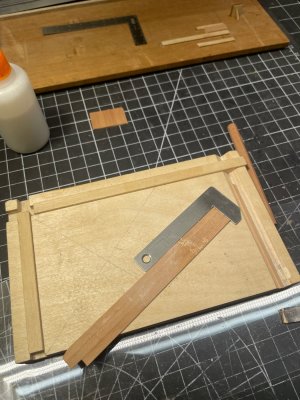
I've used the same soldering iron to band the planks; here's how I did it:
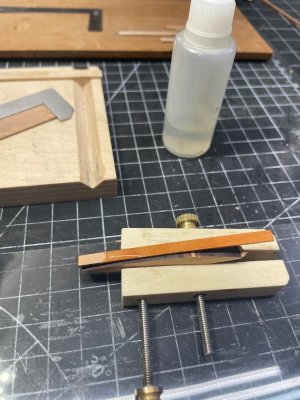
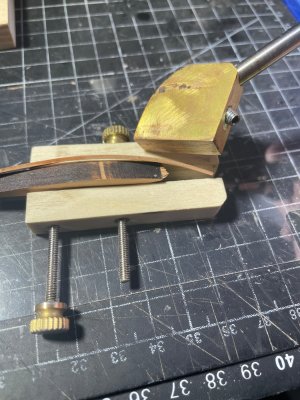
And back to make it straight:
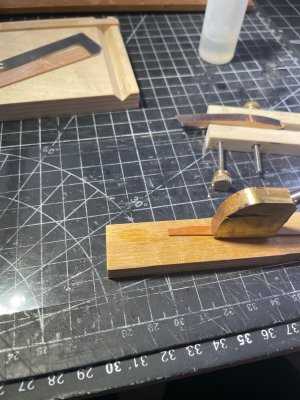
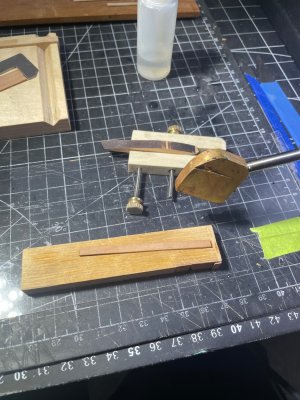
Some planer shavings, when straightened with moisture, can be used as a thin veneer to correct wood imperfections or mistakes.
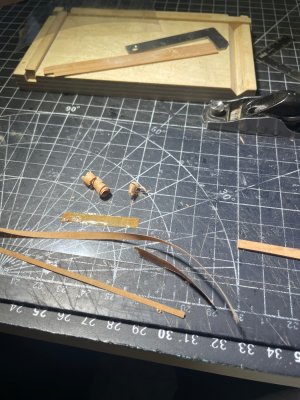
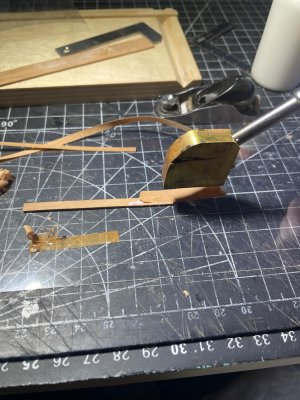
Thank you,
Yuri
Hello,
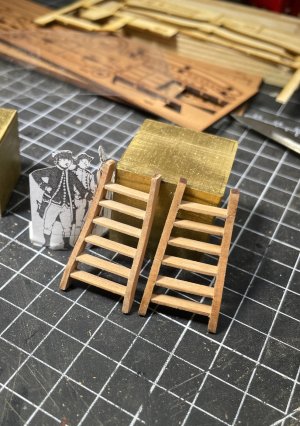
I have some questions regarding the ladders in this kit. Visually, the steps on the utility ladder seem to be too far apart. Additionally, the other ladders appear bulky, featuring planks in the model—specifically, the tread is 48mm and the stringer is 96mm. Should I redesign them to make them more streamlined, delicate?
Thank you,
Yuri
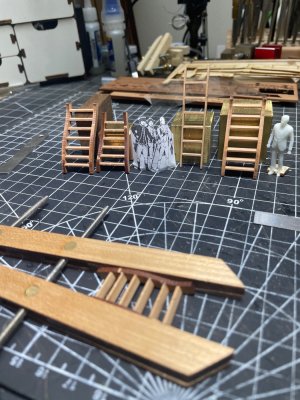

I built the ladders, as they came (after cleaning the char). Seem to fit fine and the proportions look good.
I believe the accommodation ladder spacing is fine, as it was almost vertical. I did modify it by adding handholds (without which it would be very difficult to climb). Same for the monkey poles (handholds on the backside).
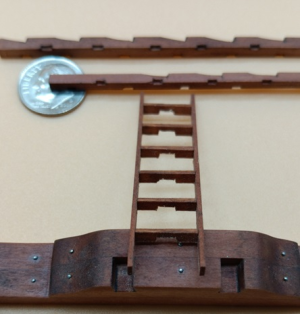
I believe the accommodation ladder spacing is fine, as it was almost vertical. I did modify it by adding handholds (without which it would be very difficult to climb). Same for the monkey poles (handholds on the backside).

Both great craftmanship and detail, but the smaller proportions hardly jump out!
Yuri,
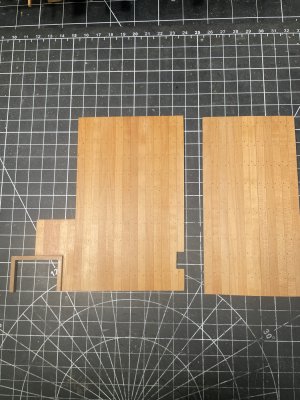
Exquisite work! The color/finish of the planking is perfect, as are the treenails, especially the metal ones!!
We are all waiting to see it dry-fit, as I'm sure it will look incredible. Thanks for sharing!
Exquisite work! The color/finish of the planking is perfect, as are the treenails, especially the metal ones!!
We are all waiting to see it dry-fit, as I'm sure it will look incredible. Thanks for sharing!


