ZHL Black Pearl circa 2013 first Model

Joined
Feb 23, 2020
Messages
31
Points
68

This is my first model. I wasn't going to do a build log as I felt I would have nothing to offer and there are already a number of Black Pearl logs here and all put my work to shame. However as I think I will have questions as I go I have decided to dive into the world of build logs.
The model sat in the cupboard for about 7 years due to life and being a bit daunted but now due to the coronavirus I found myself at home with time on my hands so I dug it out did some research and got started. Apologies if I do not use the correct terminology for parts of the ship. though I am learning.
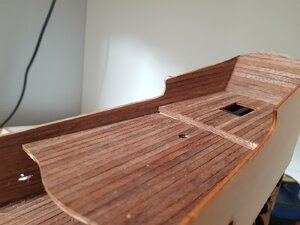
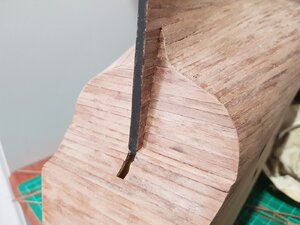
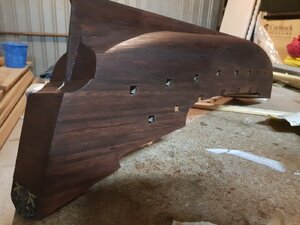
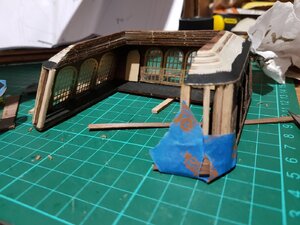
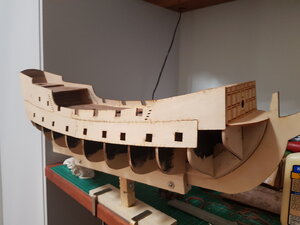
Things started well. though as most of you can probably see I did the newbie mistake of not making a solid bow part. I had seen it in other logs but just figured surely if I needed it it would be in the kit :rolleyes:
20200321_143744.jpg
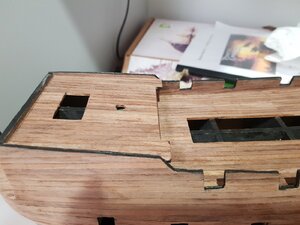
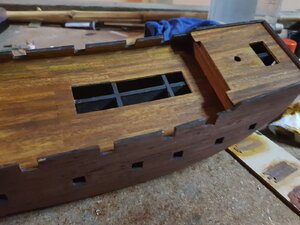
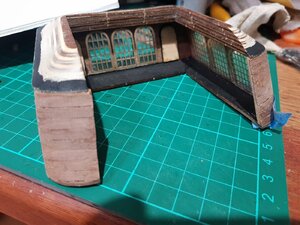
Eagle eyed members may spot my second mistake. I somehow missed the captains quarters bulkhead.
20200321_143751.jpg
20200321_143807.jpg

20200530_103938.jpg
20200530_103953.jpg
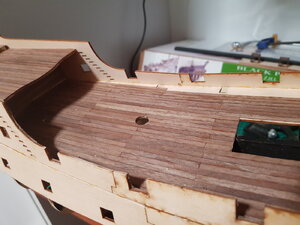
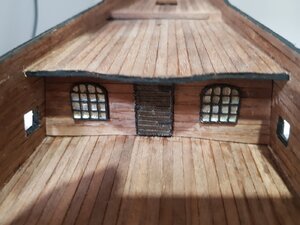
Luckily when I finally realised my mistake I was able to reshape the captains quarters part a little and wedge it into place
20200530_104014.jpg
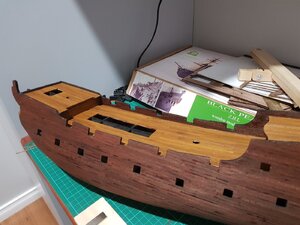
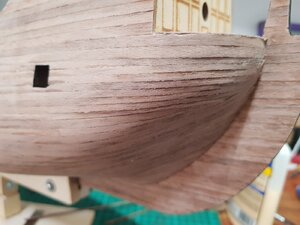
Despite not putting in the solid bow and a lot of pain fitting the planks I'm quite happy with how the bow ended up. I know its not the correct shape and the planks are not sitting correctly but for my first go it will do.
20200530_104040.jpg
20200530_104109.jpg
Another mistake. Put in the windows before doing the planking. Only a minor issue but just painful. :confused:
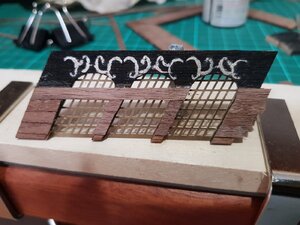
20200530_104202.jpg
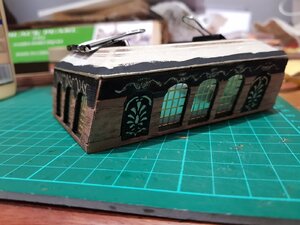
Another difference to the later models. This kit had a number of parts to be laminated together for the roof of the Captains Quarters which are to be sanded to the correct shape. I have started but not sure how well it will turn out.
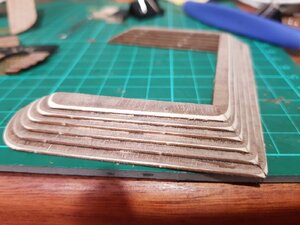
20200530_104627.jpg
 
You are doing well on this for a new builder.

One thing to remember, the Pearl didn't exist, so you model of her is correct for your build!

Even in our group build where we all use same plans, no two models are alike.

Enjoy as you go, don't get frustrated, it doesn't help, and ask questions and post more photos, as you have said, many have built a version of this kit and can help you when you need it.
God Speed, and Good Sailing!
 
Hi @Soozook ...I too am doing a newbie build of the Black Pearl... slightly different from yours but structurally similar. Will eagerly watch your build as I trudge along on mine.
 
I found some spirit based stains in the shed and decided to give them a go. After spending so long on the planking I didn't want to just hide it in black so opted for a Mahogany colour. I don't think its to bad. though realise now I should have painted the hull black before laying the top planks. pictures are from the first coat.
20200531_204218.jpg
For the deck I had a golden cedar colour. I'm not as keen on the results. Its a bit too yellow. Once all the parts are on perhaps it will be more broken up and not so bad.
20200601_192637.jpg20200601_192642.jpg
20200602_203728.jpg

The captains quarters are coming together.
20200604_091852.jpg

The newer models seem to have a flat panel at the front of the quarters but this model is curved. I decided to use planks to fill it in so had to put in a frame to support them. The results are pretty good I think. its now ready to paint and install but think I will leave final install until I have done most of the deck parts so its not in the way.

20200604_174830.jpg20200606_105747.jpg
 
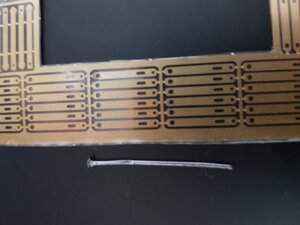
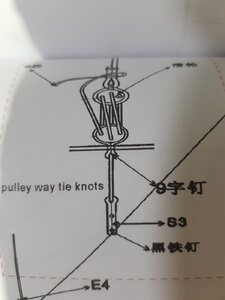
Looking forward I have a couple of questions. this picture shows the nails that came with the kit and the parts that secure the pulleys. The nail will fit through the larger hole but looking at the instructions I cant tell how I secure the other end to the brass nail looped around the pulley. As those are also to thick to fit through the small hole.
20200606_105532.jpg20200606_105544.jpg

My second question is do I need to pre drill the holes in the hull? these nails are about 30mm long (which seems excessive) and appear blunt so not sure how easily they will penetrate. If so how do you drill such small holes. What tools do you use?
 
Hi soozook,

Nice build you have here, I think the black pearl models are bringing a lot of newbies to the hobby, which is great.
Answering to your questions, forfitting a nail preferably always drill first, otherwise you wil splice the wood, dril it with a 0,05 mm smaller drill, for instance for a 0,7 mm nail, drill 0,65. For this I use a proxxon micromot drill or similar as outside Europe they are much more expensive.
image (1).jpg

Are you sure you show the correct parts for S3, it seems to me like another part. If it is correct you can always drill or file the hole bigger soit fits.
Connection between the parts is normally with brass wire.
 
Hi Maarten.
Thanks I actually found a similar tool as you mention and have bought a set of bits to go with it so I'm good to go now. though they are so small I hope I don't break them.
The part is correct as there are no similar parts except the gun port hinges.
 
G'day Soozook,
See how you go with the high speed drill, I find that I tend to drill an oversize hole with one of those and prefer to use an Archimedes drill or a pin chuck, it's always a goo idea to practice on some scrap first, better to bugger that up than the real job.
Cheers,
Stephen.
 
G'day Soozook,
See how you go with the high speed drill, I find that I tend to drill an oversize hole with one of those and prefer to use an Archimedes drill or a pin chuck, it's always a goo idea to practice on some scrap first, better to bugger that up than the real job.
Cheers,
Stephen.

Thanks Stephen. definatly agree to that :)
 
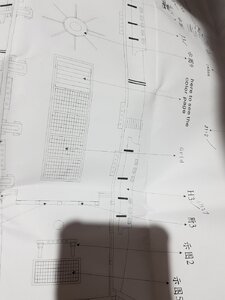
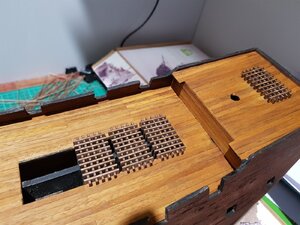
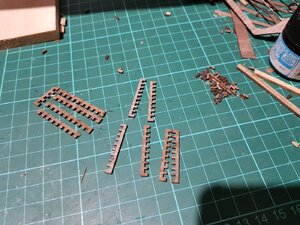
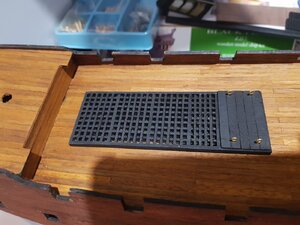
Ok now I had sorted out which pieces make up the grates I got to work. Only to discover there are not enough. The main grate is supposed to have 4 sections however I only had enough parts for 3
20200607_172853.jpg

20200607_172821.jpg
Luckily there were some parts left over from the other grids that allowed me to make a smaller section. Just enough to fill the gap.
20200607_172834.jpg
If you look closely you can see the grid is a different size.
20200615_212230.jpg
 
Nice Job !!. I do not believe any one will see that small difference.

Nevertheless, you can send an email to Max to let him know about that issue. He is excellent with customers.
 
Nice Job !!. I do not believe any one will see that small difference.

Nevertheless, you can send an email to Max to let him know about that issue. He is excellent with customers.
Thanks Dematosdg. I won't bother Max. This kit is from around 2011 or 2012 it has been sitting in the cupboard and I only just found time and motivation to give it a try. I know that Max has improved his kits a great deal since then based on what I have seen on this site so don't think it is worth raising any issues.
 
Slow progress this week. Got the bump strips? on
20200619_111026.jpg

And have started doing the various fittings. Also decided on how I want the guns to look.
20200627_171608.jpg

Looks like I will have to order some brass nails so will get onto that this week and now I have the first couple of guns will look at the main set of stairs. That should be interesting because I don't think the parts are correct.
 
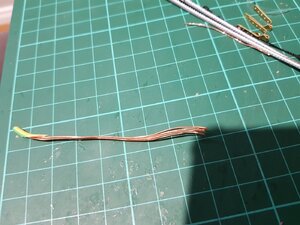
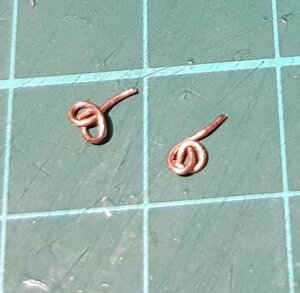
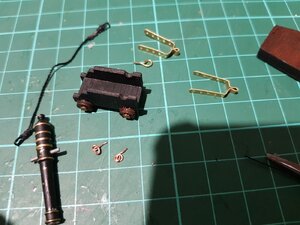
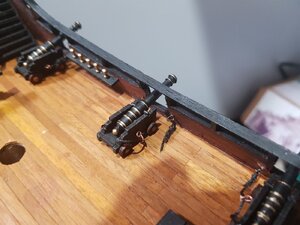
So another set of new skills learnt this week or so. After putting my first gun together I realised that some of you do rigging on the cannons so after some research I found that some of this rigging can be very complex. Knowing my limitations I opted for a fairly basic design looping round the back of the cannon through some basic shackles and attached to the bulwark with a hook. First I needed some wire to create the shackles and hooks. rummaging through the shed was proving pointless as everything I found was to thick. Finally I had an idea and found some earth wire laying around. Eureka!
20200701_081756.jpg
I then started with the Shackles and after a few attempts had the following.
20200630_204034 (2).jpg
These were small. perhaps to small. I think I will make them slightly larger for subsequent guns. Next I turned my hand to the ropes and thanks to the excellent EpicDoom rigging tutorial I soon had a passable rope. It took me about 3 goes to get the length about right though.
20200630_204034.jpg
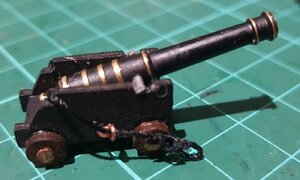
Putting it all together and this is what I have

20200701_203601 (2).jpg
20200703_185047.jpg

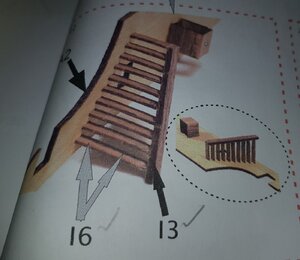
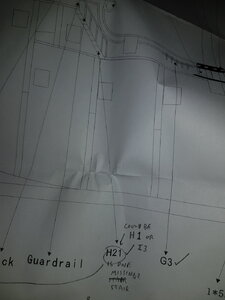
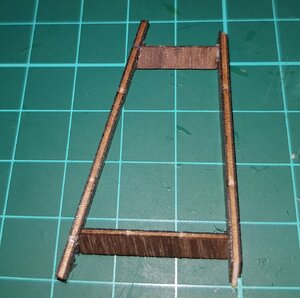
The second challenge for the week was the main stairs. This was both a technical challenge and an interpretation challenge, The instructions contained the following directions
20200706_192715 (2).jpg

The side of the ship did in fact have slots in it for the steps however when I tried to install the treads earlier in the build I realised the slots were to small and the steps would not be level once the sides installed due to the angle of the wall. At the time I opted to leave it and plank the walls. When I once again got to the point of building the steps I found another reference to the steps here.
20200706_192807.jpg
The problem was there was only one H21 part and it is also referenced as the part that goes at the back of the deck. At this time I also found that there are 4 i3 parts suggesting they are used for each side of the steps. So I'm back in business.
First I had to trim one side of the treads so I would end up with one vertical support and the other on an angle.
20200703_193214 (2).jpg 20200703_202155 (2).jpg
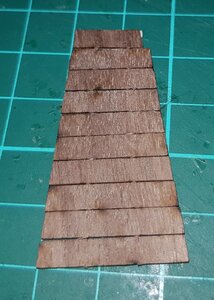
Next I marked out the tread spacing
20200704_090243 (2).jpg
I next glued the top and bottom treads and added the other support. this was a little tricky but I got it done with a little patience.
20200704_113800 (2).jpg
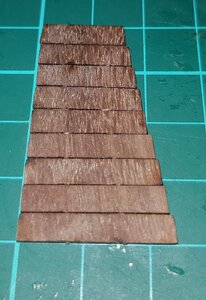
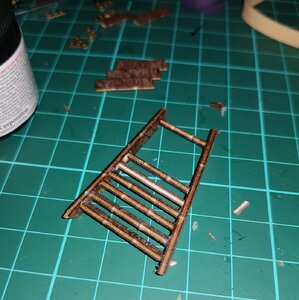
Now the real pain started. putting in the treads at the right angle and spacing while waiting for the glue to hold was painful. I also had a few steps cut short so had to create new ones from scrap. Long story short after collapsing the structure three times and nearly ready to throw them across the room I finally got in my groove and it started to come together.
20200705_200749 (2).jpg

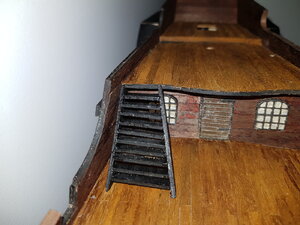
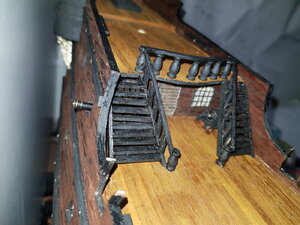
and the finished piece ready to be glued in. Funny how the high res phone cameras highlight details you cannot see easily with the eye. looks like I have a little touching up to do with the paint at the back of the treads :). Also the cabin wall does not look as bad as it does in this photo.

20200706_201737.jpg

So this week had some challenges that took me a while to work through but were interesting to resolve and learn from.
 
OK I'm back. once again have made some slow progress. who would have though working from home would take up so much time. I had a few adventures here and this week somehow got a case of the clumsies (is that a word) I broke 3 separate pieces. One twice.
Starting where I left off previously I put on the top of the walls and the supports for the banisters? which according to my plans should be 2x4x5 these seemed a little higher than I have seen on other models but look OK I think20200716_081157.jpg

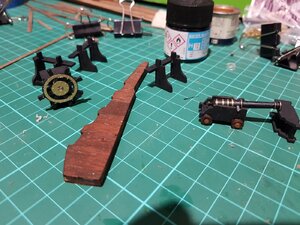
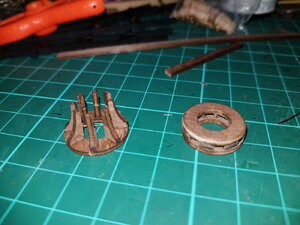
Next up was the main mast wheel. This was interesting as I had to fashion my own parts to separate the top and the bottom of the part that holds the spokes and space them evenly. I got this done but have not added the spokes yet.
20200717_093230.jpg

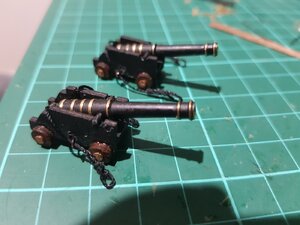
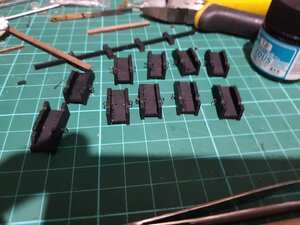
I then got the gun carriage production line in gear and put the guns together. For some reason as a kid I always found putting the armament's together on my models the most fun and this still proves the case. No idea why considering unlike a lot of you here I have never been in the armed forces or owned a gun
20200721_181553.jpg
20200729_200213.jpg
Thought I had a shot of all the guns lined up but doesn't seem to be the case. Anyway onto the rails.
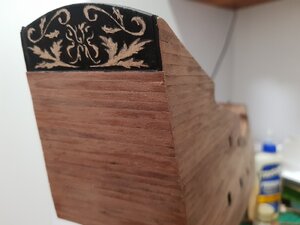
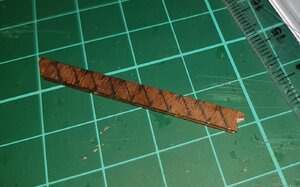
I bought a dremel like tool a few months ago and had a go at etching the scroll work on the rails. Unfortunately its not as easy as it looks :confused:. but now they are painted black and if your not looking at them via a super high resolution photo they are not to bad.

20200729_200801.jpg

Also spent an hour in a zen trance staining the dead eyes. pickup, dip brush, paint one side, turn, paint the other, put down, repeat a gazillion times.
20200801_154951.jpg20200801_170857.jpg

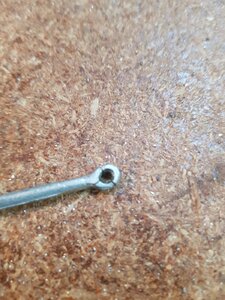
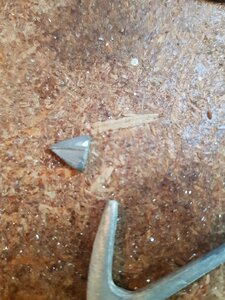
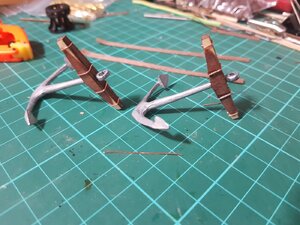
Now for my clumsy mistakes which all happened this week. First when attaching the gun ropes to the wall the rope came out of the loop on the gun carriage. While putting it back I managed to snip the rope. easy fix though was to Glue the ends together. Then I broke the arm of the angel while trying to bend it out of the way of the bowsprite soon followed by breaking the loop on the anchor while trying to straighten it. The metal they are made from is very brittle have resolved now to leave all metal parts as they are. Somehow while fixing that I then managed to break off the anchor point.
20200808_115618.jpg 20200813_081804.jpg 20200813_081812.jpg

Nothing that some glue wont fix though. Oh my other error was I didn't shave down the wood I put between the front and back parts of the anchor so they are not the same shape as in the plans but I'm not to bothered. To get the banding I flattened a piece of copper wire a little before wrapping the wood. I'll paint the anchor and banding gun metal gray.
20200815_130321.jpg
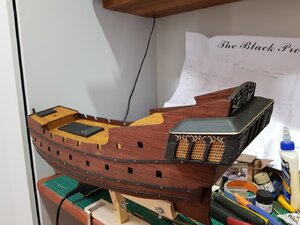
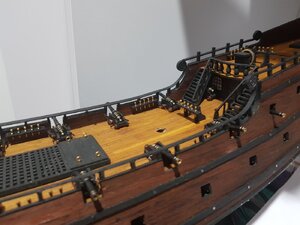
and finally here is a shot of how it looks so far.


20200815_170802.jpg
 
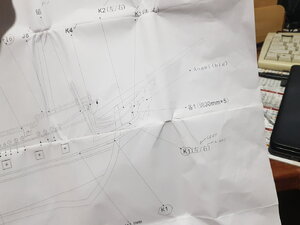
Now I need a little help. The plans have
20200815_172406.jpg

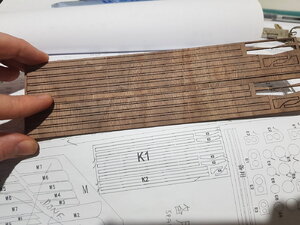
and the parts are listed as
20200815_172016.jpg

Firstly there are more parts on the parts panel than on the manifest. The extra parts appear to be an extra set of K2. Next only the long ones are marked as K1 but the plan has 3 parts marked as K1 and only one marked as K2. So first conundrum is which bit goes where.
My second problem is that the K2 and one of the K1's appear to need to bend against the grain of these laminated panels. I used hot water and a curling iron on the planking but don't think that would work here to get the parts to bend vertically. Am I missing something here?
Do any of you building the Blackpearl have similar parts or have they been updated in the new models?
 
Now I need a little help. The plans have
View attachment 173391

and the parts are listed as
View attachment 173392

Firstly there are more parts on the parts panel than on the manifest. The extra parts appear to be an extra set of K2. Next only the long ones are marked as K1 but the plan has 3 parts marked as K1 and only one marked as K2. So first conundrum is which bit goes where.
My second problem is that the K2 and one of the K1's appear to need to bend against the grain of these laminated panels. I used hot water and a curling iron on the planking but don't think that would work here to get the parts to bend vertically. Am I missing something here?
Do any of you building the Blackpearl have similar parts or have they been updated in the new models?

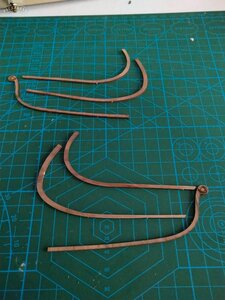
Dear @Soozook...my BP is the 2019/2020 ZHL edition and it comes with the following pieces for the bow section.. . notice how they are curved upwards whereas your pieces appear to be straight. Are you supposed to bend them laterally? PSX_20200816_104459.jpg
 
Back
Top