ZHL Royal Caroline Kit, scale 1/30

1159.jpg
Just about there a fraction more and she'll be right,


1160.jpg
one half finished,


1161.jpg
now its a pretty good fit,


1162.jpg
all the reinforcing bands attached, the wooldings will be put on after the paunch and side pieces are attached,


1163.jpg
The basis of the Fore Top glued together,


1164.jpg
and the main top,

Once again thanks for all the nice comments and also the likes, much appreciated,

best regards john,

.
 
Last edited:
1165.jpg
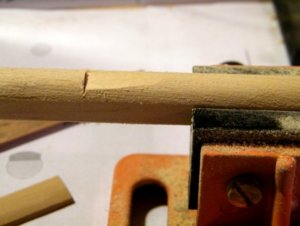
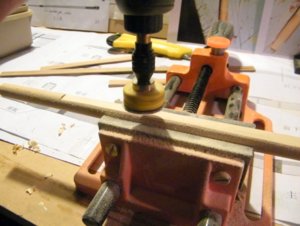
Just in case anyone was wondering how i cut the flats on the sides of the mast, here are a couple of pics, I start
off with the saw cut across the mast, then I cut back into the cut, I do this at both ends,


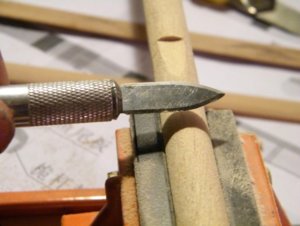
1166.jpg
Then with a very sharp blade, I like these two sided ones, I cut down the wood between both saw cuts,


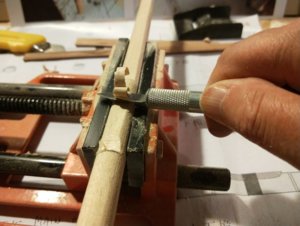
1167.jpg
The vice really helps to keep things level,


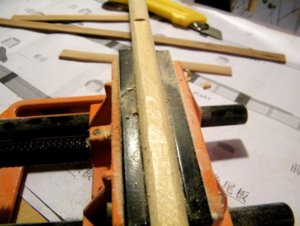
1168.jpg
Then after I get to this stage, I use a sander to finish off,


1169.jpg
sanding down to finish the flat,


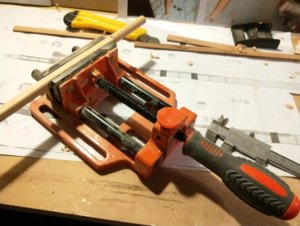
1170.jpg
This is the vice I use I just bought it off ebay $25 including postage,

.
 
Lovely work again John, which I was already towards this stage. Are you just randomly do what you like, like me? Or following the manual?

I think that I am just like you Maarten, just doing what I like, I still have the head rails to finish, it gets a little bit complicated with the Chinese instructions, but I just study the photos and I have downloaded a lot of photos of the different builds on line, I was just going to build her with mast stumps but after seeing all the masts yards etc I couldn't resist building them, I am really enjoying this kit, I say kit but there is a lot of scratch building that you have to do,
Best regards John,
 
1174.jpg
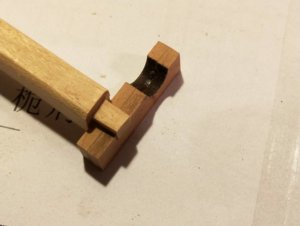
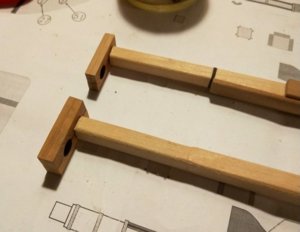
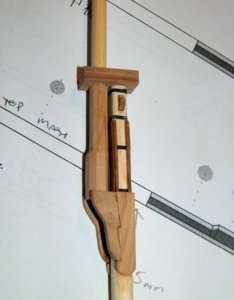
This is the trestle tree's for the Fore and Main tops,


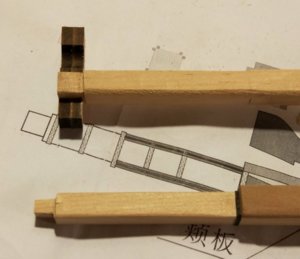
1175.jpg
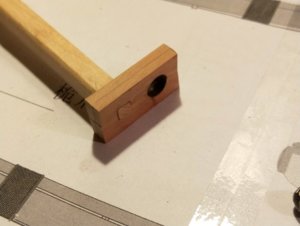
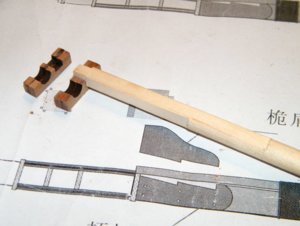
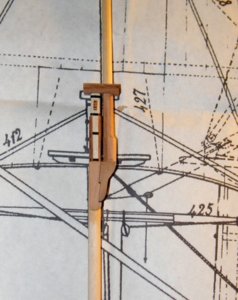
The tenon of the mizzen mast,


1176.jpg
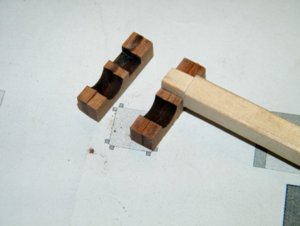
and a close up,


1177.jpg
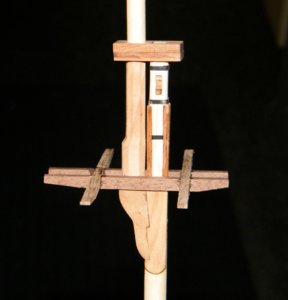
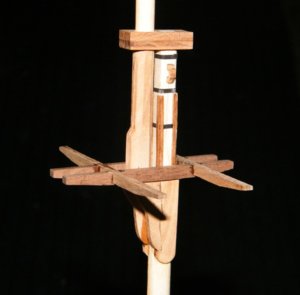
And with a few of the other fittings attached,


1178.jpg
and a close up,


1179.jpg
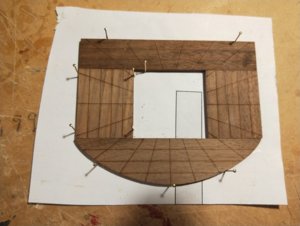
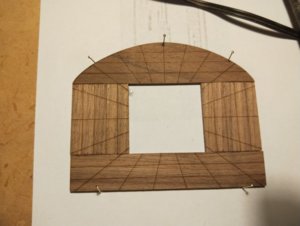
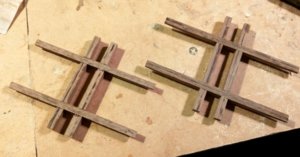
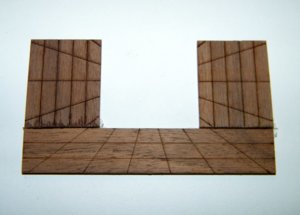
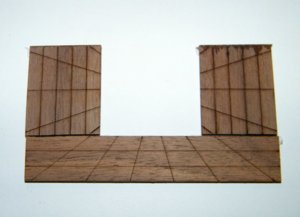
Now when I glued the Fore and Main top platforms everything lined up, must have just fallen into place
the right way, but when gluing up the mizzen platform the lines of the side pieces did not match, then I
thought what would they be like the other way around,


1180.jpg
I managed to get them apart and when I had cleaned off the CA glue they matched OK, they still have to be
re glued yet,

.
 
View attachment 145771
This is the trestle tree's for the Fore and Main tops,


View attachment 145772
The tenon of the mizzen mast,


View attachment 145773
and a close up,


View attachment 145774
And with a few of the other fittings attached,


View attachment 145775
and a close up,


View attachment 145776
Now when I glued the Fore and Main top platforms everything lined up, must have just fallen into place
the right way, but when gluing up the mizzen platform the lines of the side pieces did not match, then I
thought what would they be like the other way around,


View attachment 145777
I managed to get them apart and when I had cleaned off the CA glue they matched OK, they still have to be
re glued yet,

.
Hi John,
Very nice work again.
Strange to see, the platforms in my kit are one piece.
 
1181.jpg
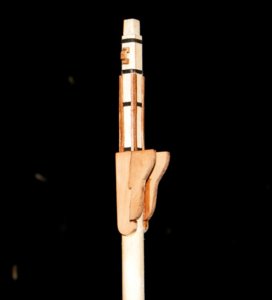
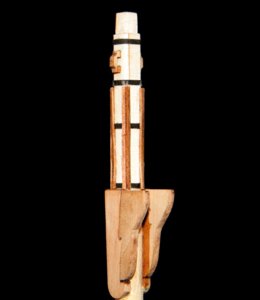
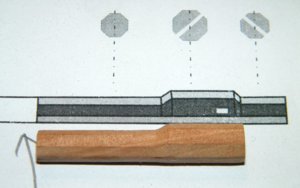
This is the mizzen top mast, it is not as long as the one shown on the instruction sheet, it comes in two halves that
are glued together,


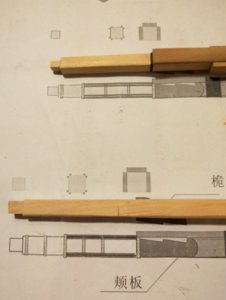
1182.jpg
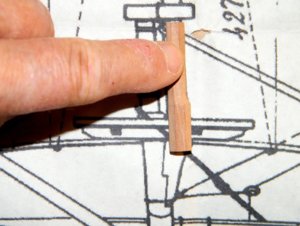
but when you hold it up against the plan it is OK, just have to shape the bottom a little bit more,


1183.jpg
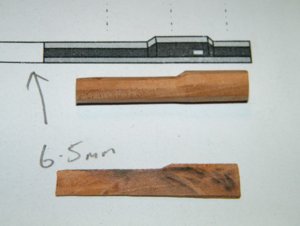
Also the when both pieces are put together they are too thick so i had to take a little slice off each side,

1184.jpg
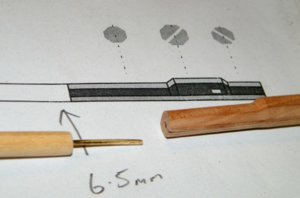
After final shaping of the top mast and the eight sided section, I drilled and added a pin to the bottom of the circular
section and drilled a hole in the eight sided section,


.
 
Hello John, Just spent a couple of hours looking over your build. A real nice kit, I have never seen such high quality and workmanship in a kit like this before. The decorations are out of this world compared to those die cast white metal that came with the Amati Bounty enhancement kit that I bought. You are doing a great job, but it looks so easy with parts so well cut and shaped. Well Done
Regards Lawrence
PS- It will take me some time to catch up but very enjoyable reading.
 
1191.jpg
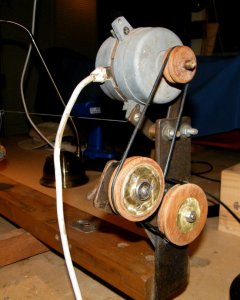
I've been renovating my rope walk, some parts were getting a bit worn out, so I thought that
I would give it a complete overhaul, this is how the motor was set up, I took the motor off
and removed the pulleys as well,

1192.jpg
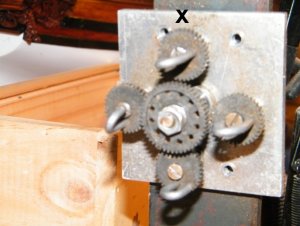
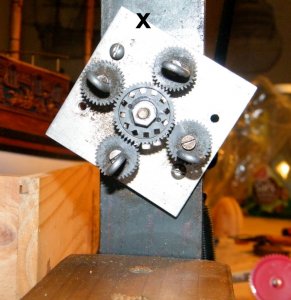
this was the front view of the hooks and gear wheels, the top wheel marked with an X used to be hard to attach
the rope to because the top was in the way and I had to thread the top rope through the top,
1193.jpg
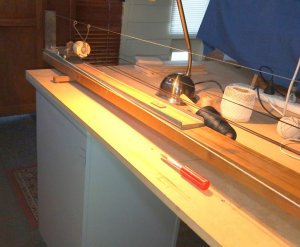
So after removing the motor and the pulleys I removed it and reattached it as above, I can now thread all
the ropes and attach the top to the wire afterwards, hope this makes sense, it probably will when you see
the rebuilt rope walk,
1194.jpg
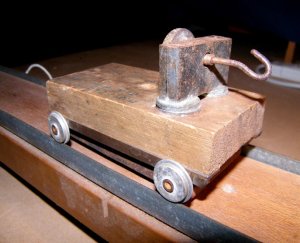
I also removed the carriage and cleaned it up a bit and lubricated the wheels,

1195.jpg
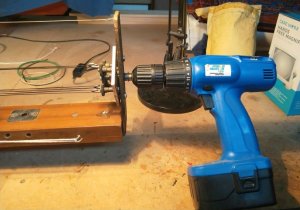
So this is how I am now powering the rope walk, its a lot easier, and also speed controlled,

1196.jpg
I also made a new top a bit larger this time and it works great,
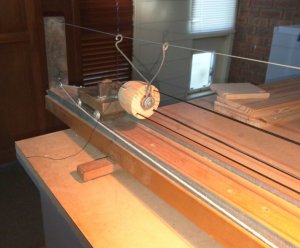

1197.jpg
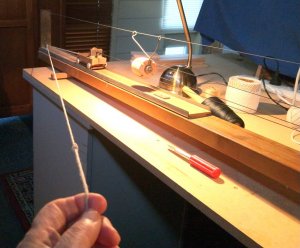
a close up, you can see what i mean about the ropes sitting on the top a lot better now, I am only using three
of the hooks on this set up, but you can use two three or four, depending on how thick etc you want the
finished rope to be,

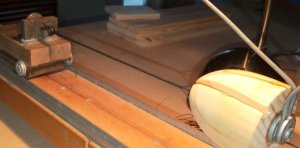
1198.jpg
I don't use weights on my rope walk, I have a length of string that goes from the back of the carriage to an eyelet
at the very back of the walk and then up to the front where I hold it, I have gotten used to the tension and feel,
and it works great for me,

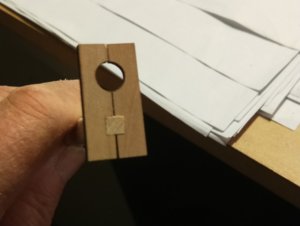
1199.jpg
close up of the rope spinning up behind the top,

.
 
1200.jpg
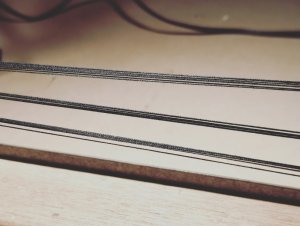
These are the three sets of threads for making the rope, it is important that they are all nice and tight as if any
of them sag you will end up with little curls along the length of your rope,


1201.jpg
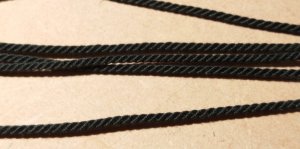
These are the roped for the fore and main shrouds, I have some ready made dark brown one's but I think that I
like these better, These are 2mm diameter, they are made up from 24 threads, 3 x 8 threads ,


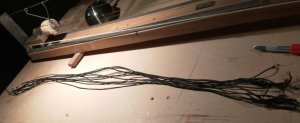
1202.jpg
there is enough here for the main and fore shrouds,


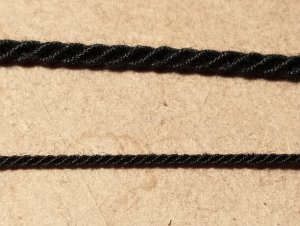
1203.jpg
close up, top one is 2mm dia, made up from 24 threads, 3 x 8 threads ,

the bottom one is 1mm dia, made up from 6 threads, 3 x 2 threads,


1204.jpg
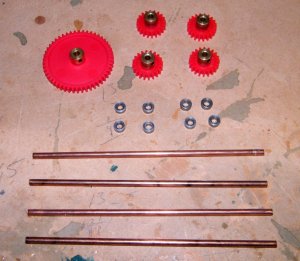
and just in case I have to build a new rope walk, I have these parts at hand,


.
 
1205.jpg
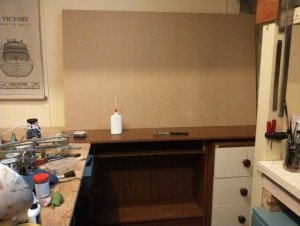
I have also moved my drawing board to a better position up against the top wall,


1206.jpg
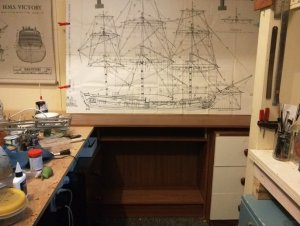
it take the Royal Caroline drawing nicely, and i have added a set of drawers and a nice wide shelf in front of the
board for laying the masts and yards on,


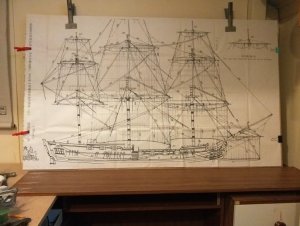
1207.jpg
close up with the drawing mounted on the board,

.
 
Nice rope walk John.
What is the length of rope you can make and what threads are you using?

Thank you Maarten, 970mm of usable rope, which is long enough for a double main mast shroud and also long enough for the stays, I could extend it longer but the size it is is nice and compact, and easy to store and set up, the thread is called Rasant,

best regards john,
 
Last edited:
Back
Top