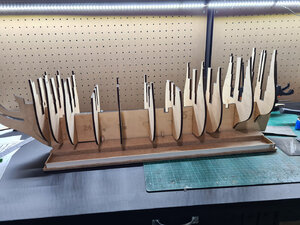
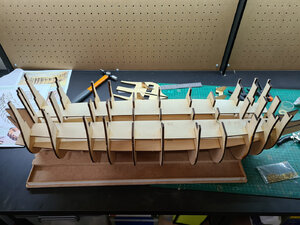
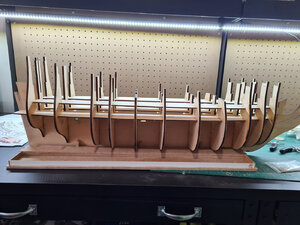
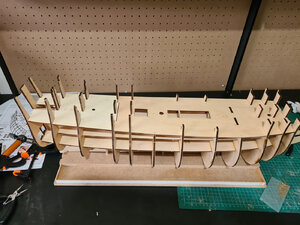
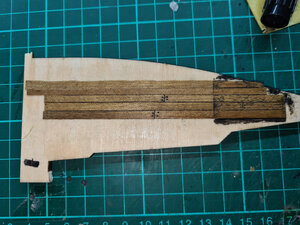
Yes that’s right, its another ZHL Soleil Royal Build Log!
Hi all, and welcome to my first build log here on SOS.
Time for a little backstory.
I’m primarily a plastic model builder, more specifically a sci-fi model builder but I bought the ZHL Black Pearl early last year to add to my stash of kits to build at some point in the future as I really like the ship (both from the movies and from the Kingdom Hearts video games) and really want to make a statement piece out of it.
Fast forward to this year and being in lockdown, I’ve had a bit more time to model but due to a few setbacks, I lost my drive for the couple of plastic kits I had been working on so they have gone back in their boxes for another day. I looked through my stash to see what else I could dedicate my time to and I saw the Black Pearl sitting there, but I knew that having not ever built a wooden ship model before, I didn’t want the Pearl to be my first. So I started looking at other wooden kits I could buy to be my ‘first’ build.
Knowing what I can be like, I had to make sure that the ship in question was one that I was drawn to and was of some interest to me. So this is where I stumbled upon the Soleil Royal. I know it is technically nowhere near a beginners kit, but if I’m honest, none of the beginner kits I looked at appealed to me. I just like the look and shape of the Soleil, along with its colours and decorations, and I like a challenge.
So I took the plunge and bought it. Max was great to deal with and the kit eventually arrived earlier this week.
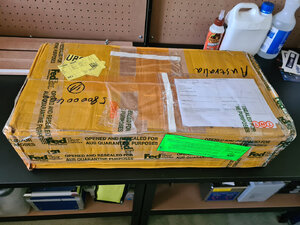
Looks like Australian customs decided to inspect inside the box, but thankfully they didn’t have to confiscate anything.
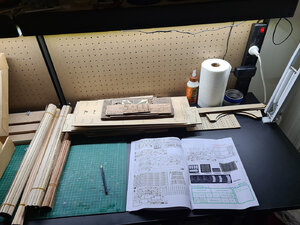
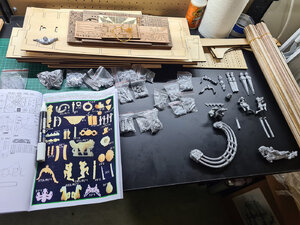
After a quick inventory, everything was accounted for apart from the Instruction CD appearing blank when put into my PC. Sent an email to Max and haven’t heard anything back as yet, but luckily paulb was able to help me out and email me a copy of the instructions from his build. Thanks again Paul!
So after sitting down with the instructions and looking through the parts, I’ve decided that along with building the ship (which is a mammoth task in itself), I am also going to look into the possibility of replacing the metal decorations that come with the kit. Whilst the ones that come with the kit are not horrible by any means at all, I am guessing that over time the molds used to cast them have worn down a little so they have lost some definition. I recently bought a 3D printer to be able to create custom parts for other model kits and thought I could put it to use on this kit too. Now whilst I have some experience in creating things in a 3D software program, usually they are very boxy and are not carved or sculpted as such. Venturing into this new avenue of sculpting and carving things in 3D should be a bit of fun, and if it fails, then at least I still have the original metal ones to use!
If you want to see a full breakdown of box contents head over to the thread from Dematosdg linked below who has done a great unboxing of the kit.
ZHL- LE SOLEIL ROYAL 1:90 - Box Content
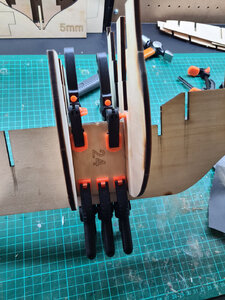
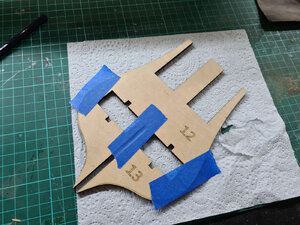
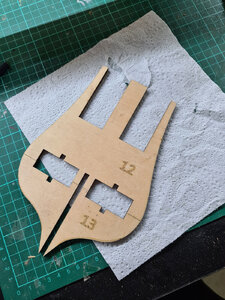
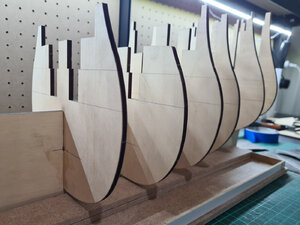
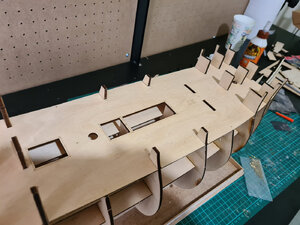
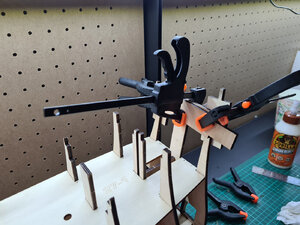
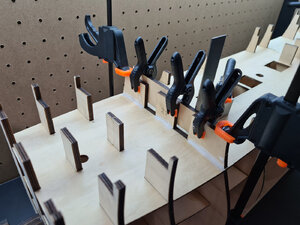
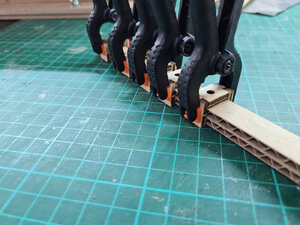
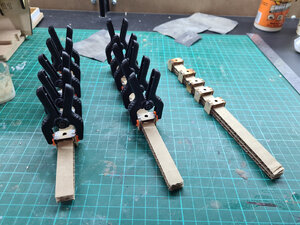
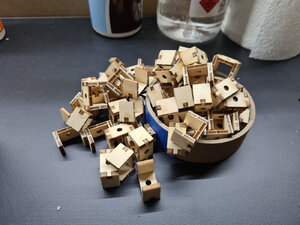
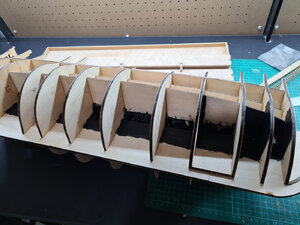
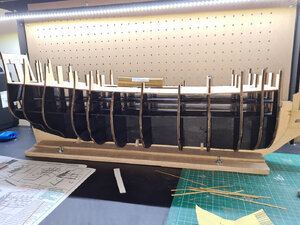
Anyways, I’ve already made a small start on sanding and gluing some pieces, so I’ll be posting again soon with my build updates.
I know I have a lot to learn (both about ship building and also all of the correct terminology) and will no doubt make mistakes along the way, but that is half the fun of it.
Hope you enjoy the build and my journey!
Hi all, and welcome to my first build log here on SOS.
Time for a little backstory.
I’m primarily a plastic model builder, more specifically a sci-fi model builder but I bought the ZHL Black Pearl early last year to add to my stash of kits to build at some point in the future as I really like the ship (both from the movies and from the Kingdom Hearts video games) and really want to make a statement piece out of it.
Fast forward to this year and being in lockdown, I’ve had a bit more time to model but due to a few setbacks, I lost my drive for the couple of plastic kits I had been working on so they have gone back in their boxes for another day. I looked through my stash to see what else I could dedicate my time to and I saw the Black Pearl sitting there, but I knew that having not ever built a wooden ship model before, I didn’t want the Pearl to be my first. So I started looking at other wooden kits I could buy to be my ‘first’ build.
Knowing what I can be like, I had to make sure that the ship in question was one that I was drawn to and was of some interest to me. So this is where I stumbled upon the Soleil Royal. I know it is technically nowhere near a beginners kit, but if I’m honest, none of the beginner kits I looked at appealed to me. I just like the look and shape of the Soleil, along with its colours and decorations, and I like a challenge.
So I took the plunge and bought it. Max was great to deal with and the kit eventually arrived earlier this week.

Looks like Australian customs decided to inspect inside the box, but thankfully they didn’t have to confiscate anything.


After a quick inventory, everything was accounted for apart from the Instruction CD appearing blank when put into my PC. Sent an email to Max and haven’t heard anything back as yet, but luckily paulb was able to help me out and email me a copy of the instructions from his build. Thanks again Paul!
So after sitting down with the instructions and looking through the parts, I’ve decided that along with building the ship (which is a mammoth task in itself), I am also going to look into the possibility of replacing the metal decorations that come with the kit. Whilst the ones that come with the kit are not horrible by any means at all, I am guessing that over time the molds used to cast them have worn down a little so they have lost some definition. I recently bought a 3D printer to be able to create custom parts for other model kits and thought I could put it to use on this kit too. Now whilst I have some experience in creating things in a 3D software program, usually they are very boxy and are not carved or sculpted as such. Venturing into this new avenue of sculpting and carving things in 3D should be a bit of fun, and if it fails, then at least I still have the original metal ones to use!
If you want to see a full breakdown of box contents head over to the thread from Dematosdg linked below who has done a great unboxing of the kit.
ZHL- LE SOLEIL ROYAL 1:90 - Box Content
Anyways, I’ve already made a small start on sanding and gluing some pieces, so I’ll be posting again soon with my build updates.
I know I have a lot to learn (both about ship building and also all of the correct terminology) and will no doubt make mistakes along the way, but that is half the fun of it.
Hope you enjoy the build and my journey!


