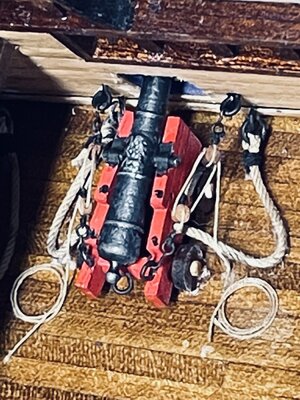
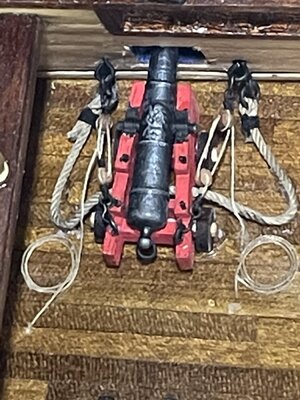
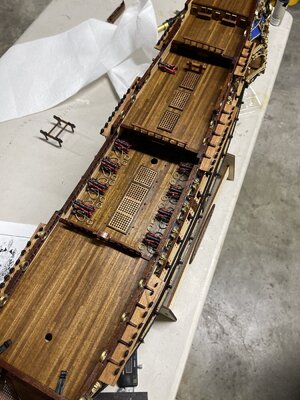
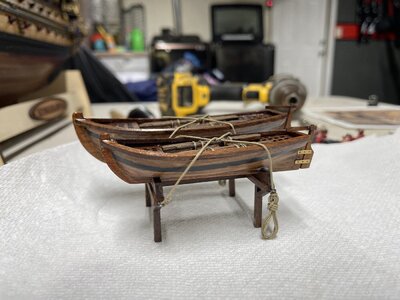
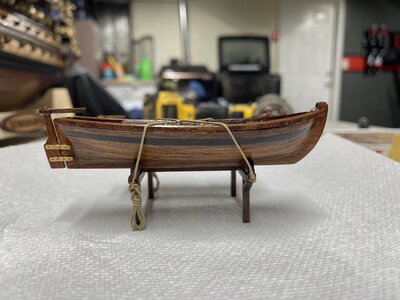
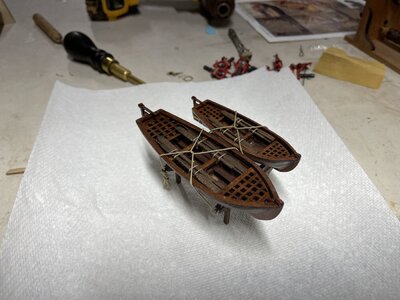
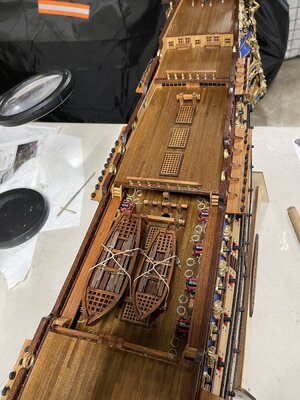
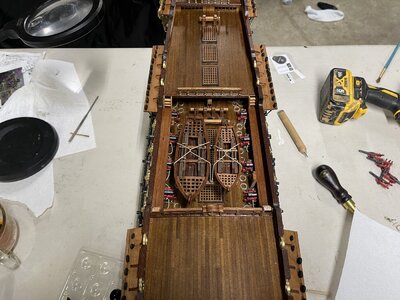
To be honest, once the wooden walkway is added above the guns and the two boats are added, you won't see much of the guns anyway. Overall, you're doing great on a challenging model.
-

Win a Free Custom Engraved Brass Coin!!!
As a way to introduce our brass coins to the community, we will raffle off a free coin during the month of August. Follow link ABOVE for instructions for entering.
-

PRE-ORDER SHIPS IN SCALE TODAY!
The beloved Ships in Scale Magazine is back and charting a new course for 2026!
Discover new skills, new techniques, and new inspirations in every issue.
NOTE THAT OUR FIRST ISSUE WILL BE JAN/FEB 2026
You are using an out of date browser. It may not display this or other websites correctly.
You should upgrade or use an alternative browser.
You should upgrade or use an alternative browser.
ZHL Soleil Royal
- Thread starter nunfried
- Start date
- Watchers 23
-
- Tags
- soleil royal zhl
I appreciate that, thank you. I agree with you on that. I am however taking this opportunity to better myself as I want to do the Caldercraft Victory next. After the two and a half hours it took me to get one cannon done, I figure I am in need of much practice.To be honest, once the wooden walkway is added above the guns and the two boats are added, you won't see much of the guns anyway. Overall, you're doing great on a challenging model.
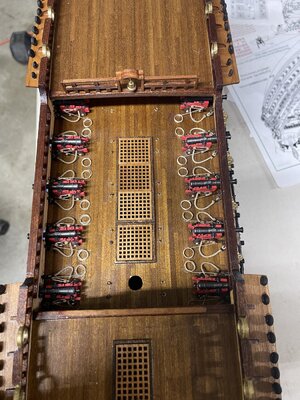
I made some smaller hooks out of 28 gauge wire. Shortened my seizings and used 2.5 mm blocks and it looks much better. That 1mm difference in blocks led to much more cursing, but I think it is the solution. I am having trouble threading these tiny blocks, even with needle threaders. Any suggestions?
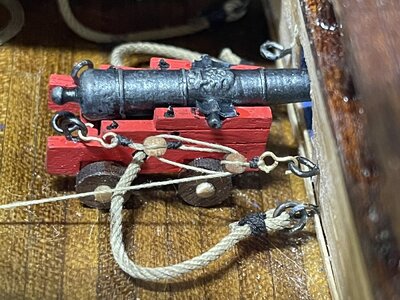

If you have springy hobby forceps, you place those upside down in a set of "helping hands", and hold the block in the forceps, then stiffen the end of the thread with CA glue, then cut the end of that stiff thread at a 30 degree angle so it's really pointy, put on your magnifying headset so you can see better, THEN attempt to either tie a strop around the block or thread it through. I am getting used to making gun tackles with 1.5mm blocks! You really have to have steady hands, also, and LOTS of patience. I usually listen to music or new talk shows on YouTube while I work. Since my model has 102 guns, I REALLY have to remind myself that the tiny detail rigging will come to an end someday.I made some smaller hooks out of 28 gauge wire. Shortened my seizings and used 2.5 mm blocks and it looks much better. That 1mm difference in blocks led to much more cursing, but I think it is the solution. I am having trouble threading these tiny blocks, even with needle threaders. Any suggestions?
View attachment 352077
Yes, I am looking at the work load ahead and it’s going to be a lengthy process rigging these cannons. I have to keep telling myself to take my time and do each one correctly because of the wow factor at the end. This site and its members helps push me in the direction of quality rather than quantity and it’s definitely paying off.If you have springy hobby forceps, you place those upside down in a set of "helping hands", and hold the block in the forceps, then stiffen the end of the thread with CA glue, then cut the end of that stiff thread at a 30 degree angle so it's really pointy, put on your magnifying headset so you can see better, THEN attempt to either tie a strop around the block or thread it through. I am getting used to making gun tackles with 1.5mm blocks! You really have to have steady hands, also, and LOTS of patience. I usually listen to music or new talk shows on YouTube while I work. Since my model has 102 guns, I REALLY have to remind myself that the tiny detail rigging will come to an end someday.Whatever you do to add detail, it will slow your overall progress speed, but the result at the end is VERY impressive. So, take your time doing the details. That's what makes your model seem impossible to those who don't build models like this.
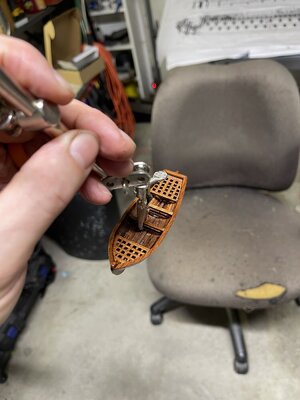
Out of the frying pan and into the fire! I'm going the other way. I'm doing boats now: the Galilee Boat, otherwise known as the Jesus Boat.I appreciate that, thank you. I agree with you on that. I am however taking this opportunity to better myself as I want to do the Caldercraft Victory next. After the two and a half hours it took me to get one cannon done, I figure I am in need of much practice.
Either that or use thinner thread. I always use the ca trick too.If you have springy hobby forceps, you place those upside down in a set of "helping hands", and hold the block in the forceps, then stiffen the end of the thread with CA glue, then cut the end of that stiff thread at a 30 degree angle so it's really pointy, put on your magnifying headset so you can see better, THEN attempt to either tie a strop around the block or thread it through. I am getting used to making gun tackles with 1.5mm blocks! You really have to have steady hands, also, and LOTS of patience. I usually listen to music or new talk shows on YouTube while I work. Since my model has 102 guns, I REALLY have to remind myself that the tiny detail rigging will come to an end someday.Whatever you do to add detail, it will slow your overall progress speed, but the result at the end is VERY impressive. So, take your time doing the details. That's what makes your model seem impossible to those who don't build models like this.
DittoThis attitude will result in a fantastic model! Bravo!
How does it work?
I tried to take a video but it was too big to post. I’ll see if I can find a linkHow does it work?
Couldn’t find a video applicable to model ship building so I’ll try to explain the best I can.How does it work?
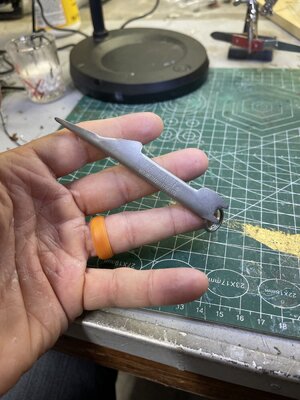
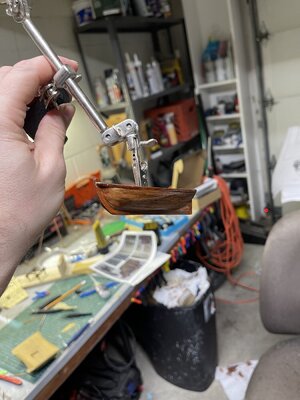
First, depending on what you’re seizing, make the appropriate loops with your thread. In this case, I’m attaching a hook to a block, so I will make a double loop
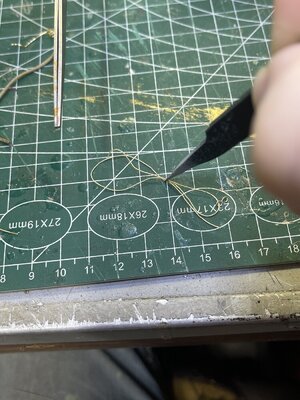
Next, place the double loop in the channel of the Tie Fast tool
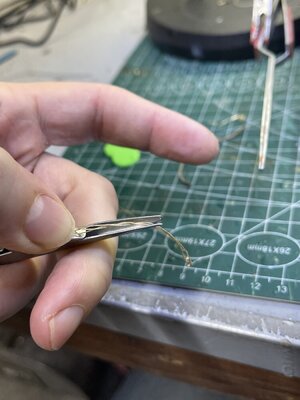
Insert the seizing thread in the same fashion and secure both with thumb
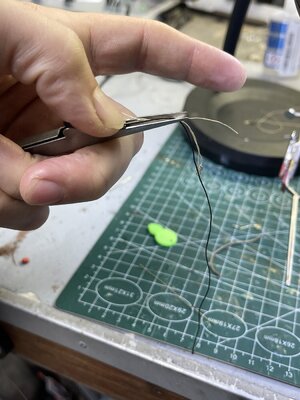
Take the seizing line down through the notch in the end of the tool and wrap around the double loop your desired number of turns
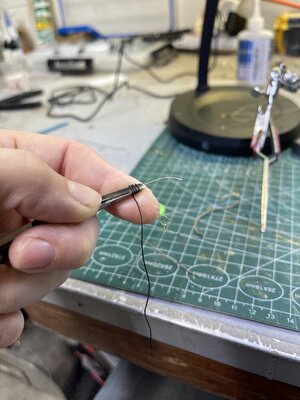
Secure the loose end of the seizing line with your pointer finger and insert a needle threader in the end and through to loops you just made with the seizing line. Put the loose in of the seizing line in the needle threaded and pull through.
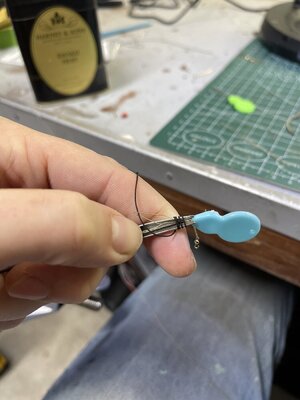
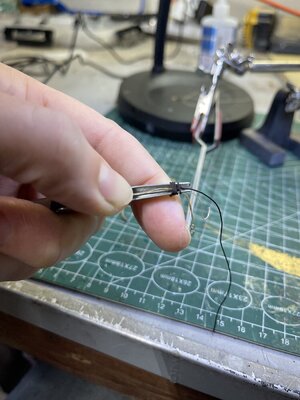 Carefully pull the seizing loops tight, organized, and toward the end of the tool. With a swift motion, pull the loose end off the seizing line off the tool and tight around the double looped thread
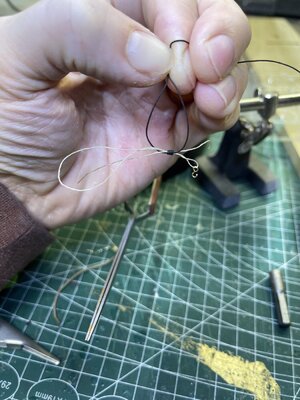
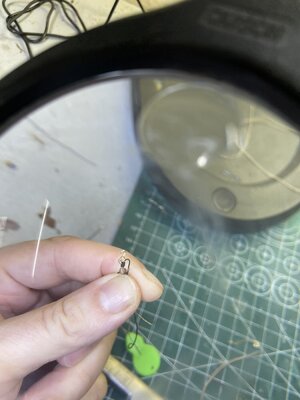
Trim off the loose ends and you’re done. This can be applied to attaching blocks to yards or in any direction you can make use of it. Cuts down on lots of cussing as well.
I have extensively used this great tool in my previous buildI tried to take a video but it was too big to post. I’ll see if I can find a link
See Youtube video HERE
It’s a must have in my opinion. It actually may have been your thread that I got the idea from!I have extensively used this great tool in my previous build
See Youtube video HERE
A COOL TOOL 
Good. Excellent cannons. The smaller blocks make a huge difference visually. It often the small things which make the difference (pun intendedFinally got the first row of cannons complete. I am quite happy with it and am glad I hit the rewind button and changed out to smaller blocks thanks to the suggestions of the members. I am also excited to switch gears and get some of these walkways and belaying pin racks going!
View attachment 356056
View attachment 356057


