It's been a few months since I've posted anything , so thought it might be time to give you a run-down on my progress with 'La Salamandre'. As I have stated previously, I don't intend to give you a blow-by-blow account of my build, as the ship construction has already been extremely well described by others, notably Uwe.
Instead, I will confine myself to occasional updates, together with any particular construction notes that I think might be useful to other builders.
I first became interested in this ship about thirty years ago, when I found Boudriot's book on La Salamandre in a second-hand maritime bookshop in Newcastle. i never got around to doing anything with it, as I had other construction projects on the stocks, but when CAF's kit came along I just had to have it!
That was more than two years ago, and I still had a lot of work to do to finish 'King's Fisher' - the legendary Bob Hunt kit.
I did what any sensible modeller does with a new kit, and that was to thoroughly check all the contents, and then put it out of the way on the highest shelf in my workroom !
I found one of the billets of wood was missing, but this was soon replaced by CAF.
I eventually started the kit in January of this year, and here I have to record a huge debt of gratitude to Uwe for the incredible record of his build, which has helped me out on several occasions as the 'instruction manual' for the kit is not the best, being rather sparse and in my copy the ink must have been running out when it was printed, as a lot of the diagrams cannot be read! I think I have read that CAF are revising the instruction manuals on some of their earlier kits, so I hope they are rather better now.
I have to say this POF kit is probably not a good one for a beginner, but luckily my 65+ years of modelling experience are pulling me through, and in particular my experience of POF building(I know roughly where everything should go on a ship!)
So, time for a few pictures!
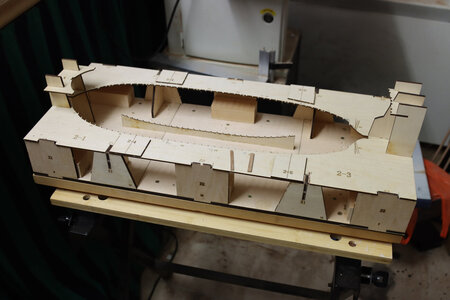
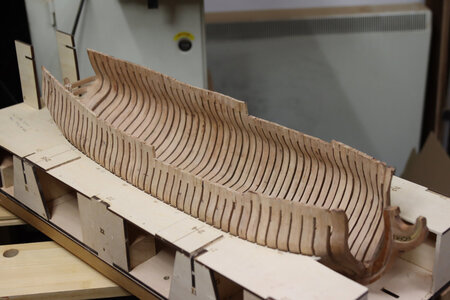
First, the jig. Make sure everything is square - if the jig is out, then everything is out. I found all the parts of the jig fitted quite accurately, but the ply base had warped slightly, so I reinforced it with a couple of substantial timbers underneath.
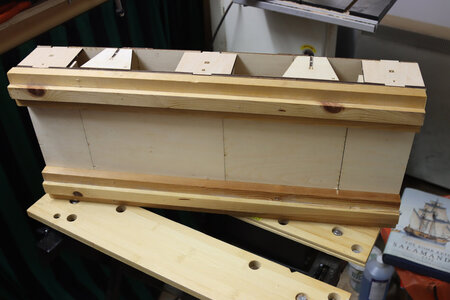
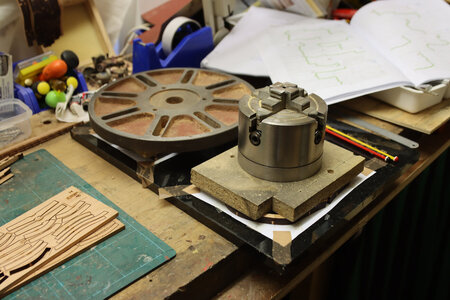
When building up the ribs, use a nice flat surface - mine is a stone kitchen cutting board that I picked up for about £2 (3$?) years ago - It is quite flat, although probably not up to the standards of an industrial plane table. I believe one of the SOS members uses a thick sheet of glass?
Make sure you hold down the frames with plenty of weight until thoroughly dry.
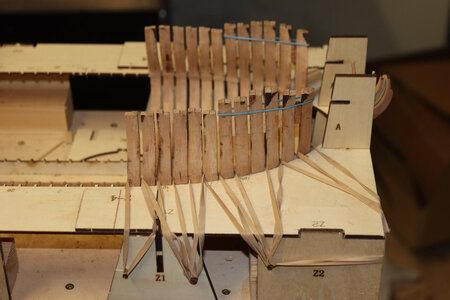
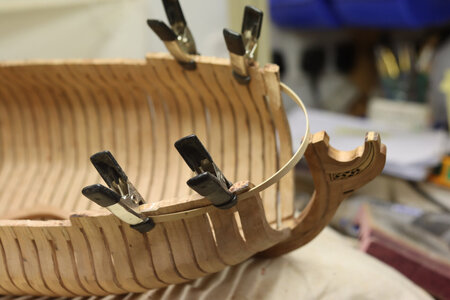
I use elastic bands to ensure the frames sit properly in the jig.
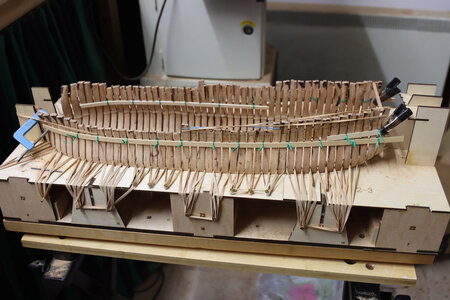
You can't have too many elastic bands! (Ann hasn't yet found the kitchen draw has lost most of it's store!)
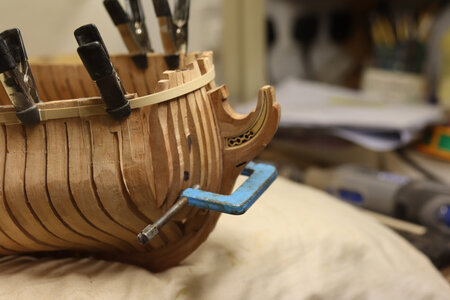
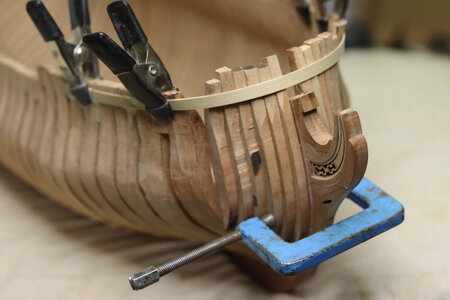
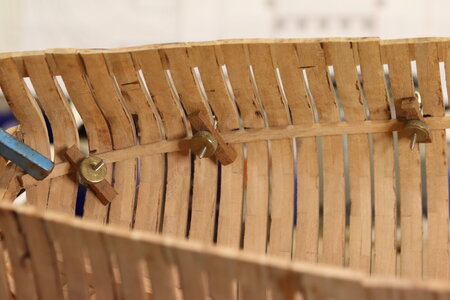
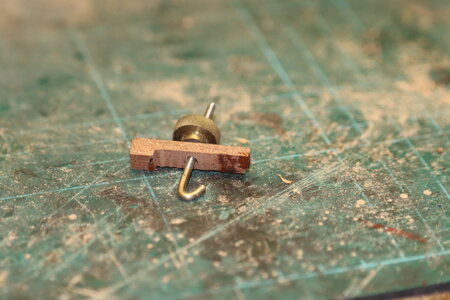
The horizontal timbers you can see on both sides of the hull are used to fair the tops of the frames. They are set down from the top to give a level for the chocks that will connect the tops of the frames together. I use plastic wire ties from the garden centre to fasten the temporary timbers - they really clamp the timbers very well, with the advantage they can get through the small gaps between the frames which normal clamps would be unable to do.
All for now!
Ted
Instead, I will confine myself to occasional updates, together with any particular construction notes that I think might be useful to other builders.
I first became interested in this ship about thirty years ago, when I found Boudriot's book on La Salamandre in a second-hand maritime bookshop in Newcastle. i never got around to doing anything with it, as I had other construction projects on the stocks, but when CAF's kit came along I just had to have it!
That was more than two years ago, and I still had a lot of work to do to finish 'King's Fisher' - the legendary Bob Hunt kit.
I did what any sensible modeller does with a new kit, and that was to thoroughly check all the contents, and then put it out of the way on the highest shelf in my workroom !
I found one of the billets of wood was missing, but this was soon replaced by CAF.
I eventually started the kit in January of this year, and here I have to record a huge debt of gratitude to Uwe for the incredible record of his build, which has helped me out on several occasions as the 'instruction manual' for the kit is not the best, being rather sparse and in my copy the ink must have been running out when it was printed, as a lot of the diagrams cannot be read! I think I have read that CAF are revising the instruction manuals on some of their earlier kits, so I hope they are rather better now.
I have to say this POF kit is probably not a good one for a beginner, but luckily my 65+ years of modelling experience are pulling me through, and in particular my experience of POF building(I know roughly where everything should go on a ship!)
So, time for a few pictures!

First, the jig. Make sure everything is square - if the jig is out, then everything is out. I found all the parts of the jig fitted quite accurately, but the ply base had warped slightly, so I reinforced it with a couple of substantial timbers underneath.


When building up the ribs, use a nice flat surface - mine is a stone kitchen cutting board that I picked up for about £2 (3$?) years ago - It is quite flat, although probably not up to the standards of an industrial plane table. I believe one of the SOS members uses a thick sheet of glass?
Make sure you hold down the frames with plenty of weight until thoroughly dry.

I use elastic bands to ensure the frames sit properly in the jig.

You can't have too many elastic bands! (Ann hasn't yet found the kitchen draw has lost most of it's store!)
The horizontal timbers you can see on both sides of the hull are used to fair the tops of the frames. They are set down from the top to give a level for the chocks that will connect the tops of the frames together. I use plastic wire ties from the garden centre to fasten the temporary timbers - they really clamp the timbers very well, with the advantage they can get through the small gaps between the frames which normal clamps would be unable to do.
All for now!
Ted


