View attachment 278570
For the bollards they just show the round part attached to the deck, which is probably OK on the original, but on
the model I think they would be easily broken as the deck is very thin ply, so I opted to make a base plate for them
with a bridging piece to hold them more securely, this shows the base plate and the four bollards drilled out ready
for assembly with holes on the corner for a small copper bolt to secure them to the deck, along with Super glue,
View attachment 278571
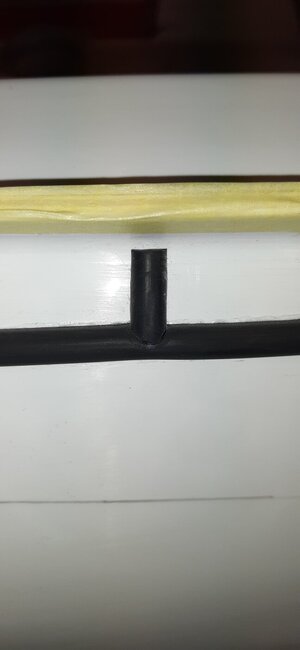
shows the method of construction,
View attachment 278572
approx where they will be fixed, you can see the bridging piece glued in place,
View attachment 278573
drilling out for the securing pins that go through the top of the bollards,
View attachment 278574
all six bollards, they still have to have the pins trimmed to size and also have the bridging pieces filed to shape,
the four single bollards are secured to the top of the bulwark rails and will have a pin going through the deck,
View attachment 278575
and a view of the superstructure, it now has had a priming coat and two brushed coats of cream and one coat of
sprayed cream, needs a good rub down and another couple of sprayed coats of cream,
best regards john.


.jpg")


