- Joined
- Jun 7, 2021
- Messages
- 33
- Points
- 48

Hello everyone!!
I decided to begin my HMS Victory from paper, well actually my first HMS Victory, i want to make two of them eventually since i like very much this ship and i would like to decorate both my house and my father's.
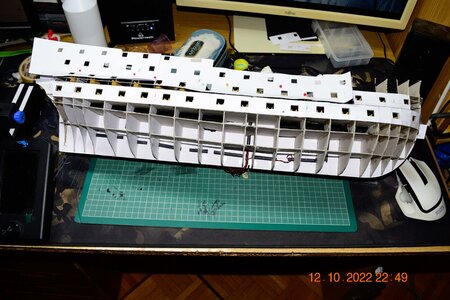
So let's begin!! These two photos are from the first dry fitting:


So far nothing strange, with no difficulties except the cutting of 3 cardboards 70 x 50 cm 1mm.
So after the tests, i glued the parts.
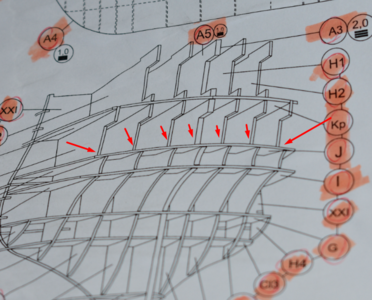
At the next stage, when glueing the sceleton of the mirror, i found the first mistake of the kit. Minor mistake since nothing will be seen, but i decided to fix it: At the keel plan, the parts are shown exactly as is. But at the detailed view of the mirror, the keel is shown with the same cut as the pieces H1 H2 H3.

i did managed to fix it and it was the first tricky part of the project.
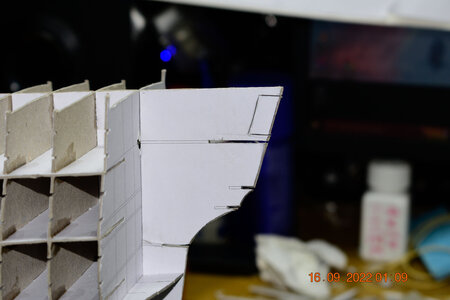
And the final result:
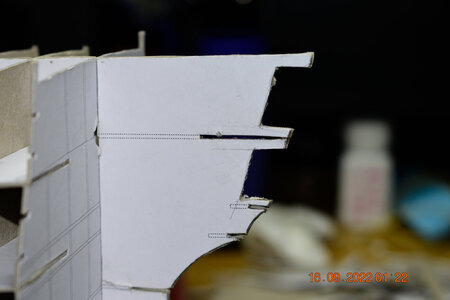
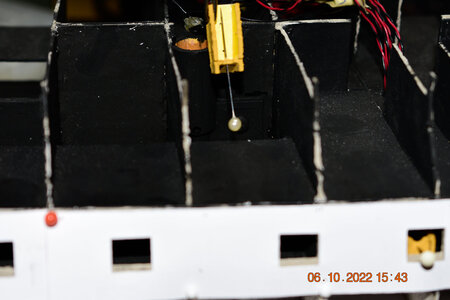
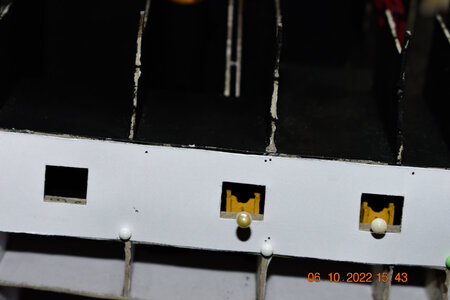
For this ship there are no many finished build logs online, but i found a good one at youtube. In that video, the internal parts of the ship that are shown from the cannon holes, are painted black, and i decided to copy the idea. I make a copy from the necessary parts and cut them to dry fit.

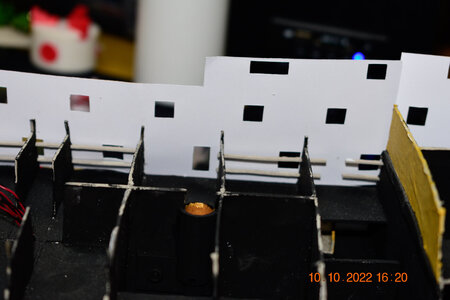
In the process i found that a specific part had an issue with the frame next to it. the result was this little gap which of cource its not important at last since its gonna fixed but...

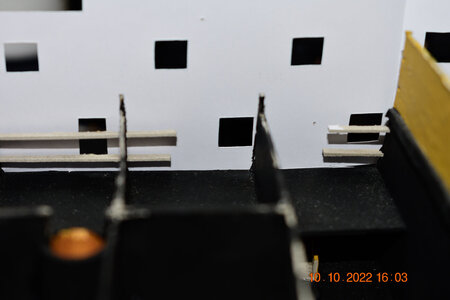
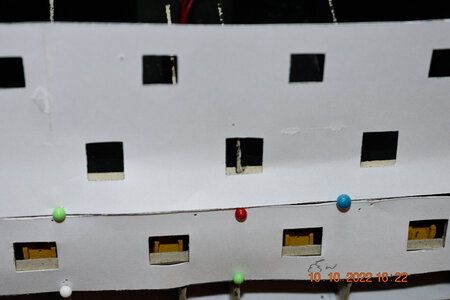
In any other potition of the part 45l the frame was going at the center of the cannon hole wich i dont want:
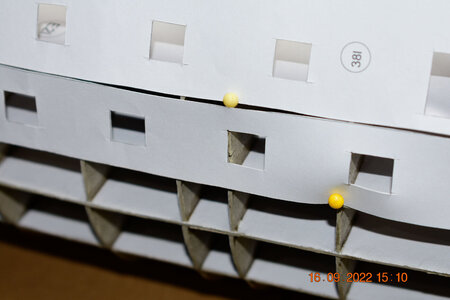
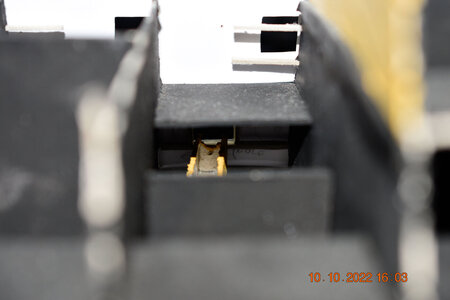
The same issue exists and the top cannon deck but there dont cause issue since the frame doesnt reach the hole:
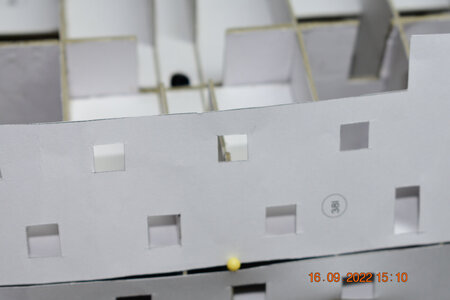
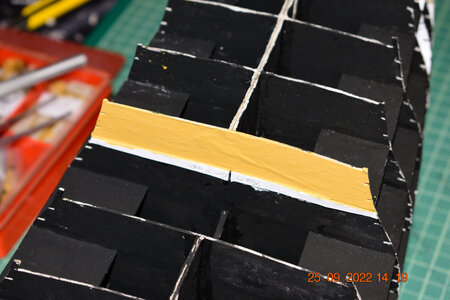
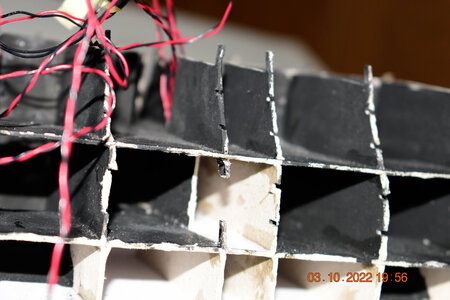
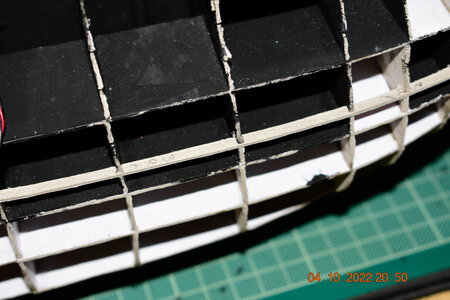
After that, i began the painting. I have to say i did two little mistakes here. I paint too high two specific frames and i lost the trace of the position of the four deck supports. At the stern side:

I start to place the supports but i didnt like the triangle-ish shape:

So with a piece of thread i made a "ruler" and i found that i had glue wrong the first piece:
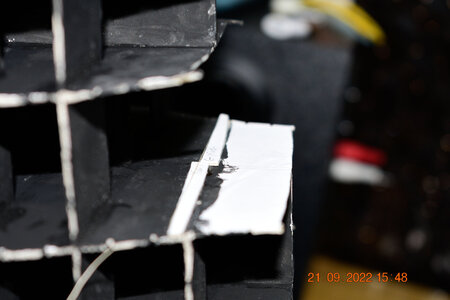
and at the bow side the correct thing to do was to glue the frame reverse from the beggining , with the paper facing the stern instead of the bow, but thankfully i had the keel and it was easy to find the correct place.
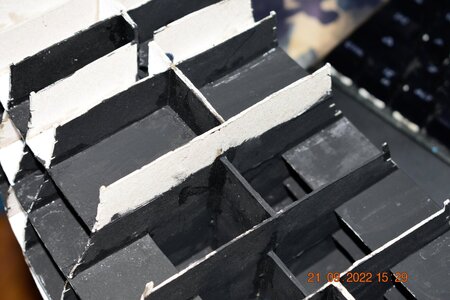
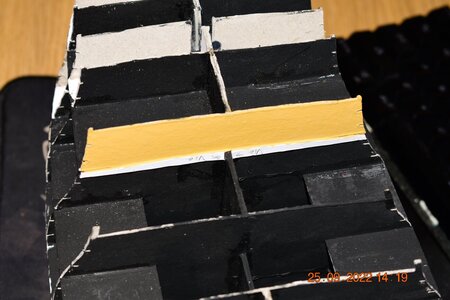
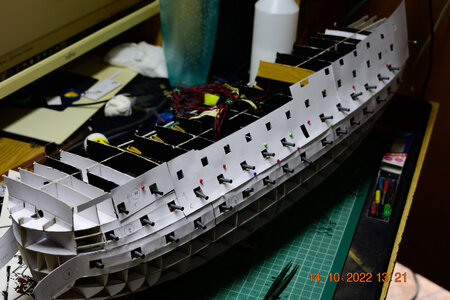
Finally the result:
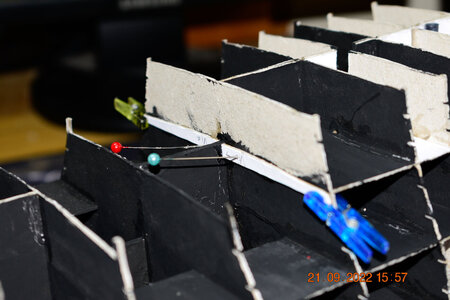
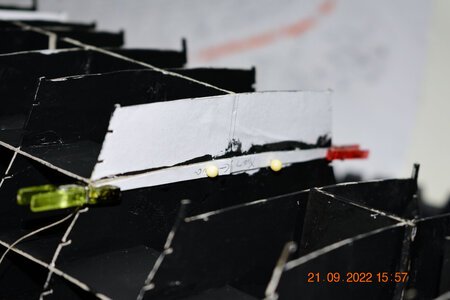
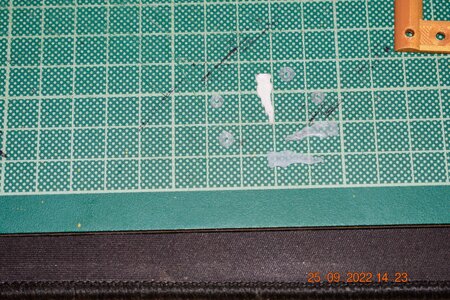
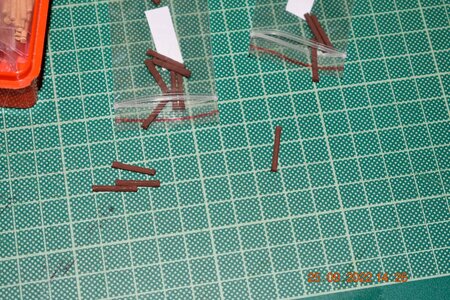
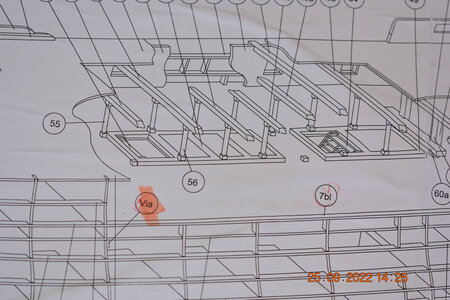
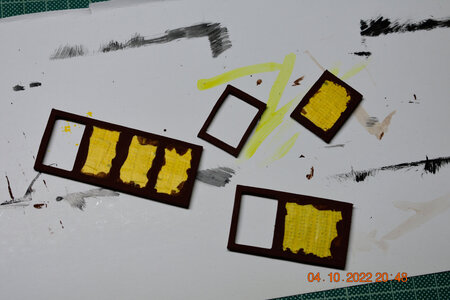
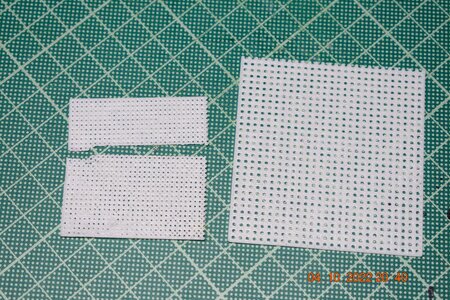
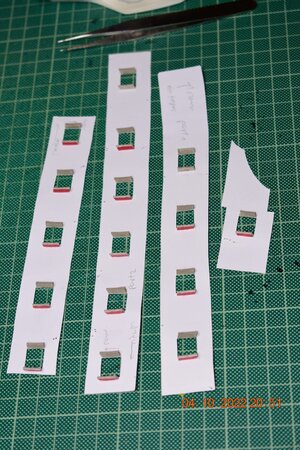
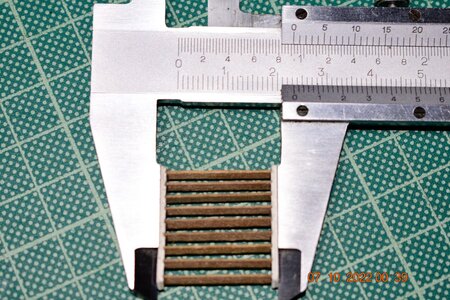
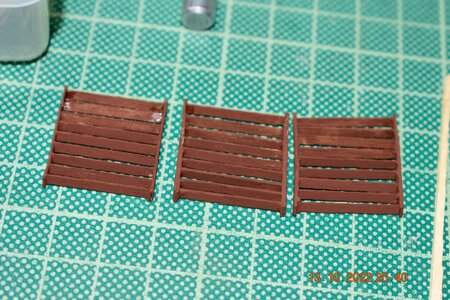
The last detail for now, again at the mirror i cut these pieces according to the plan:

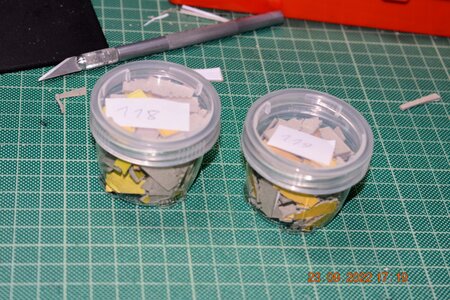
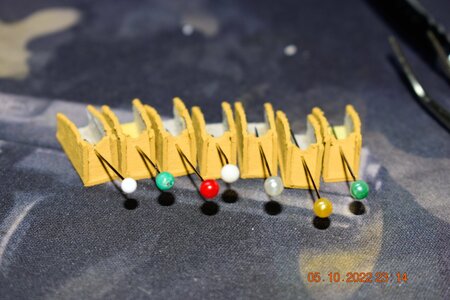
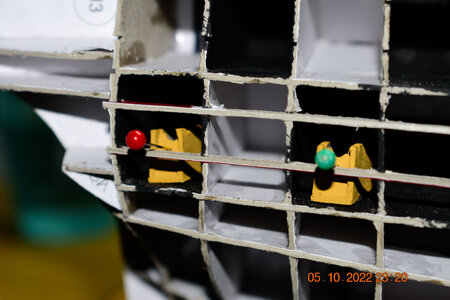
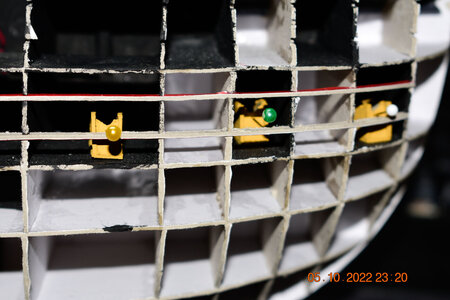
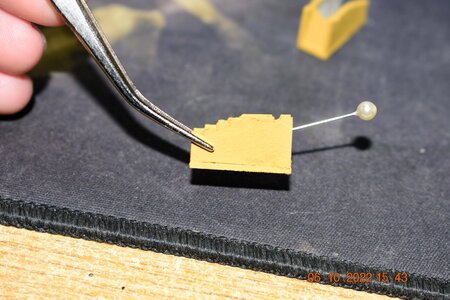
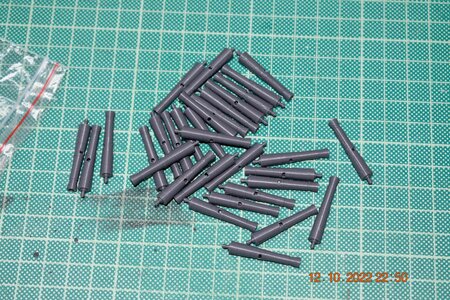
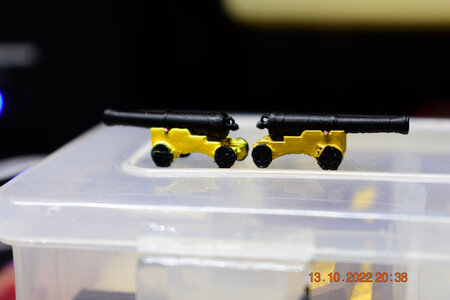
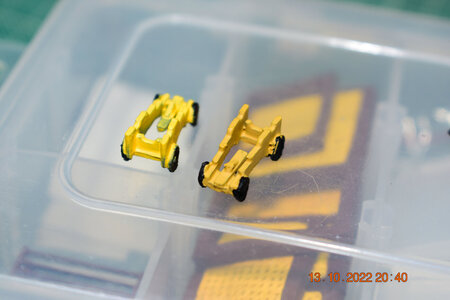
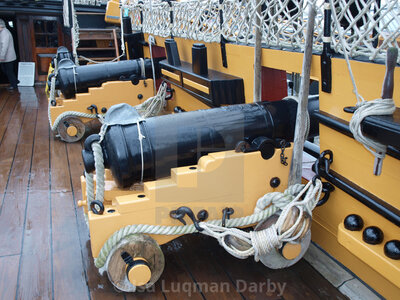
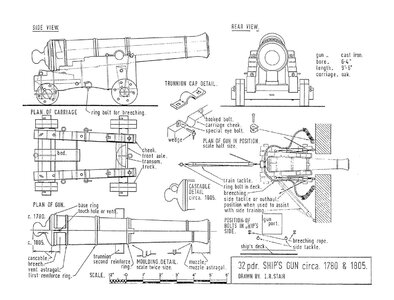
So now i have the difficult work to cut 54 (maybe more if i forgot some) carriages for the lower gun decks....
Thank you,
John
I decided to begin my HMS Victory from paper, well actually my first HMS Victory, i want to make two of them eventually since i like very much this ship and i would like to decorate both my house and my father's.
So let's begin!! These two photos are from the first dry fitting:


So far nothing strange, with no difficulties except the cutting of 3 cardboards 70 x 50 cm 1mm.
So after the tests, i glued the parts.
At the next stage, when glueing the sceleton of the mirror, i found the first mistake of the kit. Minor mistake since nothing will be seen, but i decided to fix it: At the keel plan, the parts are shown exactly as is. But at the detailed view of the mirror, the keel is shown with the same cut as the pieces H1 H2 H3.

i did managed to fix it and it was the first tricky part of the project.

And the final result:

For this ship there are no many finished build logs online, but i found a good one at youtube. In that video, the internal parts of the ship that are shown from the cannon holes, are painted black, and i decided to copy the idea. I make a copy from the necessary parts and cut them to dry fit.

In the process i found that a specific part had an issue with the frame next to it. the result was this little gap which of cource its not important at last since its gonna fixed but...

In any other potition of the part 45l the frame was going at the center of the cannon hole wich i dont want:

The same issue exists and the top cannon deck but there dont cause issue since the frame doesnt reach the hole:

After that, i began the painting. I have to say i did two little mistakes here. I paint too high two specific frames and i lost the trace of the position of the four deck supports. At the stern side:

I start to place the supports but i didnt like the triangle-ish shape:

So with a piece of thread i made a "ruler" and i found that i had glue wrong the first piece:

and at the bow side the correct thing to do was to glue the frame reverse from the beggining , with the paper facing the stern instead of the bow, but thankfully i had the keel and it was easy to find the correct place.

Finally the result:


The last detail for now, again at the mirror i cut these pieces according to the plan:


So now i have the difficult work to cut 54 (maybe more if i forgot some) carriages for the lower gun decks....
Thank you,
John


