HMS Victory 1/96 by Shipyard

Joined
Jun 7, 2021
Messages
33
Points
48

Hello everyone!!

I decided to begin my HMS Victory from paper, well actually my first HMS Victory, i want to make two of them eventually since i like very much this ship and i would like to decorate both my house and my father's.

So let's begin!! These two photos are from the first dry fitting:
IMG_20220909_194653.jpg


IMG_20220909_194710_1.jpg

So far nothing strange, with no difficulties except the cutting of 3 cardboards 70 x 50 cm 1mm.
So after the tests, i glued the parts.

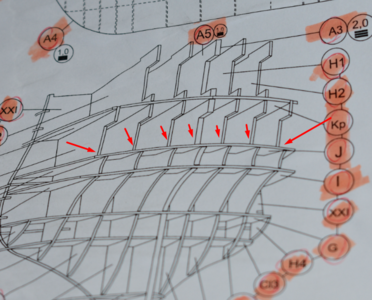
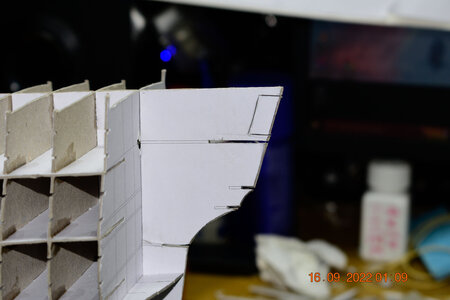
At the next stage, when glueing the sceleton of the mirror, i found the first mistake of the kit. Minor mistake since nothing will be seen, but i decided to fix it: At the keel plan, the parts are shown exactly as is. But at the detailed view of the mirror, the keel is shown with the same cut as the pieces H1 H2 H3.
Screenshot_937.png
i did managed to fix it and it was the first tricky part of the project.
_DSC5946.jpg

And the final result:
_DSC5948.jpg

For this ship there are no many finished build logs online, but i found a good one at youtube. In that video, the internal parts of the ship that are shown from the cannon holes, are painted black, and i decided to copy the idea. I make a copy from the necessary parts and cut them to dry fit.
_DSC5949.jpg
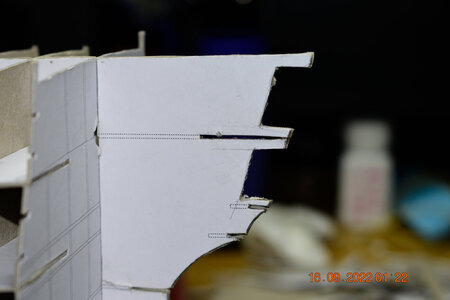
In the process i found that a specific part had an issue with the frame next to it. the result was this little gap which of cource its not important at last since its gonna fixed but...

_DSC5950.jpg
In any other potition of the part 45l the frame was going at the center of the cannon hole wich i dont want:
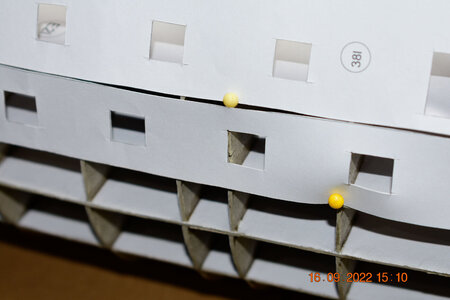
_DSC5951.jpg

The same issue exists and the top cannon deck but there dont cause issue since the frame doesnt reach the hole:
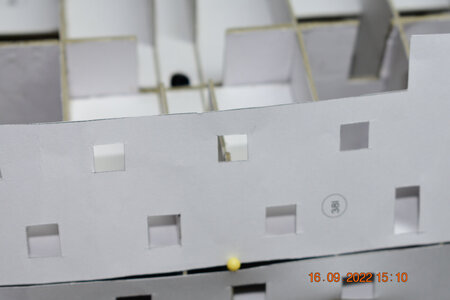
_DSC5952.jpg
After that, i began the painting. I have to say i did two little mistakes here. I paint too high two specific frames and i lost the trace of the position of the four deck supports. At the stern side:
_DSC5955.jpg

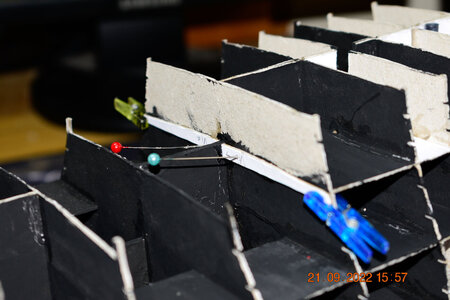
I start to place the supports but i didnt like the triangle-ish shape:
_DSC5957.jpg

So with a piece of thread i made a "ruler" and i found that i had glue wrong the first piece:
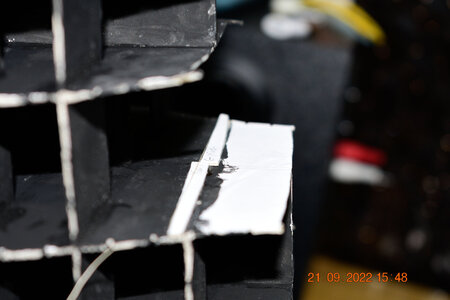
_DSC5958.jpg

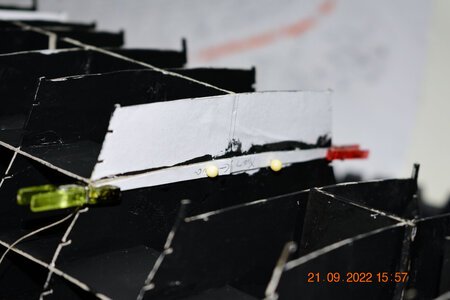
and at the bow side the correct thing to do was to glue the frame reverse from the beggining , with the paper facing the stern instead of the bow, but thankfully i had the keel and it was easy to find the correct place.
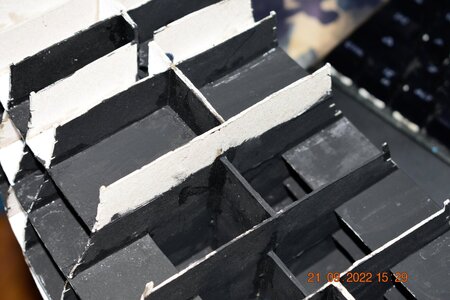
_DSC5956.jpg

Finally the result:
_DSC5960.jpg_DSC5961.jpg

The last detail for now, again at the mirror i cut these pieces according to the plan:
Screenshot_1.pngScreenshot_2.png

So now i have the difficult work to cut 54 (maybe more if i forgot some) carriages for the lower gun decks....
Thank you,
John
 
A Victory in card-board - this would be a real challenge for me - and I guess a too big one
Wish you luck, patience and success with your project.
I will follow your log with big interest
 
Hi LoannisK,

Looking good so far.

It is hard enough trying to making ships like the Victory using wood, It must be even harder making it using card and paper.
I wish you a lot of luck.

What is the thickness of the card you are using ?

Like Jimsky and Uwek I will be following your progress.
 
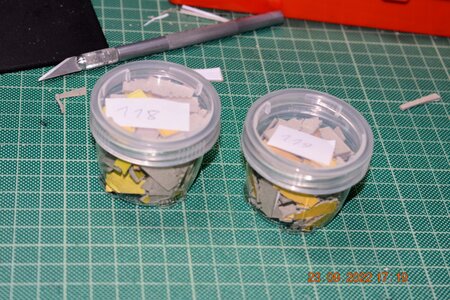
After a lot of work, I finally finished the cutting of the dummy carriages:
A note here, at plans I counted 32 cannons at the lower deck and 28 cannons at the middle deck. But at the carriages I counted only 28 for the lower deck.
There is a small chance I miss 4 carriages, but I think its a kit issue, since its easy to forget some when you have that much same parts. Either way it wasn't hard to make another 4 and also made another 2 for the middle deck since I miscounted the window at the bow (probably there was also a cannon there but the window will be closed so it doesn't matter... unless I have the window open which I am not totally sold yet but I will keep thinking about it).
The carriages:
_DSC5964.jpg
After the assembly I had to paint them using Vallejo's yellow ochre (70.913), a very relaxing work comparing to the parts cutting.
_DSC5966.jpg
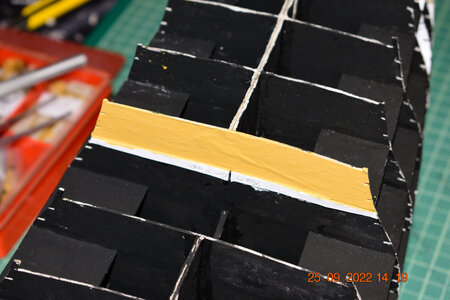
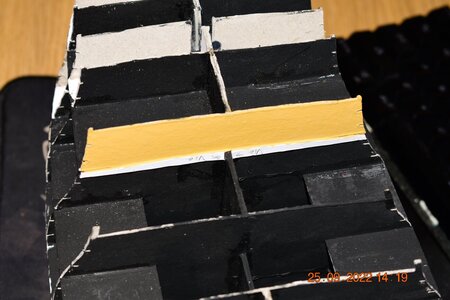
After that and since I already had the brush wet with color, I painted the frames at the finishing of the deck:
And here is the first showcase of how good is the cardboard painted compared to the paper glued on it (of course that's my fault since I had the color thinned with water, a mistake I will avoid at the future). The second photo is from the cardboard:
_DSC5967.jpg_DSC5968.jpg
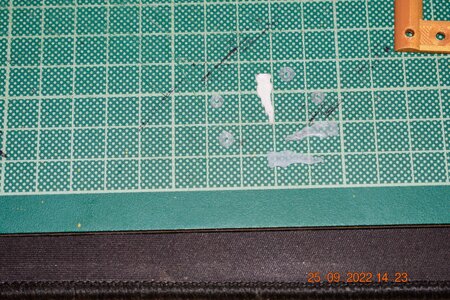
In the meantime I 3d printed the following parts:
_DSC5971.jpg
with yellow color are the main and mizzen mast bases. I decided to make them because I think they'll help me to keep the masts straight.
The two blue-ish cannons at the top left are tests with PETG which they didn't come very well, the three cannons at the middle (white and black) are ABS but an older design, and the two rods are templates for the fore and main masts since I don't have yet the necessary dowels.

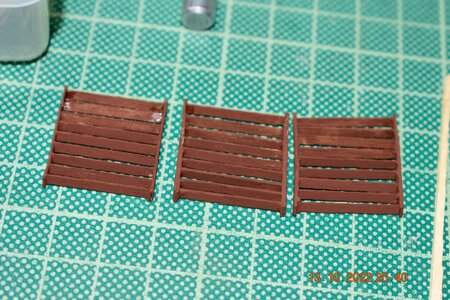
I also tried to make the carriages for the top deck, but they need more work:
_DSC5972.jpg

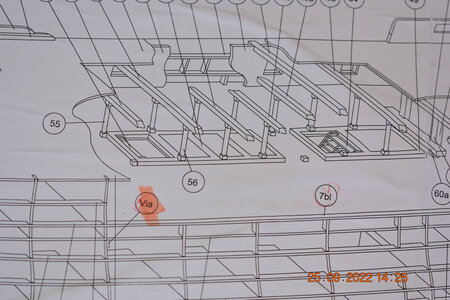
Another family of parts, are the pillars 55-56 they hold the main deck
_DSC5973.jpg_DSC5974.jpg
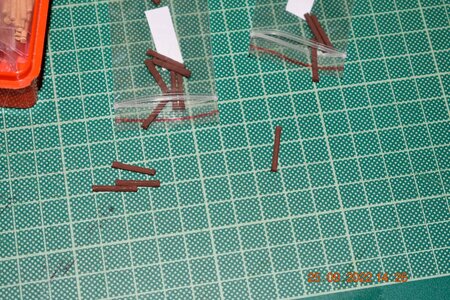
They are made from wood strip 2x2 mm
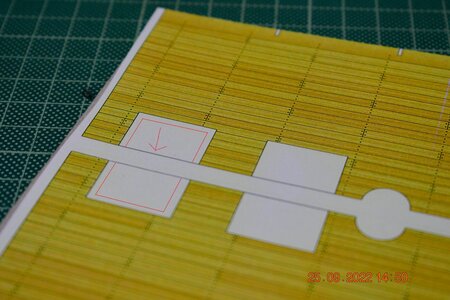
Then I decided to procced with the first deck parts, which I think I found a small error:
The correct cut line is the one I created with red line, and not the black I point with the arrow. This is because at this place there is a ladder so the need of the hole, but also it must not be cut completely because there also fits the part 51. Now I have to create the parts 51 and 54 in order to find how much I must cut.
_DSC5975.jpgScreenshot_9.png


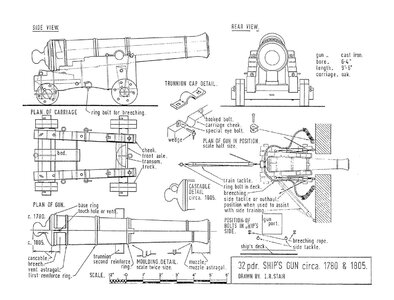
At last, with the plans provided I designed the cannons in Fusion 360 for 3d printing:
Screenshot_8 - Copy.png

I hope I can upload the .STLs for anyone who wants.
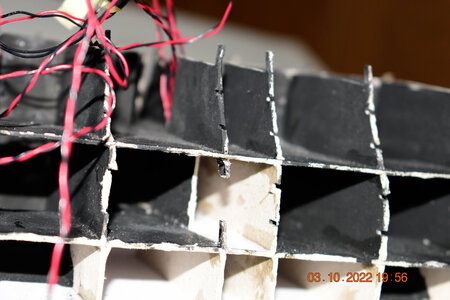
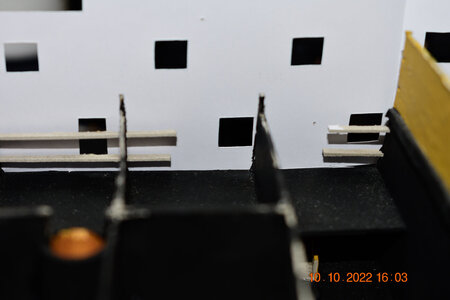
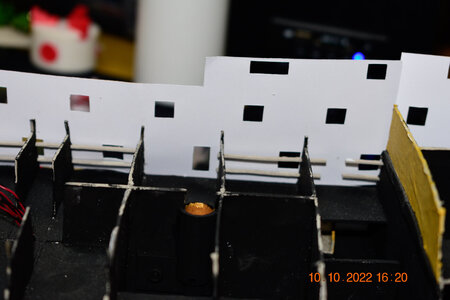
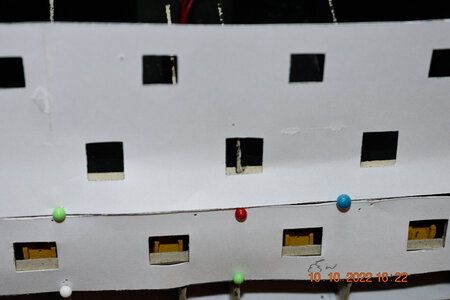
For the next step I must dry fit the inner planking of the top gun deck in order to realize where the leds will go. My goal is to use some yellow-ish leds in order to luminate the area under the boats, and I want to know everything before the planking, and that's the reason I took it a little slowly.
Thank you!
 

Attachments

  • vic 12p a.stl
    430.4 KB · Views: 47
  • vic 12p b.stl
    462 KB · Views: 16
  • vic 24p a.stl
    450 KB · Views: 17
  • vic 24p b.stl
    468.7 KB · Views: 15
  • vic 32p b.stl
    505.1 KB · Views: 15
  • vict 32p a.stl
    479.3 KB · Views: 19
My thoughts are not final, but so far I thinking for sure the cannons, the carriages of the top gun deck, the two carronades, and the wheel.
At my "maybe" list I have the belfry bell roof, the lanterns which I want to add leds, the rigging blocks, and the gallery external details from the next image:
6042_4-auto_downl.jpg
The image is from the finished model (prototype maybe? ) from Shipyard: https://model-shipyard.com/gb/sailing-ships/33-mk002-hms-victory-no-41.html

Thank you!
 
Hello again to everyone!!!
After a long time (relative of course, but long to me) I finally put my thoughts in order and found a solution on how to proceed.
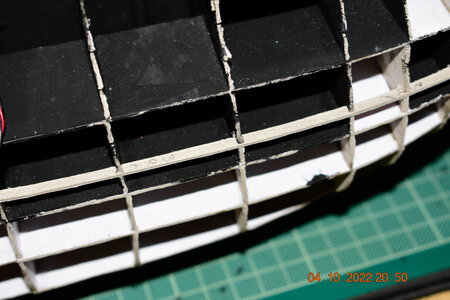
So here the story begins: The frames 10 ( X ) and 11 ( XI ) are blocking the carriages on the two lower decks (I am 100% sure for the lower deck but not for the middle) and whatever I tried during the dry fitting did not succeed. I repositioned the parts many times, but always there was a flaw.
_DSC5978.jpg

At last I thought that this interior will not be seen in the final model, so I started to cut:
_DSC5980.jpg_DSC5981.jpg
Of course after the cut, I painted the new space.

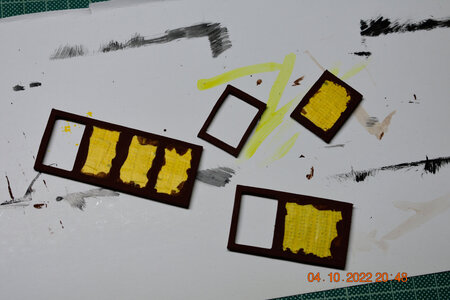
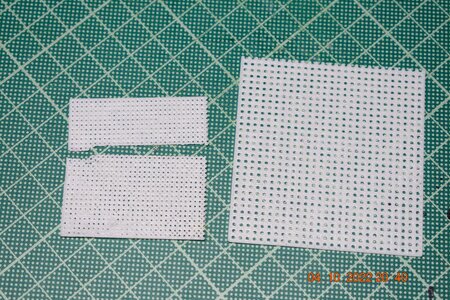
I also assembled and painted the gratings of the upper gun deck (the first deck to be placed in the ship). For more realism, I made holes with the most thick needle I found. Also after the drilling I removed carefully the printed paper for better color uniformity. After the remove of the masking tape will be much better:
_DSC5982.jpg

On the gratings theme, seeking to the future and the main deck, I tried to 3d print a part (again, like the cannons, attached to the post for free use), the small one is 100% size and the large is 140%. I am not totally sold on this idea, but I would like something better that the needle holes for the main deck's gratings which will be seen much more than the other ones. I have to try again before the final decision and of course all opinions are welcome:
_DSC5983.jpg

Also I decided to revert the left and right parts of the cannon windows frames because the colors have much better adhesion & visual than on the paper:
_DSC5984.jpg

Finally, the first planking of the lower deck (well, just one side for now) ready to be added (again, with inverted the sides of the window frames):
_DSC5985.jpg

Of course, the trap here is that before the first planking and before the horizontal cannon window frames, I must add the carriages since its from difficult to impossible in some cases to be added later, even the instructions mention this step.

Thank you for your time, all ideas welcome!
 

Attachments

  • gratings.stl
    786.4 KB · Views: 14
Hello again to everyone!!!
After a long time (relative of course, but long to me) I finally put my thoughts in order and found a solution on how to proceed.
So here the story begins: The frames 10 ( X ) and 11 ( XI ) are blocking the carriages on the two lower decks (I am 100% sure for the lower deck but not for the middle) and whatever I tried during the dry fitting did not succeed. I repositioned the parts many times, but always there was a flaw.
View attachment 332175

At last I thought that this interior will not be seen in the final model, so I started to cut:
View attachment 332177View attachment 332178
Of course after the cut, I painted the new space.

I also assembled and painted the gratings of the upper gun deck (the first deck to be placed in the ship). For more realism, I made holes with the most thick needle I found. Also after the drilling I removed carefully the printed paper for better color uniformity. After the remove of the masking tape will be much better:
View attachment 332179

On the gratings theme, seeking to the future and the main deck, I tried to 3d print a part (again, like the cannons, attached to the post for free use), the small one is 100% size and the large is 140%. I am not totally sold on this idea, but I would like something better that the needle holes for the main deck's gratings which will be seen much more than the other ones. I have to try again before the final decision and of course all opinions are welcome:
View attachment 332180

Also I decided to revert the left and right parts of the cannon windows frames because the colors have much better adhesion & visual than on the paper:
View attachment 332181

Finally, the first planking of the lower deck (well, just one side for now) ready to be added (again, with inverted the sides of the window frames):
View attachment 332182

Of course, the trap here is that before the first planking and before the horizontal cannon window frames, I must add the carriages since its from difficult to impossible in some cases to be added later, even the instructions mention this step.

Thank you for your time, all ideas welcome!
Hi loannisk,
If some of the bulkheads clash with the gunport then maybe you could just fit the gunport door closed.
As for the greetings could you file a cocktail stick square to the size you want then make a hole in the card then push the cocktail stick in the hole that way you could end up with a square hole.
Just a thought.
 
As for the greetings could you file a cocktail stick square to the size you want then make a hole in the card then push the cocktail stick in the hole that way you could end up with a square hole
Actually this is a brilliant idea I want to try as soon as I remove the mask tape!! Thank you very much!!
As for the bulkheads I think after the black paint nothing will be seen at the end, since I already have cut it. Thank you!!
 
Hello a little sooner this time!!!

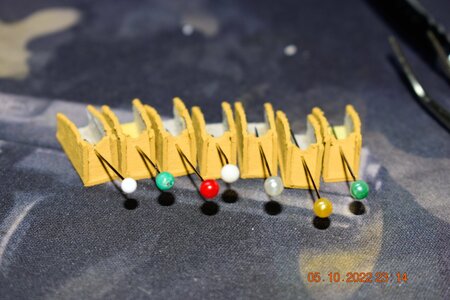
I started to add the carriages of the lower gun deck.
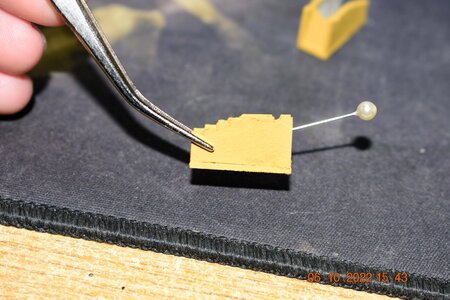
First of all, I prepared the carriages by adding a long pin in front of them:
_DSC5987.jpg

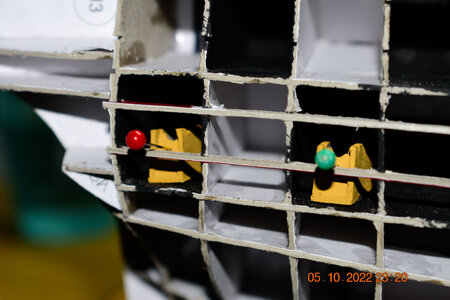
Then I insert (without adding glue, just dry fitting) the carriages inside the bulwarks between the frames that don't have another opening:
_DSC5990.jpg_DSC5989.jpg_DSC5988.jpg
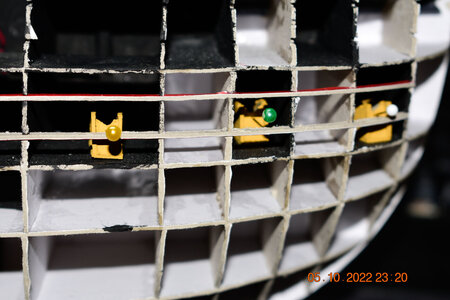
And after, I add the first planking parts so I can see the exact place for every cannon. I fix the planking with pins without glue:
_DSC5993.jpg_DSC5992.jpg_DSC5991.jpg

Then, carefully I remove some (not all) of the pins to reveal the inside space, and I lift the carriage to add glue underneath. Then I fix again the planking and with the pin I positioning the carriage to be in the middle of the window:
_DSC5998.jpg

As for the rest, without messing with the already dry fitted planking I grab the carriage and I add glue:
_DSC6000.jpg
And from the opening I pass it down:
_DSC6001.jpg_DSC6002.jpg

I fix it in the correct position and its over. Repeat for the rest:
_DSC6003.jpg

Having a little spare time, I tried to make the first stair. For the steps instead of the parts of the kit I used walnut strip 2 x 0.5 mm:
_DSC6005.jpg

And... that's all for today.

Thank you for your time!!!!
 
Hello a little sooner this time!!!

I started to add the carriages of the lower gun deck.
First of all, I prepared the carriages by adding a long pin in front of them:
View attachment 332602

Then I insert (without adding glue, just dry fitting) the carriages inside the bulwarks between the frames that don't have another opening:
View attachment 332605View attachment 332604View attachment 332603
And after, I add the first planking parts so I can see the exact place for every cannon. I fix the planking with pins without glue:
View attachment 332608View attachment 332607View attachment 332606

Then, carefully I remove some (not all) of the pins to reveal the inside space, and I lift the carriage to add glue underneath. Then I fix again the planking and with the pin I positioning the carriage to be in the middle of the window:
View attachment 332613

As for the rest, without messing with the already dry fitted planking I grab the carriage and I add glue:
View attachment 332614
And from the opening I pass it down:
View attachment 332615View attachment 332616

I fix it in the correct position and its over. Repeat for the rest:
View attachment 332617

Having a little spare time, I tried to make the first stair. For the steps instead of the parts of the kit I used walnut strip 2 x 0.5 mm:
View attachment 332618

And... that's all for today.

Thank you for your time!!!!
Hi IoannisK,
You are making steady progress, well done.
 
Hello again!!
It's been a while but a lot of progress has made.

First, the stairs of the lower deck, before painting:
_DSC6006.jpg

An inside view of the bulwarks:
_DSC6007.jpg

A complete set of the 32 pounds guns, 3d printed:
_DSC6015.jpg

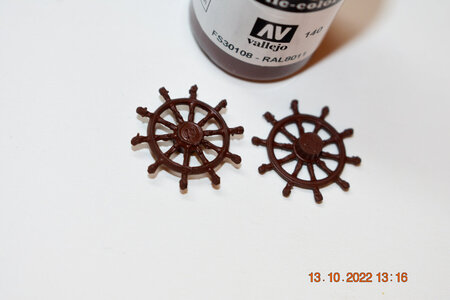
The two wheels of the ship 3d printed and painted (but probably they need another hand):
_DSC6018.jpg

And to the main ship now. I dry fitted the next part of the planking and the bulwark strips and I noticed they needed cut: because they were blocking the side door and didn't cover the cannon:
_DSC6008.jpg

Well, here is fixed:
_DSC6011.jpg

Then I cut the frames they were blocking the windows:
_DSC6012.jpg_DSC6013.jpg

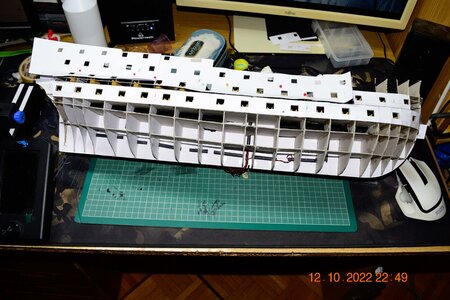
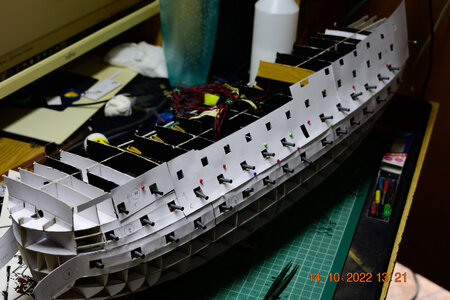
And at last here the lower gun deck sealed and the two upper dry fitted but with carriages inside:
_DSC6014.jpg


Thank you!
 
Thank you very much!!!
The ship starts to take form, ugly for the moment but we keep going (cannons dry fited):
_DSC6029.jpg


I reinforced the bow so I can shape it better and make it stronger:
_DSC6019.jpg

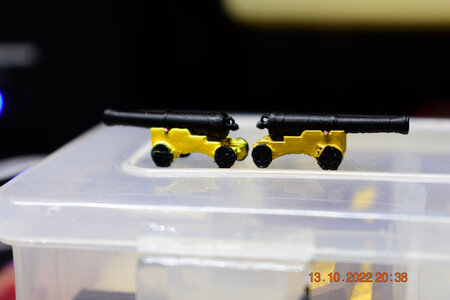
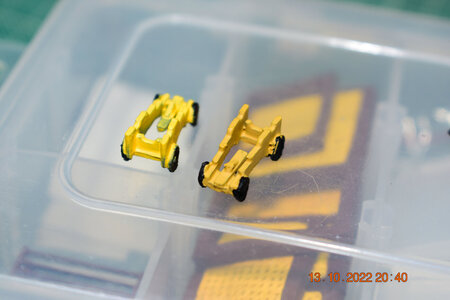
These carriages are from the parts of the kit, but assembled in Fusion 360 and 3d printed. I must say I might revise them because something don't look good. Also I painted one yellow ochre and the other flat yellow:
_DSC6023.jpg_DSC6025.jpg_DSC6026.jpg

Finally for now the stairs painted:
_DSC6028.jpg

Until the next time!!
 
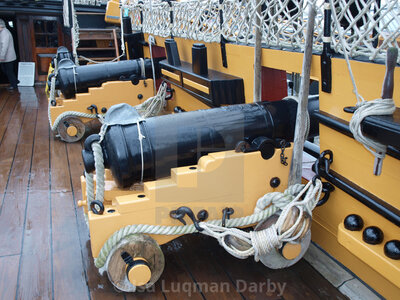
Well yes that's another issue, the problems I observed myself are that the carriage is too wide and too short. At all images I have see from the upper gun deck (12p cannons) , the wheels are not going above the carriage:
HMS-Victory-quarterdeck-cannon-CALIBRE-mag-1024x576.jpg
qacoxnvkbuoiahqzlvkt.jpg
 
Back
Top