


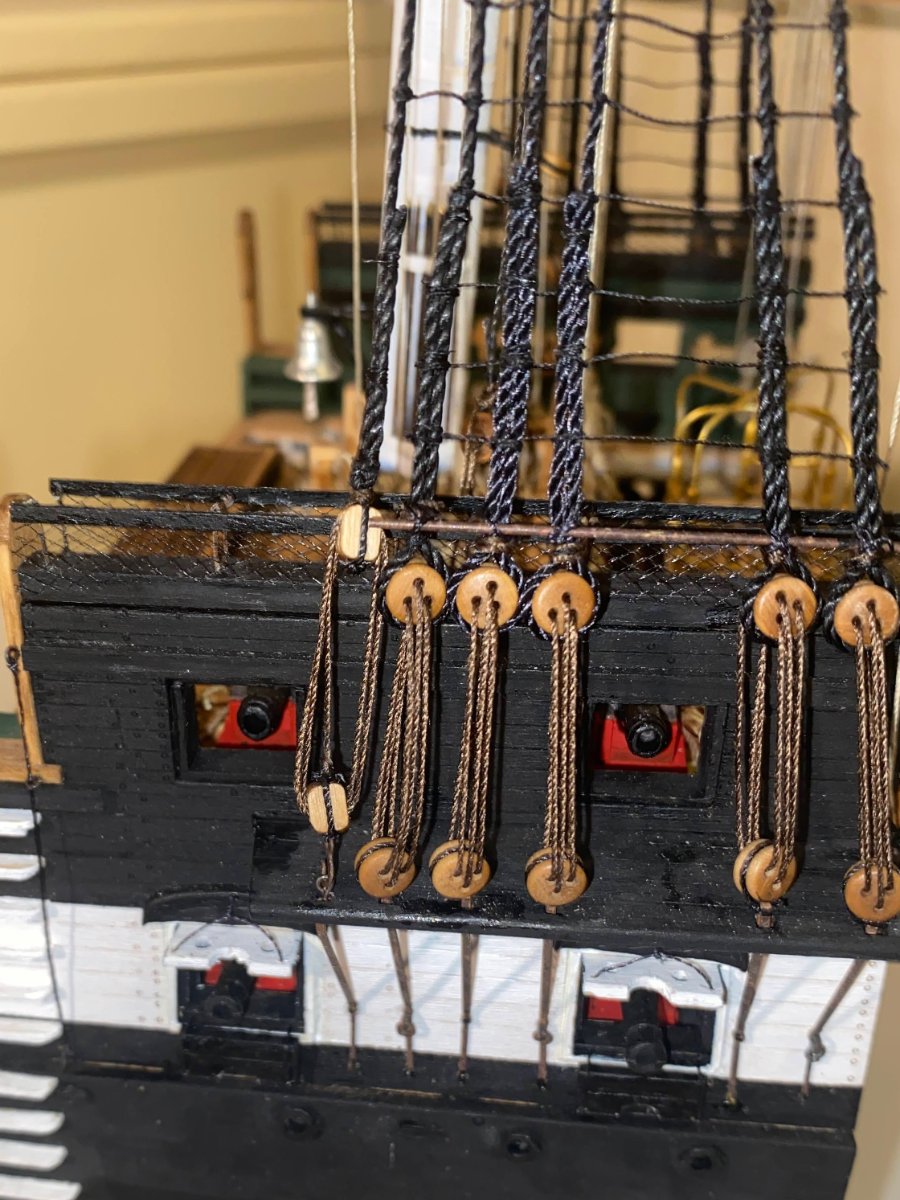
I am starting a build log on the USS Constitution Cross Section. I bought this about a year ago when Model Expo had a sale, but I knew from downloading and reviewing the instructions that I needed to so some simpler kits first. After gaining some experience I decided to try to tackle this.
As Issac Newton said,“If I have seen further it is by standing on the shoulders of Giants.” I am indebted by the knowledge I learned from two fantastic build logs One from Jeff T,
and one from Tom Culb
 modelshipworld.com
Both whose expertise clearly outweigh mine.
On this log I will be concentrating more on my mistakes, the other two logs give good instructions on how to do it correctly. I will probably also build it in a slightly different order. The box and contents were well introduced by the other logs.


As Issac Newton said,“If I have seen further it is by standing on the shoulders of Giants.” I am indebted by the knowledge I learned from two fantastic build logs One from Jeff T,
USS Constitution Cross Section - Model Shipways MS20245 - 1:76 - by JeffT [COMPLETED BUILD]
This new build is of the Model Shipways USS Constitution Cross Section (MS2045) at 1:76 (Actually the scale is 1:76.8 or 5/32" = 1'). The finished model is 4"x6"x32". I chose this kit for several reasons: 1) It is a nice kit and I like cross sections; 2) The Constitution cross section is a...
shipsofscale.com
and one from Tom Culb
USS Constitution by TomCulb - FINISHED - Model Shipways - 1:76.8 - cross-section
As far as I know this is the first log on this site for Model Shipways’ cross section of the USS Constitution. I bought the kit last summer, when I think it was pretty newly released, and when I was about midway through my Spray build. I have never done a cross section, and I was attracted to the...
modelshipworld.com
Both whose expertise clearly outweigh mine.
On this log I will be concentrating more on my mistakes, the other two logs give good instructions on how to do it correctly. I will probably also build it in a slightly different order. The box and contents were well introduced by the other logs.


")


