Swift 1805 - Artesania Latina - 1/50 Scale by Barry1 [COMPLETED BUILD]

Joined
Jul 27, 2018
Messages
268
Points
278

Location
Maryland
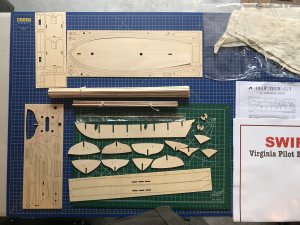
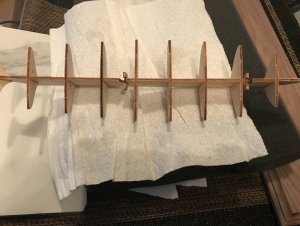
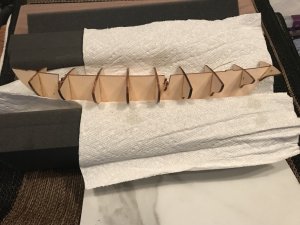
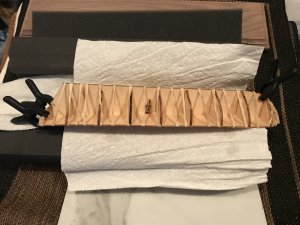
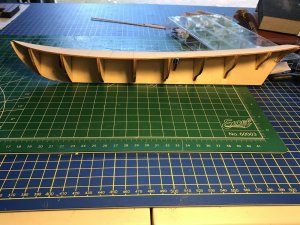
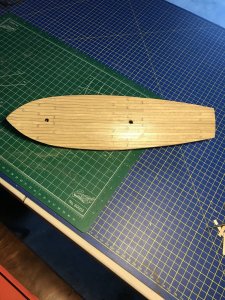
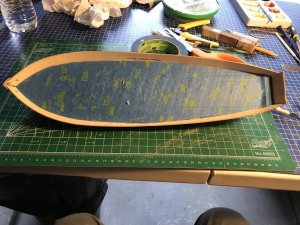
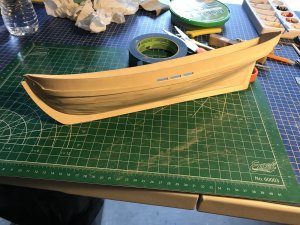
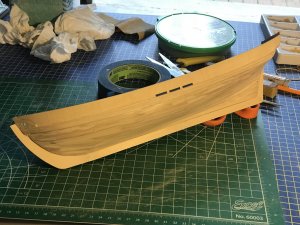
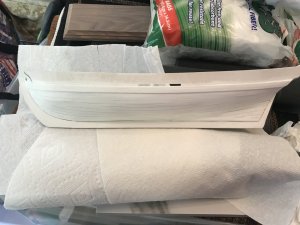
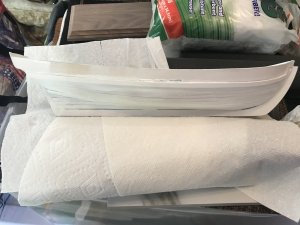
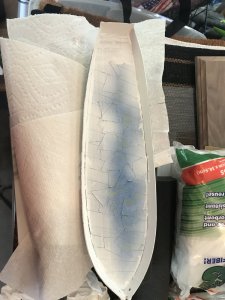
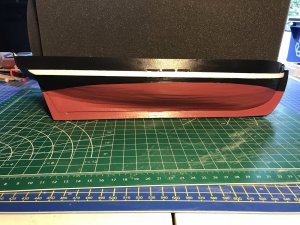
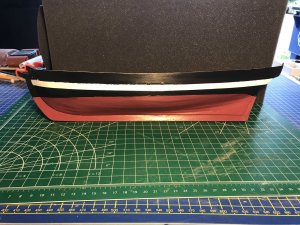
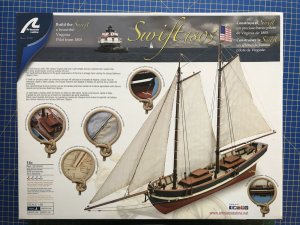
After taking a little break after my Albatros I am back in the shipyard. I purchased the Swift 1805 by AL and had originally planned to build this as my first wooden ship build but for some reason I worked on the Albatros first. My goal with this build is to continue to build skills in planking and rigging and to add some experience with painting a ship. I purchased the current Swift kit which does not include the open lower deck or provide for a second planking. While I could have second planked I wanted the experience of painting a wooden ship vs staining it for future projects on the shelf like Bluenose and Rainbow. A few pics follow of my start. This kit is fairly straight forward and much simpler in design than the Albatros was re rigging. For some reason AL has decided to ‘save’ use of paper by replacing printed instructions with a CD version. While I appreciate their desire to be efficient certain things are best on paper vs electronic media and detailed instructions would be one of them. I do like some of the tools AL provides in the kit in particular small sanders and tweezers - can always use more of these!037ECBCD-A9F0-4219-9717-9CC97EB717BC.jpeg8BE363CB-C936-42F0-95B1-F192389EC23E.jpegF0C89C0E-E763-433A-A8A2-91A390AFF1E8.jpeg35AED184-18B3-4E11-BA7B-2AB7E4BB0143.jpeg
 
This is a nice kit - the parts look clean and well made. This should be a nice build. I see that the Bulwarks are preformed. That is nice. As you "fair the hull", during the process, I would stop and see how the Bulwarks fit as you continue to proceed with the fairing. It is easy (at least for me) to get so carried away with fairing that I took too much wood off the Bulkheads.
Of course, you might already know this and I don't mean any offense.
 
Thanks for heads up Donnie. I was wondering about how they would sit and of course the build instructions make no mention of this future requirement although the pictures give some clue. Please keep the heads up coming. Advice is always welcome.
 
I will also follow your built with interest
 
I built this kit...fun little project. One caution, though. Very few bulkheads. At the bow this can be a problem as it’s hard to maintain the smooth curve need in the planking there. It tends to “flatten out”. I’d recommend full sized bow blocks to prevent that.
 
Thanks for the advice. I am a bit delayed in posting an update. I had already worked on the planking before seeing this advice. I did get the sense in planking it was a little rough in that area. Required some shaving, sanding and filing, sanding and filingto get decent. This ship is being painted so not sure yet how this area will show up but it looked pretty good to move forward with. I’ll post some pics of where I am in another post.
 
Thanks for the advice. I am a bit delayed in posting an update. I had already worked on the planking before seeing this advice. I did get the sense in planking it was a little rough in that area. Required some shaving, sanding and filing, sanding and filingto get decent. This ship is being painted so not sure yet how this area will show up but it looked pretty good to move forward with. I’ll post some pics of where I am in another post.
 
As I mentioned I have moved forward a bit since my initial post on the Swift build. Since then I have added the false deck and planked. Tons of elastics on the false deck gluing as it bends on two planes: curved center down side to side and curved center up front to back. Only my second build but haven’t seen that. Went slow using titebond and elastics and it works. Next day it looked solid. E9ACB855-5BE2-49F1-9255-2BA4027BB261.jpeg9D52BFF5-3112-45F1-8F0D-D39734C65133.jpeg
 
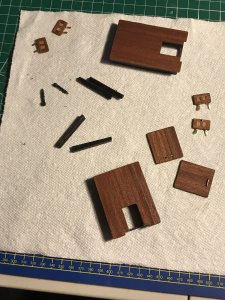
While glue was drying on bulkheads and false deck components I spent some time building the deck structures. First set of doors were ok, second set much better. Learning curve in action. I am painting the ship so I painted the walls and slider rails black. I used the walnut for door detail, structure roofs and slider. All sides were also veneered with walnut. Haven’t done that yet and it does add a nice finish to the components. 39C22CEF-86FB-43B2-934A-313E79E1C368.jpeg
 
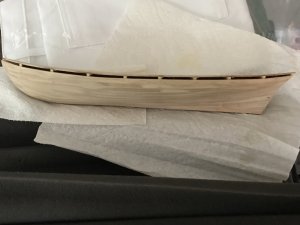
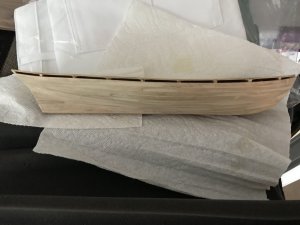
Last update is for planking. Finished that up over the weekend. Second planking effort for me and while it was better than my first still learning. I found the Swift to be fairly forgiving on plank alignment but I also paid closer attention to fairing the bulkheads. I still need to develop my eye on seeing the best line for the planks to follow. Next steps will be planking the deck, fitting the bulwarks and final sanding and filling of hull before painting starts. Lots to do this week but lots of fun as well D50A3407-7E47-4126-9383-7094BD3E8D32.jpegF4C98B48-30D5-49E0-9E5D-096A0A87A414.jpeg
 
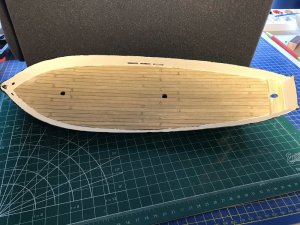
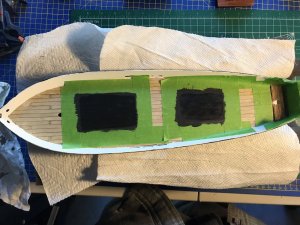
Deck is planked. I cut separate planks versus scribing lines just to get practice with that approach. Unbelievably I did mess up one of the spacings. Must have been distracted by the Sox in the World Series. Also prepped the deck and main body then sprayed a prime coat of paint on. Next up will be final colors on the main body.

C967448D-E5EB-4BC5-85B4-12DC57025E19.jpeg8920E12B-9159-4B37-820C-81DC7825B65C.jpeg712CE647-D8C8-46D0-BBF0-FA66C9223A66.jpeg72126AB8-0A5B-4CEB-AA5C-54C092AF8911.jpegE2344DF7-BCD9-493A-8AE9-8C0EDE1DE732.jpeg529F8DFA-8800-45FC-AA05-DCA37828A014.jpeg135EBBF9-8E58-41CA-945D-CC6397C0D763.jpeg
 
Your deck planking is looking really good.
and definitely:
On real ships, they used planks of different lengths. so the pattern was not every time so regular like Mondfeld or others f.e. described in books.
 
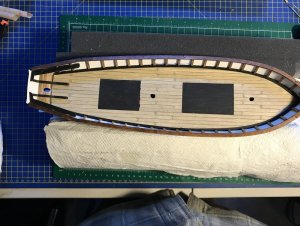
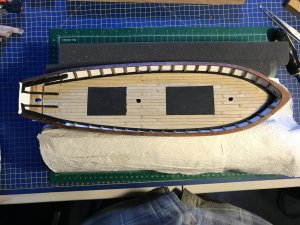
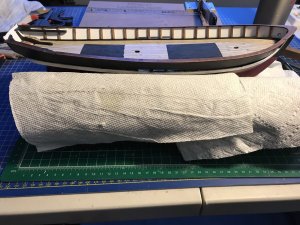
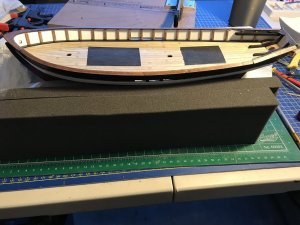
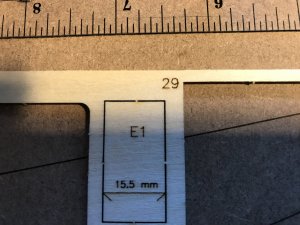
After the paint dried I added a matte varnish and let that dry for a day. I then added the waterways, bulwark and other supports as well as the rails. The kit included a spacer for the bulwark supports that helped space them. I included a pic of it. Great idea. I could not get the rails to bend right even after soaking and using some heat. I ended up deciding to cut them near the stern and fit and shape them. I don’t love them but they look ok.
That’s it for now, it’s on to the masts. 1A9A639F-6E82-4BFD-86B5-44A19C81CD4E.jpeg6599ED99-509D-481E-8F42-D416D41878CB.jpeg7ED17E46-BBDC-4C5C-85F8-BBF2C58A9258.jpegAA73A970-0D02-4432-AACA-60115C0D9F1F.jpegAD6563BA-71E3-4498-BF2E-9FF84F4CA23C.jpeg
 
Back
Top