Nice job Will21 Coppering part 3
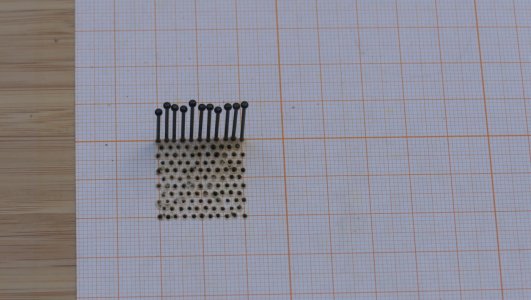
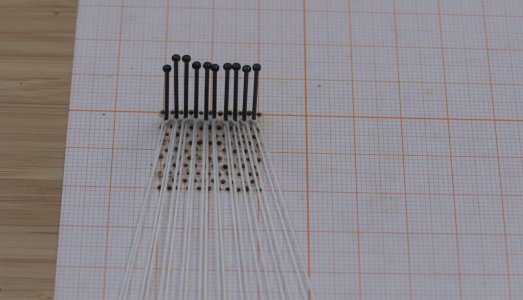
First I ordered new copper plates from England. Rib out of my ass (£45 for 1300 pieces), but it's no different.
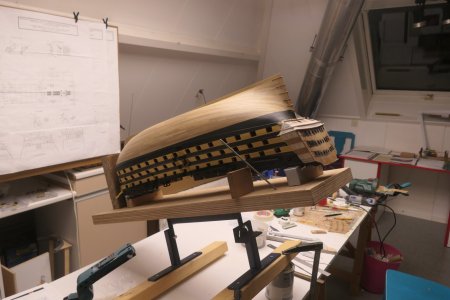
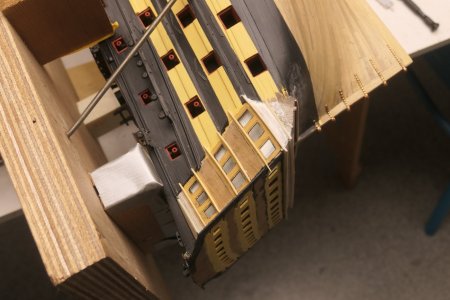
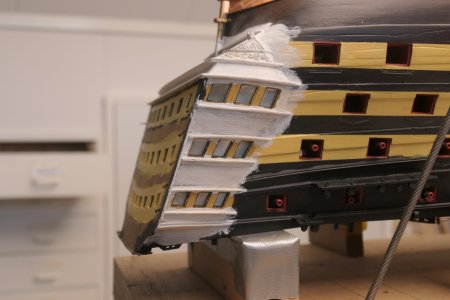
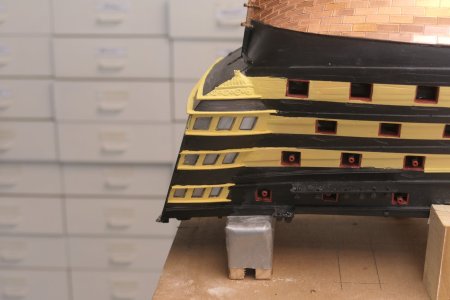
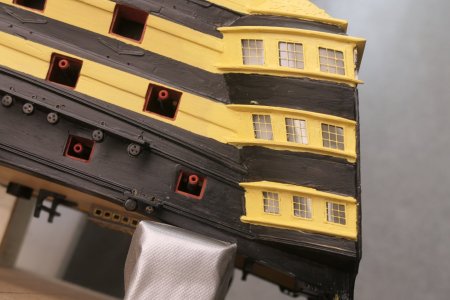
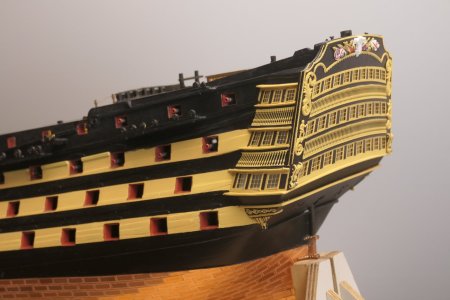
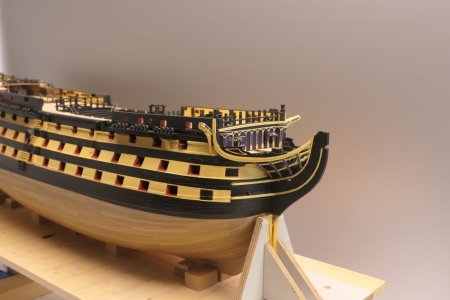
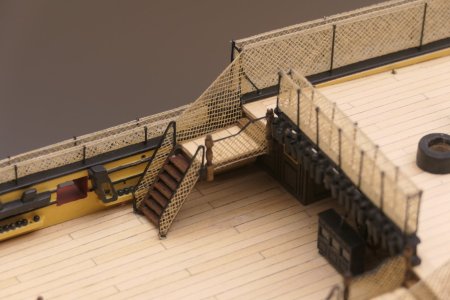
The quarter deck and poop deck are partly already furnished, as shown in my previous topic. This means very careful handling of the hull, now that it needs to be coppered again. So yesterday in between, I just adjusted my tilt attachment so that I can turn the hull to all sides again. This proved to be quite handy during the previous session.
The wait is now for the delivery of the new plates. I am ready.
View attachment 518800
View attachment 518801
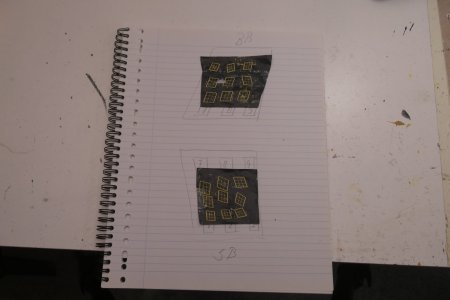
I removed the plates in the garage and thoroughly clean the shipyard so that no copper salts remain. Nice job, then the place will be cleaned up immediately. So we make a virtue of necessity.
Then I removed all the plates. During removal, we could see that the salt formation on the underside of the plates had also continued steadily. So this would certainly have caused problems in the long term, as the plates would all be pushed off over time. In fact, nothing new, this was to be expected. In any case, this strengthens me in my decision to start again.
Removing all the plates did not disappoint me at all. Although the plates were still firmly attached, they were off in no time. The glue layer of the double-sided tape was a bit more difficult. I used a butcher knife to scrape off the gunk and then used thinner to clean the hull. In 2 hours, the whole job was done.
View attachment 518802
View attachment 518803
View attachment 518804
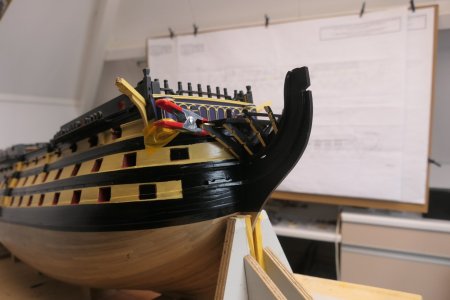
Now back to my plates, which had now arrived, 1300 of them, enough for one side. Earlier I mentioned that I modified my tilt attachment, to be able to rotate the hull without damaging the fragile parts of the upper decks. This way, the hull can be rotated again to different positions for easy standing work.
View attachment 518805
First I taped off the black painted waterline nice and tight and from there I nailed a slat against the hull, along which the first row of plates could be laid. Just like the first time, I mounted the plates with double-sided tape.
View attachment 518806
View attachment 518807
After 7 rows, a slat goes underneath, cutting the waterline against the bow and keel. These sections are then filled with plates.
View attachment 518808
View attachment 518809
Then complete plates up to the 12e row (bottom of tape in picture below)
View attachment 518810
Next, cover the keel first and then work from the keel upwards. Soon it is necessary to intervene, as the turns become too tight to work neatly. The strips of tape on the plates serve as an outlet for the double-sided tape. Exactly along the edges of the previously applied plates, the double-sided tape is cut. Later, these remains are removed together with the tape, leaving no glue residue on the plates
View attachment 518811
View attachment 518812
And then keep going until all the plates are on them
View attachment 518813
After my colourful adventure during the first session, I have to say that I don't really like the result just these new shiny pictures. With the glare from the light boxes above my work table, every anomaly stands out enormously. Any deviation, damage or dent is magnified enormously. However, I trust that once the plates are oxidised and become duller in the tuture, this effect will be greatly reduced. Besides, they will soon be under the boat and there will naturally be much less light on them.
View attachment 518814
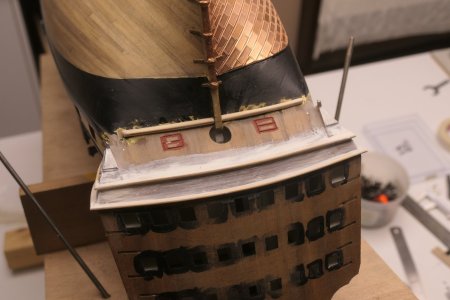
As a preliminary finishing touch, I finished the top of the plates (on the waterline) with a 0.7 mm bar of brass, which I first painted black. This more or less masks the sharp edges and dots of the cut plates. And it protects against injury.
View attachment 518815
For now, the oxidation process will have to do its work. For now, the plates are untreated. At a later stage, when the oxide layer has formed sufficiently, I want to treat the plates with one or two layers of clear matt varnish, which will fix the plates firmly into one skin and leave a matt look.
I have to say that to my taste the new look is much nicer
That was certainly quite an effort but definitely worthwhile
Cheers


