• Win a Free Custom Engraved Brass Coin!!!
    As a way to introduce our brass coins to the community, we will raffle off a free coin during the month of August. Follow link ABOVE for instructions for entering.

HMS ENTERPRISE 1774 by RichardJJS 1:48 scale. New Kit from M.D

I have heard others once explain the difference between Knowledge and Experience: Knowledge we learn from other research and mistakes, Experience we learn from our own mistakes.

Its like learning what finish works on each stage of building, I know some oils or varnishes seal the wood and prevent CA or PVA from holding well after the fact, so you have to be careful what to use on installed subassemblies.
what are you going to use
THe problem was i dent clean up the frames of glue before staining
 
Bit late now but when i build my first POF model Brandford I put the sheets for the frames in those plastic folders that go in binders had ne real problems

Since ive started using them again iv had very litte problem with the Futtock joints breakin
So If It Aint Broke Dont Fix It
Richard,
Cannot tell exactly but from some of your photos it appears you may be gluing joints without completely removing all char.
If mistaken, my apologies, but if that is the case it will result in glue joints well below ideal strength.
Again, could be wrong but worth a mention.

Tim
 
Thanks - I build the Blandford and destroyed it by Staining it
Will not do that again
Onward and Upward
Yikes.
As I contemplate finish options has anybody got any real world experience with shellac as well?
It has been used over time but that made me curious.
I have considered wipe on poly but as of now I think I will likely use beeswax diluted in turpentine as suggested by Ed Tosti as used on his magnificent Naiad.
will look at that - as long as it will accept PVA and Superglue
Will look at some scraps
is this what is called FRench Polish
thanks
 
Richard,
Cannot tell exactly but from some of your photos it appears you may be gluing joints without completely removing all char.
If mistaken, my apologies, but if that is the case it will result in glue joints well below ideal strength.
Again, could be wrong but worth a mention.

Tim
was advised by Keef that just to remove most of It
Maybe not enough But will look THANKS
 
will look at that - as long as it will accept PVA and Superglue
Will look at some scraps
is this what is called FRench Polish
thanks
It will accept ZERO glues so you have to apply it in stages after certain construction is done.
French polish is many coats of buffed shellac.
 
Last edited:
The last two frames are sanded
Most are installed
LOOKING GOOD
will post as soon as i can take photos
 
MAJOR step Forard !
All Main Frames glued in (Except 1 and 37) so i can match them to X1 and Y1
Not as clean as some but seem to be ok But its so hot over here (How do you manage Keef)
Sun is directly though my Window Just to Hot
Built al the X frames they need shaping Ive dropped 1 and 2 in Shaped X3 that was not as difficult as i thought
No Glueuing till its all Ship Shape and Bristol Fashion #

IMG_20250813_154632[1].jpg

IMG_20250813_154652[1].jpg
 
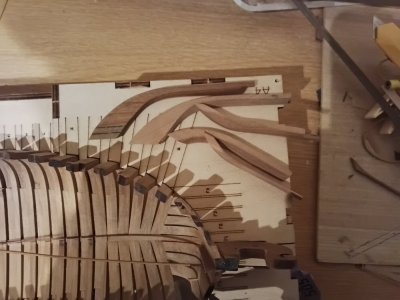
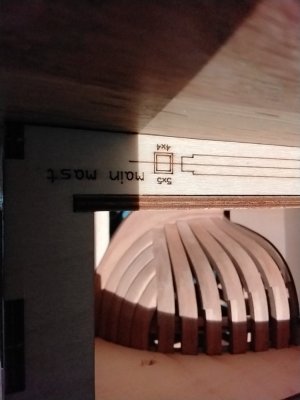
Having Problems getting the bottom of the can frames totally flat its rhe centre that raises
I know this is a very basic Cabinet makes question
Any ideas from you guys please

The One CAnt sideis assembled but needs setting to thre X8 Frame so its staight

IMG_20250823_103756[1].jpg

IMG_20250823_104346[1].jpg
 
Having Problems getting the bottom of the can frames totally flat its rhe centre that raises
I know this is a very basic Cabinet makes question
Any ideas from you guys please

The One CAnt sideis assembled but needs setting to thre X8 Frame so its staight

View attachment 539429

View attachment 539430
Had similar issue with my Hoy. At this stage, I see no chance to fix them at all. My advice is to have those faces perfectly flat and planed, then to add them slices of the same wood. What's annoying are the gaps; fixing trick will be hardly visible, if the two surfaces glued together are tightly adherent. Otherwise, scratch some brand new hawse pieces from solid using the original parts as a template. In the pics below, several attempts with the hawse pieces and the final outcome. It's just a matter of patience. Cheers!
1755968712625.jpeg

1755968808164768087320095213600.jpg
 
Last edited:
All going OK
Thought I would look at doing something completely different So Bought a 3D Printer Impressed so far
Lots of Naval bits to build (And Navel !!)
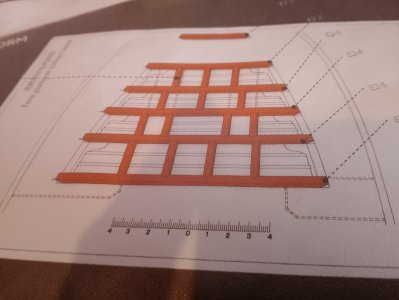
But also started the Fore Platform for a change
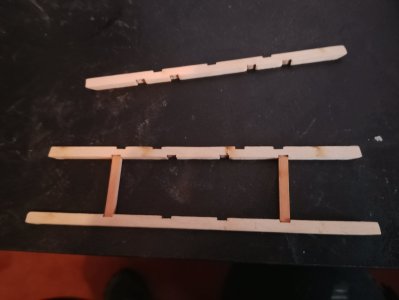
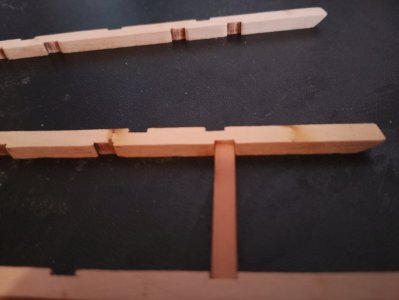
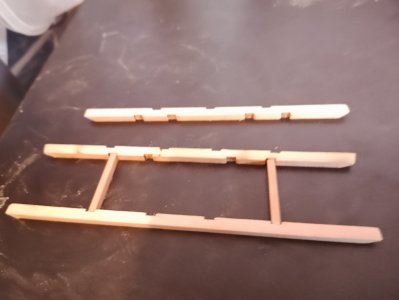
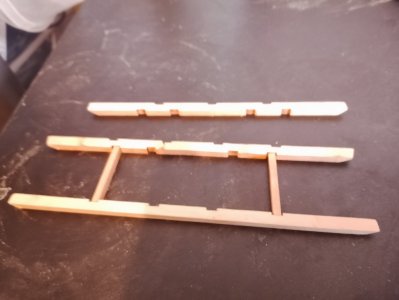
THe parts E2 2,3,4,5 all have 4 mm slots for the joining parts
It says use 4x3 But the parts are 4mm so It looks as though they should be 4x4
3mm Sideways is not right
Any body got that far
any thoughts while i get back to FRAMES
Looked at the 1:98 Video and yes there is a gap UNDER the Frame with the Carlings of .5mm on 1:98 so 1mm on ours is correct
thanks

IMG_20250826_120744.jpg

IMG_20250826_120749.jpg

IMG_20250826_120804.jpg

IMG_20250826_121204.jpg

IMG_20250826_121206.jpg
 
Last edited:
Back
Top