• Win a Free Custom Engraved Brass Coin!!!
    As a way to introduce our brass coins to the community, we will raffle off a free coin during the month of August. Follow link ABOVE for instructions for entering.

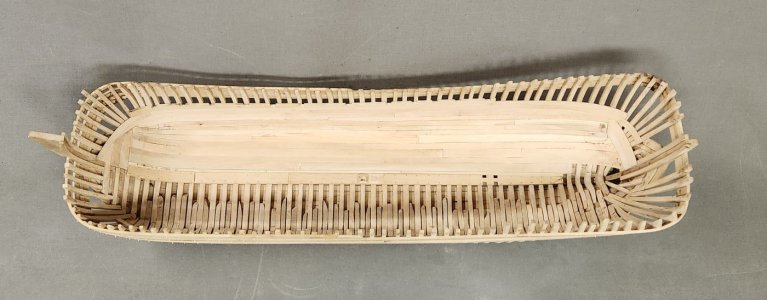
A Dutch Fluyt in shell first, reconstructing the "Ghost ship" scale 1:36

Thx gents,

So half open it will be and the stack of jenga timbers will remain visible 8-)

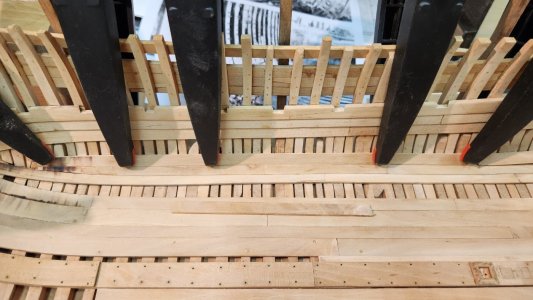
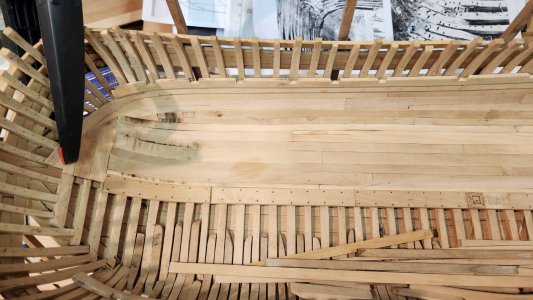
First before starting the ceiling a second supportive deck clamp is added, according Witsen the same size as the main one but in the Samuel wreck it is slightly thinner and I opted for this also.
View attachment 537564View attachment 537565View attachment 537566

Now the deck clamp is fitted I start with the ceiling before nailing and tree nailing it all.
The floor ceiling should be equal to the floor plank thickness. In my case 3 Amsterdamse duimen or at scale 2,1 mm.
The first ceiling plank will be 5-6 Amsterdamse duimen from the keelsom "zaathout" this to create a space for the limber boards.
View attachment 537571
View attachment 537569View attachment 537570

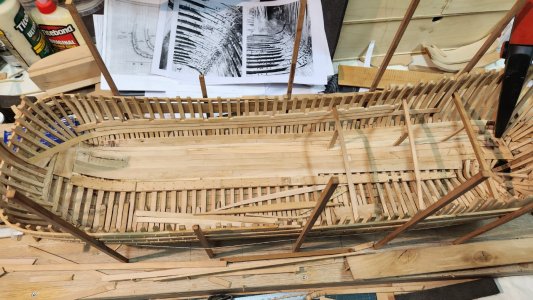
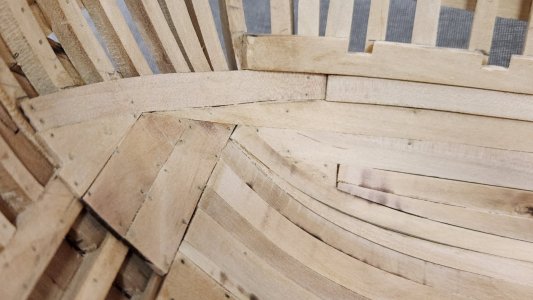
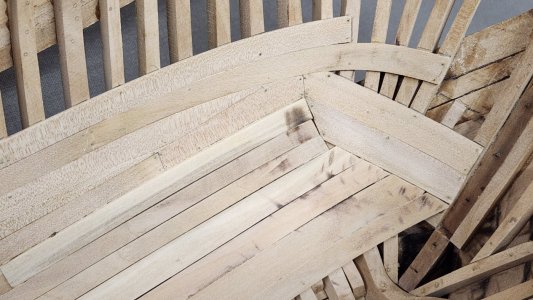
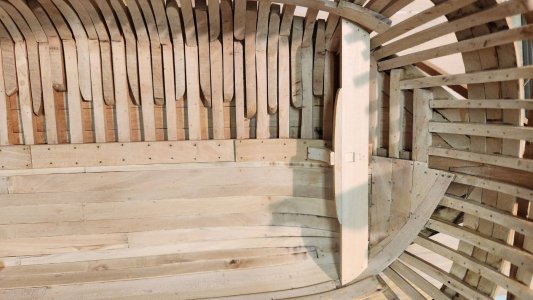
Plank by plank the floor ceiling is added.
View attachment 537573View attachment 537574
A new chapter, building up the inside. It’s looking nice, Maarten.
Regards, Peter
 
So now the story continues. :-)
Unfortunately not much time recently but the ceiling is comming to an end.
As in properly Dutch 17th century shipbuilding practise again every plank is different in width.
20250825_202844.jpg

The thickness is also different depending on the position and function of the plank.
The ceiling planks on the floor "vloerwegers" are of equal thickness as the floor planks of the hull. Between the ceiling planks and the keelsom the is a space of 5 to 6 inch were loose planks are fitted to be able to clean the limber holes to the pumps.
20250825_202908.jpg

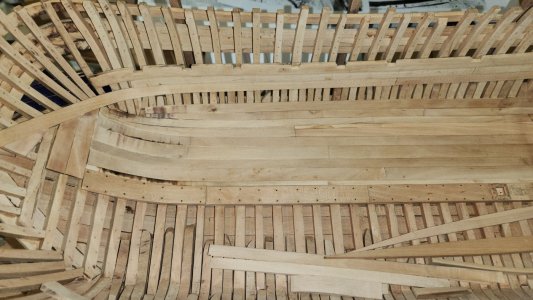
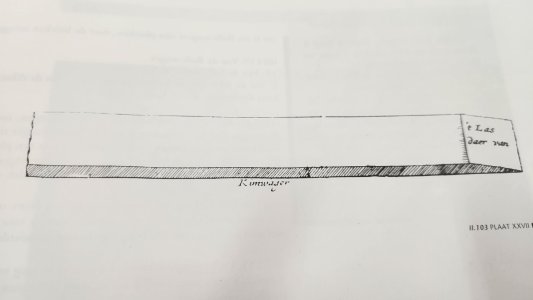
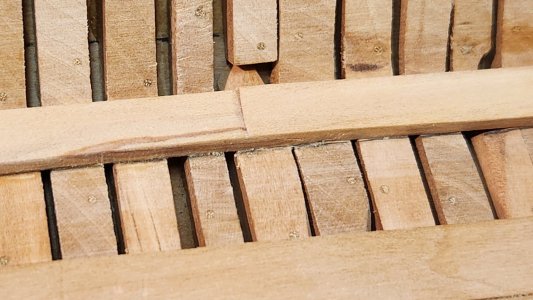
Next to the ceiling planks of the floor are the bilge stringers "kimwegers" as these are structural they are of greater thickness being 1/3 of the thickness of the stem. These are not completely fitted to the stem and sternpost but stop just before. These are fitted with scarph joints and nailed together to create a ridged construction.
20250812_202716.jpg
20250812_213255.jpg

There are three bilge stringers fitted next to each other.
20250814_212427.jpg

The space between the bilge stringers and the shelf clamps is fitted with thinner ceiling planks of nearly half the thickness.
20250915_213139.jpg

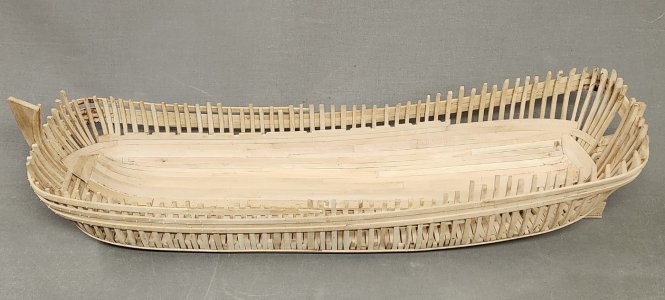
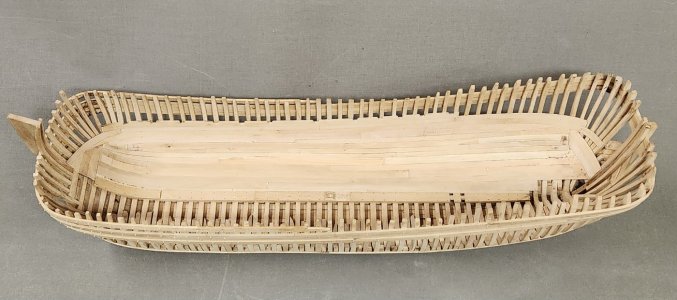
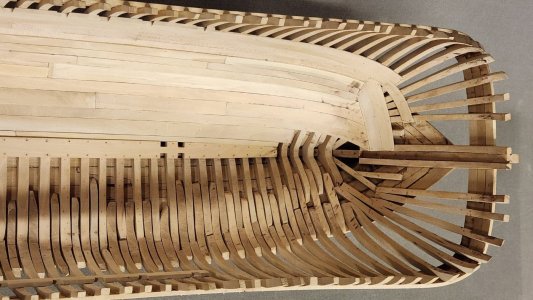
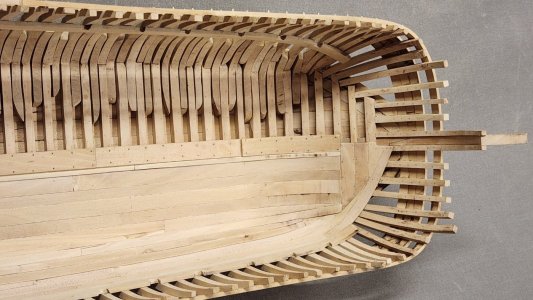
The ceiling is now fitted.
20250918_212629.jpg20250918_212635.jpg20250918_212646.jpg

All planks are nailed in place before they receive there final fitting with additional treenailing when also the outer planking is fitted.
20250918_212715.jpg
20250918_212726.jpg

As you can see a part of the stern is kept open. This is also seen on the wreck of the Samuel.
20250918_212913.jpg
a5965727-8539-1466-dcb9-212b80ee8cd6.jpg
78f2a1a7-62e1-fb28-bc32-02152e4cb7a8.jpg

Whereas the bow is fully planked.
20250918_212859.jpg
 
Last edited:
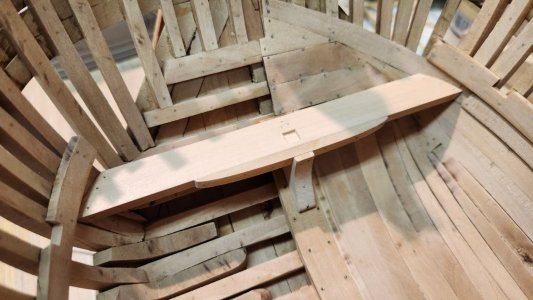
Next is the maststep in the bow.
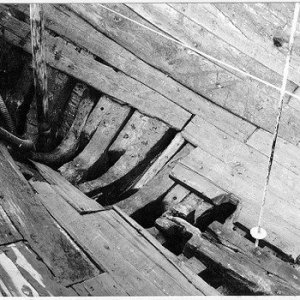
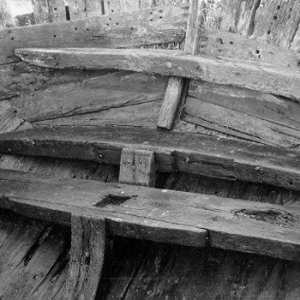
This construction I also copied from the wreck of the Samuel.
fdcbd57f-36e9-4484-8a4e-32e9c9161c93.jpg
20250926_164931.jpg

The plank in which the maststep is placed has an equal thickness and width as the keelsom and is supported by a knee on the keelsom and nailed to the ceiling planks.

The extra enforcement in the bow will follow.

20250926_164921.jpg

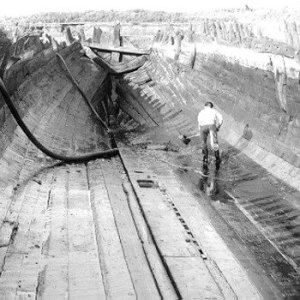
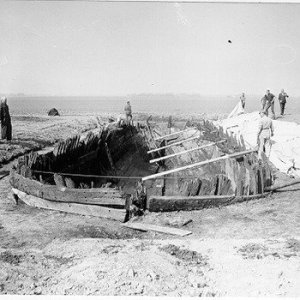
Below a great picture of the Samuel.
Looks like she is in the middle of the desert, but this is after draining the sea in the Noord Oost Polder where the wreck was situated at the bottom of the formal Zuiderzee.
dbe7dbaf-b704-8ac5-27b1-06bc7918eb04.jpg

Now this is farmland and farmers still find shipwrecks in their land.
 
Last edited:
Back
Top