- Joined
- Aug 8, 2019
- Messages
- 5,579
- Points
- 738

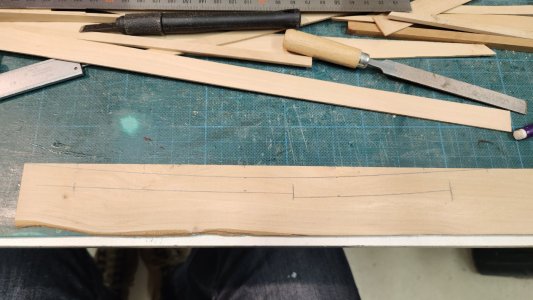
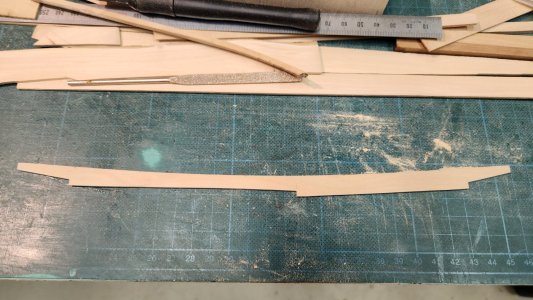
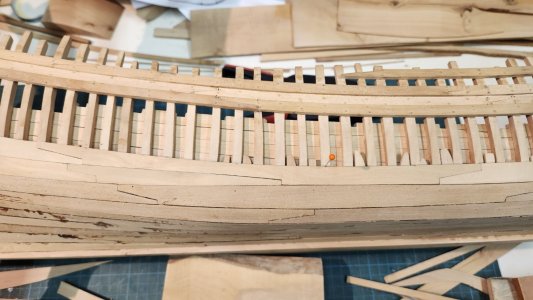
Less body, more wing. Other wise you got a goose and can serve it at Christmas for dinner.Unfortunately I have to kill her again as I have to sand half of her body to fit it to the ship

 |
As a way to introduce our brass coins to the community, we will raffle off a free coin during the month of August. Follow link ABOVE for instructions for entering. |
 |
 |
The beloved Ships in Scale Magazine is back and charting a new course for 2026! Discover new skills, new techniques, and new inspirations in every issue. NOTE THAT OUR FIRST ISSUE WILL BE JAN/FEB 2026 |
 |

Less body, more wing. Other wise you got a goose and can serve it at Christmas for dinner.Unfortunately I have to kill her again as I have to sand half of her body to fit it to the ship

Don't mix us up with the FrenchYour national chicken is beautiful

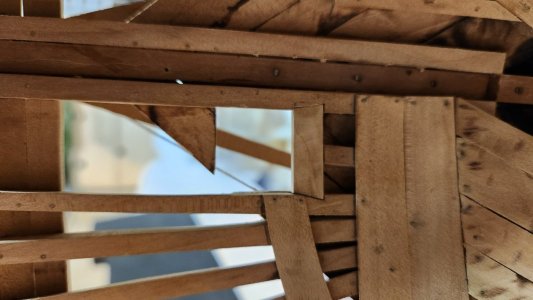
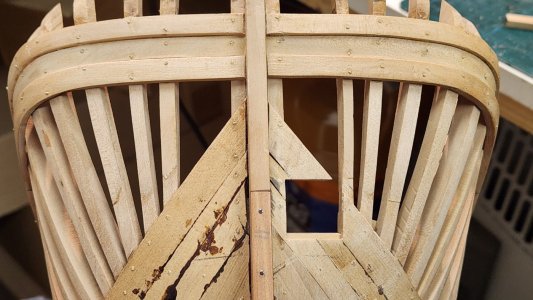
Maarten, That is a very clean cut for the cargo hatch. Which tool did you use to achieve such detail? Magic MikeToday I cut a big hole in the stern.
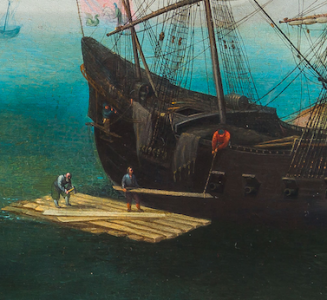
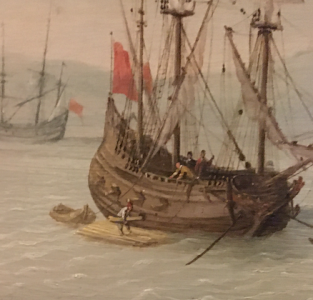
As the ship was a woodhauler sailing towards the baltic for getting pine and spruce from the Northern parts and oak from the Baltic states.
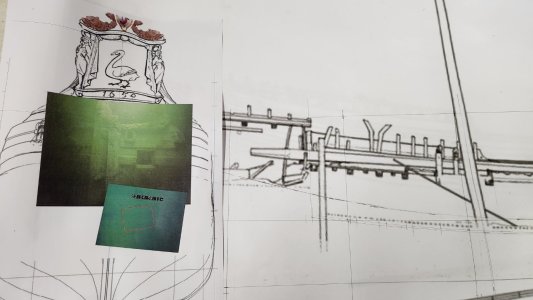
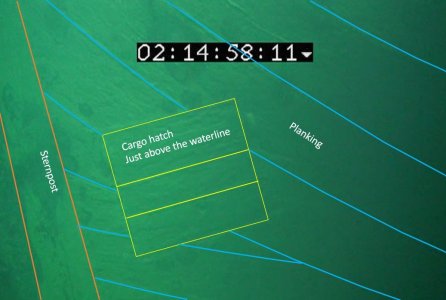
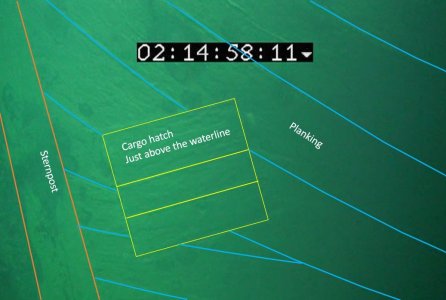
To load all these logs into the hold there is a door in the stern just above the waterline. This was not a simple port with a lid but a port which was closed with planks and caulking after it was closed.
It is located at the red square below on the wreck pictures.
View attachment 550818
You can see the door on pictures of the wreck.
View attachment 550819
The size of the door I determined at 2,5 x 2,5 Amsterdam foot. Which is 70 x 70 cm. This is determined by a size comparison between this door and the sternport in the cabin.
I have placed the lower sill of the port 1 foot above the load water line.
The port in the ship is still work in progress.
View attachment 550820View attachment 550821
As a HCSA member is this cut for you ‘a piece of cake’. Nicely done, Maarten.Today I cut a big hole in the stern.
As the ship was a woodhauler sailing towards the baltic for getting pine and spruce from the Northern parts and oak from the Baltic states.
To load all these logs into the hold there is a door in the stern just above the waterline. This was not a simple port with a lid but a port which was closed with planks and caulking after it was closed.
It is located at the red square below on the wreck pictures.
View attachment 550818
You can see the door on pictures of the wreck.
View attachment 550819
The size of the door I determined at 2,5 x 2,5 Amsterdam foot. Which is 70 x 70 cm. This is determined by a size comparison between this door and the sternport in the cabin.
I have placed the lower sill of the port 1 foot above the load water line.
The port in the ship is still work in progress.
View attachment 550820View attachment 550821
Hi Mike.Maarten, That is a very clean cut for the cargo hatch. Which tool did you use to achieve such detail? Magic Mike
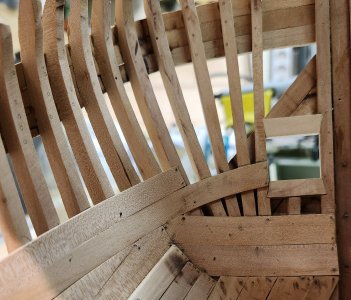
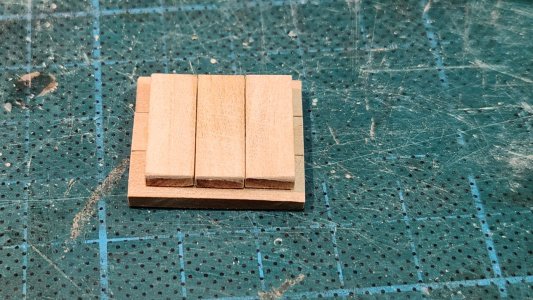
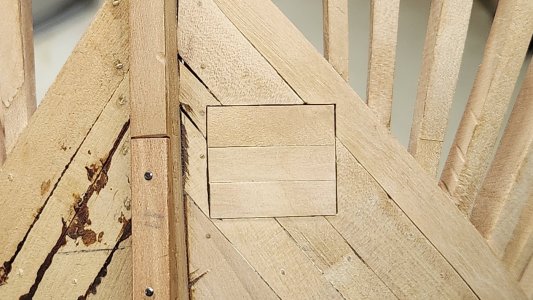
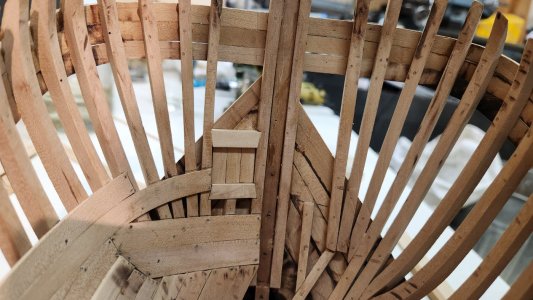
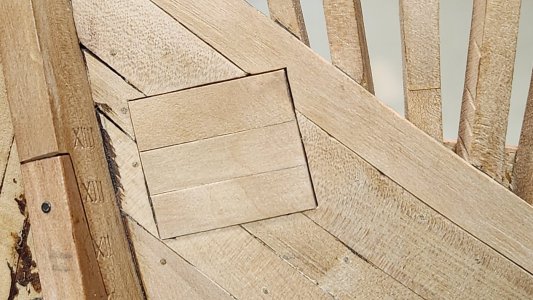

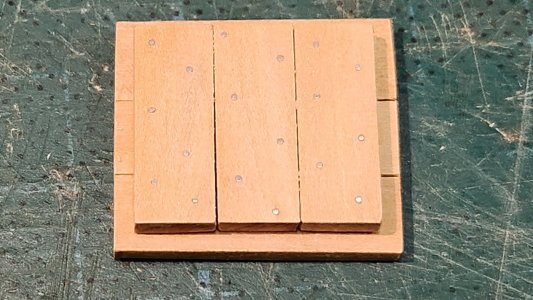
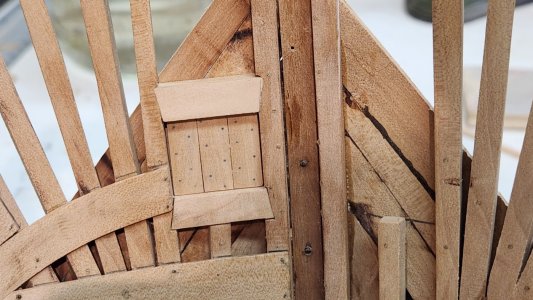
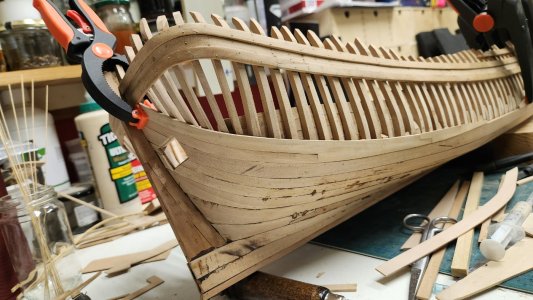
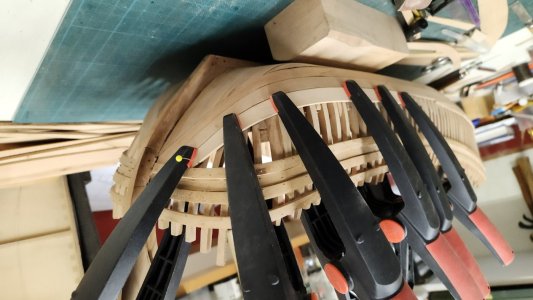
Some remarkably fine miniature joinery!Today the cargo door was finished.
After fitting an additional hull plank the complete outside of the door/port was squared and also the top sil fitted on the inside.
View attachment 551104
A hatch was made of cross nailed planks.
View attachment 551094
To fit into the door.
View attachment 551095
View attachment 551105
The nails to the door still have to be made.
At sea this door was nailed in place and caulked.
To give you an idea about the real ship as at the sea bottom and mine, see below.
View attachment 551112
View attachment 551096
Small hatches are often looking great. For sure yours does, Maarten.Today the cargo door was finished.
After fitting an additional hull plank the complete outside of the door/port was squared and also the top sil fitted on the inside.
View attachment 551104
A hatch was made of cross nailed planks.
View attachment 551094
To fit into the door.
View attachment 551095
View attachment 551105
The nails to the door still have to be made.
At sea this door was nailed in place and caulked.
To give you an idea about the real ship as at the sea bottom and mine, see below.
View attachment 551112
View attachment 551096

Outstanding!
Ditto and ditto. Maarten this is "off the charts" good. Cheers GrantSuperb!

