• Win a Free Custom Engraved Brass Coin!!!
    As a way to introduce our brass coins to the community, we will raffle off a free coin during the month of August. Follow link ABOVE for instructions for entering.

BONHOMME RICHARD, Cross Section

Thank you all for all the comments and likes.

Brief update:

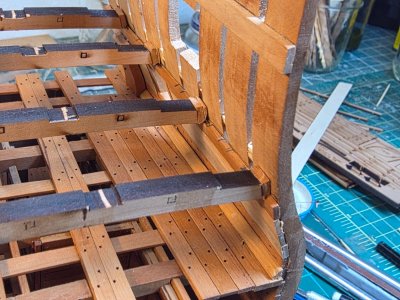
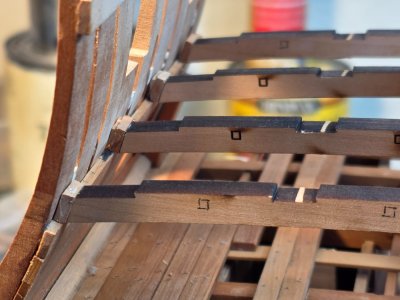
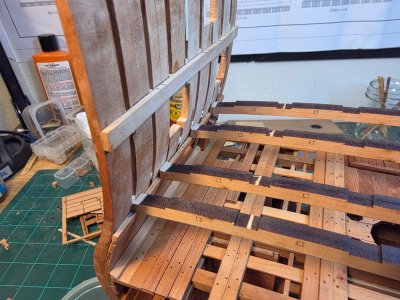
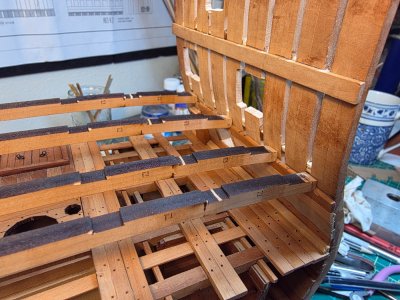
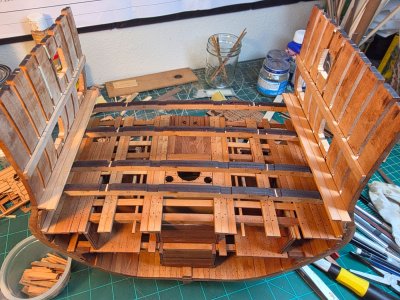
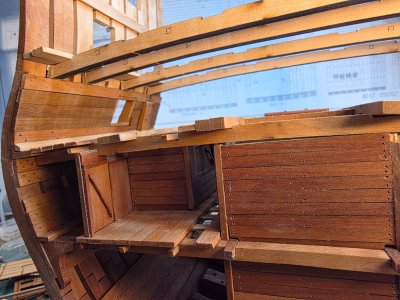
I decided to check the beams of the following 2 decks and found exactly the same issue as @neptune . The beams are short in length.
The issue and @neptune solution are very well documented on his thread. I do not need to post the same images. Go to page 6 post 101 of his thread. Link pasted below.

Post in thread 'USS BONHOMME RICHARD - POF - Cross Section in Cherry - 1:48 - by neptune,' https://shipsofscale.com/sosforums/...ion-in-cherry-1-48-by-neptune.3773/post-77055

My solution was diferent. I added exactly the same piece of wood at each side of each beam. Then small adjustments and issue solved.

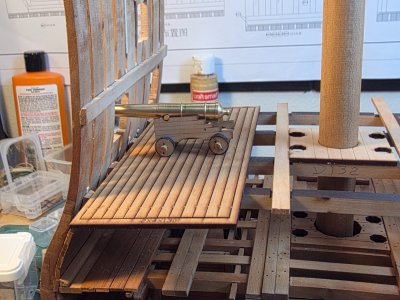
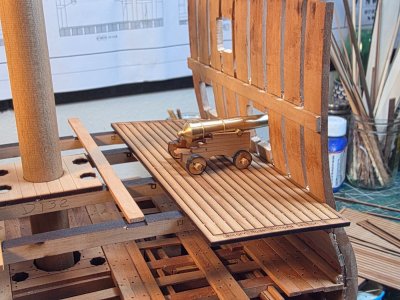
I also tested the deck position , placing my testing BR cannon, and looks fine.

The images show the deck in place, but nothing has been glued.
20250919_161855.jpg20250919_161909.jpg20250919_162003.jpg20250919_162508.jpg20250919_162632.jpg

Have you all a very nice weekend !!!
Daniel
 
I know it might be tedious, but I think I would get the "sprue" for these timbers and take some from each end, remove the char and use those to fill the gap. That way you could match the grain of the wood better.
 
I know it might be tedious, but I think I would get the "sprue" for these timbers and take some from each end, remove the char and use those to fill the gap. That way you could match the grain of the wood better.
I though about it. All those beams will be covered by the deck planks and anybody will ever put his head to look upside down the beams, so I took the easy way to solve a kit development issue. The next deck has the same issue. I need to see how visual is that deck.

Thank you !!!!!
 
I know it might be tedious, but I think I would get the "sprue" for these timbers and take some from each end, remove the char and use those to fill the gap. That way you could match the grain of the wood better.
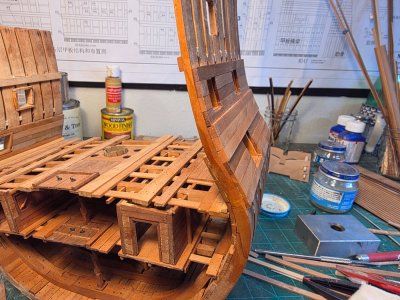
Rob, the pictures I posted still needed a little of sanding on those extensions. For you to see how it will look, I sanded them, added a few planks, took images from above and below. In the last one, you can see that another plank will cover the sides of the extensión (i still need to cut that plank). Also on the most visual part goes the knees.

Bottom line, at the end, it is almost all hidden. Now you see why I took the easy path.

Cheers
Daniel

20250919_230010.jpg20250919_230017.jpg20250919_225736.jpg20250919_225805.jpg20250919_225830.jpg17583381053548886001101531095564.jpg
 
Last edited:
Hi all

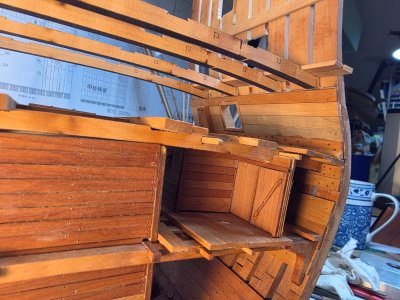
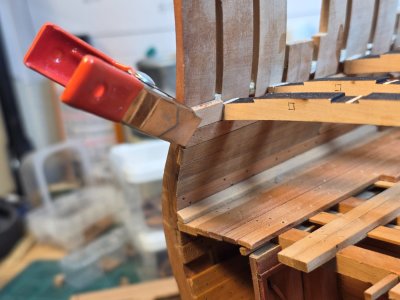
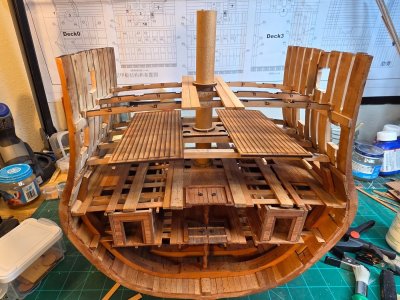
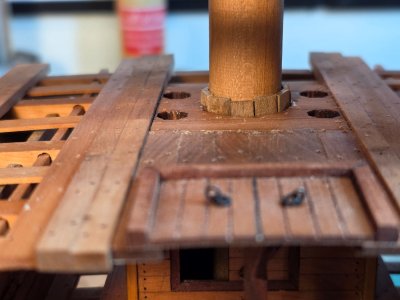
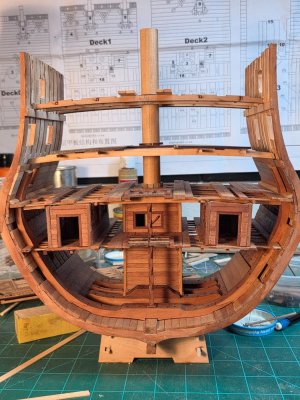
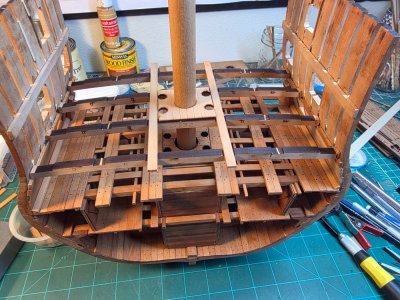
I would like to start with the hull planking, but for that I need to have the gun ports finished and before that I need to check that there following 2 decks are in the correct position. Because all of that I partially assemble deck #1 (images attached on previous posting with the cannon and mast.

Now I partially assemble deck #0 (these deck numbers are the ones provided in the kit) to check also its position and the mast fitting. Concerning the mast, i added the wood pieces uses on deck #2 to center the mast. For that i used 4x1,5 mm sapele wood. The wood provided on the kit was 2mm thick and didn't fit.

Moreover, I had to extend Deck#0 beams as I did on deck #2

Nothing is glued, just placed to visualize that all is fitting as expected. And still there is needed a good sanding and improvement of the parts.

20250920_212945.jpg20250920_213035.jpg

20250920_213747.jpg

Sorry guys, for the sanding dirt seen on the zoomed mast image.

Cheers
Daniel
 
Last edited:
Hi all

I would like to start with the hull planking, but for that I need to have the gun ports finished and before that I need to check that there following 2 decks are in the correct position. Because all of that I partially assemble deck #1 (images attached on previous posting with the cannon and mast.

Now I partially assemble deck #0 (these deck numbers are the ones provided in the kit) to check also its position and the mast fitting. Concerning the mast, i added the wood pieces uses on deck #2 to center the mast. For that i used 4x1,5 mm sapele wood. The wood provided on the kit was 2mm thick and didn't fit.

Moreover, I had to extend Deck#0 beams as I did on deck #2

Nothing is glued, just placed to visualize that all is fitting as expected. And still there is needed a good sanding and improvement of the parts.

View attachment 545979View attachment 545980

View attachment 545983

Sorry guys, for the sanding dirt seen on the zoomed mast image.

Cheers
Daniel
It is looking fabulous !
 
It is looking fabulous !
Thank you very much !!! And thank you to all the likes

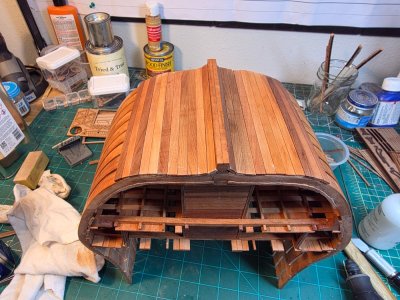
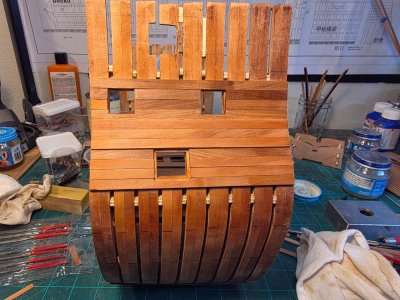
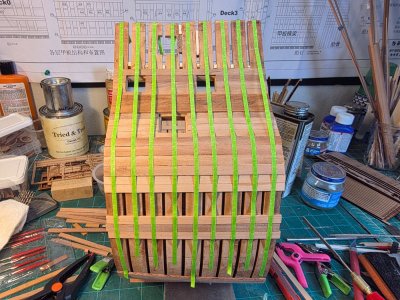
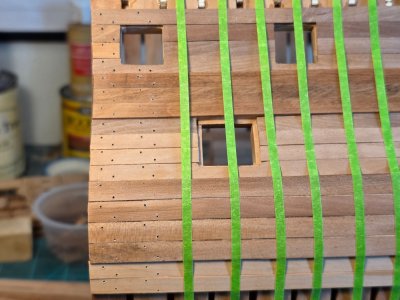
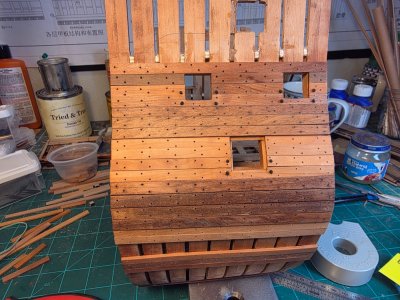
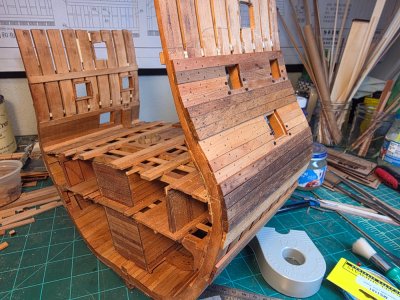
Started the hull planking after finishing the gun ports of the next deck I will built. It is easy to manipulate the kit at this stage during the hull planking.

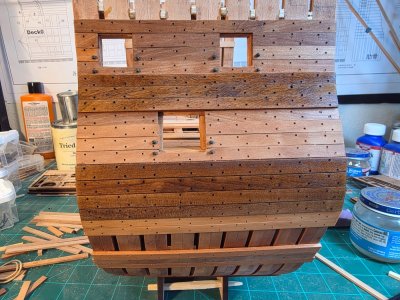
It is not stained, just some mineral spirits to show the wood beauty.

Showing one side now. The other is on the works. Plus the hull bottom, that never ever anyone will be looking at :-) 20250921_173507.jpg20250927_195100.jpg20250927_195123.jpg

Cheers
Daniel
 
Very nice, Daniel! The wood tones are going to be pretty incredible on this model!
Thank you Paul !!! And thank you all, for all the likes.

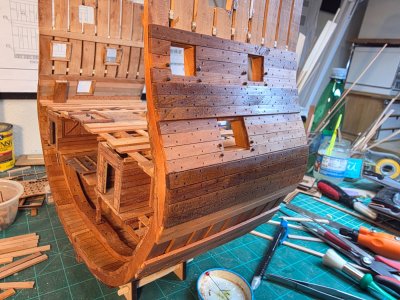
Hull planking on one side is almost finished. Still need to plank the upper part. But that has to wait until I cut the ship shape there. Now the same on the other side.

20250928_192754.jpg20250928_194031.jpg20250929_190510.jpg20250929_190542.jpg


Cheers !!
Daniel
 
Last edited:
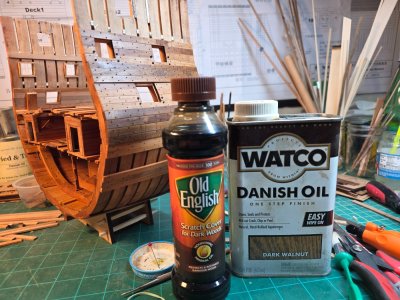
I forgot to say that the pearwood at the whale and at the rubbing strakes (is that the correct name for the 3 thick woods above the whale ?) I used 3 coats of Danish oil Dark Walnut and 3 coats of Old English for Dark Woods. On top of that, I selected from my Swiss Pear wood stash a more darker wood than the provided by the kit. I did cut planks of 3x6 (rubbing strakes) and 3x7 mm (Whale). Plus I did a few 2x6 mm for the hull planking and mixed some with the kit ones. Mine are the darker ones.

17591886096352619214578462389042.jpg
 
I love that cross section..Is it the Unicorn version? Really thinking about that one, but shipping and tariff makes it quite pricey.. Finished fairing the Winchelsea hull Admiral headed to Montana for a week so being bored, I guess I'll have to work on the ships..hehe..today.. Wrapping up the 1/30 Royal Caroline... need to install the stern lights which I put led's in. .
 
I love that cross section..Is it the Unicorn version? Really thinking about that one, but shipping and tariff makes it quite pricey.. Finished fairing the Winchelsea hull Admiral headed to Montana for a week so being bored, I guess I'll have to work on the ships..hehe..today.. Wrapping up the 1/30 Royal Caroline... need to install the stern lights which I put led's in. .

Yes, it is the Unicorn full version of this kit.

I will tell you my experience.

Dry-Dock models have the new version of this kit. The old one (my kit) is out of stock on his site. Shipping is included on Dry-Dock shop. If you go to ZHL (CHINA) is more expensive $899 plus shipping. ZHL has my version too.

I got a kit from Dry-dock last week. Kit was around $280, shipped from China. Came by DHL and I paid $21 on tariffs to DHL. All very official. DHL gave me 5 days to pay or the kit will be returned to the sender in China. Of course I pay.

Bottom line, buying the kit to Dry-Dock is cheaper and you have to add only the tariffs. To be clear, I do not have any commercial or personal relationship with Dry-Dock models (@Dry-Dock Models & Parts ).

Bonhomme Richard 1779 1:48 - Aft Midship Cross Section - Pearwood Vers – Dry-Dock Models & Parts https://share.google/oSX6NJD8MuFTfgSh7

Also, You can visit ZHL, look the price of my version, add the kit to the cart, check the shipping price and..... you decide what is better for you, the new bigger section at Dry-Dock or my version at ZHL.


Best !!
Daniel

PS : My kit version sell by ZHL (See link) will have an extra $93 on shipping costs to Florida..
 
Last edited:
Back
Top