• Win a Free Custom Engraved Brass Coin!!!
    As a way to introduce our brass coins to the community, we will raffle off a free coin during the month of August. Follow link ABOVE for instructions for entering.

HMS Enterprize 1774 Scale Scale 1/160 Midships Cross Section

Hey folks,

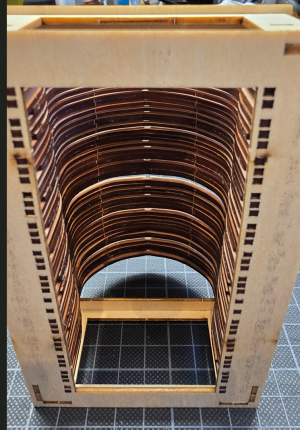
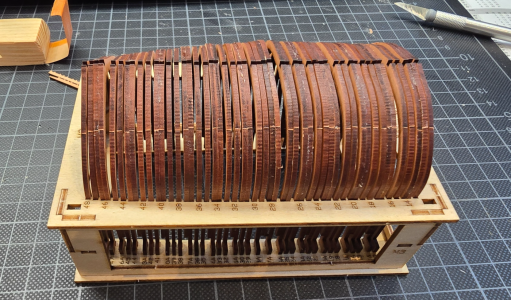
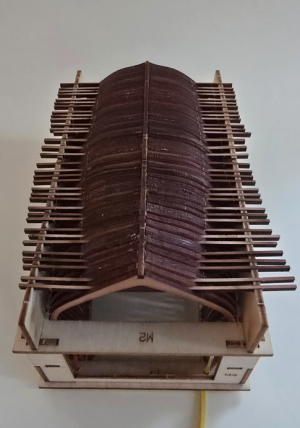
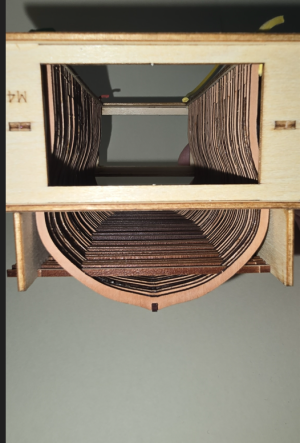
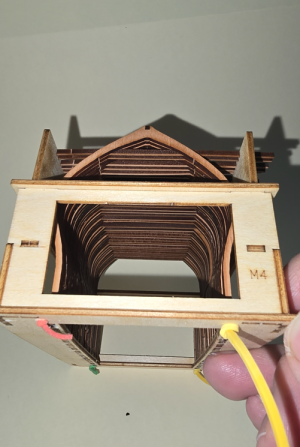
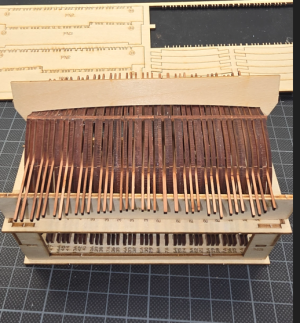
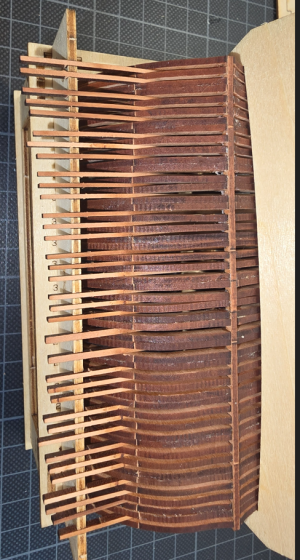
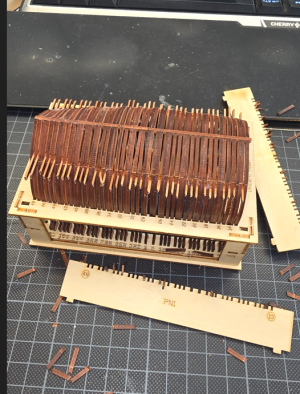
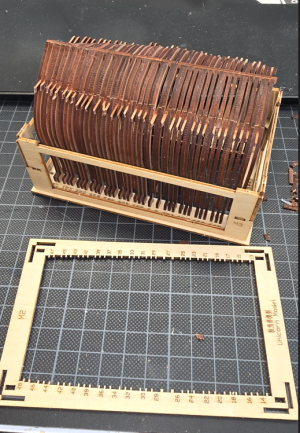
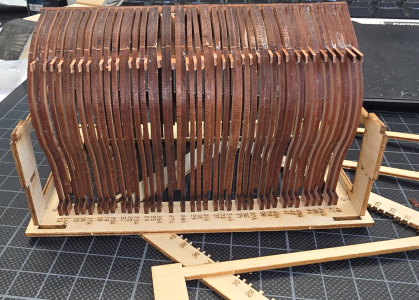
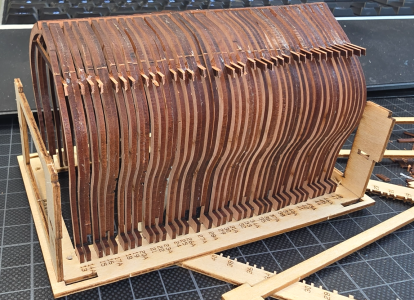
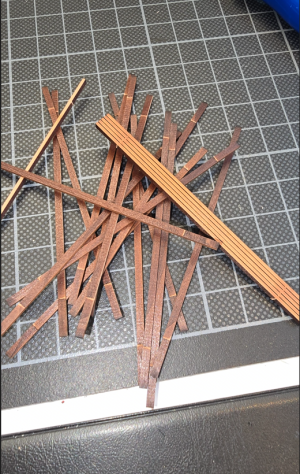
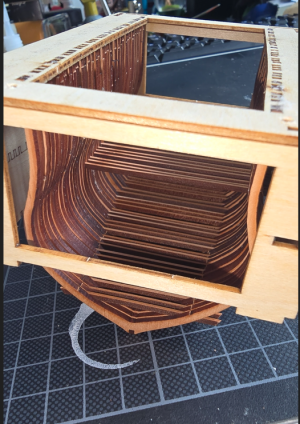
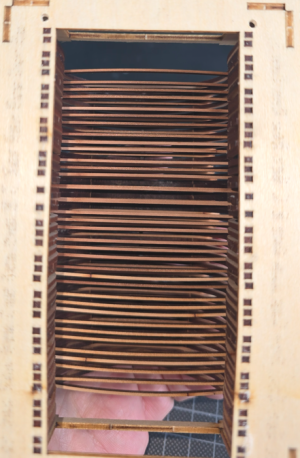
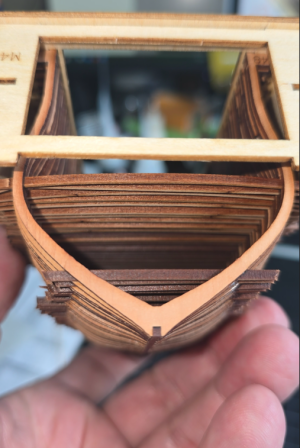
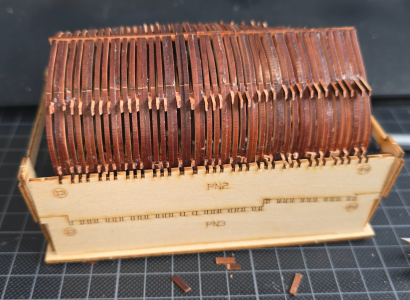
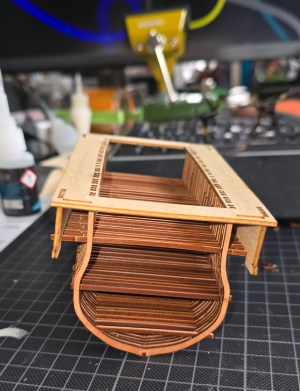
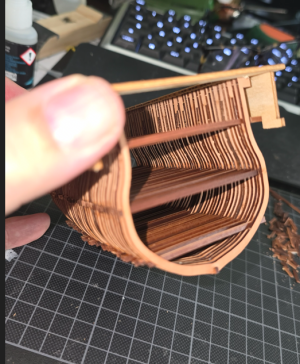
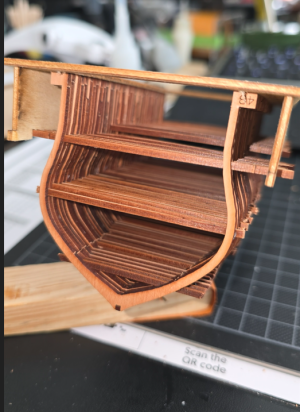
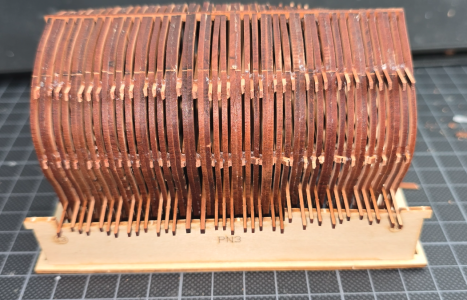
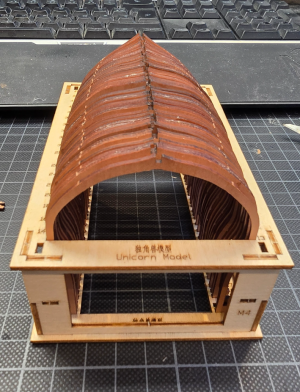
Now comes another step. Now the individual formers and also the double formers for the gun bays are inserted into the frame. This actually works quite well and you only have to fiddle a little to make the formers fit into the frame. But take a look at the pictures for yourself ...

Greetings Günther
1761063750703.png

1761063780064.png
1761063813337.png

1761063843364.png

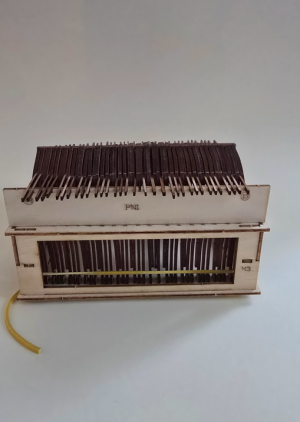
Now that all the frames are in place, the keel has to be fitted. This is no easy task, as the keel has to be fitted into the groove of the frames. I know from experience that a lot can happen. I'm a bit worried that I won't succeed and that some of the frames will break if I get too impatient.

We'll see. Please keep your fingers crossed ... Thumbsup
 
Hey folks,

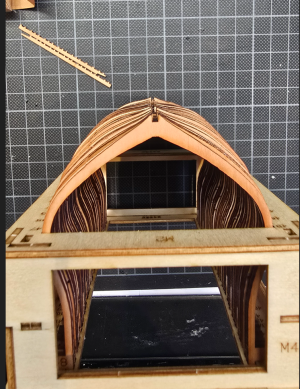
Now comes another step. Now the individual formers and also the double formers for the gun bays are inserted into the frame. This actually works quite well and you only have to fiddle a little to make the formers fit into the frame. But take a look at the pictures for yourself ...

Greetings Günther
View attachment 551812

View attachment 551813
View attachment 551814

View attachment 551815

Now that all the frames are in place, the keel has to be fitted. This is no easy task, as the keel has to be fitted into the groove of the frames. I know from experience that a lot can happen. I'm a bit worried that I won't succeed and that some of the frames will break if I get too impatient.

We'll see. Please keep your fingers crossed ... Thumbsup
If you looked at photo of frames, you couldn't tell what scale this is build at, as it looks just like the large scale builds do!
 
Coming along nicely. I don't know if it is really necessary, but I removed the carbon from the frames where the keel joins. It helps adhesion, but it also may have made the keel fitting easier.
Hey Richard,
many thanks for your tip. I didn't dare to do it that way. I thought I would break through all the frames if I applied too much pressure to remove the space between them. That's why I left it like that for the time being and yes, I really struggled with it. But then I was able to attach the keel with a few tricks and calmness.Thumbsup
 
Hey folks,

and on with the construction of the HMS Enterprise in 1/160th scale. Unfortunately, I didn't do a very good job of it. This ended in the loss of 5 frames. They broke because I had applied too much pressure. Thank goodness my glue fixed everything and I was relieved. Nevertheless, fitting the keel was not easy, as many of the frames simply popped out again, leaving me with no keel support.
It was quite a challenge. I hope you like my pictures ... ;)

1761200123402.png

Once the keel was in place, I had to put the first spacers in place. To do this, I had to place a new platform on my structure. That was part PN1.

1761200507806.png 1761200556082.png

1761200638510.png 1761200717118.png

When the first row of spacers was finished, I took the measurements with the template to check whether the model would still fit for later processing ... And yes, it fits!!!
1761200864819.png1761201258533.png
After inserting the first spacers, it was time for rows two and three. To do this, I had to rebuild the body again and remove the PN1 template and insert the PN2 and PN3 templates.
1761201315406.png 1761201372246.png1761201425220.png

1761201481522.png
 
Now I started to install the second row of spacers ... That's a fiddly job ...;)

1761201628889.png 1761201662575.png

1761201727435.png1761201805880.png

And that's it. The second row of spacers is now finished.
1761201849939.png

And last but not least, of course, the third row. I then had to remove the structure in order to fit the third row of spacers.

1761202139011.png1761202171059.png

1761202206922.png 1761202245314.png

Then, of course, the overhangs had to be sawn off and sanded.
1761202356083.png1761202393906.png

1761202424236.png 1761202463246.png
 
Now that I had removed the entire structure, it was time for the one thing I don't like to do!

Sanding! :eek:

I took some sandpaper and tried to sand it by hand. As I am such a patient person and it just took me too long, I decided to load my Proxxon with 400 grit sandpaper and off I went. Very carefully, of course. When I removed the laser cut marks, this beautiful pear wood came into its own and I was surprised at how beautiful it looked.:DThumbsup

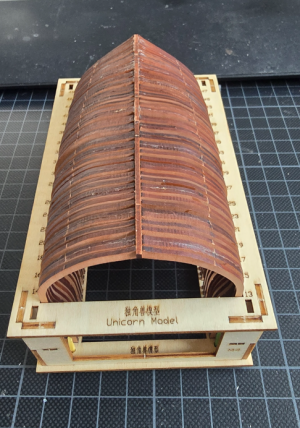
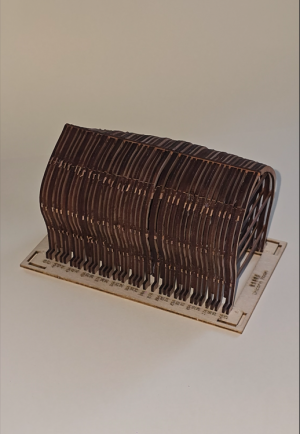
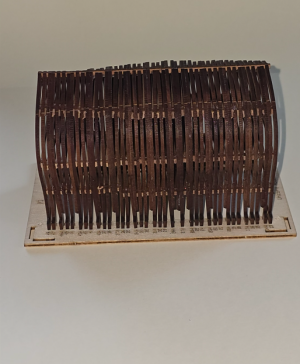
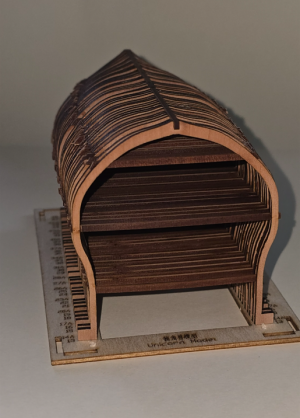
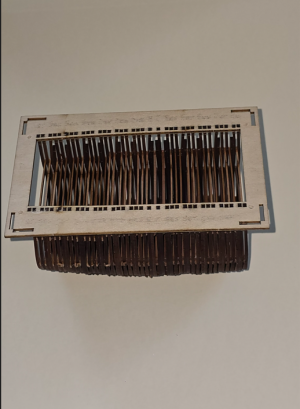
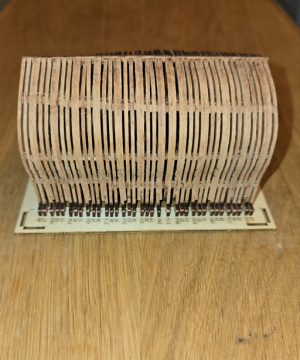
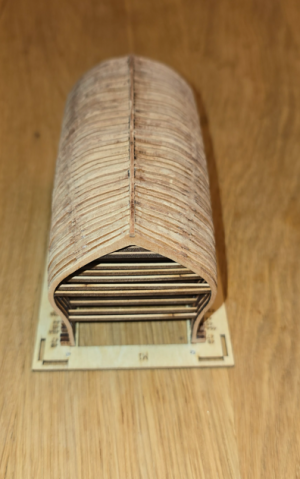
This is what the frames looked like after they had been sanded ...

1761202891212.png 1761202925336.png
 
The sanding had already taken some time and thankfully it went well without any problems or damage.

The next step would be to attach the planks and cut out the gun ports. I'm a bit scared of cutting out the gun ports, as everything is really so tiny and I hope I don't break anything ...:eek:

I'll continue soon ...:cool:
 
Coming along nicely. Remember to support the frames on each side when cutting away the gunports. I scored them, a bit oversized, first then filed them to final height.
Hello Richard,

Many thanks for the tip. Did you have any problems cutting out the gun ports? How did you cut them out? With a normal scalpel? Did you break a bulkhead? I don't think the instructions are very good. There is also little description of the dinghies. Have you already finished the dinghies?
 
I scored them about 1mm too long, drilled a small hole then used a knife. Finished off with files. Support is the main thing, even in boxwood they can split easily.

I did one boat, the cutter as seen on my log. It was a short diversion and to see if I could manage it. Took about a day. Almost every piece broke at some point and had to be repaired.
Hello Richard,

Thank you very much for your reply. I will definitely take that into consideration. I have to admit, I have also dared to try one of the dinghies. It's absolute madness. I almost went mad because the parts really are so fragile. I also broke frames. I was unlucky enough to break two of them when I was cutting them out ... Working on this scale is a real test of endurance and sometimes I wanted to tear the dinghy off the table ... :eek:
There should be a spare set of frames if you need them on the sheet. I don't envy you working in pearwood. Boxwood may be more brittle, but pear is generally more fragile.
 
There should be a spare set of frames if you need them on the sheet. I don't envy you working in pearwood. Boxwood may be more brittle, but pear is generally more fragile.
Oh yes, how right you are ... It really does happen very quickly ...

Thanks for the great exchange. It's really fun to philosophise and discuss with you :DThumbsup... By the way, I've also ordered the stern section of the HMS Enterprise and I hope there will even be a bow section. I have asked Dry-Dock whether a bow version can be made. He has forwarded my enquiry to Unicorn. Let's see what comes of it ... I'll let you know when I know something. Thumbsup
 
Now that I had removed the entire structure, it was time for the one thing I don't like to do!

Sanding! :eek:

I took some sandpaper and tried to sand it by hand. As I am such a patient person and it just took me too long, I decided to load my Proxxon with 400 grit sandpaper and off I went. Very carefully, of course. When I removed the laser cut marks, this beautiful pear wood came into its own and I was surprised at how beautiful it looked.:DThumbsup

This is what the frames looked like after they had been sanded ...

View attachment 552119 View attachment 552120
Good morning Gunther. Coming along nicely. Have you tried using a scraper rather than sanding all the way? I find the scraper brings out the wood colour and grain (if any) much nicer. This looks like a really cool build. Cheers Grant
 
Now I started to install the second row of spacers ... That's a fiddly job ...;)

View attachment 552106 View attachment 552107

View attachment 552108View attachment 552109

And that's it. The second row of spacers is now finished.
View attachment 552110

And last but not least, of course, the third row. I then had to remove the structure in order to fit the third row of spacers.

View attachment 552111View attachment 552112

View attachment 552113 View attachment 552114

Then, of course, the overhangs had to be sawn off and sanded.
View attachment 552115View attachment 552116

View attachment 552117 View attachment 552118
Thanks for showing all the in between steps of the placement off the spacers, Günther. It looking nice.
Regards, Peter
 
Back
Top