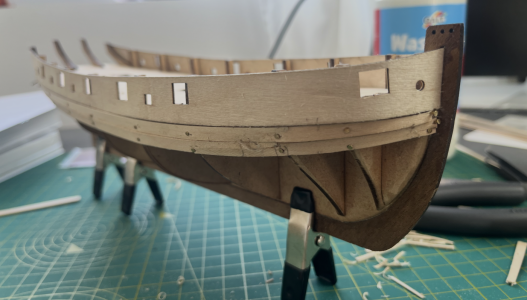
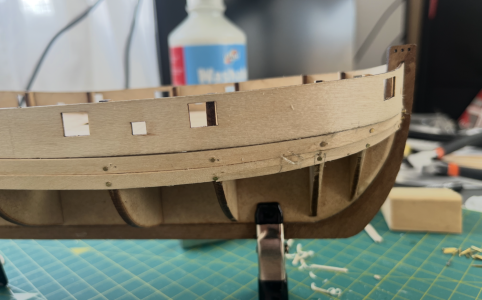
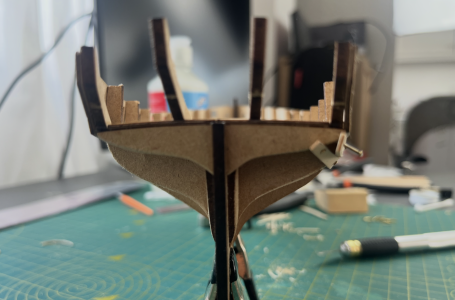
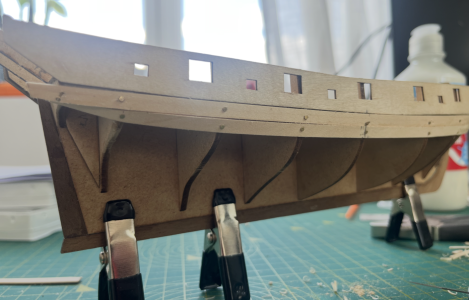
Fixed with this:
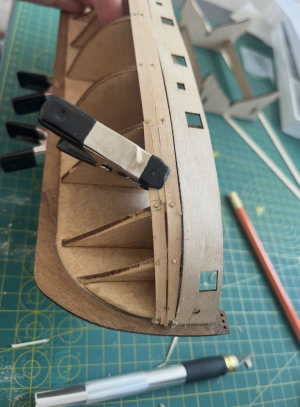

 |
The beloved Ships in Scale Magazine is back and charting a new course for 2026! Discover new skills, new techniques, and new inspirations in every issue. NOTE THAT OUR NEXT ISSUE WILL BE July/August 2026 |
|
 |
As a way to introduce our brass coins to the community, we will raffle off a free coin during the month of August. Follow link ABOVE for instructions for entering. |
|
I’ve got this sitting on a shelf of ‘to-do’ projects so really happy to follow your lead. Bon chance.Hey, starting a build log here.
I decided to go with HM Cutter Lady Nelson 1:64 from Amati as per recommendation in this forum. I ordered it on Amati website and after a week or so, it has arrived.
I wasn't sure if I want to start doing 3 things in parallel, an actual build, videos and build log. Long story short, I am writing this new post in the new thread under build logs forum with other like minded folks.
My goal is to share progress and mistakes, get an advise from seasoned builders. I am new to this, so would be great to have some support.
Welcome, Pog and happy reading you here.I’ve got this sitting on a shelf of ‘to-do’ projects so really happy to follow your lead. Bon chance.
.

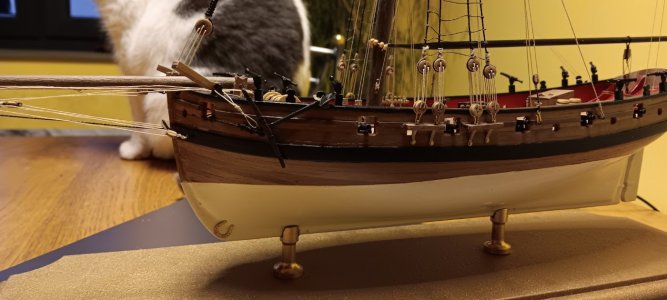
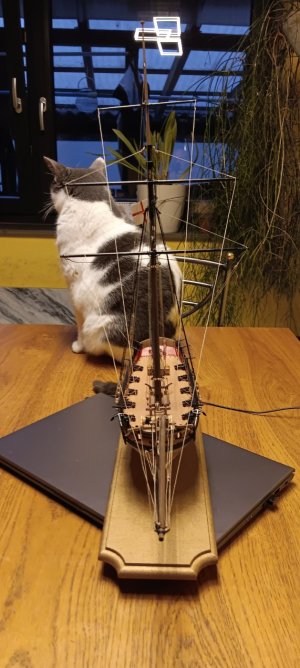
Hi Pfälzer,

Hi Kurt,Hi Max, judging from the work you've done so far and the problem you're having with shaping and forming of planks, it appears to be that you need to do some reading on techniques for fitting planks to the hull, specifically:
1) beveling plank edges such that they meet adjacent edges without gaps
2) fitting, such as tapering of plank near the bow, and use of drop planks and stealer planks at areas where hull surface narrows or expands (at bow or stern)
3) pre-forming planks to contain the proper twist as they approach the bow
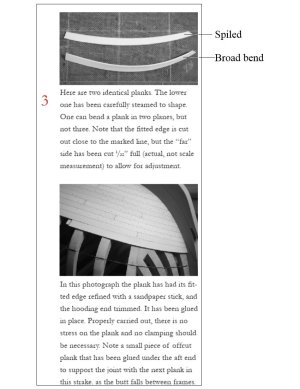
4) spiling planks (creating edge-on curvature so they follow the vertical shear curve of the hull)
5) glueing plank to the frames AND adjacent planks ONLY after they are test fit, and fit almost perfectly, with LITTLE bending force needed for them to conform to the frames
I think you're forging ahead too early, without fully knowing the basics of hull planking. Please read the docs I attached below. Then, read them again. Practice techniques on strips of scrap wood first to get a feel for how the wood will behave. Save the kit planks for when you are truly ready. Each of the docs below describes techniques mentioned above, many directly specifically for the type of hull you are planking. Learn how to pre-bend planks by soaking in water and using a hot iron tool. Buy one of those HERE. If you study these things, you will feel more confident in dealing with the problems of plank fitting and learn an essential skill in wooden hull modeling.
The first planking layer can have mistakes because you can correct them and they won't be visible when the ship is finished, being covered by the final (second) planking. The first layer DOES need to be smooth and shaped properly, but the seams don't matter much.
You will have specific questions on planking as your research, so ask them here in your build log. We are here to help.
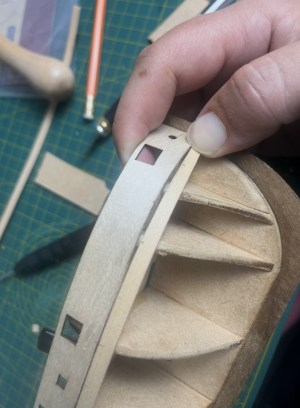
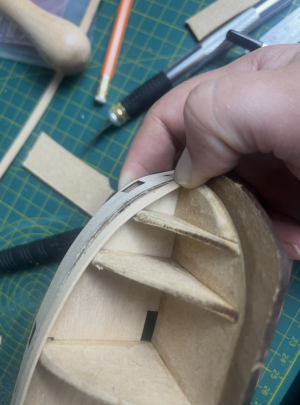
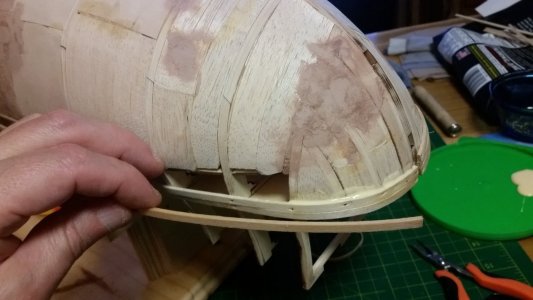
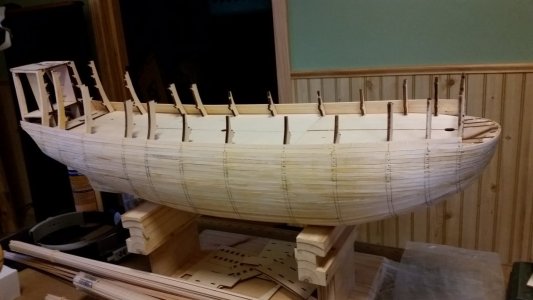
Hey Kurt,If the gap is at the top edge of the plank, then the material you remove to taper the plank should be at the top edge only. Before you cut wood, make a stiff paper or tagboard model of the plank itself. Bend the paper strip over the hull and mark where you need to remove wood with a pencil. Cut the paper until it fits the hull. The paper is now your pattern for making the wood plank.
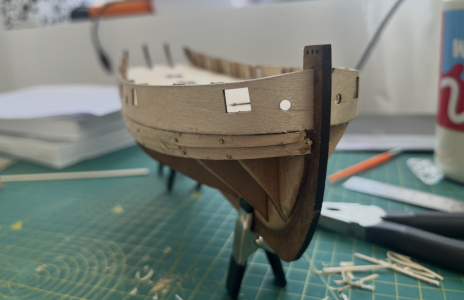
I tried a few ways to cut the first plank. First time, and I posted photos, I cut on the top edge only, the problem appeared to me visually, when I came with the second plank and realised that it shouldn't be the way it is done, that is why I posted a question here in this thread. I tried fixing both planks, but again, it wasn't the best way as I understand that moving forward I would have even more issues with the way I would have those planks.If the gap is at the top edge of the plank, then the material you remove to taper the plank should be at the top edge only. Before you cut wood, make a stiff paper or tagboard model of the plank itself. Bend the paper strip over the hull and mark where you need to remove wood with a pencil. Cut the paper until it fits the hull. The paper is now your pattern for making the wood plank.
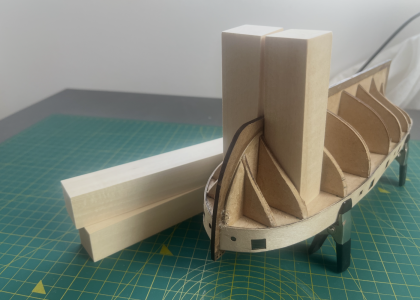
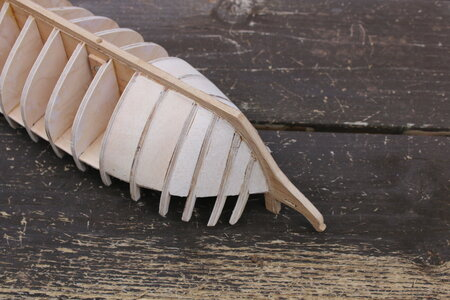
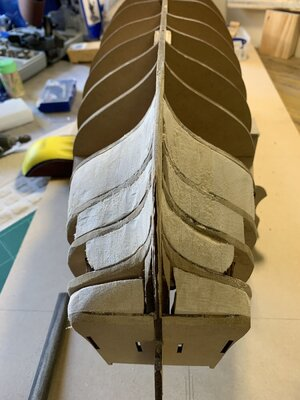
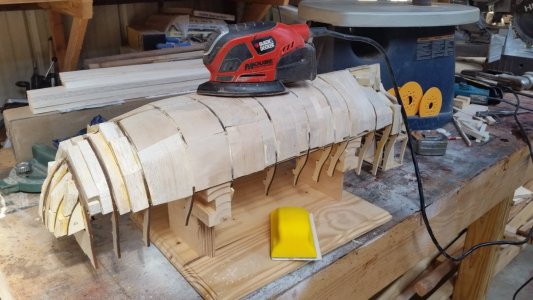
I absolutely agree on this one. It makes my progress being slower as I will have to find and order balsawood and proper sanding blocks to make the shape comfortably quick for my build. What I see here is that the 1 and 2 bulkheads may be 1-1.3mm down the balsawood and my planks would be installed on balsawood (I hope) and the issue with bulkhead/first plank is fixed.Now the plank's upper edge is not in line with the garboard strake plywood above it. Let's fix that BEFORE you make your paper pattern. You will need to will the space between the frames nearest the bow with a block of balsa wood, and then cut and sand that down to the shape of the bow on both port and starboard sides. They don't tell you these tricks in kit instructions, BUT THEY SHOULD. Filler blocks do two things. 1) they provide proper shape to the planks that are laid over them, and 2) they provide a strong surface to glue the planks to.
I am not sure about the surface angle of the block and how to achieve this, but I would have to find out once I have balsawood and start block dry fitting.You will have to ensure that where the filler block material approaches the plywood garboard strip that you already have on your hull, the surface of the block is 1) below the surface level of the plywood equal to the thickness of a plank, and 2) the surface angle of the block equals the angle of the garboard strake without a hard bend at the joint where the plank will touch the garboard strake, producing a smooth curvature. The surfaces of garboard strake and plank just beneath it should flow smoothly without a forming a hard edge, so little sanding will be needed to blend the joint smooth.
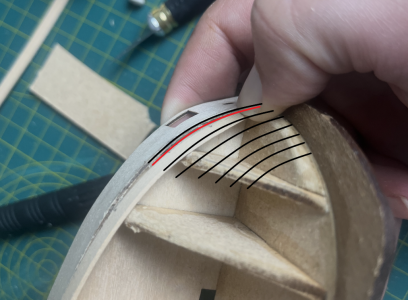
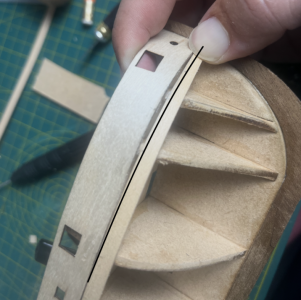
It makes sense to me, thank you for the detailed explanation.A plank must be cut to a specific shape and/or bent in order to lay flat on the frames. The top edge of the filler block should touch the inside edge of the garboard strake (red line), so when you place plywood planks over the filler block, the plank's surface is level with the plywood above it (black line).
I never said that and never thought so... haha.And you thought all you needed to to was buy a kit and glue it together... No!
I am pretty much sure that beginning scratch builders have absolutely no idea about blocks, balsawood, extra support for planks etc. But I agree with you, that is makes sooo much more sense now as I try and fail every attempt to follow instructions and videos.This is one technique all beginning scratch builders use to guarantee their hull have smooth curves with no sharp bends, flat spots, depressions, or lumps.
I am not disappointed about this one, I've got used to it while doing my other hobbies and understand that everything takes way more time than planned/expected.As a beginner, you may be disapppointed to learn it takes more work than the instructions said. Get used to that!
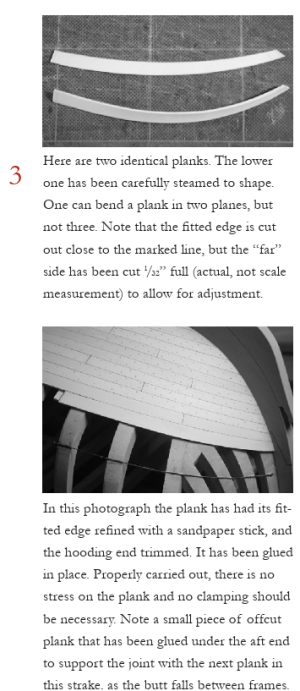
I did sand frames in the last couple of days while waiting for balsa wood. So hopefully the progress won't take too long hahaAt first glance, I’d initially suspect that the frames haven’t been sanded down properly.
To my mind, there are still too many sharp edges.