• Ships of Scale has incorportated an extra level of security when you log In. Please follow on-screen prompts to acknowledge that you are not a robot via a "Check Box" or a "Pictorial Check Box Puzzle". This is needed due to higher level of AI Activity Security.
  • SUBSCRIBE TO SHIPS IN SCALE TODAY!

    The beloved Ships in Scale Magazine is back and charting a new course for 2026!
    Discover new skills, new techniques, and new inspirations in every issue.

    NOTE THAT OUR NEXT ISSUE WILL BE July/August 2026
  • Win a Free Custom Engraved Brass Coin!!!
    As a way to introduce our brass coins to the community, we will raffle off a free coin during the month of August. Follow link ABOVE for instructions for entering.

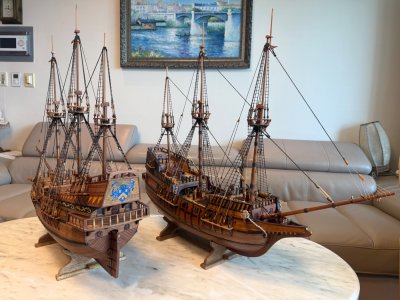
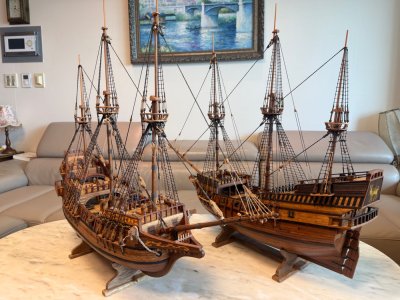
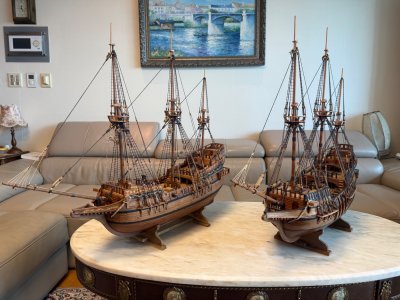
Golden Hind scratch build 1:48 (based mostly on Aeropiccola plans)

Hi All~
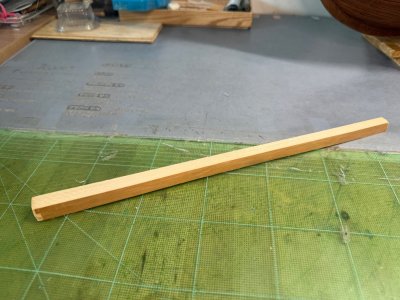
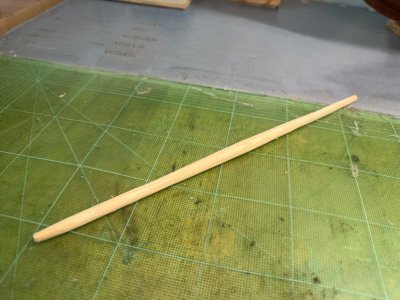
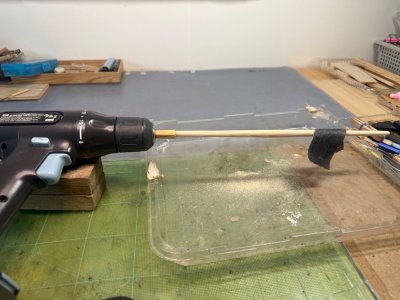
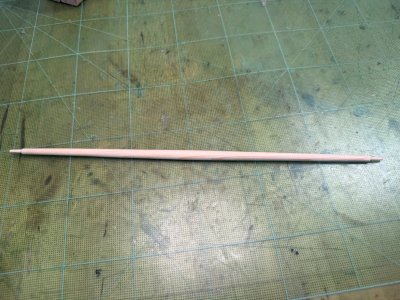
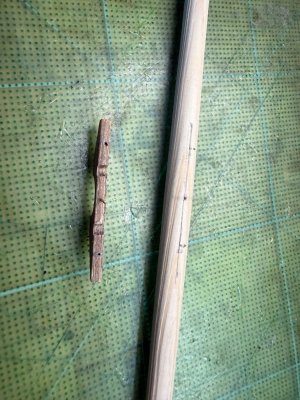
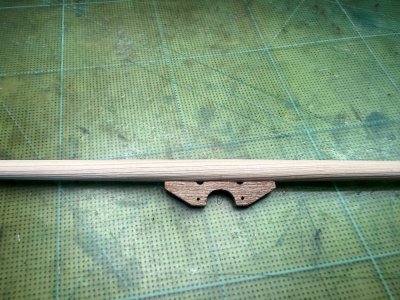
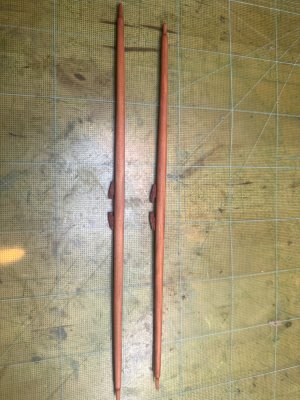
I have begun the long journey of making yards and sails and so on~ I have to admit that of all the processes of model ship building, making sails and using sawing machine is the one area that is least enjoyable for me personally. I may stall and get more than usual resting periods once the sail related work starts. Anyhow, for now, I am starting with yards (fore sail yards first). Below are pictures of the initial prep of wood for the fore sail yard.

IMG_2973.jpeg

IMG_2974.jpeg

IMG_2976.jpeg

IMG_2980.jpeg

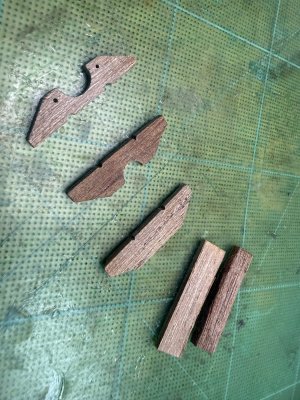
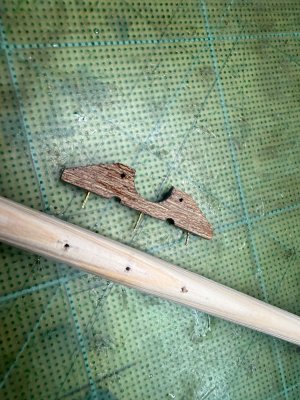
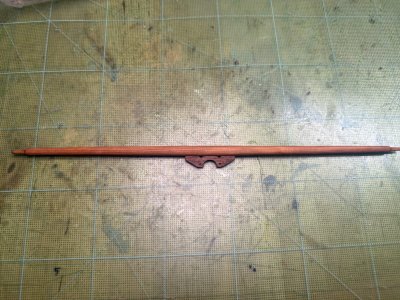
Now, the other major component of the yard- the part that is bound to the mast with parrel and so on. I am trying a new type of hard wood - I think it is teak. Let’s see how it turns out.

IMG_2989.jpeg

IMG_2990.jpeg

IMG_2991.jpeg

IMG_2992.jpeg

IMG_2993.jpeg
 
Last edited:
Beautiful work, but, that wooden fork on the yard looks very much like a modellers invention. In reality, it would severely hamper the free rotation of the yard on the mast (tilting) and break in record time.
 
Beautiful work, but, that wooden fork on the yard looks very much like a modellers invention. In reality, it would severely hamper the free rotation of the yard on the mast (tilting) and break in record time.
Hi~

For the yard, I am following the original Aeropicolla plan. Did not think that the original design would be problematic. Do you have any pictures or plans that I can reference on this?
 
Hi Patrick,

Any reference pictures or plans that I can look at on this particular area? I mean, if I need to deviate from the original Aeropicola plan, I definitely need good reason for it.
I had a detailed build log for it on MSW. It is currently being rebuilt here on SoS and a few other forums.
But I haven't reached the stage of the yards yet.
That specific detail on a yard certainly doesn't appear on any drawings from that era.

 
I see where you got the idea. There is indeed a wood strip with holes for the halyard and parrels at the fore side of the yard. So just file that fork away and turn the yard the other way. Problem solved.
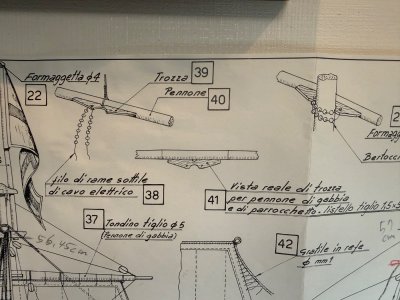
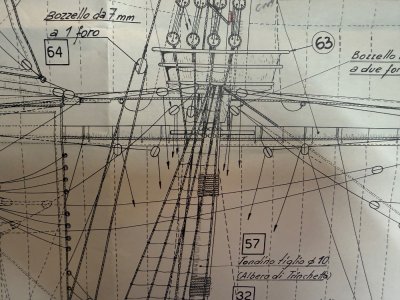
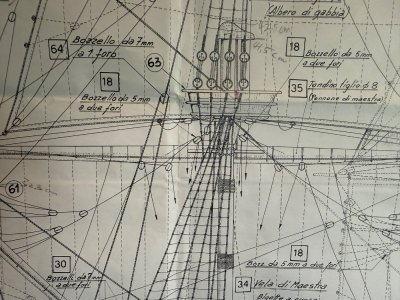
Thanks for your suggestion! But, that is not what the original Aeropicola plan suggests. I understand what you are saying and that is what I see on most other models (including my previous builds). However, this is my first time building a 16th century galleon and the plan says differently. I attach below pictures of the area of plan for yards.

IMG_3045.jpeg

IMG_3046.jpeg

IMG_3047.jpeg
 
Hello shipmates~!

It’s been a while since my last update. I have taken some rest before getting started with the (scary?) sails part of this journey.

As for the yards, thanks to two members of SOS, I was able to avoid a serious mistake of putting some sort of jaw on the yards facing the mast. I should have known better than to follow Aeropicola plans blindly. Thanks very much for the advice Pepite 1/60(don’t know the name) and Patrick!

The jaw was repurposed to simple stopper as below.

IMG_3083.jpeg
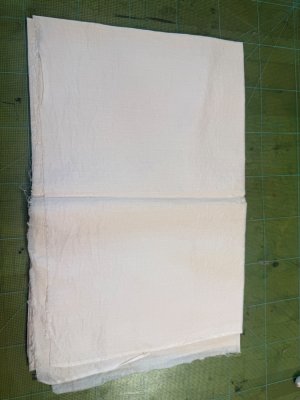
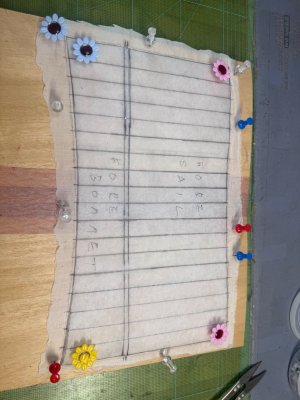
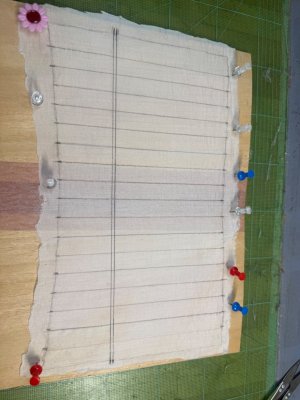
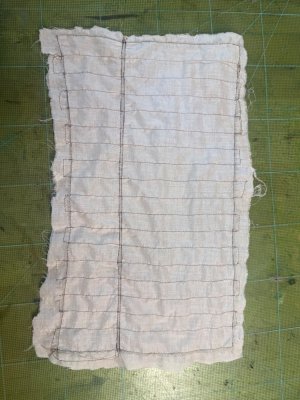
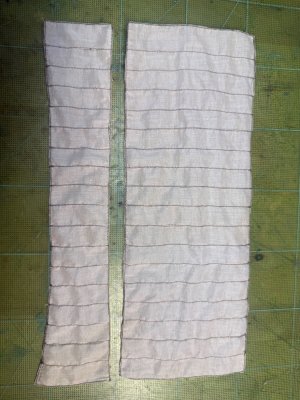
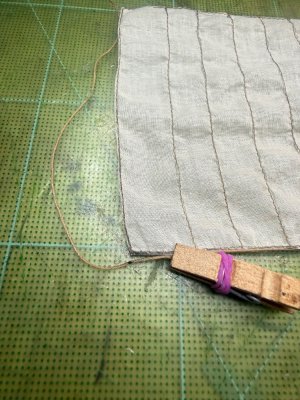
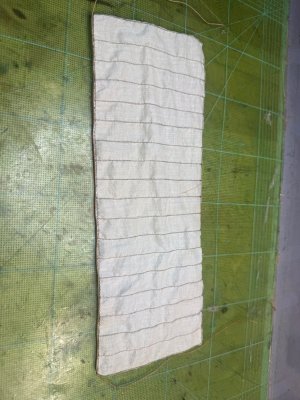
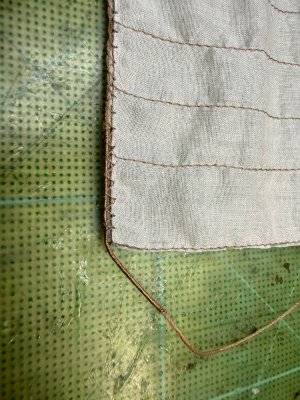
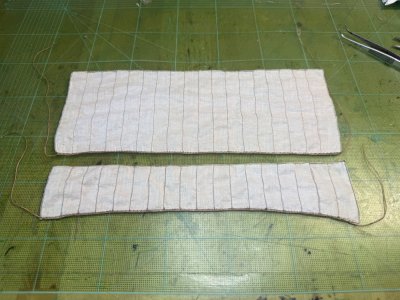
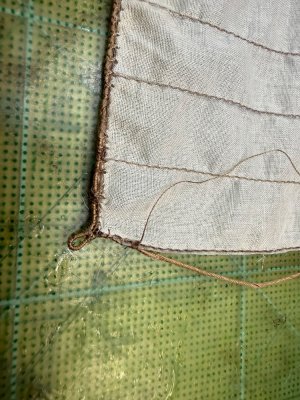
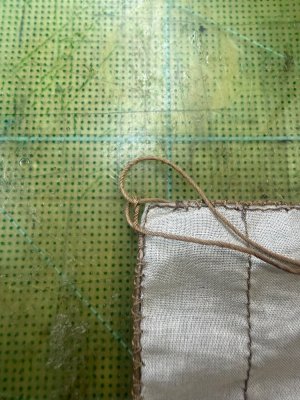
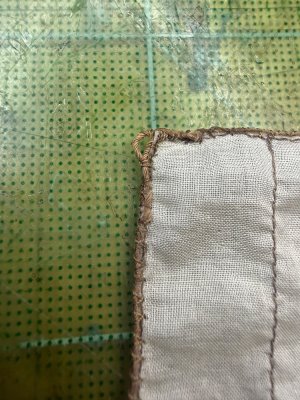
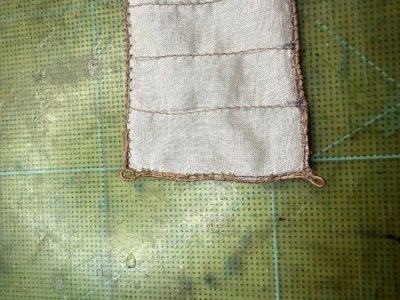
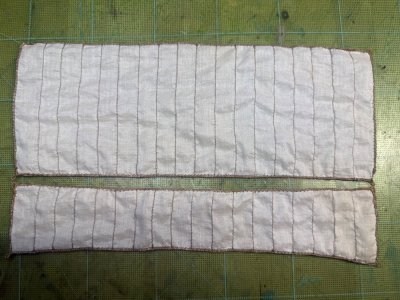
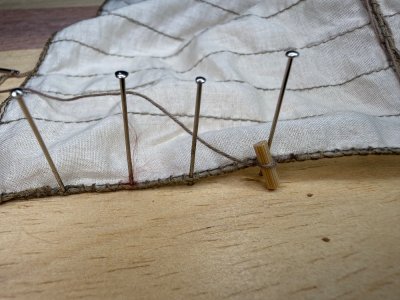
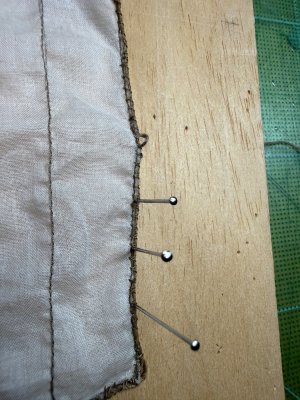
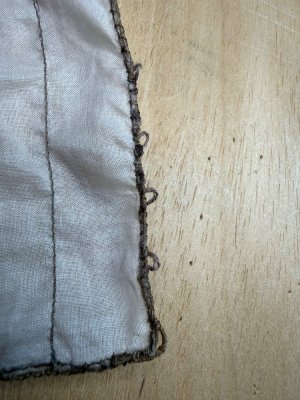
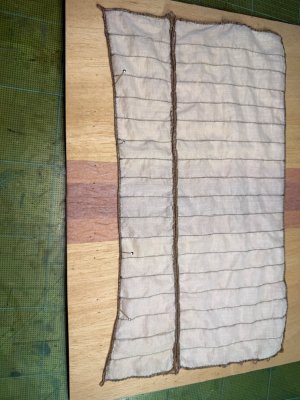
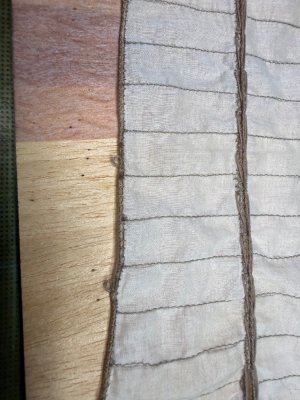
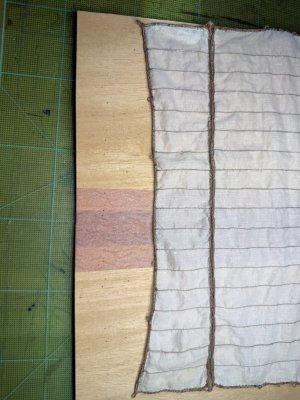
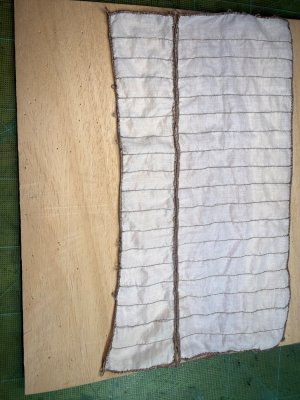
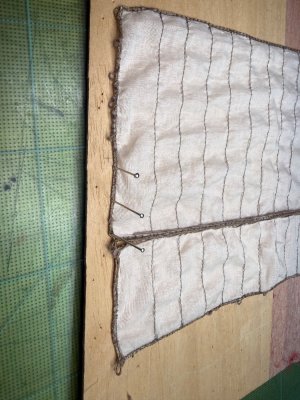
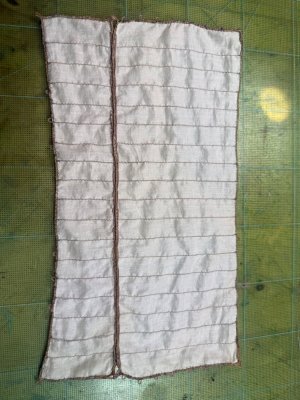
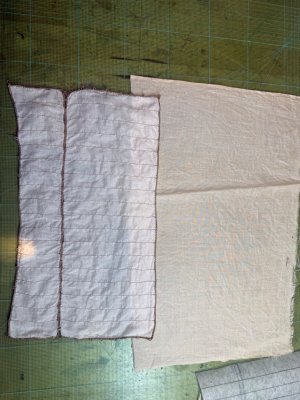
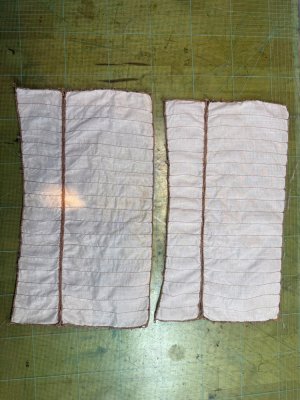
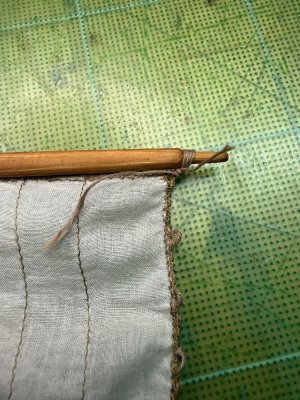
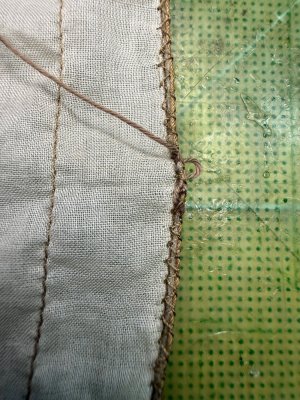
Before going any further with yards, I wanted to start with sails and experimented with couple of methods. As feared, the part that scares me most - attaching boltropes manually - is definitely a no go (it would take decades to finish with my sewing skills). So I made the decision to use sewing machine for boltrope attachment and only do historically accurate hand sewing around cringles and earrings. I am afraid I had to find a reasonable method to finish the 2 ships for my friends within this decade. Below are the pictures of initial work on the foresail. I am going to put in more details than usual - more or less for my record.

IMG_3084.jpeg

IMG_3085.jpeg

IMG_3086.jpeg

IMG_3087.jpeg

IMG_3088.jpeg

IMG_3089.jpeg

IMG_3091.jpeg

IMG_3092.jpeg

IMG_3094.jpeg

IMG_3095.jpeg
 
Last edited:
Hi All~

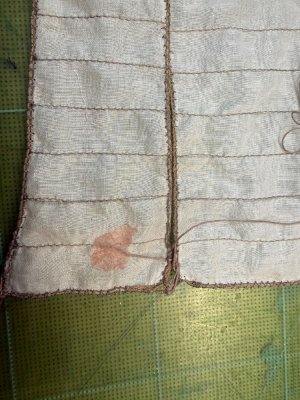
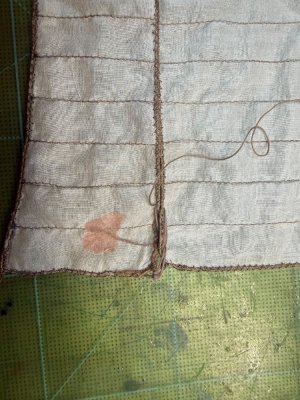
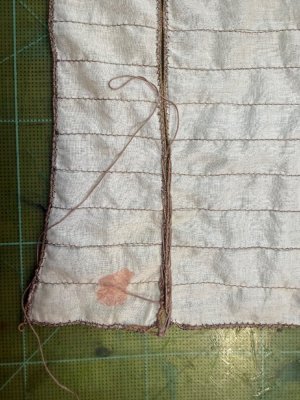
Another short update on the foresail. I originally served only the cringles (or clews) and the earring done with unserved cord. However, with my cotton thread, unserved earring looks quite messy. So for the bonnet, I tried a served earring installation and it seems much better. Below are pictures of these works.

IMG_3097.jpeg

IMG_3098.jpeg

IMG_3099.jpeg

IMG_3100.jpeg

Now the bonnet attachment work begins. I have uploaded maybe one or two more pictures than neccessary. But, as I mentioned these details are more for my record. Next up will be leech and bunt loops.

IMG_3112.jpeg

IMG_3113.jpeg

IMG_3114.jpeg

IMG_3115.jpeg

IMG_3116.jpeg
 
Last edited:
Hello all~

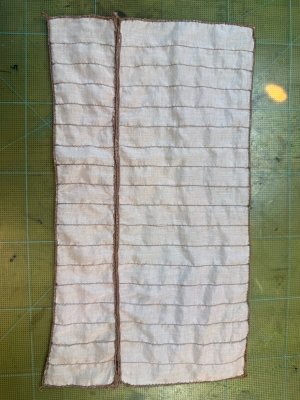
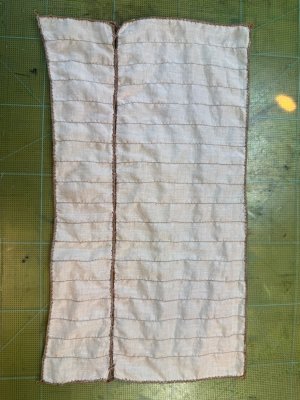
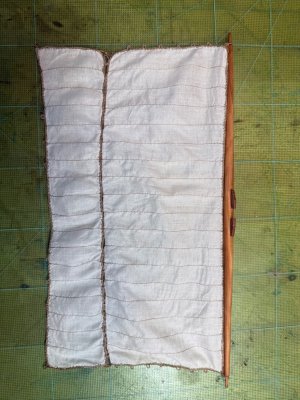
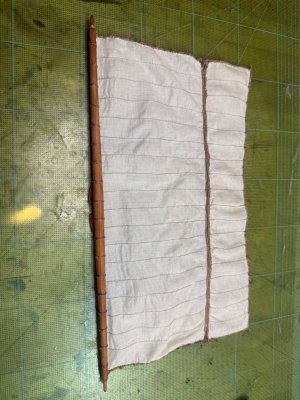
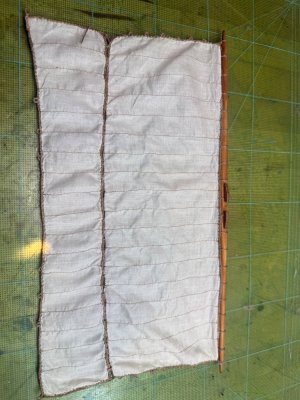
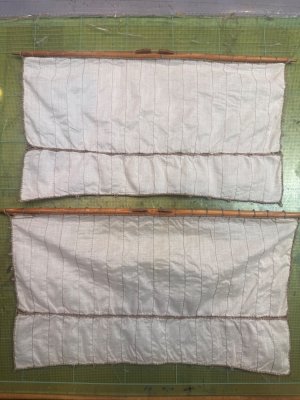
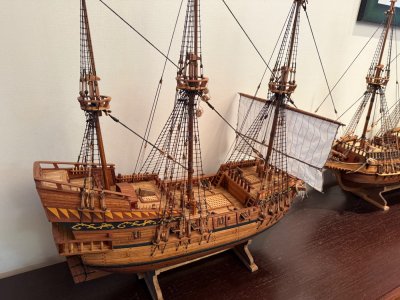
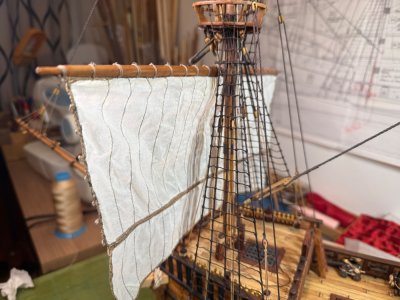
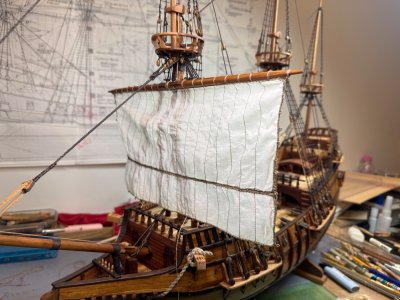
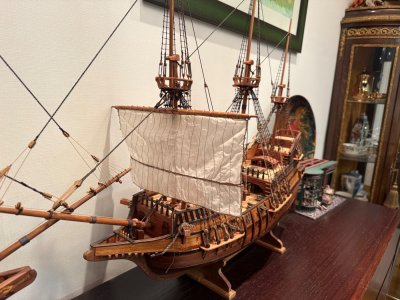
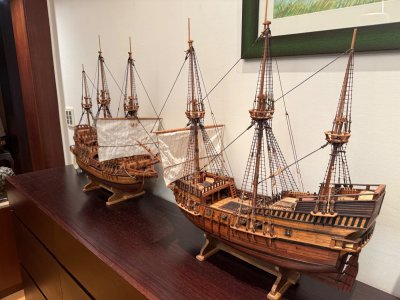
I did not realize that it was more than 3 weeks (almost a month) since my last update! I have been taking things slowly (more or less deliberately) on this sails making phase. Anyway, the fore mainsail for GH2 is finished as below. I used slightly darker dyed material to see the difference in color.

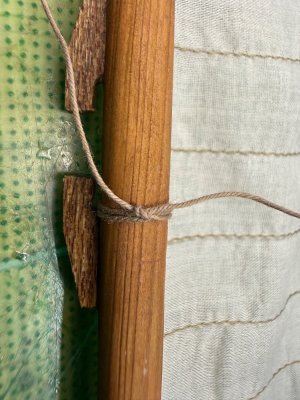
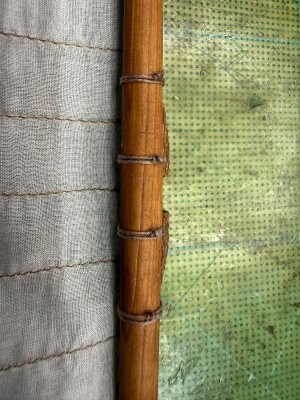
Both fore mainsails for GH1 & GH2 are attached to the yards.

IMG_3165.jpeg

IMG_3203.jpeg

IMG_3204.jpeg

IMG_3205.jpeg

IMG_3206.jpeg

IMG_3207.jpeg

IMG_3226.jpeg

IMG_3227.jpeg

IMG_3231.jpeg

It seems that there are not much difference in color after washing with soap to get rid of the pencil marks.
 
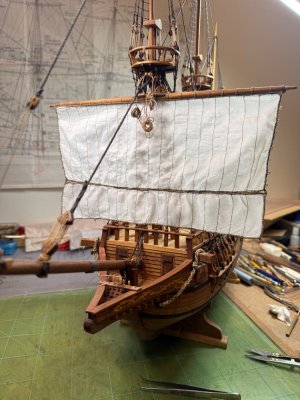
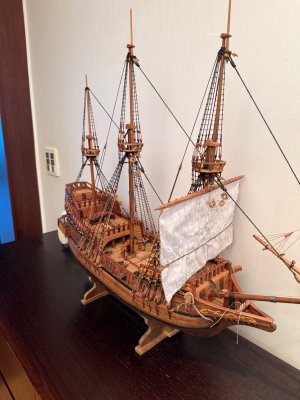
I have tried out both fore sails on GH1 & GH2. I am quite sure that the color of sails are brighter than optimal. I am considering to test a darker dye using heavily diluted pine tar. The results will be shared on the next update.

IMG_3232.jpeg

IMG_3234.jpeg

IMG_3235.jpeg

IMG_3236.jpeg

IMG_3237.jpeg

IMG_3238.jpeg

IMG_3239.jpeg
 
Last edited:
Back
Top