• Ships of Scale has incorportated an extra level of security when you log In. Please follow on-screen prompts to acknowledge that you are not a robot via a "Check Box" or a "Pictorial Check Box Puzzle". This is needed due to higher level of AI Activity Security.
  • SUBSCRIBE TO SHIPS IN SCALE TODAY!

    The beloved Ships in Scale Magazine is back and charting a new course for 2026!
    Discover new skills, new techniques, and new inspirations in every issue.

    NOTE THAT OUR NEXT ISSUE WILL BE July/August 2026
  • Win a Free Custom Engraved Brass Coin!!!
    As a way to introduce our brass coins to the community, we will raffle off a free coin during the month of August. Follow link ABOVE for instructions for entering.

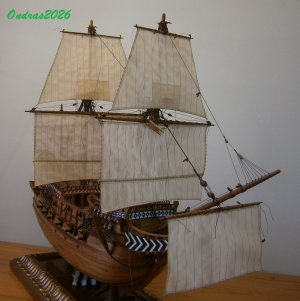
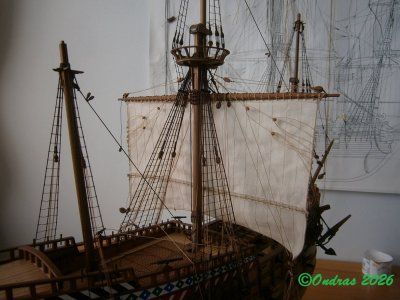
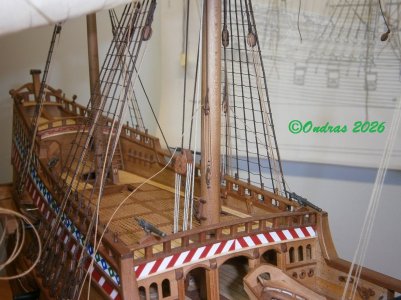
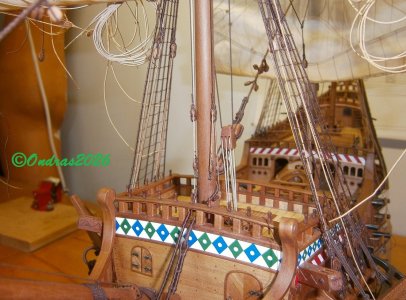
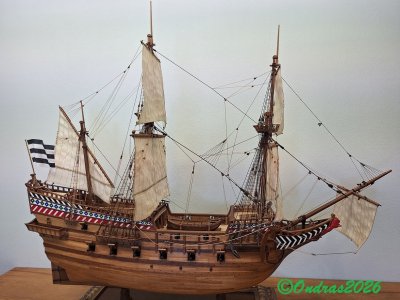
Roter Löwe 1597 by Ondras71 - scala 1/60

WOW! This is such a great post on how sails can be made! THANK YOU!
Thank you very much Kurt, thanks for the like..;)

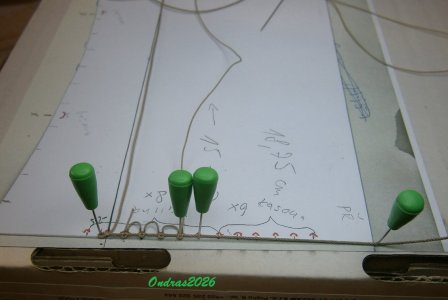
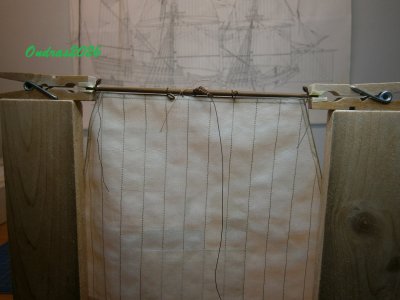
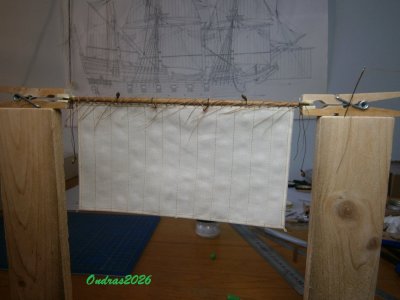
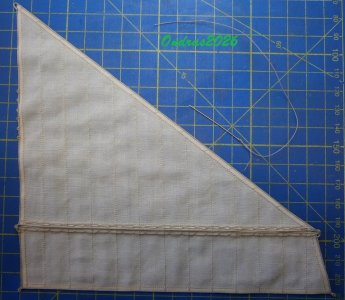
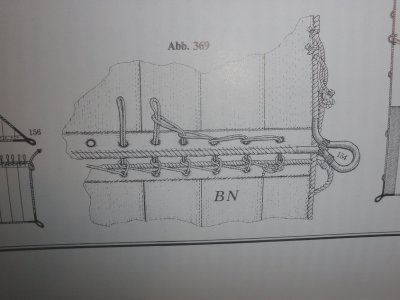
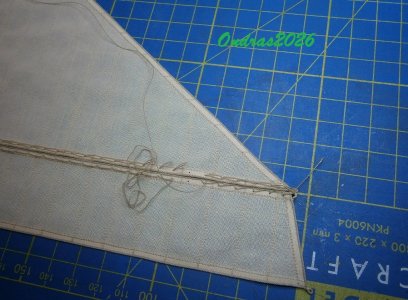
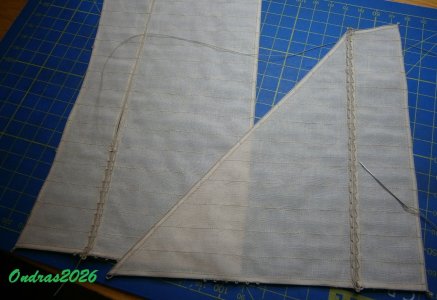
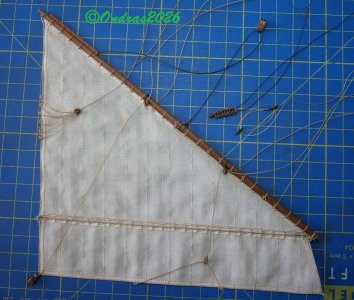
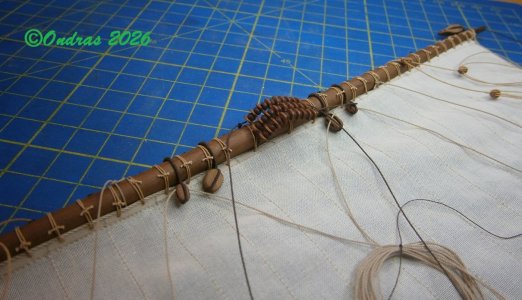
I received a photo from an older book from a fellow modeler, where you can clearly see the bonnet tying. I tied it wrong..:mad:

šněrování  bonetu.jpg

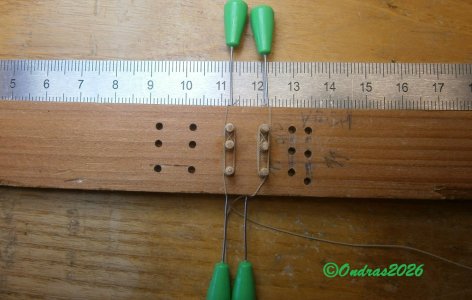
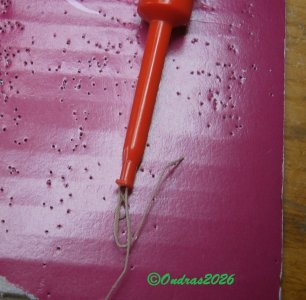
So I tested that the eyelets actually worked..:(

párání oček...JPG

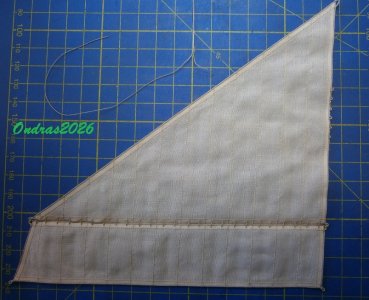
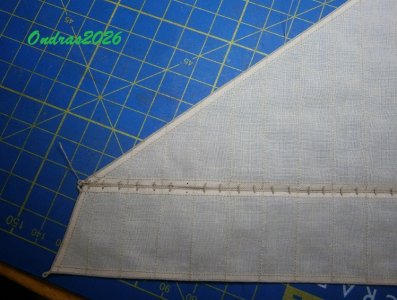
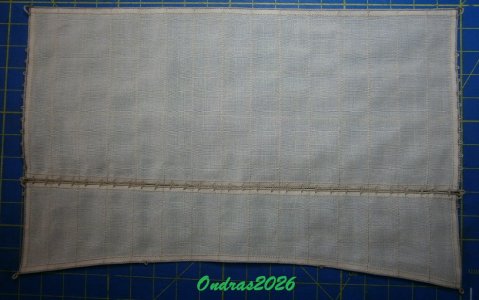
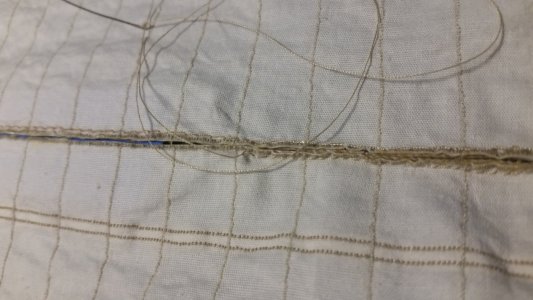
Binding redone..Sleep

nové stehy. (1).JPG

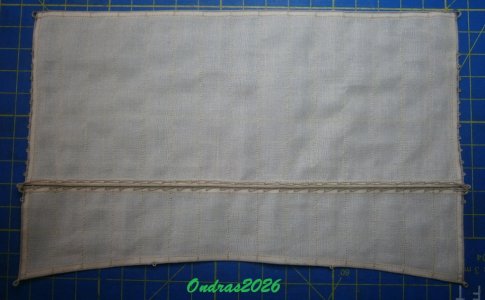
nové stehy. (2).JPGhotový bonet besanové plachty (1).JPG

hotový bonet besanové plachty (2).JPG

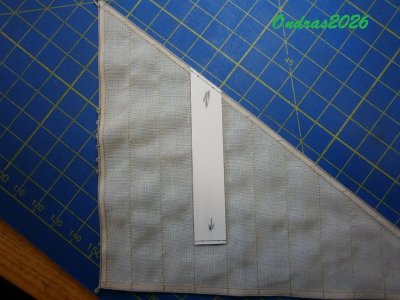
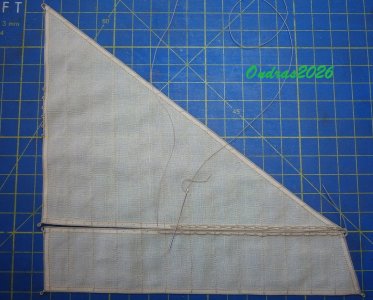
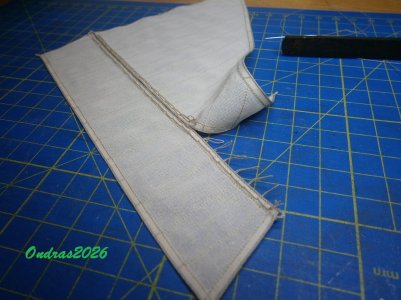
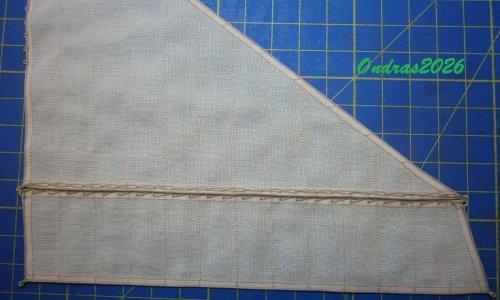
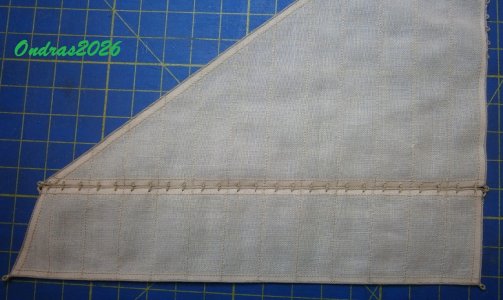
Next up is the Fore sail..

šití bonetu přední plachty...JPG

bonet Fore sail. (1).JPG

bonet Fore sail. (2).JPG
 
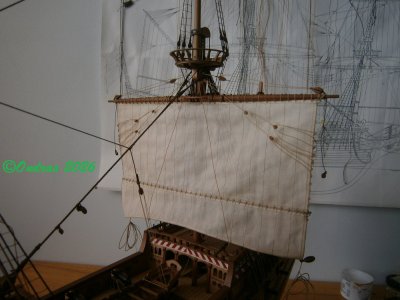
I made a correct bonnet lashing on the main course sail, but at a scale of 1:100, it tended to bunch up and appear uneven. the bolt rope was glued to the edge of the sail in top of a a fine straight stitch whose purpose was to prevent edge fraying. It was all too much detail at this scale. A simpler stitch which simulated the appearance of the lashing would have been better.
1785123850840.jpeg
 
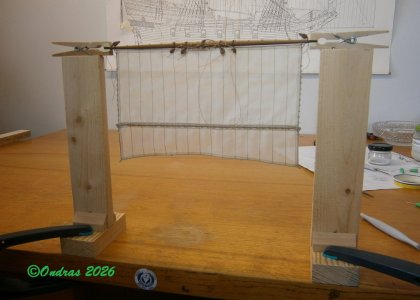
Hi, Ondras. Your whole process of making the sail from fabric deserves a patent. I like your idea of stabilizing the fabric with masking tape around the edges for further processing. Without the masking tape around the fabric, it would be not possible:
- to make straight stitching,
- straight edge reinforcement gluing
- conveniently cutting the sail out
I am wondering why the bolt rope gluing would not be done before the cutting the sail out. This should have simplify the process even further.
 
Thank you very much for the reactions and likes.:)

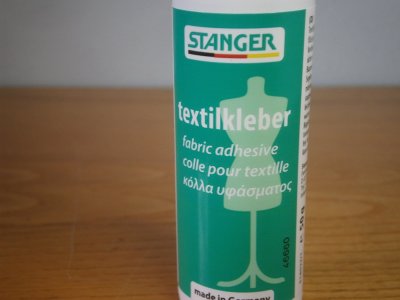
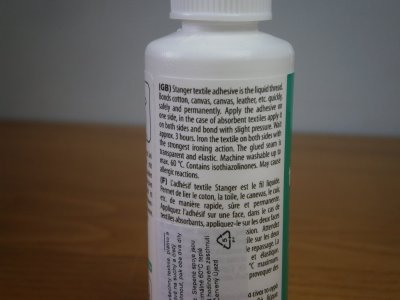
For YT - I got advice from Czech modelers about this glue, I can recommend it. The density is important. The glue is transparent and does not stain. Just be careful not to get the fabric dirty on the surface. https://pemi.cz/lepidlo-stranger-na-textil-50ml/p/680869
The bond strength is 100 percent. The bonded fabric can be washed at 60 degrees.. Explosion
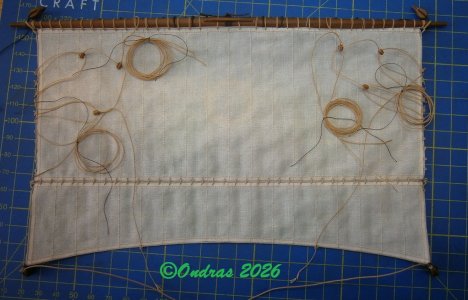
lepidlo na lítku. (1).JPG

lepidlo na lítku. (2).JPG

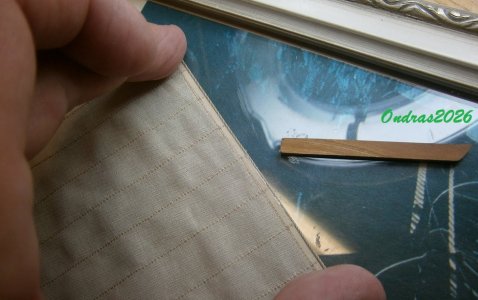
I rejected gluing the rope to the fabric, the fabric is too thick. The rope on the edge will hide the strength of the fabric..
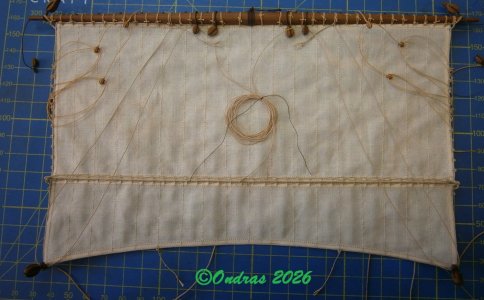
lepení lana okolo plachty.JPG

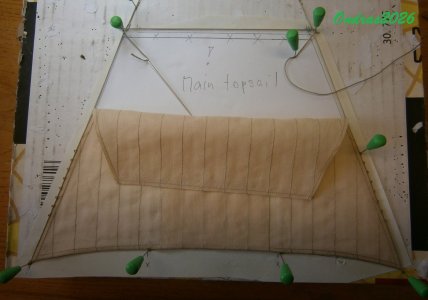
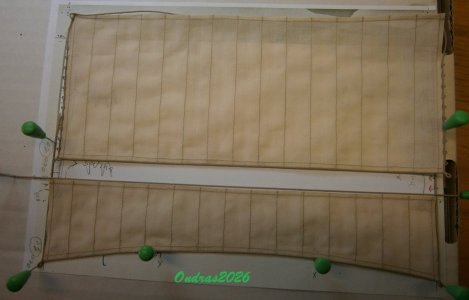
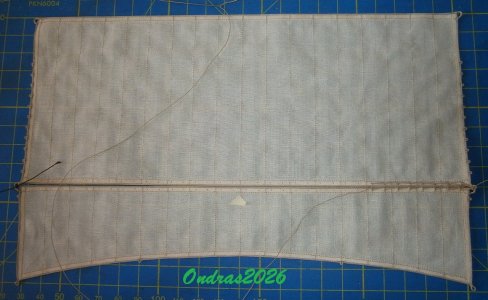
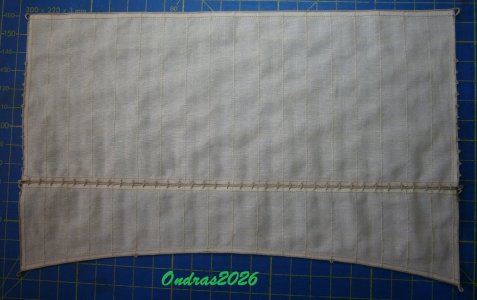
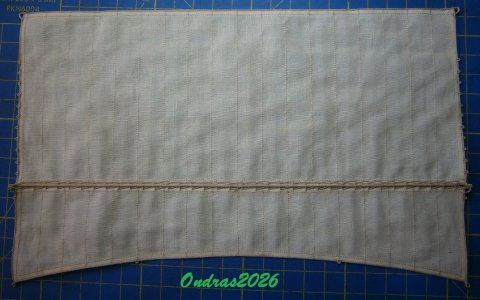
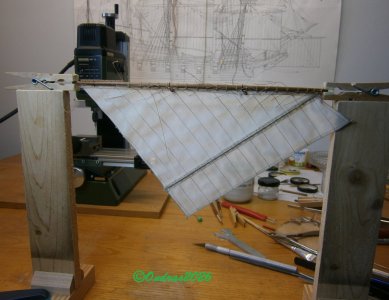
The last sail of the Main Course..
výroba hlavní plachty (1).JPG

výroba hlavní plachty (2).JPG

výroba hlavní plachty (3).JPG

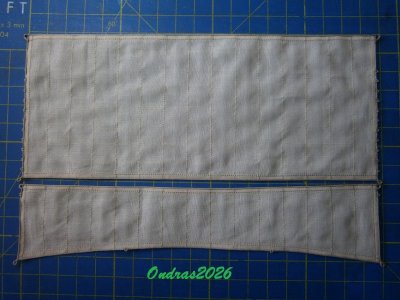
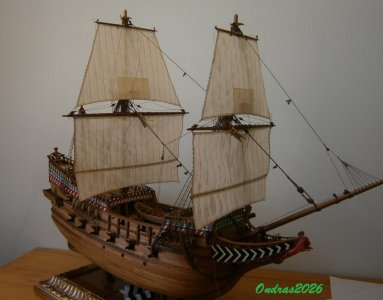
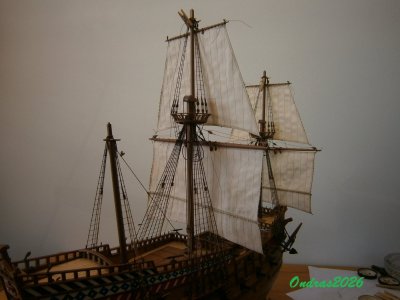
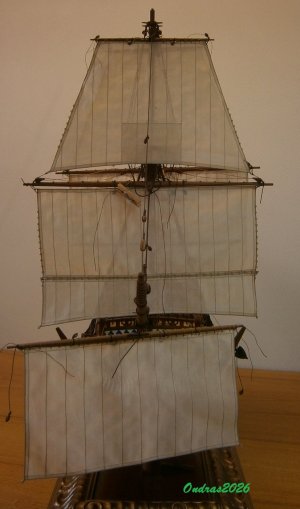
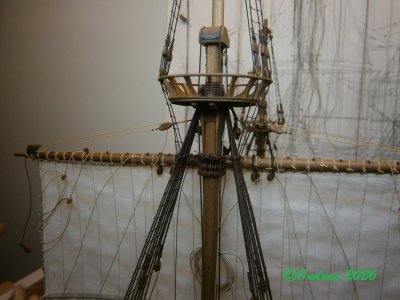
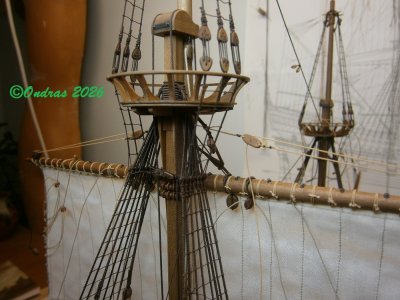
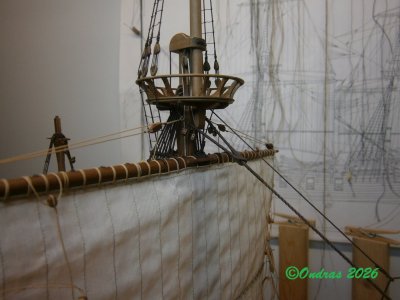
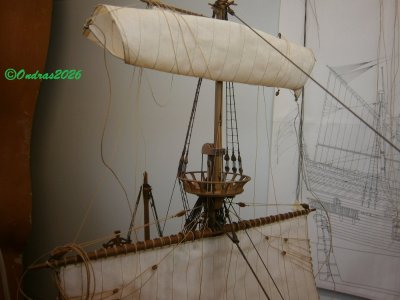
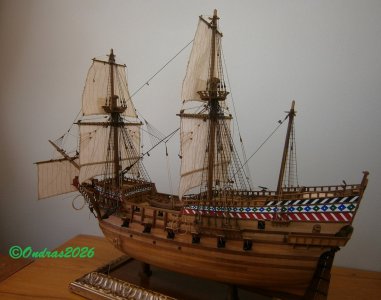
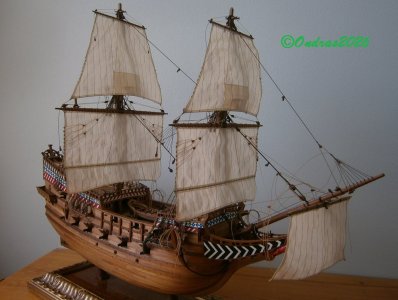
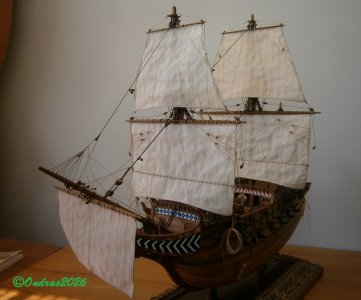
Finished sails measured dry, fit..!!Explosion

zkouška hotových plachet (1).JPG

zkouška hotových plachet (2).JPG

zkouška hotových plachet (3).JPG

zkouška hotových plachet (4).JPG
 
Ondras, fabulous work! Do you also glue the hem on the sails? It doesn't appear to be sewn. ... and how did you make that mouse on the stay? Did I miss that somewhere? I think you have developed some kind of shrinking ray that enables you to model in a larger scale and shrink it.... (me trying to be funny; not diminish your awesome skills).
 
Ondras, fabulous work! Do you also glue the hem on the sails? It doesn't appear to be sewn. ... and how did you make that mouse on the stay? Did I miss that somewhere? I think you have developed some kind of shrinking ray that enables you to model in a larger scale and shrink it.... (me trying to be funny; not diminish your awesome skills).
Hello David. The hems of the sails are glued, sewn next to the hems to reduce the strength of the sail.;)
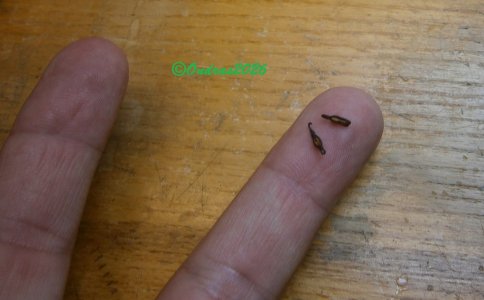
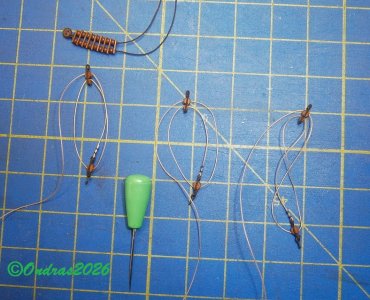
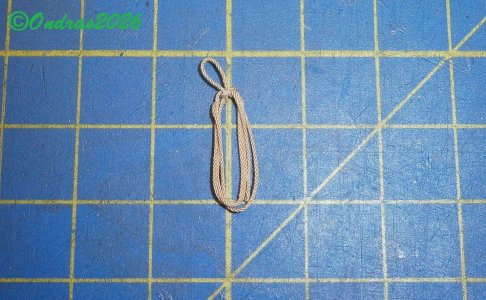
The production of Stay mouse is in the report number 695..
Thanks for the compliment, I do a lot of details under a magnifying glass.... :oops:
 
Last edited:
Back
Top