• Ships of Scale has incorportated an extra level of security when you log In. Please follow on-screen prompts to acknowledge that you are not a robot via a "Check Box" or a "Pictorial Check Box Puzzle". This is needed due to higher level of AI Activity Security.
  • SUBSCRIBE TO SHIPS IN SCALE TODAY!

    The beloved Ships in Scale Magazine is back and charting a new course for 2026!
    Discover new skills, new techniques, and new inspirations in every issue.

    NOTE THAT OUR NEXT ISSUE WILL BE July/August 2026
  • Win a Free Custom Engraved Brass Coin!!!
    As a way to introduce our brass coins to the community, we will raffle off a free coin during the month of August. Follow link ABOVE for instructions for entering.

Endurance by OcCre 1:70

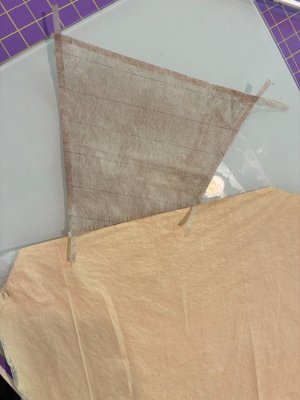
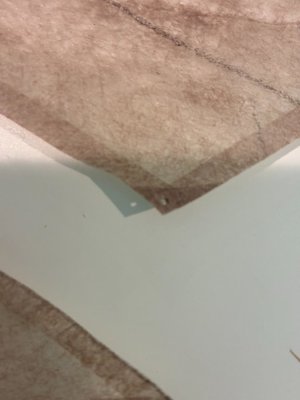
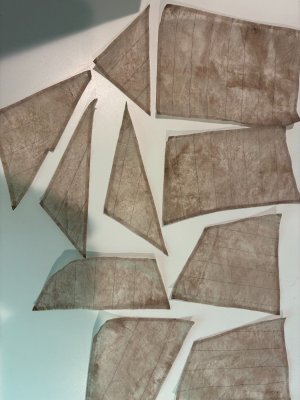
I'm going with the silkspan! I like the weight, I like the color, just very delicate so I have to be careful. I also painted a piece of silkspan in oils which I am not using for the sails but will use for other accessories that would be covered in canvas.
IMG_1372.jpgIMG_1369.jpg
You can see the difference here. I fortified the sails with a strip of silkspan on all sides and front and back, and also fortified the corners where the lines will attach.
IMG_1373.jpg

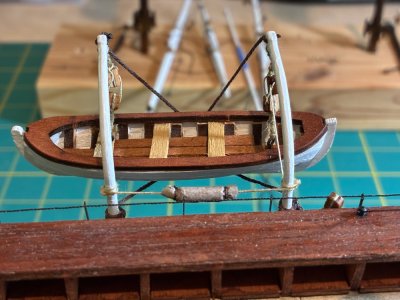
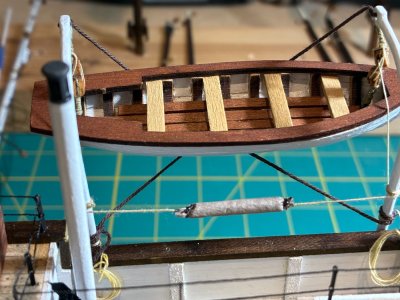
Below, I used the silkspan for the bumpers for the ship's boats. It's pretty easy to work with. First you dampen the fabric to make it more pliable, then when applying I painted on some thinned out Titebond glue.
IMG_1374.jpgIMG_1375.jpg

And here's the oil-painted silkspan. I used it for the canvas screen on the stern.
IMG_1376.jpg

I'm working on the rigging now. It's going good, I'll post some pictures at the end of the long weekend. But planning ahead, I'm trying to figure out what to do about the ratlines. OcCre says to use thread, but the ship had round, wooden ratlines. I don't think I'll find wood cut that thin to make it look more to scale. I was thinking of using wire and blackening it. Then I had a thought...staples! I'm going to experiment, but I'm thinking staples attached to a board, then glue the line to the staples. I can then paint the ratlines brown or black and cut them off the board with cutters. This will take some planning and experimentation.
IMG_1372.jpg

IMG_1369.jpg
 
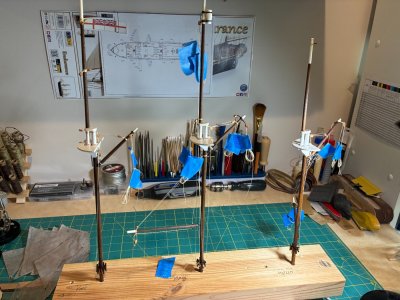
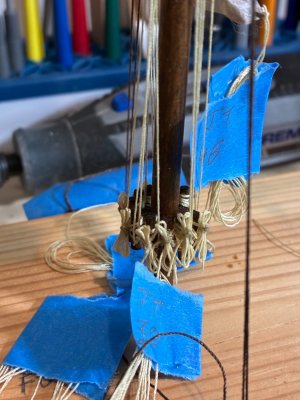
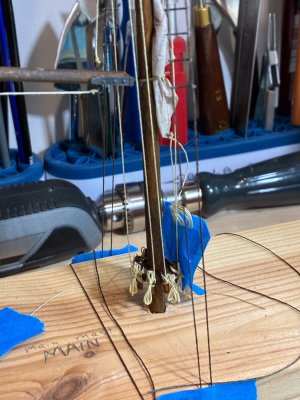
Tying lots of line, attaching pulleys, and getting as organized as possible for when I attach the masts.
IMG_1379.jpg

I've looked at every picture I can and cannot figure out if the mast hoops of the Endurance were removed. I am depicting the Endurance during her last days before sinking. The sails will be furled. Would the crew have removed the mast hoops? Is that standard practice when sails are furled? Anyone?
IMG_1380.jpg
I blackened all the brass just in case.
 
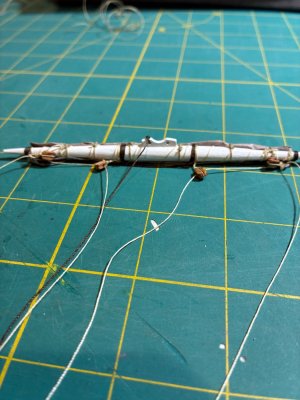
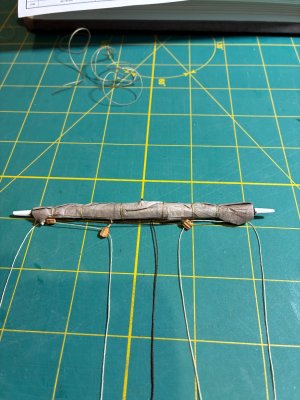
Furled the sails while having my coffee this morning. I wet them down with a mister, and folded them in slightly so the bulk would be more in the middle than the ends.
IMG_1381.jpg
Then, taking my time, folded them to the yard. Always keeping the lines taught so they wouldn't get bunched up in the furled sails.
IMG_1382.jpg
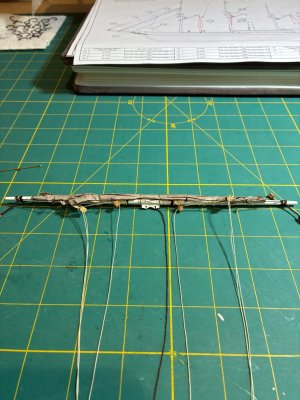
I intentionally left them looking uneven and a little ruffled. Then secured them with gaskets at somewhat regular intervals. I am using synthetic thread for all of the lines because I don't like the fuzz that cotton thread displays, but for the gaskets I used cotton. It's just easier to get tight while you're working with it, and the fuzz shouldn't show that much.
IMG_1383.jpgIMG_1384.jpgIMG_1385.jpg
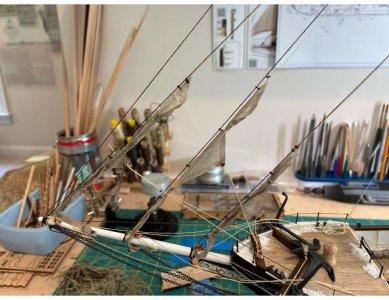
Lastly, I applied thinned WeldBond glue to the length of the sails to give it a little stiffness so it would hold the shape.
 
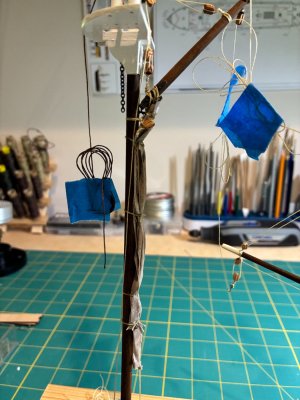
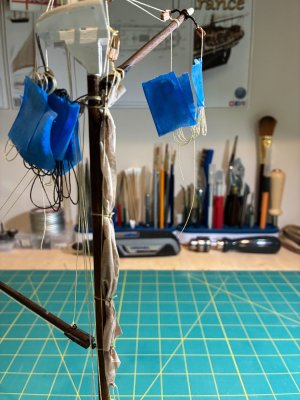
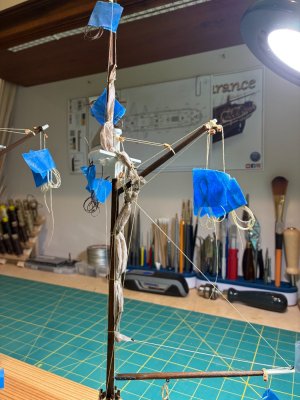
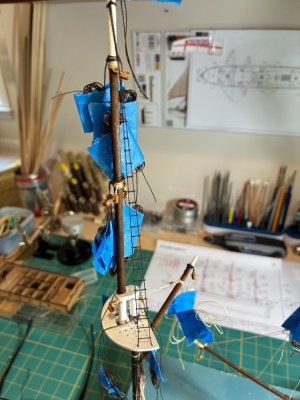
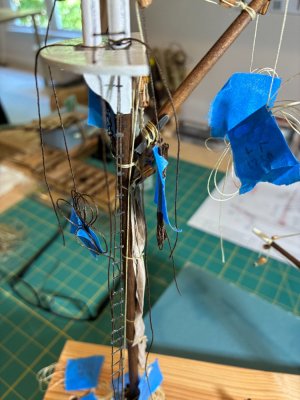
Furled the sails and attached them to the masts. Finished them off with thinned-out TiteBond to give them some strength and some weight. I decided to leave the mast hoops off as I did not see them in any pictures of the Endurance. I'll just have to assume the crew removed them for some reason before furling the sails. Now, time to stop stalling and figure out how I'm going to do the ratlines. :rolleyes:
IMG_1389.jpgIMG_1390.jpgIMG_1391.jpgIMG_1392.jpg
 
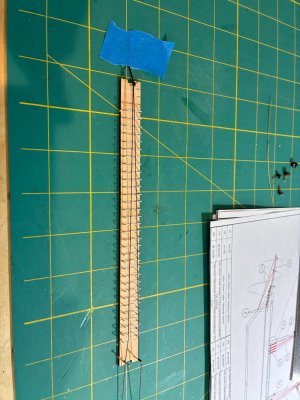
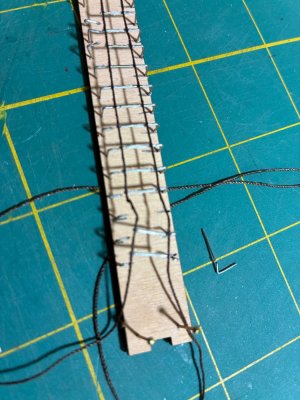
Ratlines are tedious no matter how you do them. I'm trying to figure out a way to attach rigid ratlines. The Endurance looks to have had wooden rungs.
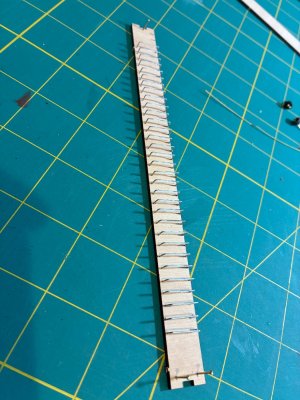
Plan A...staples.
IMG_1393.jpgIMG_1394.jpg
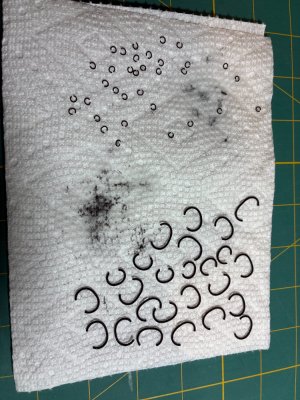
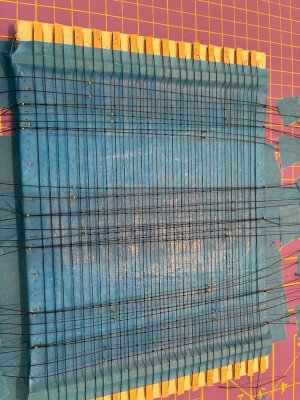
Well, plan A briefed well, but didn't really work. I started by cleaning the staples with denatured alcohol. Then tried to blue them, which only partially worked. Paint didn't stick too well either. I fastened the line to nails taught, then went over each ratline and line junction and applied CA glue. The staples weren't all exactly the same height, so a lot of them didn't stick.
IMG_1397.jpg
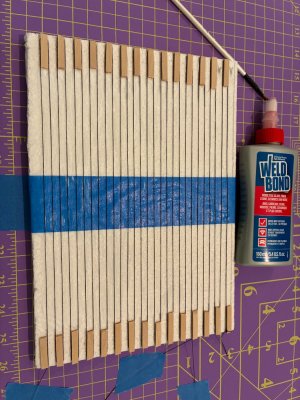
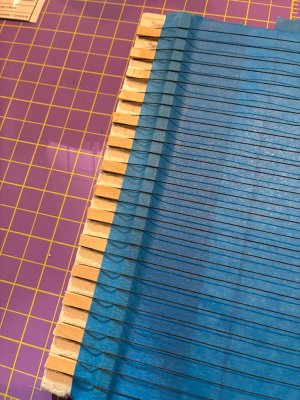
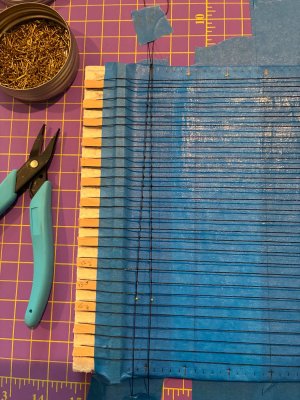
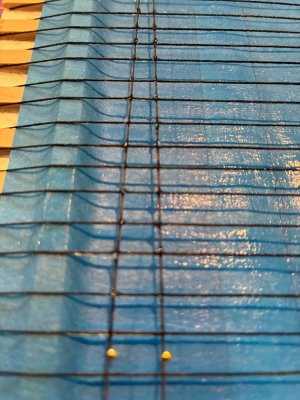
Plan B. I stretched line across a plastic wrap-lined piece of foam board. I spaced the line 5mm which should be good spacing for the ratlines. I then applied glue to the stretched lines in the hope that it'll be rigid enough. I hope it releases from the plastic wrap when I need it to. When its good and dry, I'll lay line for the shrouds and glue the shrouds and ratlines together. If this doesn't work, I haven't figured out what plan C will be.
IMG_1396.jpg
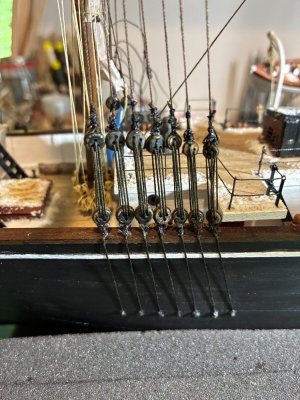
And I made a jig for the deadeyes and lanyards.
IMG_1395.jpg
 
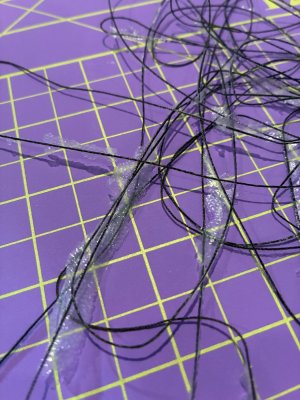
Time for plan C...plan B didn't work. The glue did what it was supposed to, which is stick to everything. It made the lines rigid enough I think, but it stuck them to the plastic wrap.
View attachment 610172
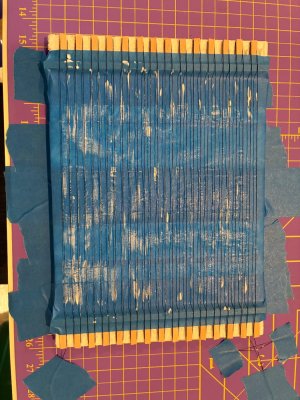
So I elevated the lines and tried again.
View attachment 610173
View attachment 610174

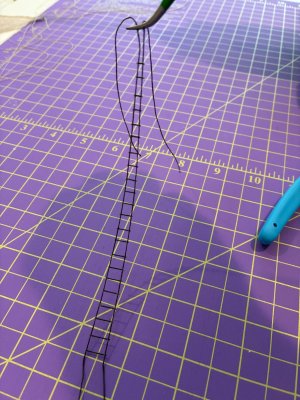
The idea is good to create the transversal section (the steps) of the rat lines. But I think that the wood glue will not make the rope strong like a stick for you to cut small pieces. Cover them with "supper glue" as you did with the standard glue. Do it after your wood glue have dried. Super glue "CA" will make the rope strong and straight.

On this image it can be seen what you are trying to achieve.

file_00000000d64871fd81c9dcd366710288.png

Daniel

PS: if you are trying to have the "full" rat lines rigid then paint them all with CA, as i suggested for the steps. Just try on 1 of your setup and decide if it works.
 
Last edited:
The idea is good to create the transversal section (the steps) of the rat lines. But I think that the wood glue will not make the rope strong like a stick for you to cut small pieces. Cover them with "supper glue" as you did with the standard glue. Do it after your wood glue have dried. Super glue "CA" will make the rope strong and straight.

On this image it can be seen what you are trying to achieve.

View attachment 610278

Daniel

PS: if you are trying to have the "full" rat lines rigid then paint them all with CA, as i suggested for the steps. Just try on 1 of your setup and decide if it works.
Great idea! I was concerned about that. I have some CA that is more gel-like. I'll try that. And thanks for the pic.
 
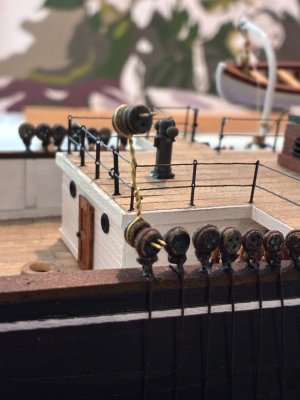
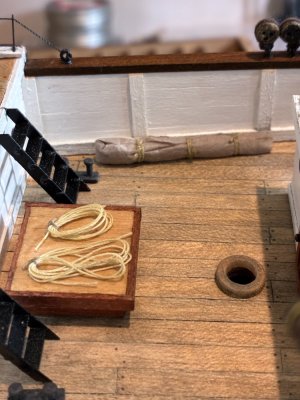
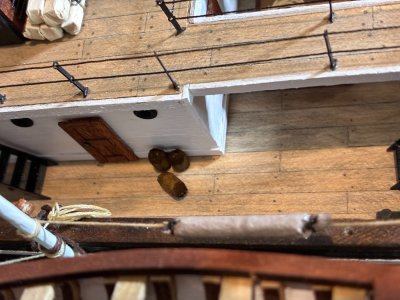
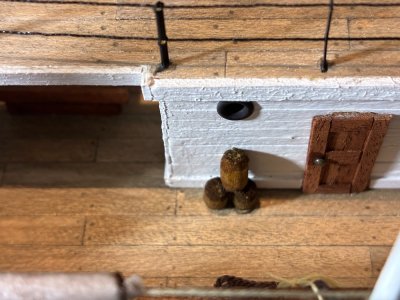
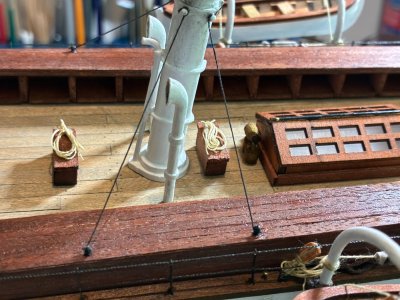
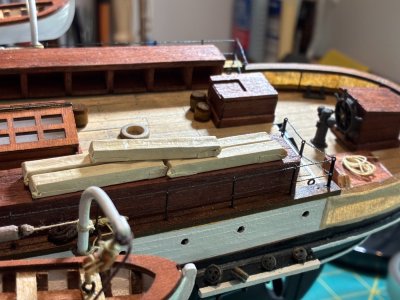
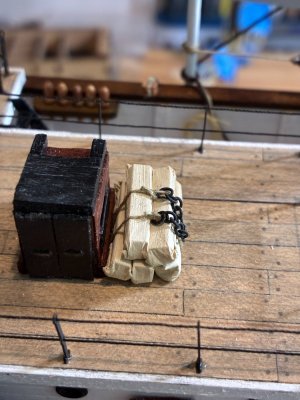
I was going to mount the masts next, as they're ready to go. All the lines are attached, sails are done that I could do ahead of time. But I started thinking ahead to the diorama. Once I mount the masts, adding deck furniture and other details will be difficult. So as much as I want to mount the masts and move on from that, I started adding rope hanks and deck furniture first.
IMG_1423.jpgIMG_1424.jpg
IMG_1417.jpgIMG_1418.jpgIMG_1419.jpgIMG_1420.jpgIMG_1421.jpgIMG_1422.jpg
 
Next step is to add some snow to the deck. I just bought some from Woodland Scenics and am experimenting. I've drawn up the diorama.
View attachment 621594

I guess after I add some snow to the deck, I'll be ready to mount the masts and attach the remaining lines. Then I'll build the diorama box.
Following this with great interest. It looks superb so far
 
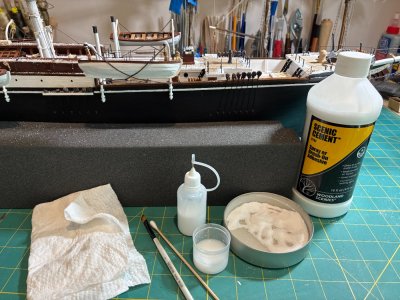
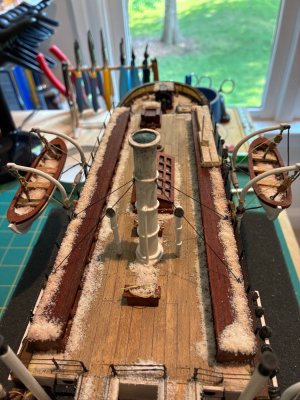
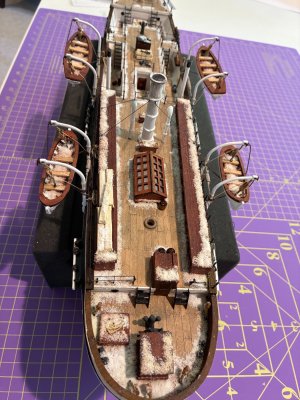
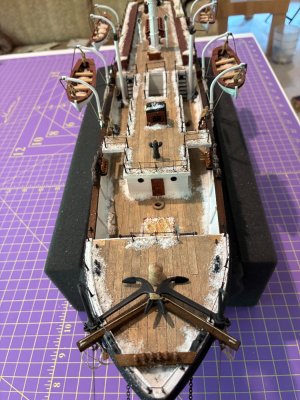
Before I mount the masts, I wanted to get some snow on the deck. Once the masts are up I won't have much room to work. My supplies from Woodland Scenic arrived and I was ready to go.
IMG_1431.jpg

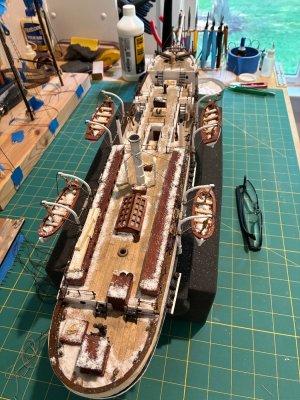
I applied glue to the deck first in sections. I could have used thinned white glue or PVA, but since I was ordering from Woodland Scenic I just bought theirs. It worked well on my previous diorama, and it's already thinned out. I applied snow to areas I thought would have less foot traffic, and applied too much knowing I'd shake the excess off.

IMG_1430.jpgIMG_1434.jpg

You can see from the top of the kennels that the glue pulled up some of the stain and stained the snow. I tried to cover it with more snow when I applied the second layer of glue but it didn't really work. So now its dirty snow. After the second coat of glue dried, I turned the ship upside down and shook off the excess.
IMG_1432.jpgIMG_1433.jpg
 
Before I mount the masts, I wanted to get some snow on the deck. Once the masts are up I won't have much room to work. My supplies from Woodland Scenic arrived and I was ready to go.
View attachment 621860

I applied glue to the deck first in sections. I could have used thinned white glue or PVA, but since I was ordering from Woodland Scenic I just bought theirs. It worked well on my previous diorama, and it's already thinned out. I applied snow to areas I thought would have less foot traffic, and applied too much knowing I'd shake the excess off.

View attachment 621861View attachment 621862

You can see from the top of the kennels that the glue pulled up some of the stain and stained the snow. I tried to cover it with more snow when I applied the second layer of glue but it didn't really work. So now its dirty snow. After the second coat of glue dried, I turned the ship upside down and shook off the excess.
View attachment 621863View attachment 621864
Cold! Thumbsup
 
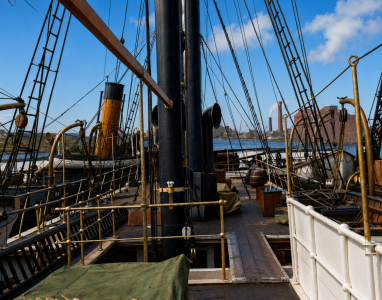
Question for the group...in all of the pictures I've seen online and in books of the Endurance when it was stuck in the ice, I don't see a flag for the ship. Is there a reason for this?

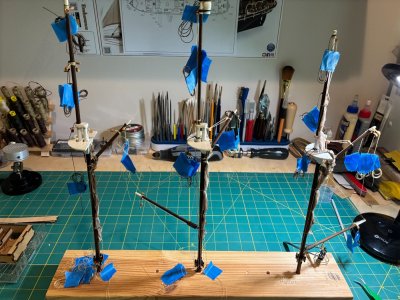
Just finished attaching my furled sails.
IMG_1439.jpg

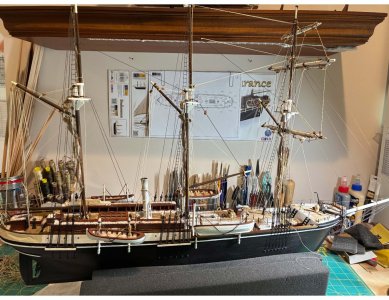
95% done! All I have left for the ship are some ratlines I need to attach and to make some rops hanks. Then on to the diorama.
IMG_1438.jpg
 
Back
Top