• Ships of Scale has incorportated an extra level of security when you log In. Please follow on-screen prompts to acknowledge that you are not a robot via a "Check Box" or a "Pictorial Check Box Puzzle". This is needed due to higher level of AI Activity Security.
  • SUBSCRIBE TO SHIPS IN SCALE TODAY!

    The beloved Ships in Scale Magazine is back and charting a new course for 2026!
    Discover new skills, new techniques, and new inspirations in every issue.

    NOTE THAT OUR NEXT ISSUE WILL BE July/August 2026
  • Win a Free Custom Engraved Brass Coin!!!
    As a way to introduce our brass coins to the community, we will raffle off a free coin during the month of August. Follow link ABOVE for instructions for entering.

Clara May 1891 - Artesania Latina 1:50

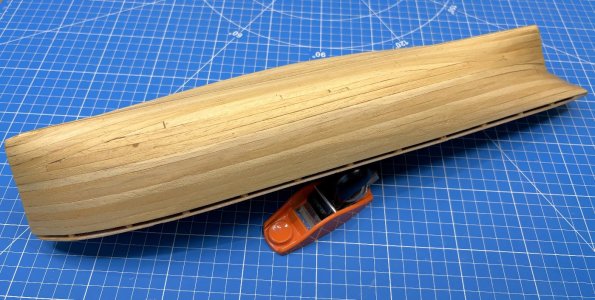
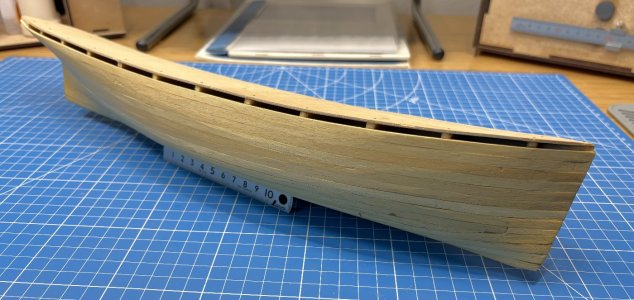
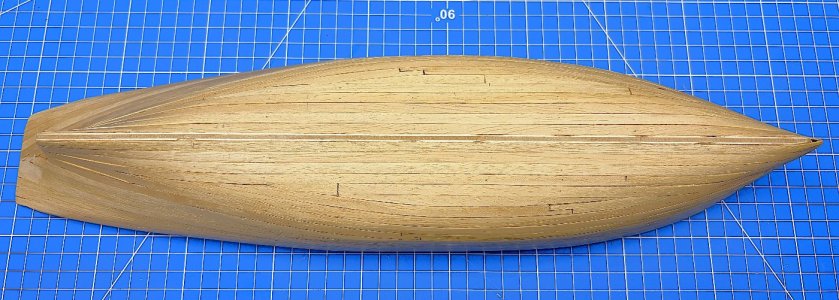
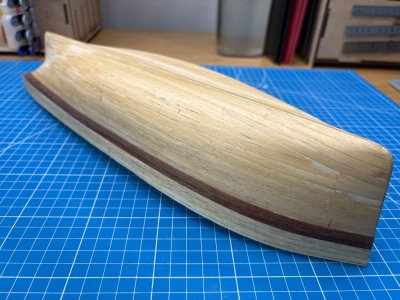
After all of these years of neglect, I finally gave her a hull!

Completed the base layer of planking. I then planed (where I could), rough sanded and shaped. I then brushed on my water/glue mix to prepare it for multi-stage sanding. Not sure I'd want to use these thick Samba planks for top/final planking as they are certainly sturdy but overall I'm happy with this base and the overall shape of my hull.

Back soon with a sanded hull and my introduction to veneer planking. But before that, back to my Bluenose! :cool:

IMG_1384.jpegIMG_1386.jpeg
IMG_1387.jpeg
 
Last edited:
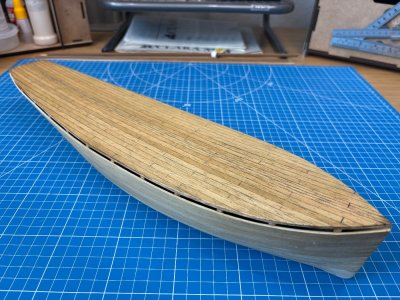
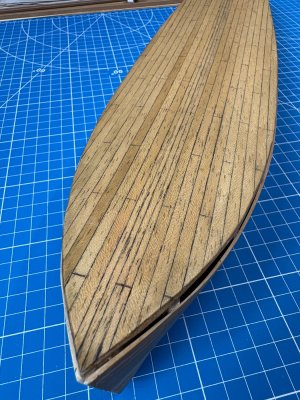
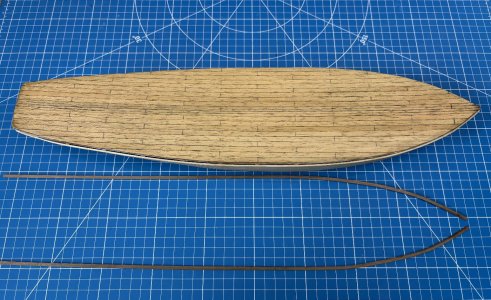
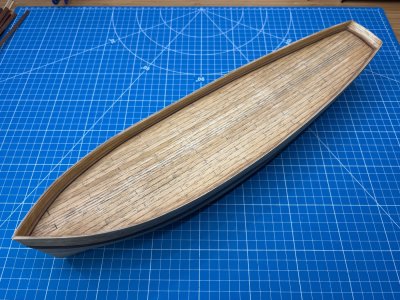
OK, next up is deck planking:
1. Pre-caulked the long plank edges with my pencil, glued everything with wood glue
2. Scribed a 3-plank pattern with my hobby knife, then penciled in caulking\
3. Washed the entire surface with a diluted dark glue/water mixture. This helped to take off the bright tone of the native planks while also adding to the caulking effect. This may lighten a bit after final sanding.
4. The 5mm wide kit planks are most likely not to scale (about 250mm/9.8" wide) but I decided to use them as is. I did add a bit of detail by scribing and darkening a simulated king plank down the centerline.

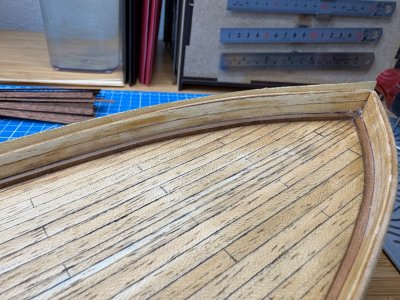
I also pre-shaped the 2x3mm walnut waterways - soaked them in water, then very gradually bent them with my plank bender as I was bending across the widest 3mm dimension. I then clamped them in place to dry. I'll glue these in place once my deck has been final sanded.

IMG_1457.jpegIMG_1459.jpeg

IMG_1458.jpeg
 
Last edited:
More progress, though I forgot to take some photos along the way.

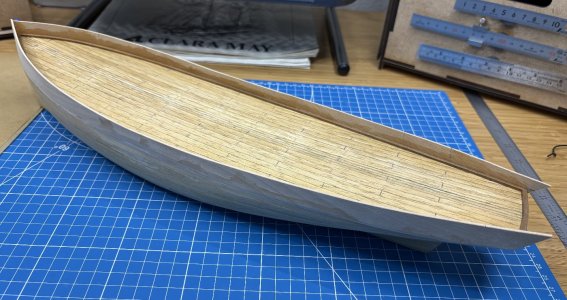
I first installed the waterways and left the stern piece slightly proud of the stern as instructed. I had to re-bend in a couple places to reduce stress but there wasn't much drama here. Side note: I did not have good luck with CA working (to spot attach) even after cleaning both surfaces. Does walnut not play well with CA? Gradually attaching/clamping with wood glue worked fine.

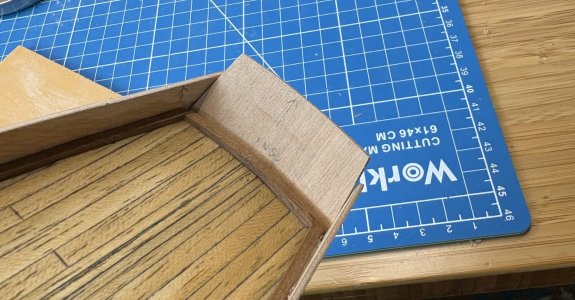
I then dry fit/planed/sanded/installed the lower bulwarks to meet the upper hull planking. This was a little tricky in places, esp. at the stern and its short and curvy hull profile. Although I confirmed my first hull plank was placed correctly (at least according to the light instructions), these adjustments resulted in the fore end of the starboard bulwark being shorter than the port side. After some measuring and homework, life was good as I needed to reduce both sides to get to a scale height of about 11mm.

IMG_1482 1.jpeg

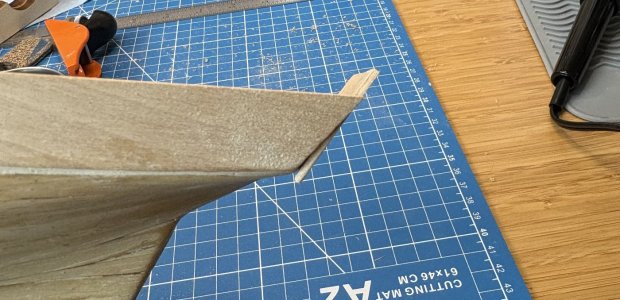
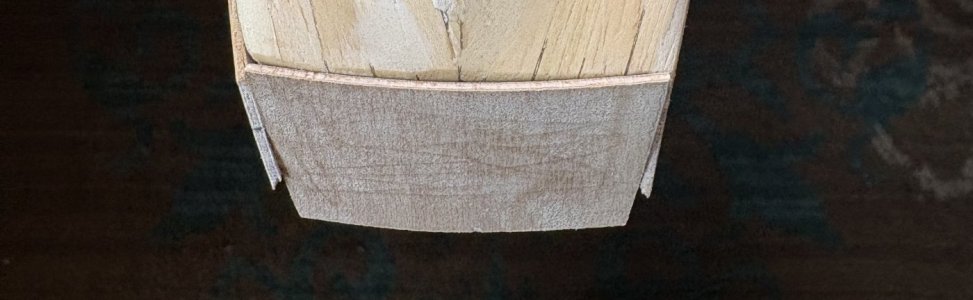
The rake of my transom, which I determined mostly from the profile of the deck/planking/waterway angle came out fine. This too was typically modest on working boats. The transom piece as provided was much wider and clearly followed AL's wide and square design so I cut off quite a bit of it. I also placed it in between the bulwarks, not on the end as instructed.

IMG_1485.jpeg IMG_1486.jpeg
IMG_1484.jpeg
IMG_1492.jpeg


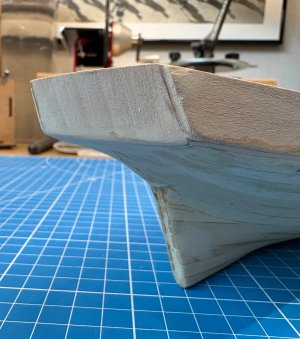
The as-cut sheer of the bulwarks first through me for a curve ;), before doing a little research. My rookie assumption was the height was consistent bow to stern (and it shows like this on the plan) but in fact, these working boats were often designed with shorter bulwark heights as you move to midships and their tallest points were at the bow (for added protection from sea spray). Also, the stern was almost never square so I feel even better about that relative to the plan's square design, mentioned previously.
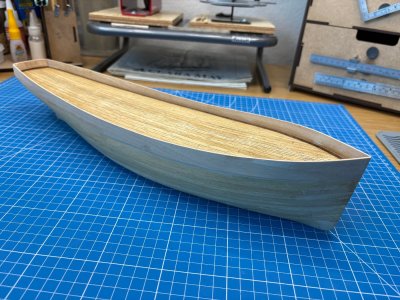
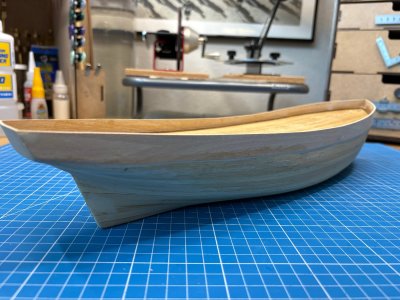
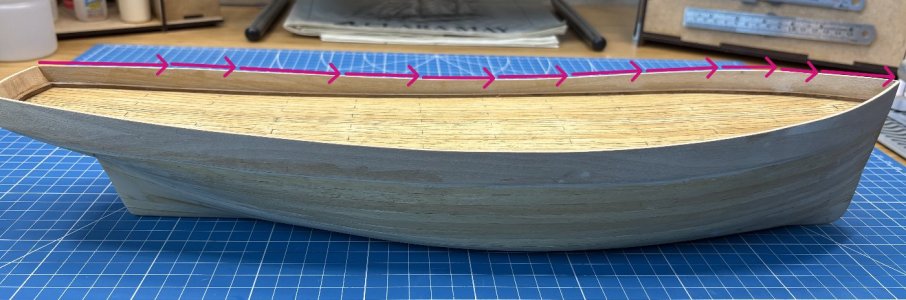
IMG_1488.jpegIMG_1489.jpegIMG_1491.jpeg

Finally, before I get too far, I also gave some thought to how I'll finish the boat. The kit is designed and shows "museum" build with natural finishes and no paint. However, my deck finish definitely gives me a worn look, which is currently leading me to a hybrid of paint and natural finishes. Red hulls have been mentioned and I think that would look pretty sharp. More on this as I progress.

Anyway, probably more than you wanted to know but I'm happy to make progress.
 
Last edited:
She’s starting to look like ‘Ol Clara a little more each day.
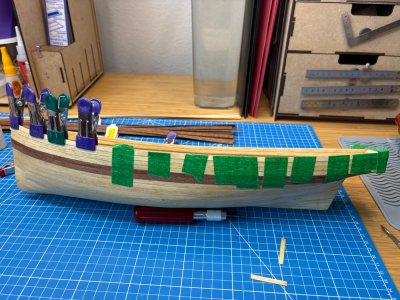
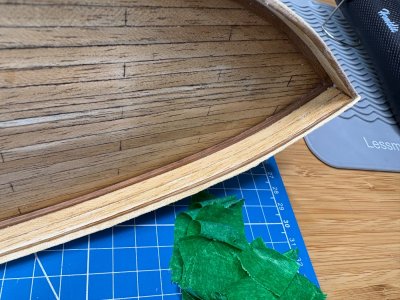
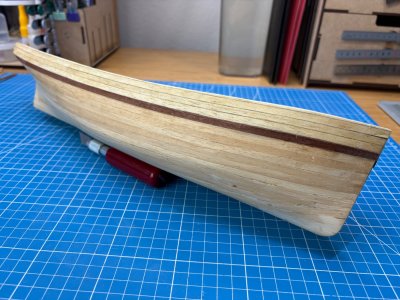
  • Installed and “aged” inner bulwark planking
  • Installed outer bulwarks planking - it got razor thin at the top edges - then trimmed flush
  • Began the darker second layer planking on the lower hull
IMG_1661.jpeg IMG_1665.jpeg

IMG_1658.jpeg IMG_1662.jpeg

IMG_1664.jpeg IMG_1666.jpeg
 
Last edited:
Back
Top