• Ships of Scale has incorportated an extra level of security when you log In. Please follow on-screen prompts to acknowledge that you are not a robot via a "Check Box" or a "Pictorial Check Box Puzzle". This is needed due to higher level of AI Activity Security.
  • SUBSCRIBE TO SHIPS IN SCALE TODAY!

    The beloved Ships in Scale Magazine is back and charting a new course for 2026!
    Discover new skills, new techniques, and new inspirations in every issue.

    NOTE THAT OUR NEXT ISSUE WILL BE July/August 2026
  • Win a Free Custom Engraved Brass Coin!!!
    As a way to introduce our brass coins to the community, we will raffle off a free coin during the month of August. Follow link ABOVE for instructions for entering.

Bluenose I - YuanQuin 1:72 - Loracs (in progress)

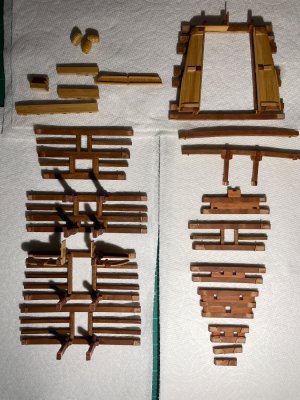
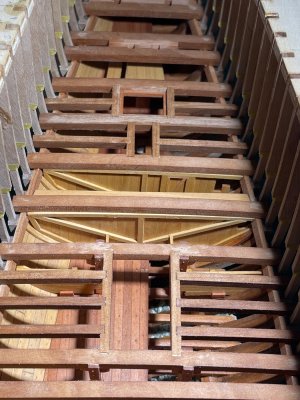
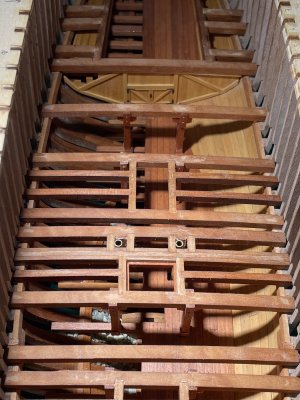
Finalizing the deck: it is time to start finalizing the deck. You can see the parts here... it is now a matter of gluing. The next couple pictures is showing a partial results of the deck with missing beams. Since this kit is an open ribs design... having missing deck beams does not look too odds. The pictures show that the internal structures can be seen well.
IMG_4154.jpeg

IMG_4171.jpeg

IMG_4169.jpeg
 
Finalizing the deck: it is time to start finalizing the deck. You can see the parts here... it is now a matter of gluing. The next couple pictures is showing a partial results of the deck with missing beams. Since this kit is an open ribs design... having missing deck beams does not look too odds. The pictures show that the internal structures can be seen well.
View attachment 635738

View attachment 635739

View attachment 635740
A nice installation after a lot of pre-work, Loracs. With a nice view on the inside walls.
Regards, Peter
 
Thanks Peter
indeed, getting close to initial planking and do some deck work. I'm starting to look forward to the change.... Hehe
 
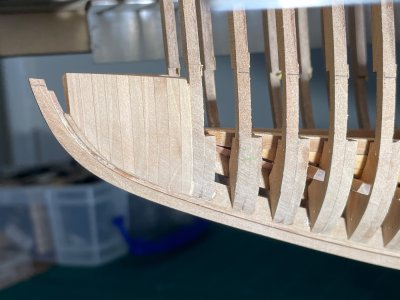
I forgot to include a picture at the bow. It is getting thin but sturdy enough for planking later. Let me include it here, so a record is available. Currently working on the upper area of the captain's cabin... will post an update soon.

IMG_4156.jpeg
 
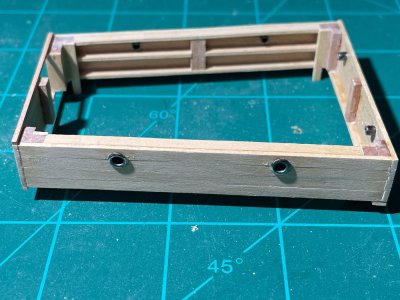
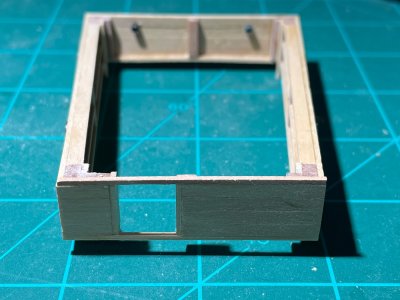
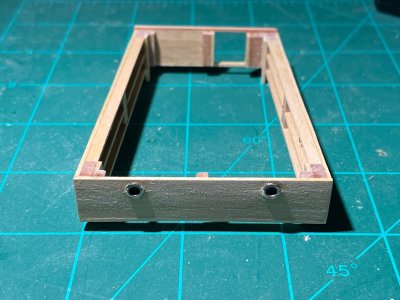
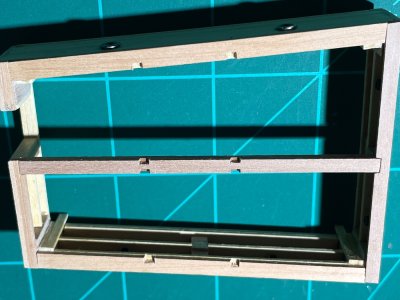
Captain's Cabin (upper area): after building the lower half of the cabin, I decided to build the upper area from scratch. This will allow me to use boxwood for the inner/outer walls rather than painting white. In addition, I can add more details, such as the storage cabinet, and design a way to display the interior by doing a partial ceiling. This will take some effort... but here the first step: the frame with cabinet and outer wall.

IMG_4178.jpeg

IMG_4179.jpeg

IMG_4181.jpeg
 
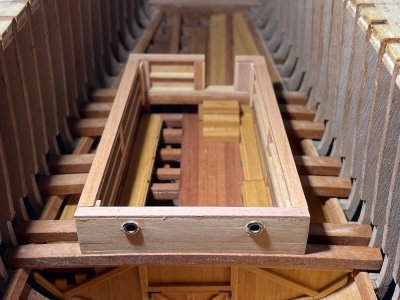
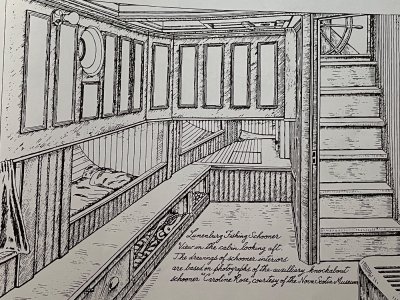
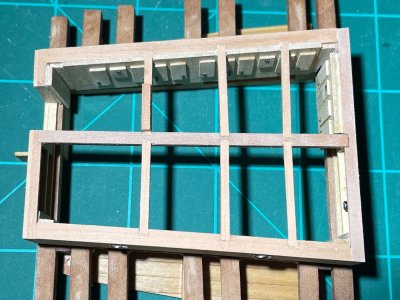
Upper cabin: this is what it looks like in a dry fit. This one is now easy to test... it just drops in place. I extended the cabinets all around as shown by Jenson. They are roughly 4mm deep, which translate to a foot, an acceptable storage place. However, as mentioned before: a 1mm strip is a little thick for a 1/72 scale - a tradeoff for convenience. Next step is to plank half the inside to show the cabinet doors.

You will note that again I lost some depth (1.5-2 feet roughly) when compared to Jenson picture. I see the same at the bow. Again, likely a design "flaw" or tradeoff - all OK! thought, the interior was not part of the original kit.

IMG_4182.jpeg

IMG_4184.jpeg

IMG_4188.jpeg
 
Last edited:
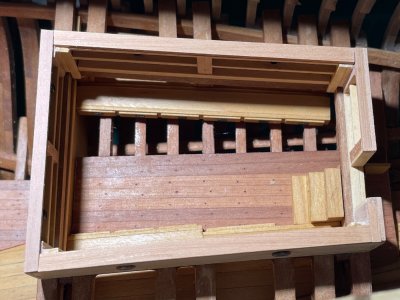
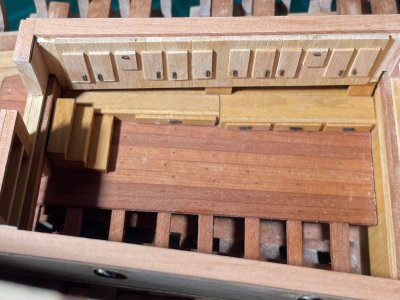
Captain's cabin: One side of the cabin interior is fully planked to show the greater finish in this area and outlined the cabinets. This took quite a while to do but look fine... Since I had no extra brass fitting to show the windows inside, I made a small cover that could be open or close (all close here).

One more 1/2 wall on the side to go.

IMG_4190.jpeg
 
Last edited:
Captain' cabin ceiling. I initially intended to simply do a partial planking on the cabin ceiling to partially show the interior. However, this cause a problem: there is additional pieces going on top of the cabin top.

Looking at it, there is only one reasonable option... build a support structure that will support those elements. In the real ship, it is very likely to be the case. The first step, define the location. The sliding roof above the door and the ventilation "box" at the back provide that.

Second, create the beams: 3mm central and 2mm sides, interlock to each other using small recessed square notches.

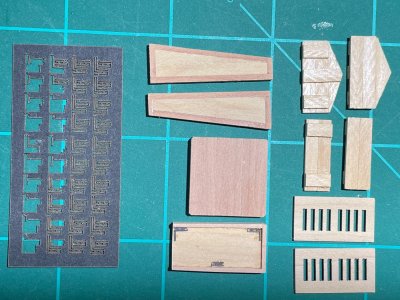
Finally, I wanted the walls of those elements to be white... without painting. This means doing myself those elements out of boxwood rather than using the provided pieces, except for the grilled panels.

Now, on to building the internal walls within the cabin.

IMG_4194.jpeg

IMG_4208.jpeg

IMG_4207.jpeg
 
Back
Top