- Joined
- Jul 27, 2021
- Messages
- 702
- Points
- 403

The interesting thing is, you can really, really see how damn neat you build 

 |
The beloved Ships in Scale Magazine is back and charting a new course for 2026! Discover new skills, new techniques, and new inspirations in every issue. NOTE THAT OUR NEXT ISSUE WILL BE July/August 2026 |
|
 |
As a way to introduce our brass coins to the community, we will raffle off a free coin during the month of August. Follow link ABOVE for instructions for entering. |
|

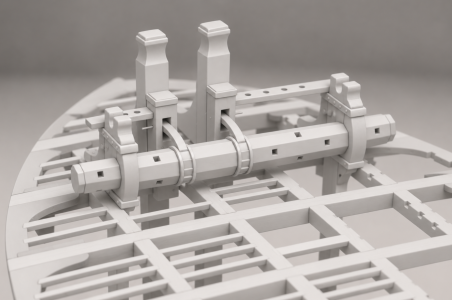
It’s a shame that AI often fills in details with nonsense or just makes things up when it doesn't see or understand the logic of the scene (in this case, the carlings are actually the same thickness as the beams, but they just happened to fall into the shadow). But overall, it’s a really cool idea! Thanks for the praise—hearing it from you makes it doubly gratifying!

Just flawless! nothing more, nothing less. Amazing job and a bunch of smart solutions you kindly share with us. Appreciated!Chapter 27. On the Decks (Part 5)
Аnchоr Windlass.
2/
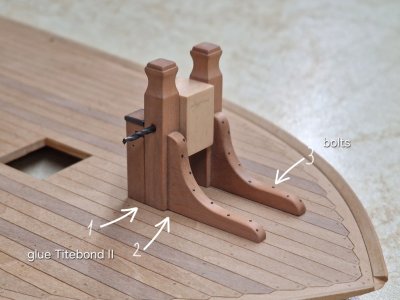
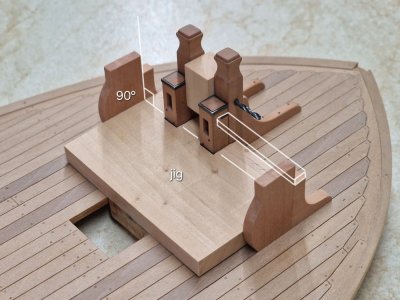
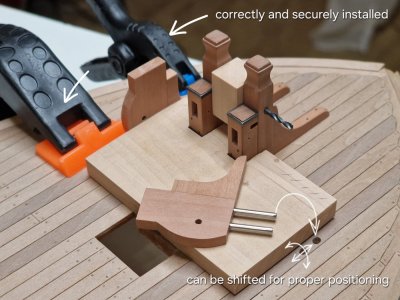
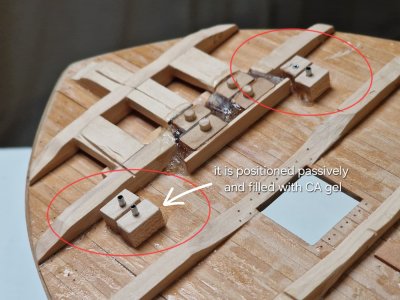
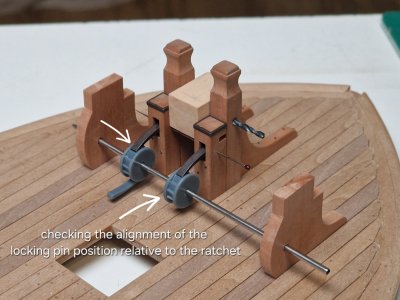
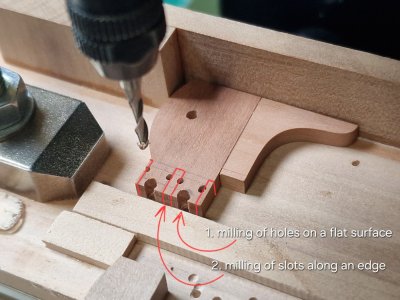
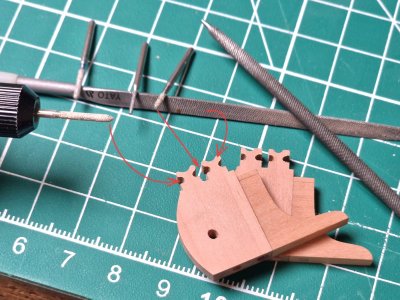
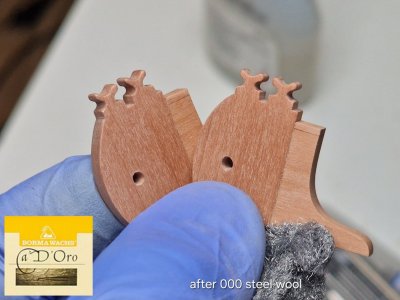
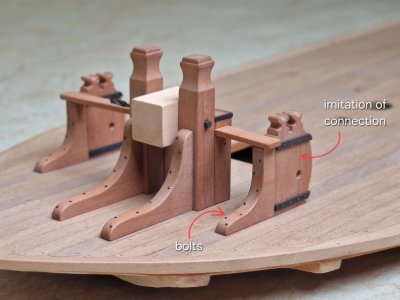
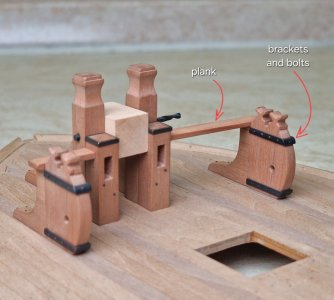
I lost practically a week to COVID and couldn't do anything. To avoid wasting all that time, I worked concurrently on 3D modeling the decorative elements and the figurehead for the *Victory*. So, let's continue with the anchor mechanism. Because errors in the kit parts mean the assembly for the first hull differs slightly from the second, I am building them one after the other rather than in parallel like the other components. The photos show all the stages, so without further ado:
View attachment 641018
View attachment 641019
View attachment 641020
View attachment 641021
View attachment 641022
View attachment 641023
View attachment 641024
View attachment 641025
View attachment 641026
View attachment 641027
This time, I experimented with blackening. I had noticed that, over time, neon-like spots would appear in isolated areas—resembling the sheen of gasoline on wet asphalt (something I’ve shown before). Upon investigation, it turns out that internal processes continue within the electroplated copper; the blackening solution's reagents cause something to leach out, though wiping the surface with alcohol helps remove it. So, this time, I tried degreasing the parts before blackening. I started with an initial 18-minute soak in a 1:5 solution of blackening agent and water. After rinsing, and without letting them dry, I brushed off the residue while the parts were still submerged in the rinse water. Next, I transferred the wet parts directly into a 1:3 solution for 9 minutes. Immediately after rinsing—and again without drying—I dropped them into alcohol. Only then did I dry them off. Finally, I removed the surface film and polished the pieces using a soft attachment at very low speed. This produced a more pronounced metallic luster. The copper didn't turn quite as black as it usually does with my standard method, but the polishing action compensated for that. I’ll be monitoring the results to see how things change. My test pieces (anchors) had already started turning blue again, so the alcohol wipe was only a temporary fix. Acting on advice from an AI, I coated them with Danish oil and Tung oil. I applied the oil with a cloth and buffed it dry after just a few seconds. The AI claims that a microscopic layer remains, sealing out oxygen and preventing further changes to the parts. We’ll see! I’ll make a separate post about this after a couple of months of observation. On the plus side, applying and wiping off the oil doesn't alter the color or sheen; everything looks exactly as it did before. So, if this helps prevent blue spots, I’ll definitely be oiling the blackened metal. Here is the result after the blackening process. It’s a shame the photos can’t quite capture the true color, but I really like the texture and the hue. The interplay of lively sheen and deep shadows creates a sense of depth, preventing everything from blurring into a single black blob—something I really dislike.
View attachment 641028
View attachment 641029
View attachment 641030
View attachment 641031
View attachment 641032
View attachment 641033
For storage, I use dental crown boxes (for those who don't know, I am a prosthodontist)
View attachment 641034
View attachment 641035
View attachment 641036
View attachment 641037
View attachment 641038
Next is the ratchet mechanism itself, featuring an octagonal beam for the anchor rope...
Blender ?

True storyWorld class modeling, Sergey. Respect.
....in that case I will keep my ships far away from any AI programsThe interesting thing is, you can really, really see how damn neat you build
 .
.
There is a edit-option on the left bottom of your post ………Sorry, spell check keeps changing your name!

Thank you very much. I’m glad to see you here; it’s been a while.Just flawless! nothing more, nothing less. Amazing job and a bunch of smart solutions you kindly share with us. Appreciated!
No, this is just an image generated using AI; that was mentioned a couple of posts back.Blender ?
True story
Thank you very much for your interest and your kind wishes. Don’t be too hard on yourself—you’re doing a great job!....in that case I will keep my ships far away from any AI programs
Brilliant as always Sergey. You guys stay safe.
Cheers Grant

Sergio,
unbelievable precision my friend. You are an amazing craftsman.
Thank you very much. Please don’t worry—it’s just one of the ways my name is inflected in different countries, so you didn’t make a mistake.Sorry, spell check keeps changing your name!
There is a edit-option on the left bottom of your post ………
View attachment 643572
Then you can make adjustments to your text and save it.
Regards, Peter