-

Win a Free Custom Engraved Brass Coin!!!
As a way to introduce our brass coins to the community, we will raffle off a free coin during the month of August. Follow link ABOVE for instructions for entering.
-

PRE-ORDER SHIPS IN SCALE TODAY!
The beloved Ships in Scale Magazine is back and charting a new course for 2026!
Discover new skills, new techniques, and new inspirations in every issue.
NOTE THAT OUR FIRST ISSUE WILL BE JAN/FEB 2026
You are using an out of date browser. It may not display this or other websites correctly.
You should upgrade or use an alternative browser.
You should upgrade or use an alternative browser.
Hi all!
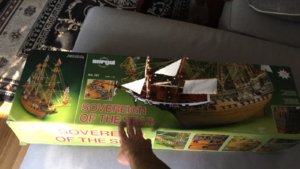
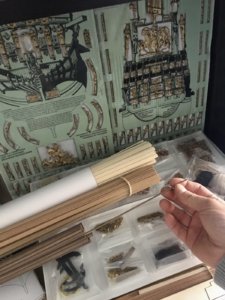
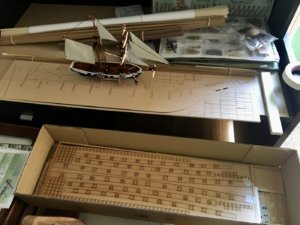
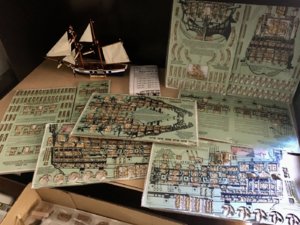
I finally received the kit after 3 weeks from UK. A long wait I have to say at the end I changed my mind on the Wasa Corel and I purchased the Sovereign Of The Seas Sergal 1/78 scale at a very discounted price, almost like the above mentioned.
I dreamt this sailing ship for 12 years and I still have to realise that it’s here safe. I put beside the box the Harvey model 1:300 scale that I finished recently to show you how big and massive is the SOS
I might have to change the title of the topic hopefully I do it right.
Some photos. Let me know what you guys think ☺
I love this ship, there are multiple build logs here on site of her.
Last edited:
I love it too, it was my dream since I was little. I'll publish some updates soon.I love this ship, there are multiple build logs hee on side of her.
We are all waiting for your updates.  Please keep those updates coming.
Hi Jimsky, I am so excited to show you!!We are all waiting for your updates.Please keep those updates coming.
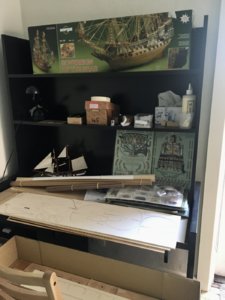
For now this kit has very simple instructions, as It's my fourth model in 10 years it's becoming easier for me to understand the plans and also because I build kitchens I am familiar with reading plans quickly and accurately. I am going pretty fast I have build already the the hull with all the frames up to the supports for the cannons in only 1 day and I will show how.
Let's start then

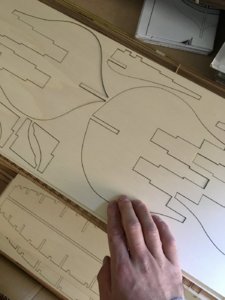
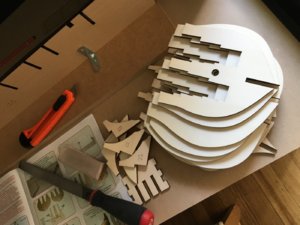
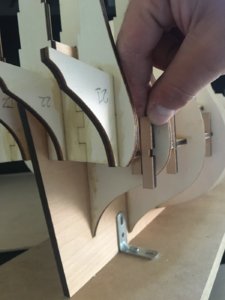
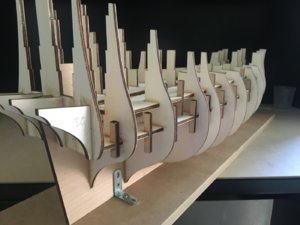
First I numbered all the parts, I cut them and sanded them with paper 120 accurately. I screwed the hull on a MDF board 18mm thick right in the middle and used L shape alluminium 38mm to hold it down and thight. see photos below.
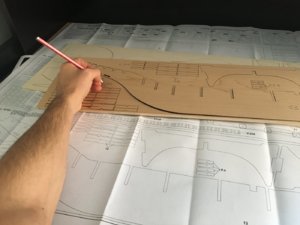
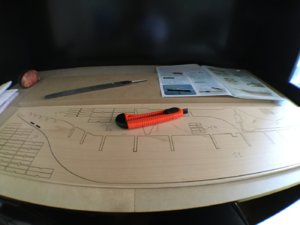
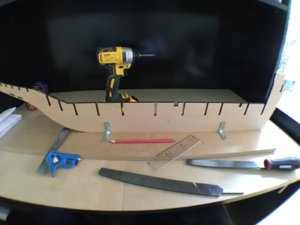
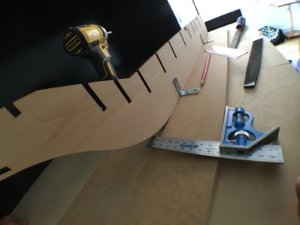
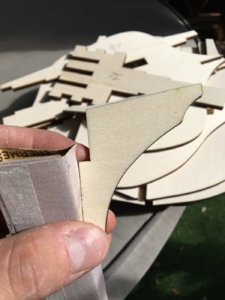
After I inserted the frames and made them square with a 90degrees alluminuim corner that I cut at work and so slowly I glued the parts first with Titebond glue 3 all around the edges and than once inserted with a drop of Attak glue to hold it down strong and square.
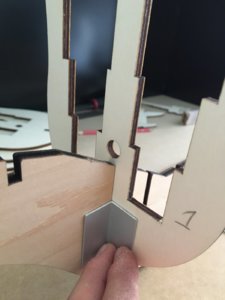
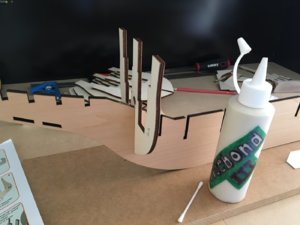
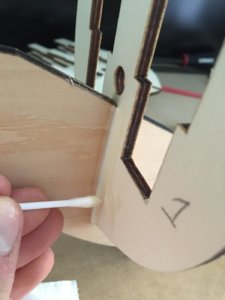
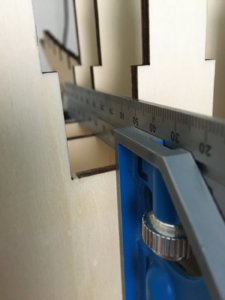


With the help of a masking tape, I pushed the frames forward and backwards to make them all the same distance in between, both sides of the hull and kept sanding the missing parts.
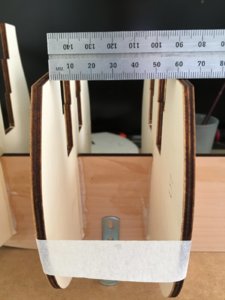
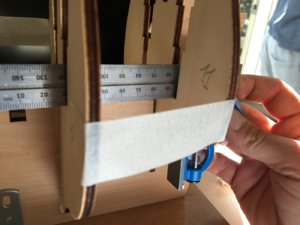
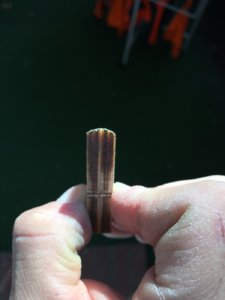
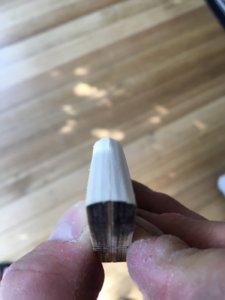
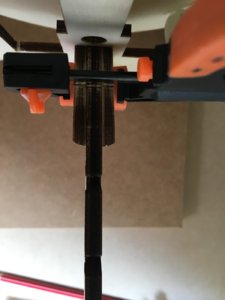
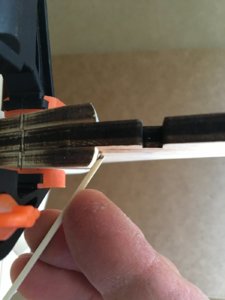
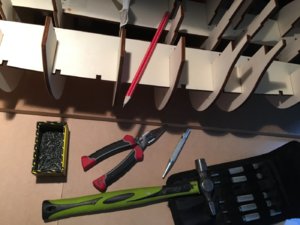
At this point I inserted the first deck, I sand all the parts accurately and slowly pinned it with small pins around 8mm lenght. I used a plier to insert the tip of the nails into the plywood and than with the help of a small hammer and nail punch 'obviously titebond glue' also underneath I nailed the decks.

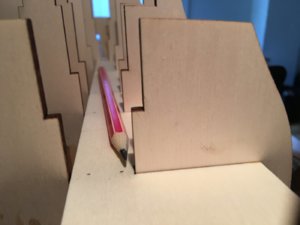
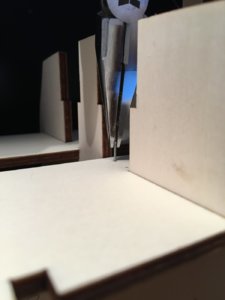
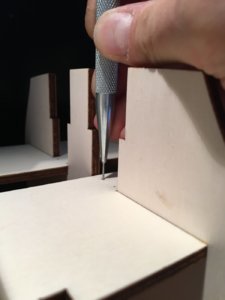

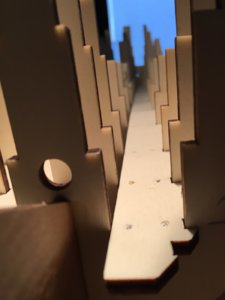
You're off to a great start! Keep 'yem' coming!
Thank you, If I could upload short videos to show how I pinned and glued the decks would have been better but I’m happy with the photos.You're off to a great start! Keep 'yem' coming!
Some of our members have videos on the Youtube channel, so they inserted links to it.  Check out our video tutorial
AwesomeSome of our members have videos on the Youtube channel, so they inserted links to it.Check out our video tutorial
Hi everyone,
I hope you’re all well and safe!
Small updates:
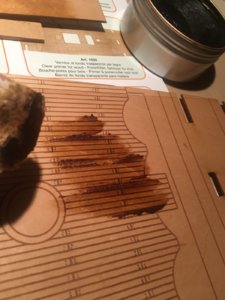
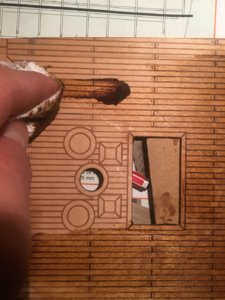
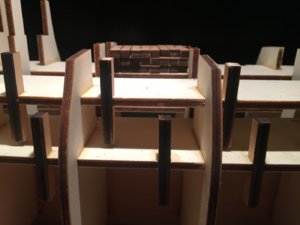
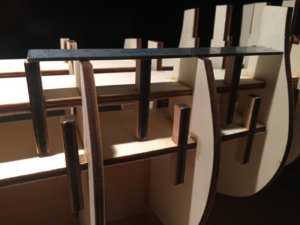
Being barricaded at home these days due to Coronavirus, I kept working on the Sovereign of the seas, particularly the supports for the cannons. Everything flush, accurate and clean but there is a little problem. The template for gun ports In the box, don’t match well with the supports, are out of square, so I’m thinking to cut extra mdf squares or timbers to cover the empty area where few cannons are far and there is nothing where insert them..but then the cannons will be coming out from the ship 3 mm extra.
Also I will colour inside the gun ports with black colour. Anyone have a suggestion for the paint?
Which is the best that sticks to the wood without coming out even when it’s dry amd you try to touch it?
?


Great
Today I received a new book, which could be highly interesting for your project.
Sovereign of the Seas, 1637:
A Reconstruction of the Most Powerful Warship of its Day
by John McKay (Autor)

Today I received a new book, which could be highly interesting for your project.
Sovereign of the Seas, 1637:
A Reconstruction of the Most Powerful Warship of its Day
by John McKay (Autor)

New on your bookshelf ..... show it here
[QUOTE = "Uwek, post: 86023, membro: 5020"] Ho appena ricevuto un nuovo libro - e sembra molto interessante Das Erbe der Serenissima Rekonstruktion und Restaurierung eines venezianischen Linienschiffsmodells von 1794 del Dr. Karl Klaus Körner tradotto qualcosa come: L'eredità della Serenissima...
shipsofscale.com
Aww thank you, it’s very interesting.. I will have a better look today when I’ll be back home. Thank you so much for this.Great
Today I received a new book, which could be highly interesting for your project.
Sovereign of the Seas, 1637:
A Reconstruction of the Most Powerful Warship of its Day
by John McKay (Autor)
View attachment 141200
New on your bookshelf ..... show it here
[QUOTE = "Uwek, post: 86023, membro: 5020"] Ho appena ricevuto un nuovo libro - e sembra molto interessante Das Erbe der Serenissima Rekonstruktion und Restaurierung eines venezianischen Linienschiffsmodells von 1794 del Dr. Karl Klaus Körner tradotto qualcosa come: L'eredità della Serenissima...shipsofscale.com
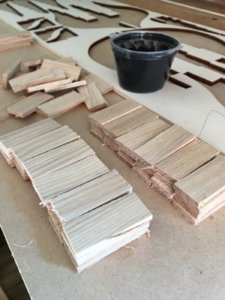
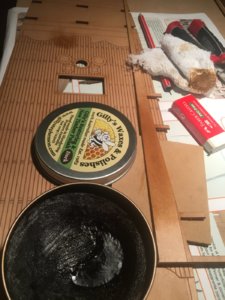
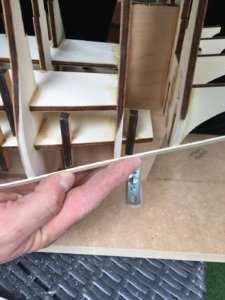
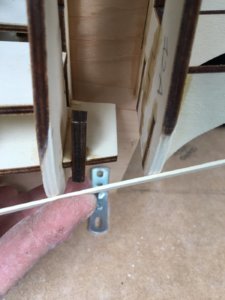
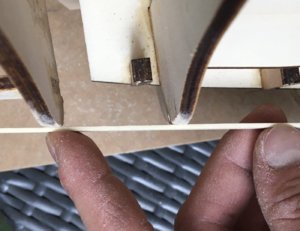
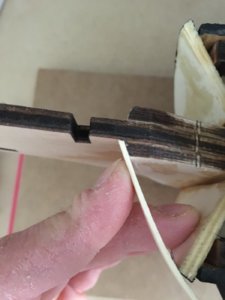
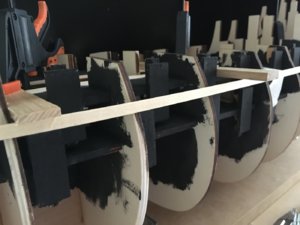
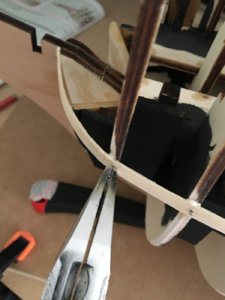
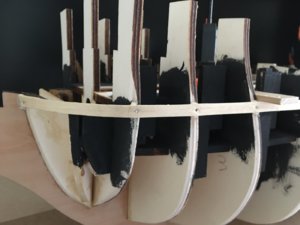
Meanwhile updates from last night: I sanded the sides of the ship and painted black all the gun ports to don’t show the natural colour of the playwood when I’ll be inserting the cannons, than I started to glue with titebond 3 and pin the first strips with pliers and nail punch for the plank.

Last edited by a moderator:
I received the book Saturday.Great
Today I received a new book, which could be highly interesting for your project.
Sovereign of the Seas, 1637:
A Reconstruction of the Most Powerful Warship of its Day
by John McKay (Autor)
View attachment 141200
New on your bookshelf ..... show it here
[QUOTE = "Uwek, post: 86023, membro: 5020"] Ho appena ricevuto un nuovo libro - e sembra molto interessante Das Erbe der Serenissima Rekonstruktion und Restaurierung eines venezianischen Linienschiffsmodells von 1794 del Dr. Karl Klaus Körner tradotto qualcosa come: L'eredità della Serenissima...shipsofscale.com
It s a must for everybody building or admiring this ship. A lot of drawings and full colour pictures, and not so expensive.
Hallo @Sparrow ,
interesting explanations and presentation of the kit and your work.
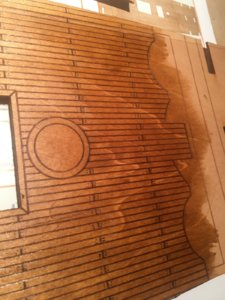
Referring the deck-planking you could think about, to maybe plan it plank by plank and not using the plywood.
The two butt shift system was (as I know) not existing - I am pretty sure, that the appearance of the deck would look much much better.
A lot of additional work, but worth....
In Peter Goodwin’s book “The Sailing Man of War", the pattern were usually different and not butts every second row.
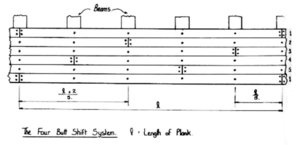
and a view from the new book by McKay
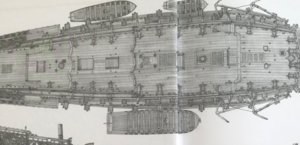
Think about it.....
interesting explanations and presentation of the kit and your work.
Referring the deck-planking you could think about, to maybe plan it plank by plank and not using the plywood.
The two butt shift system was (as I know) not existing - I am pretty sure, that the appearance of the deck would look much much better.
A lot of additional work, but worth....
In Peter Goodwin’s book “The Sailing Man of War", the pattern were usually different and not butts every second row.

Book review - The Construction and Fitting of the Sailing Man-of-War, 1650-1850" by Peter Goodwin
From the early beginning of this review: This book is very recommended and is a invaluable reference for ship modeling. In my opinion a "Must Have" The Construction and Fitting of the Sailing Man-of-War, 1650-1850 (Conway's History of Sail) (Hardcover) by Peter Goodwin (Author) Hardcover: 288...
shipsofscale.com
and a view from the new book by McKay

Think about it.....
Maybe take a look at the actual post by @Mark Frazier who did a very good job on the deck planking with a four butt shiftHallo @Sparrow ,
interesting explanations and presentation of the kit and your work.
Referring the deck-planking you could think about, to maybe plan it plank by plank and not using the plywood.
The two butt shift system was (as I know) not existing - I am pretty sure, that the appearance of the deck would look much much better.
A lot of additional work, but worth....
In Peter Goodwin’s book “The Sailing Man of War", the pattern were usually different and not butts every second row.
View attachment 142131
Book review - The Construction and Fitting of the Sailing Man-of-War, 1650-1850" by Peter Goodwin
From the early beginning of this review: This book is very recommended and is a invaluable reference for ship modeling. In my opinion a "Must Have" The Construction and Fitting of the Sailing Man-of-War, 1650-1850 (Conway's History of Sail) (Hardcover) by Peter Goodwin (Author) Hardcover: 288...shipsofscale.com
and a view from the new book by McKay
View attachment 142130
Think about it.....
HMS Victory - by Mantua Sergal - 1:78 scale
Welcome to my new build log of the HMS Victory. This is a copy of my build log I started on another forum. This journey has a special meaning for me. All my life I wanted to build a ship. Not just any ship, but a highly detailed model, but as with most things life gets in the way. I built...
shipsofscale.com
Hi Uwek thanks for your help!Hallo @Sparrow ,
interesting explanations and presentation of the kit and your work.
Referring the deck-planking you could think about, to maybe plan it plank by plank and not using the plywood.
The two butt shift system was (as I know) not existing - I am pretty sure, that the appearance of the deck would look much much better.
A lot of additional work, but worth....
In Peter Goodwin’s book “The Sailing Man of War", the pattern were usually different and not butts every second row.
View attachment 142131
Book review - The Construction and Fitting of the Sailing Man-of-War, 1650-1850" by Peter Goodwin
From the early beginning of this review: This book is very recommended and is a invaluable reference for ship modeling. In my opinion a "Must Have" The Construction and Fitting of the Sailing Man-of-War, 1650-1850 (Conway's History of Sail) (Hardcover) by Peter Goodwin (Author) Hardcover: 288...shipsofscale.com
and a view from the new book by McKay
View attachment 142130
Think about it.....
For the butt shift system it's meant the plunk or the deck of the ship? Because the first plank I did it with lime strips the white ones and for the second plank I have walnut strips so I can do it; but for the deck I don't have enough material
that's actually a very good job! Should I do it also for the second plank on the sides but without pins?Maybe take a look at the actual post by @Mark Frazier who did a very good job on the deck planking with a four butt shift
HMS Victory - by Mantua Sergal - 1:78 scale
Welcome to my new build log of the HMS Victory. This is a copy of my build log I started on another forum. This journey has a special meaning for me. All my life I wanted to build a ship. Not just any ship, but a highly detailed model, but as with most things life gets in the way. I built...shipsofscale.com


