• Win a Free Custom Engraved Brass Coin!!!
    As a way to introduce our brass coins to the community, we will raffle off a free coin during the month of August. Follow link ABOVE for instructions for entering.

HMS Victory 1:72 - Caldercraft by Gilbertm

Hello friends

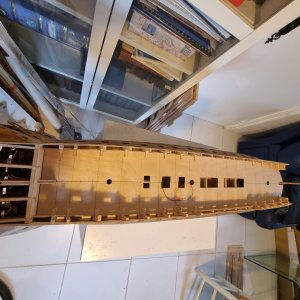
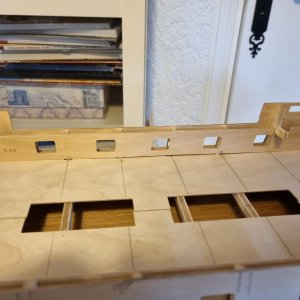
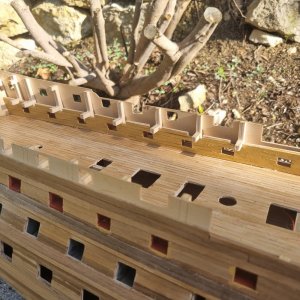
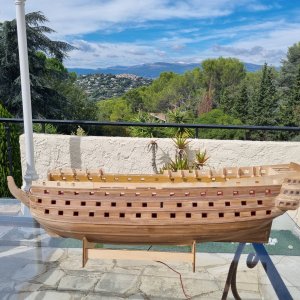
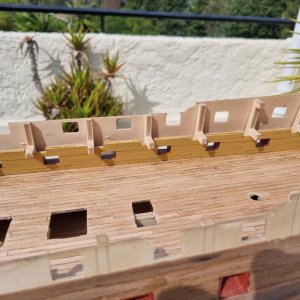
Next step was to install and plank the upper gun deck.
In order to avoid breaking the thin deck plywood, I decided to cut it in half and glue each part separately. Planking will hide this anyway.

20250814_173858.jpg
20250814_173913.jpg


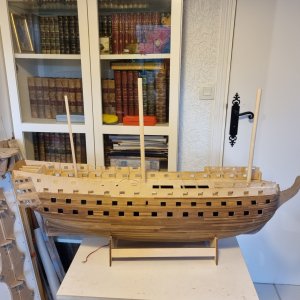
Masts can easily be inserted.
20250814_174055.jpg

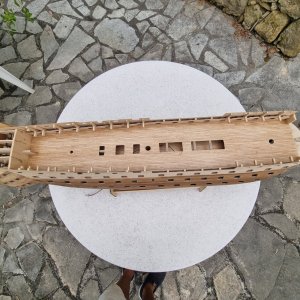
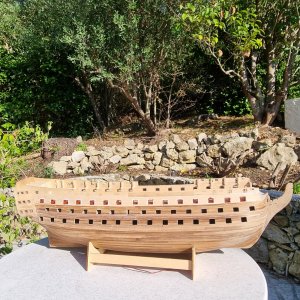
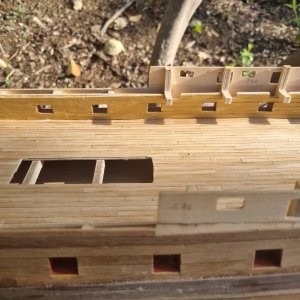
Planked the upper gun deck using a 4 butt shift and applied 2 coats of mat varnish. I'll apply one more coat once the inside bulwarks will be installed and painted.
20250828_111825.jpg

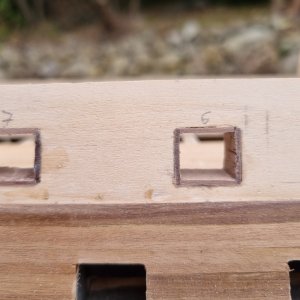
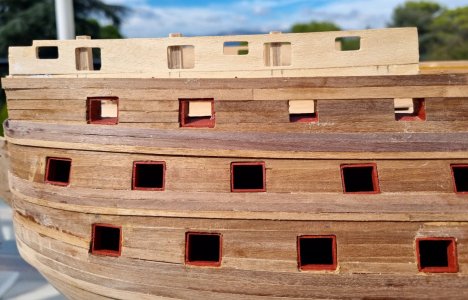
I then lined all the upper gun deck gun ports.
20250828_111844_02.jpg
20250828_111913.jpg

I am waiting to receive the red ochre paint before finalizing the gun ports and finish the second planking.
In the meantime, I'll work on the wales.
 
Last edited:
Hello friends
During the last few days I have planked the lower and middle wales.
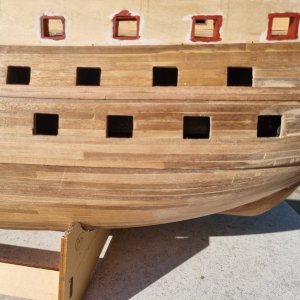
I also have received the red ochre admiralty paint and have therefore painted the upper gun deck gun ports.
Pictures below

20250904_172403.jpg
20250904_172618.jpg

Next steps will be to paint (yellow ochre) and plank the inner bulwark and to continue the second planking up to the quarter deck gun ports.

Cheers
 
Hello friends
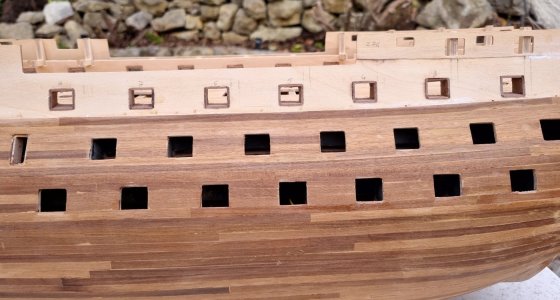
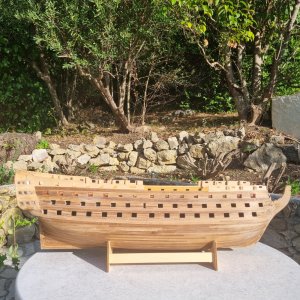
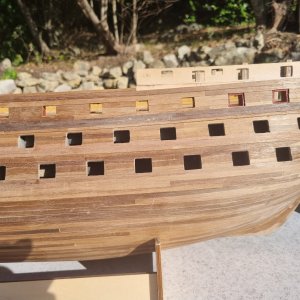
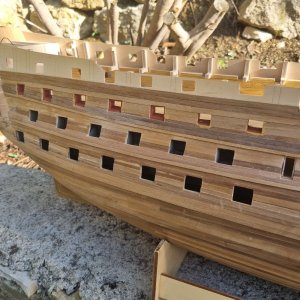
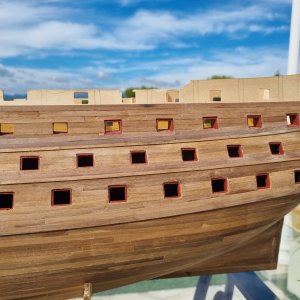
I have continued the second planking on the starboard side up to the quarter deck gun ports.
At the same time, I have adjusted the size of the middle gun deck gun ports that were quite too small.
Having completed the second planking I also added the third wale.

20250912_173421.jpg
20250912_173438.jpg
20250912_173542.jpg

I also planked the port side inner bulwark and painted yellow ochre.
20250912_173534.jpg
20250912_173537.jpg
 
Hello friends
I have continued the second planking on the starboard side up to the quarter deck gun ports.
At the same time, I have adjusted the size of the middle gun deck gun ports that were quite too small.
Having completed the second planking I also added the third wale.

View attachment 543786
View attachment 543787
View attachment 543788

I also planked the port side inner bulwark and painted yellow ochre.
View attachment 543789
View attachment 543790
Good morning Gilbert. That planking looks fabulous. It is almost a pity you will have to paint over that walnut. I really like the way Caldercraft got the positioning of the wales and gunports correct. Most kits of the Victory don't. Cheers Grant
PS did you watch or see the highlights of the SA vs AB rugby on Saturday.......we still parting down here in SAROTF.
 
Been absent all summer but I see you've been busy!!!! Great to see all your research and studying of other builds has resulted in a great start! WELL DONE!!!!
Chris
 
It is great to see the planking covering the sills and the linings recessed so the port lids could close properly as was actually done on the ships. Very nice work!
Allan
 
Hello friends
Update on my build on which I spent less time during the last few weeks.
I planked and painted the starboard inner bulwark.
Then I lined the gunports on the port side. Rather than gluing 4 small walnut strips in each port hole, I have used a laser engraver that I borrowed from my daughter and have cut the gunport inside frame as one single component.
Pictures below

20250928_140844.jpg
20250928_140832.jpg20250928_140902_02.jpg
20250928_140925.jpg

20250928_141003.jpg

The next step is lining the gunports on the starboard side.

Thanks
 
It is really nice to see you have all the stops recessed. For what it's worth, for the future, from The Elements, and Practice of Naval Architecture, stops were only 1.25" thick. This is less than 1/2mm at your scale of 1:72 and they were only on the sides and bottom. There was no stop on the underside of the upper sill.
Allan
 
Back
Top