Adding Decals and Weathering the Titanic Hull
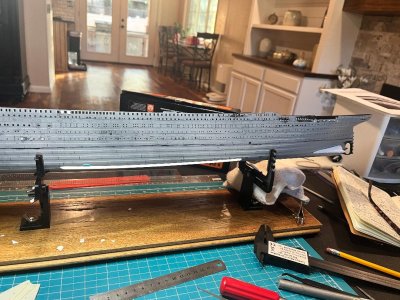
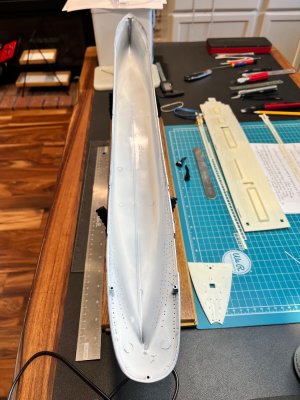
So the date I am protraying is April 13th, 1912, Titanic's third day at sea. She has had her portside freshened with paint for the embarkation of the passengers at Southhampton, England prior to April 10th 1912, but now she has been to sea for three days. and has made stops at Cherbourg, France, and Queenstown Ireland.
According to the Weatherguys.com the date of April 10 - 13 was mostly clear skys, mild temperatures and moderate winds.
But sea water on a red and black hull will weather overnight (slightly). And remember that the starboard side was not freshened and had over 9 months exposure to rain and her sea trails. But Pete, Titanic is a new ship! you say. I agree, but inevitability the hull would shown some signs of weathering.
That is my goal is to shown enough that up close (2 -3 feet), you can see the signs of the sea salt's touch on the hull (slight on the port and a little more on the starboard). This is for modulation of the tones of the main colors and provide depth and interest. At longer distances (4+ feet), The color modulation will blend and the Titanic will look prestine as everyone imagines her to be. I dont want the plates to standout as hugh montrosities where the titanic at distance looked sleek.
But First!!! The decals.
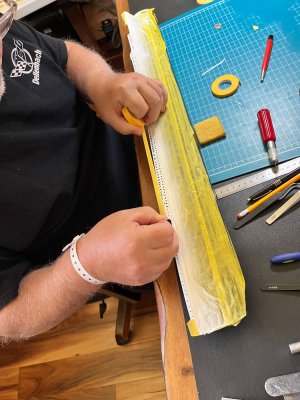
The set of decals I used was Peddinghaus 1/350 scale for the Titanic. Several items that standout with these decals is that the name TITANIC is block and not italic or slanting like what is provided in the kit. The waterline marks were accurate for the bow (42') and have the right curve (plus there are other benefits from that set that include all the signage and so on). The aft waterline mark needs to be cut at 37' (the aft waterline mark goes to 42')
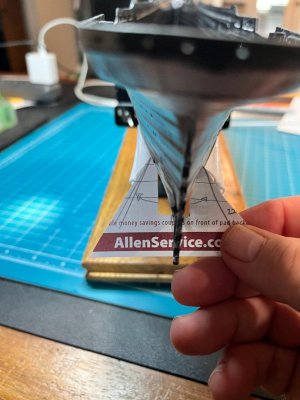
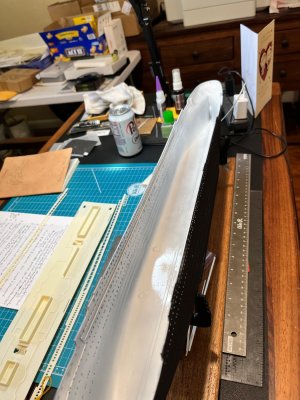
This is where you get to see if you made the waterline correct (fingers crossed). These decals were made for the Minicraft Titanic kit in 1/350 scale and are very precise. But I must have not had my pot of coffee yet when I masked out and painted my anti-fouling seaction and my lines at the bow and stern were correct. I had painted the hull before I got the decals so I was worrying a bit.
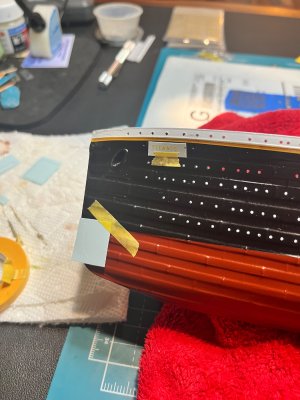
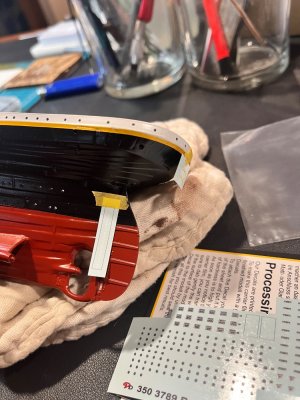
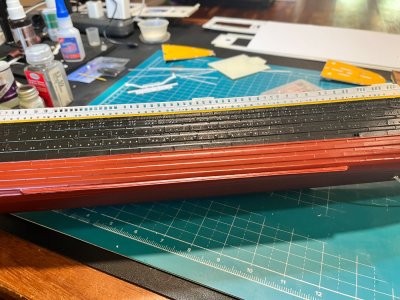
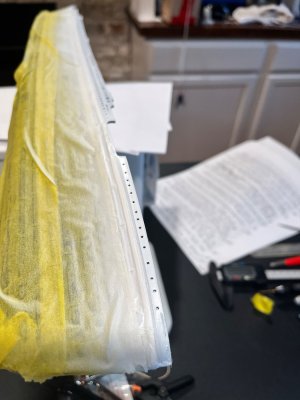
Now the Peddinghaus decal base is thicker than I anticipated, but when completed, the edges will smooth out with gloss and dull varnishes.
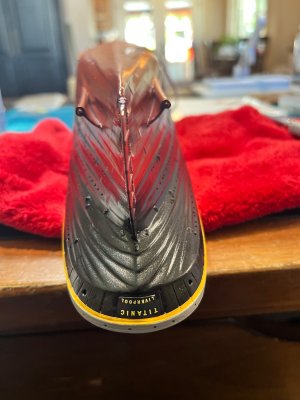
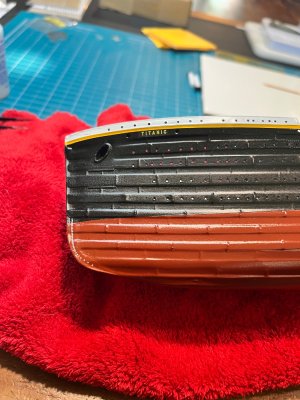
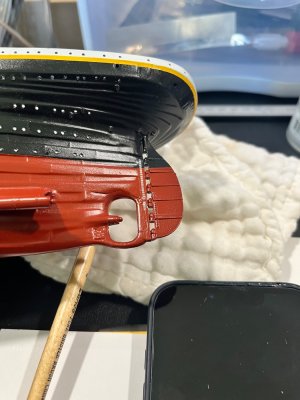
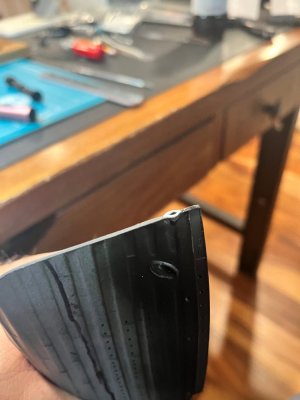
The photo of the stern exhibits how my modifications came out with creating the stern transom plates and the name plate (Upside down

).
Now, Weathering!
White Superstructure
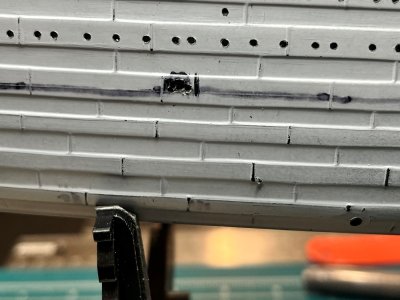
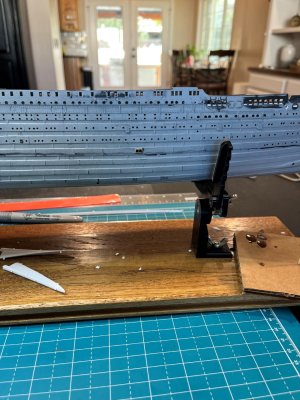
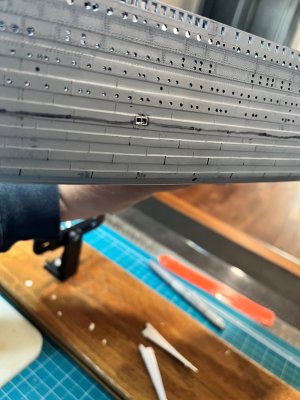
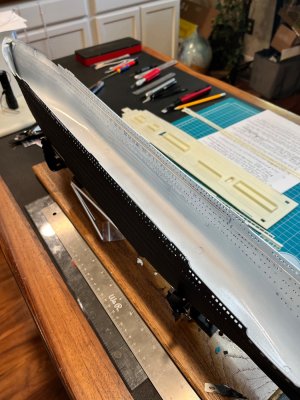
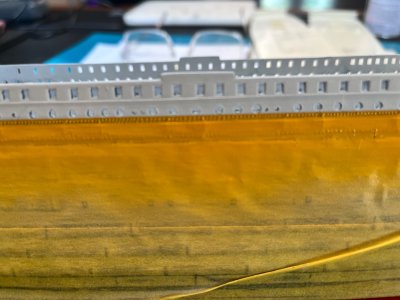
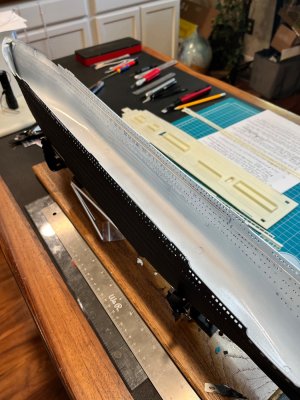
I used an off-white Scale Colors paint to highlight the doors, hatches, and other protrusions on the upper superstructure. This tone difference is enough to compliment the flat white at a distance, but moderates the brightness of the flat white up close, and provides varibility for interest. I added some very soft tone wash to highlight the molded and scraped doors, hatches, and other details (coal outriggers) on the superstructure. Then I took a damp cotton swab and removed most of the wash off after 5 mins. This made the jacklines at the bow standout some along with other details so that the outlines looked like shadows and created depth. I also used AK Interactive light rust on some parts such as the scuppers (very slight) and then addes just a few AK Interactive Sea Salt streaks to shown some very slight wear.
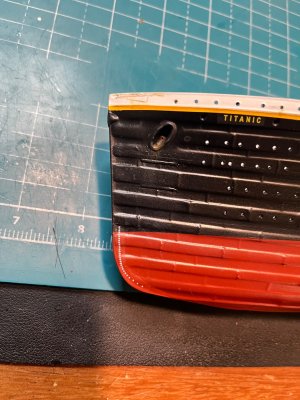
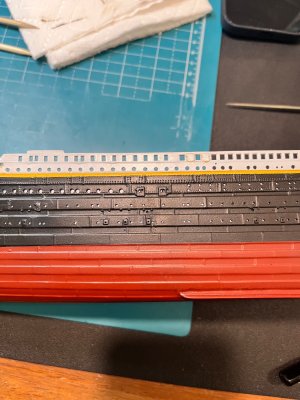
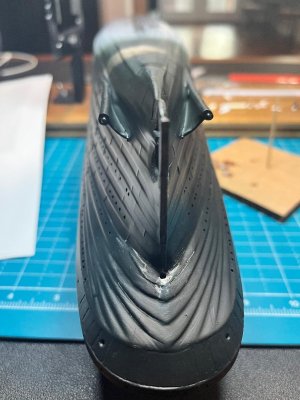
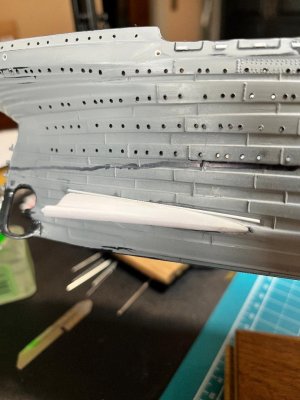
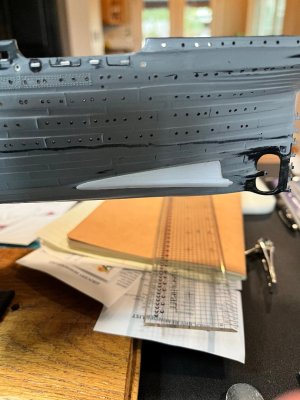
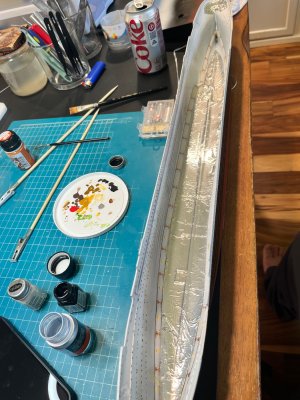
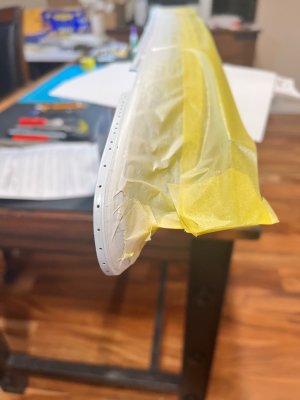
You can see in that bow pic that I started adding the rust at the port hawsehole. I used AK Interactive medium rust weathering paint. It matches what I believe fresh rust will appear (Bob Reads article explains that even with fresh paint, the rust would become visible within a couple of days with the anchor usage at port of calls). I also started adding the sea spray at the bow's wave creast that slightly flows toward the aft.
Black Hull
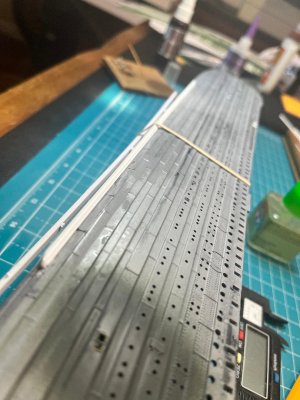
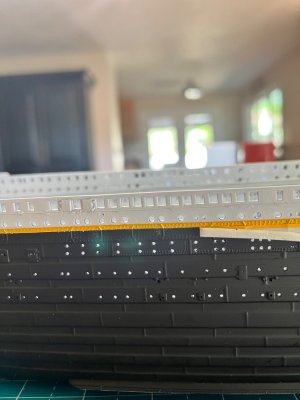
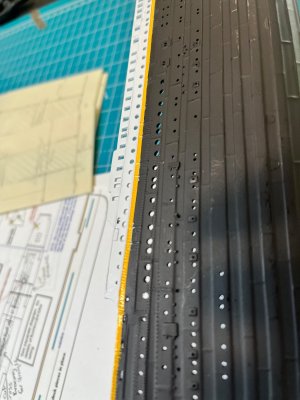
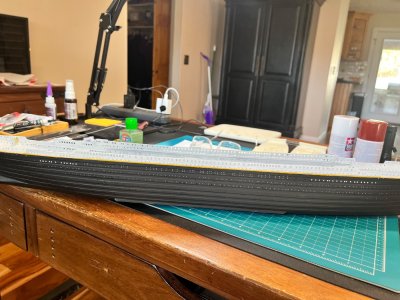
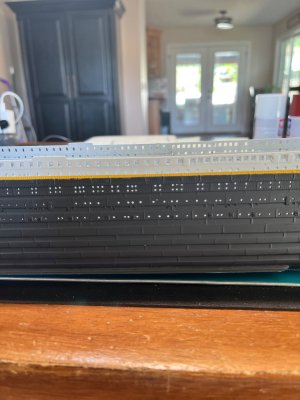
This is were my foundation of Flat Black comes in as blackground. I like washes and think I have become somewhat experienced, but I love the effect that drybrushing creates, especially with plates and ridges! It highlights the protrusions that I so carefully preserved during my hull modifications. My plan was to slightly use Tamiya brown wash combined with drybrushing with Tamiya Nato Black. This shoud create depth without becoming obvious. I only used a thinned down Nato Black drybrush on the hull plates very lightly to make them standout just a little. Then I switched to a more pigment verison of Nato Black to drybrush the hatches, doors, eyebolts, and rivets.
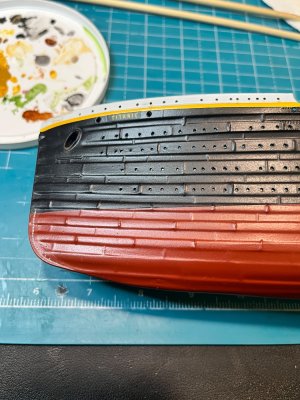
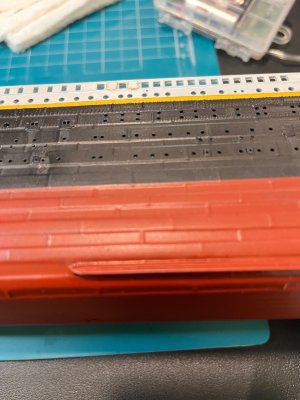
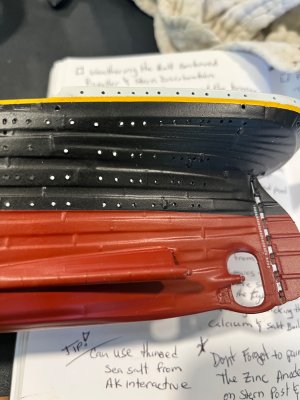
You can also see some very slight weathering on the starboardside at the protrustions flowing down toward the keel to mimic streaking. I added the same color mix to all the hawseholes, and every odd window or porthole. I then added very slight rust from the main anchor hawseholes and just a few sea salt weathering to the odd portholes as sea spray and rain streaks.
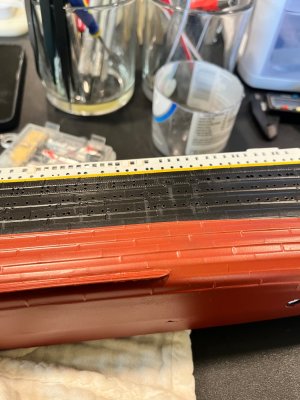
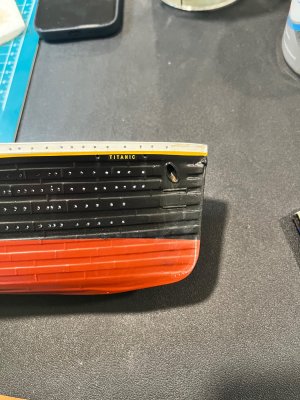
I added a very lighter version of the same weathering on the portside only at key points and, of course the rivets that I so painfully perserved.
Anti Fouling Red Hull
Well!!! let the controversay begin.
I say that because my buddy wanted me to paint the Anti-Fouling Red the pinkish color that Bob Read article very thoroughly explains. You can even get a version of this color from Vallejo Titanic Color Set.
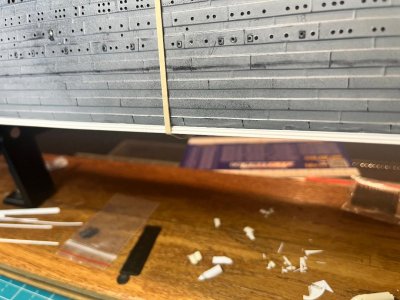
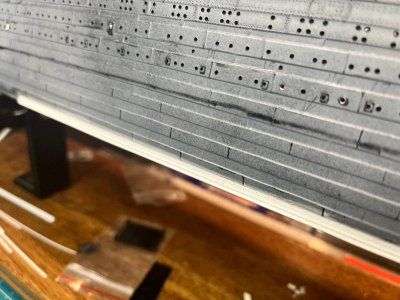
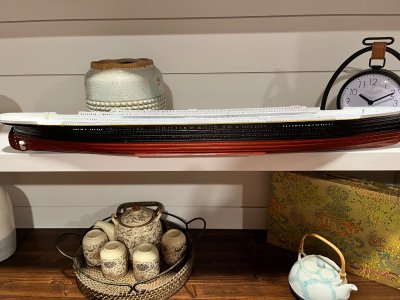
But, I like the darker Tamiya Hull Red as my base. This allows me to modulate the plate colors with a whiter/Pinker red (A drop of white or light grey) lightly drybrushed on protuding plates. You can barely see the affects on this bow pic where the inner plates are slightly darker than the risen plates. This toned down the Hull Red and created some depth. I tried to modulate weathering the plates to be somewhat different and interesting to look at when you stand closer. I did the same tone version around the entire lower hull because the freshened paint only reached down to the waterline, so the anti-fouling red would have been eveny weathered the same on bothside of the ship.
I did not use a brown wash for the lower plates to keep the whole hull effect a more lighter red. But I can change my mind in the future.
This last pic shows some very slight sea salt weathering with mostly thinner around the waterline. When the thinner evaporates, it leaves a slight mist mimicking the salt accumulation as the ship made its voyage. Again very little so that it creates some realism and interests with you view her up close.
Future weathering journeys.
I plan to continue with the slight weathering on the superstructure, A-deck, B-Deck, and Boatdeck structures. I will be switching to some ash and soot on the upper portions of the the decks that can be exposed to the funnels. Also some tonal washes and off-white to give the doors, windows, handrails, other equipment and devices to add variety and interest to the ship without over doing it. My goal is to be as accurate and realistic as I possibly can with this project.
Future Posts
B/C-Deck structures and the journey that awaited me.
Wish me luck and Happy Modeling - Pete G




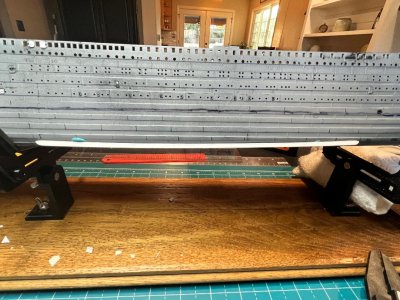
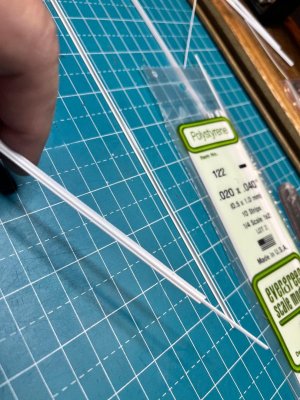
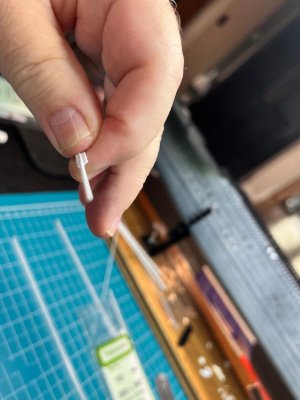
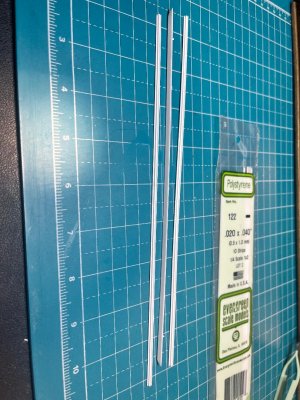
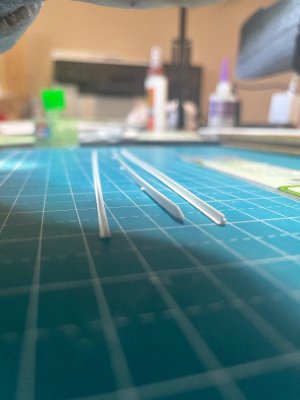
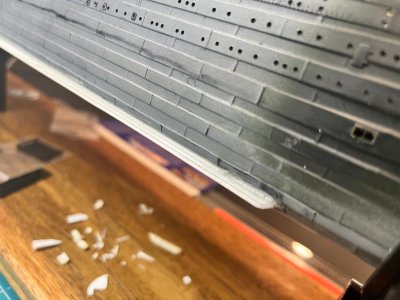
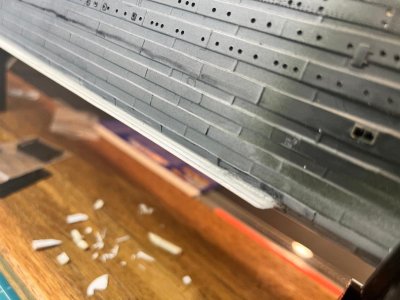
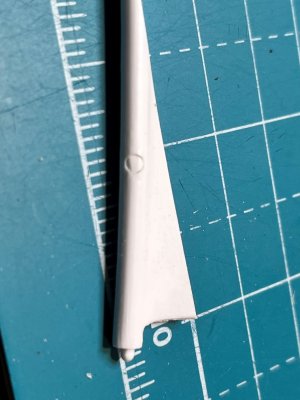
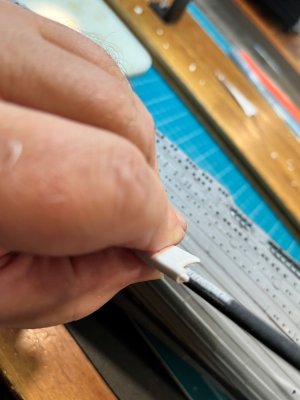
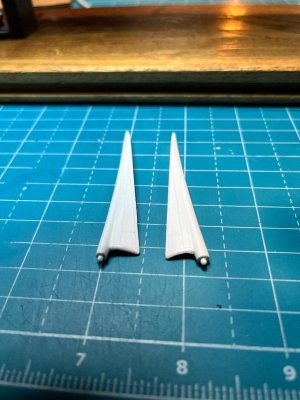
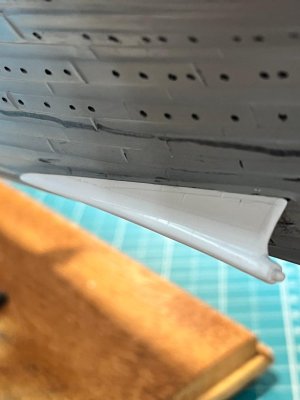
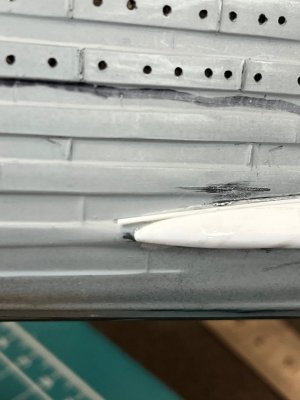
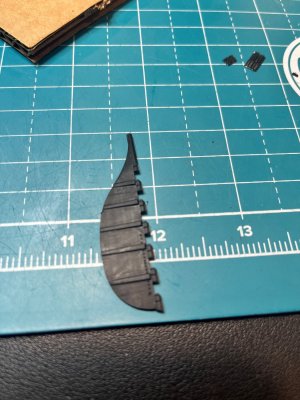
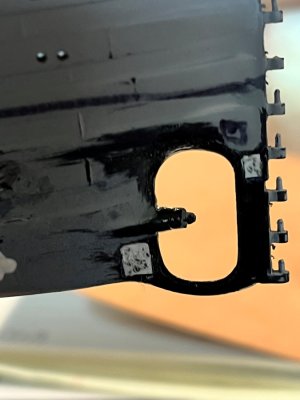
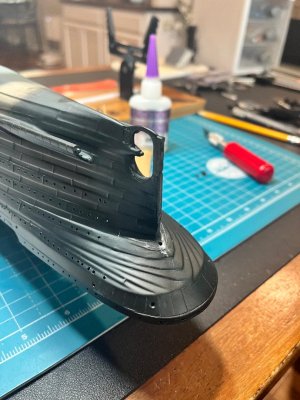
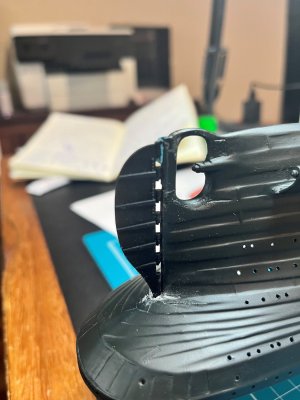
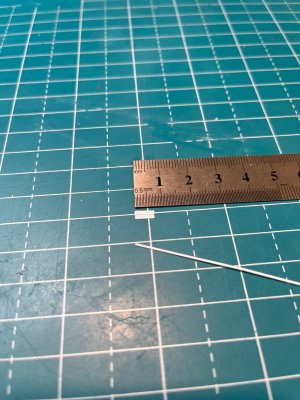
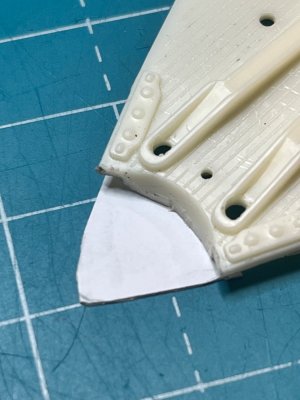
 Hawsehole. Though I did get the insert part from China 3D, I was not confident to make that serious of a major modification. I have spent some money on this model and did not want to ruin it with a hack job. Time for some magic. I know that a piece of circular plywood was attached to the hawsehold when the Titanic was at sea (which I am depicting at sea on April 13th, 1912) which I have heard is what Minicraft was trying to achieve. But I wanted the dramatic effect of seeing the bow and that awesome hawsehole. I took a piece of 0.25 mm thick styrene plastic and shaped it to the correct proportions using the China 3D piece as the guide. I drilled the central hole at ~30 degree up to the anchor well, and used a round file and dremel tool to grind the opening to the shapes I wanted and voila!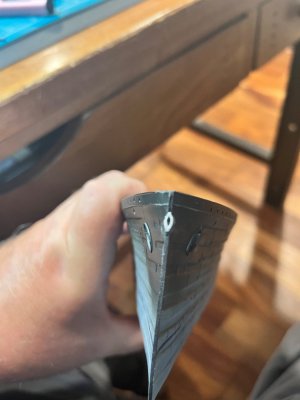
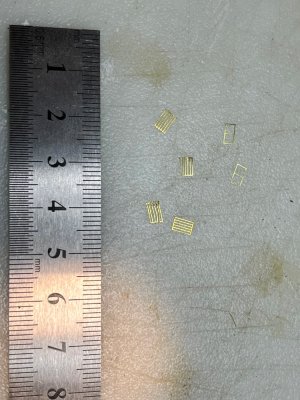


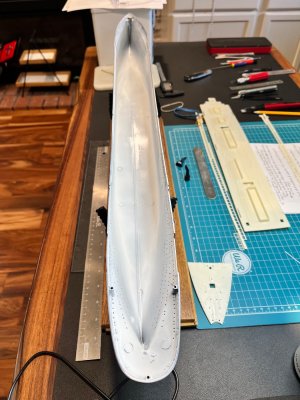
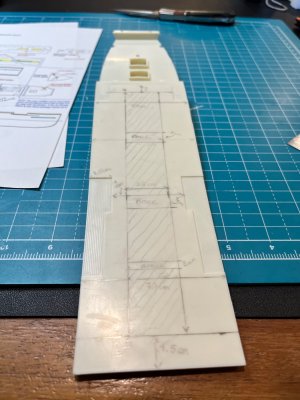
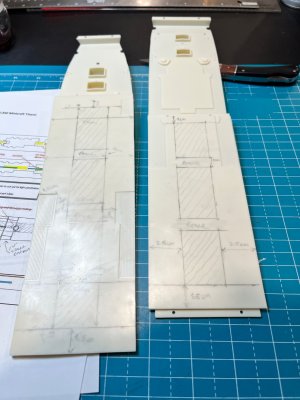
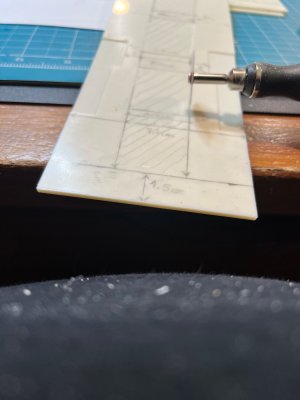
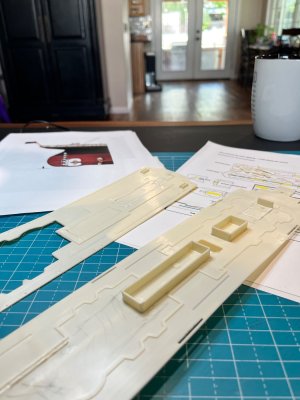
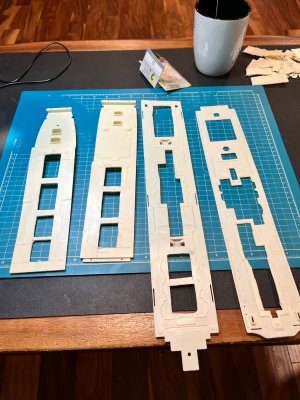
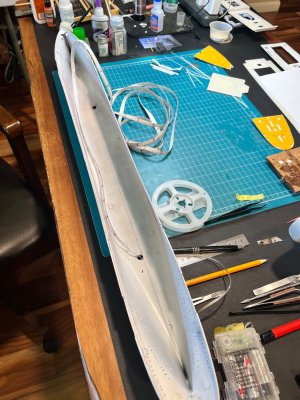
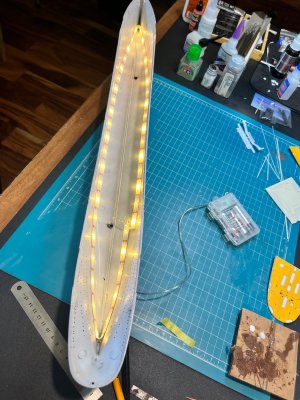
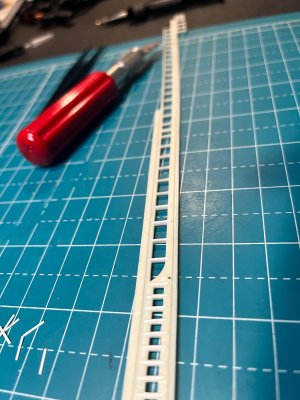
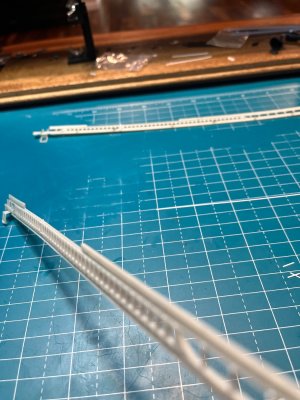
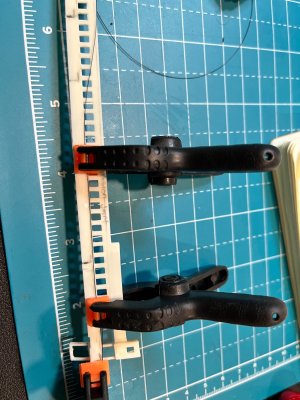
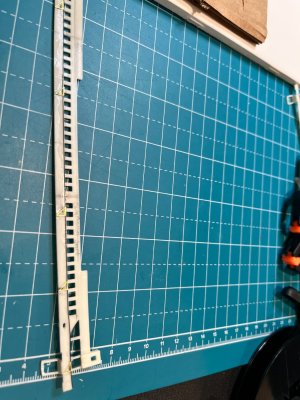
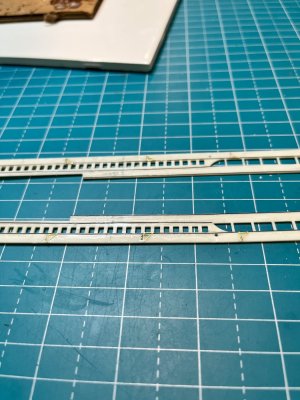
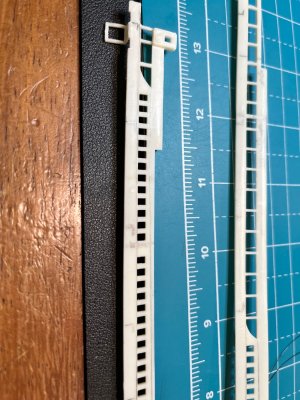
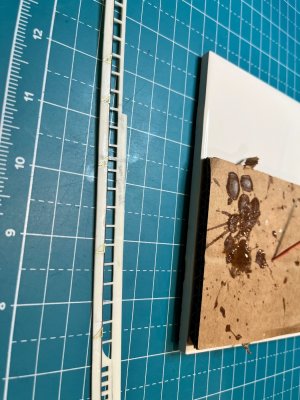
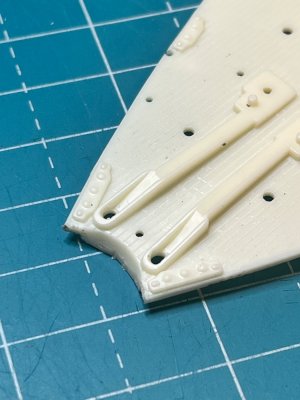
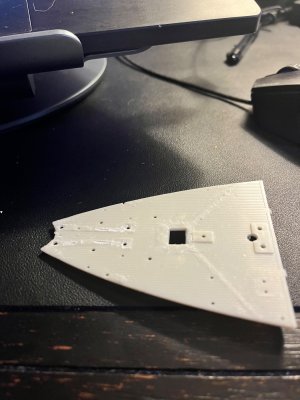
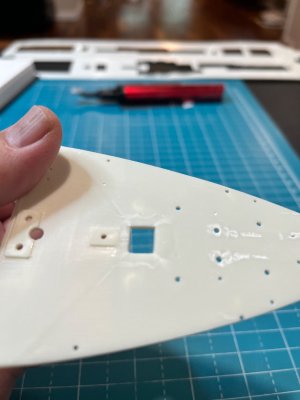
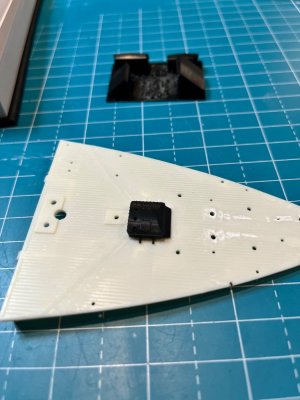
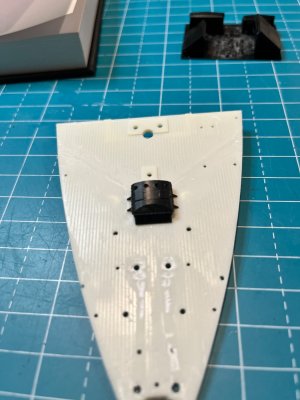
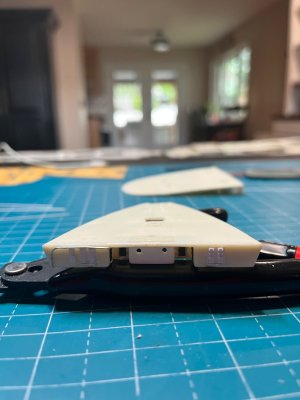
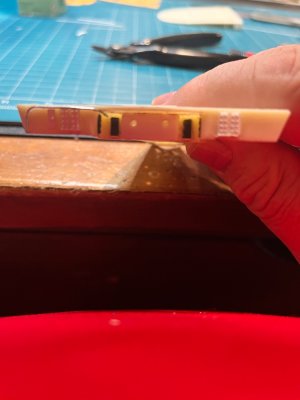
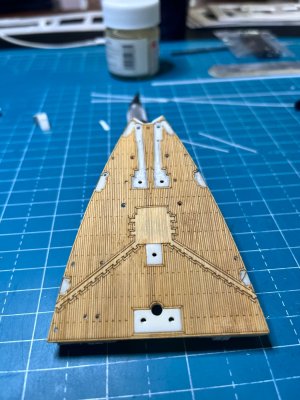
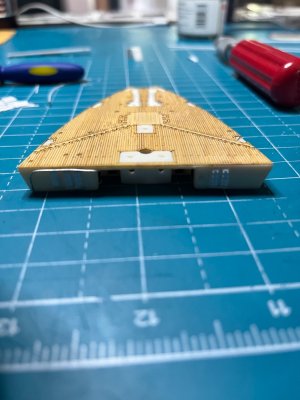
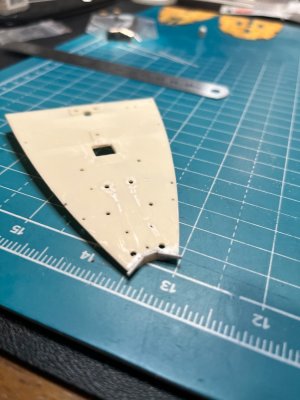
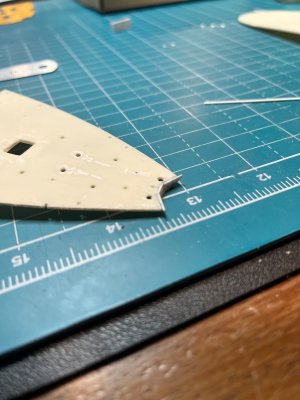
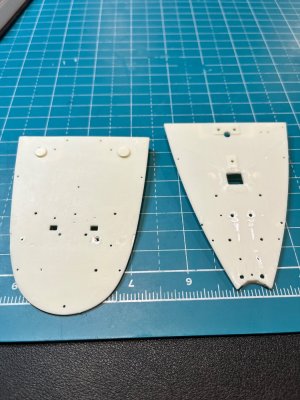
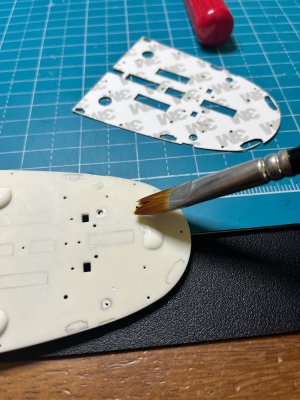
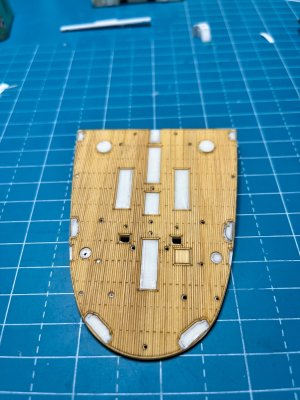
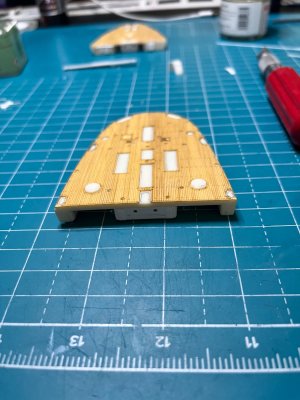
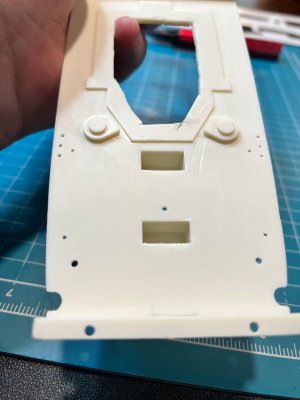
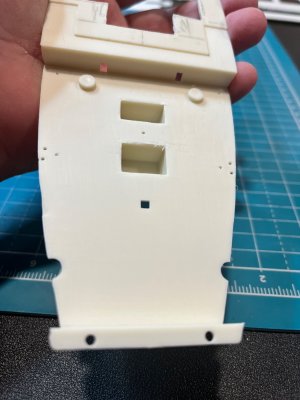
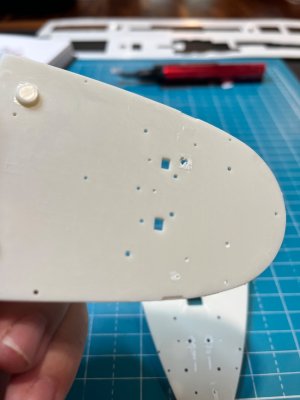
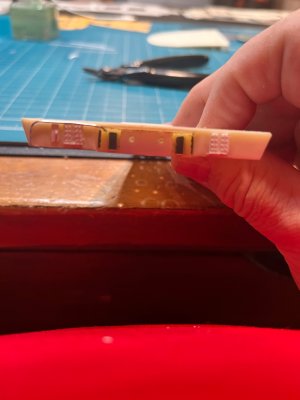





 But your Artwox Titanic deck in 1:350 makes me reconsider!
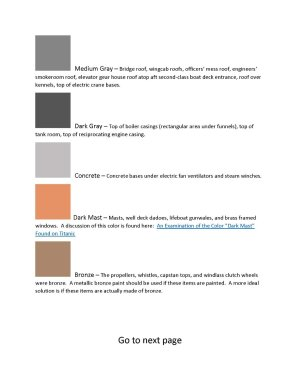
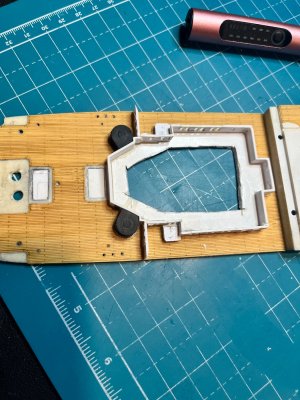
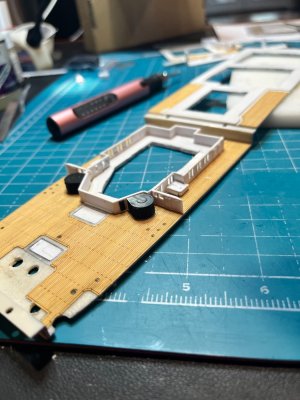
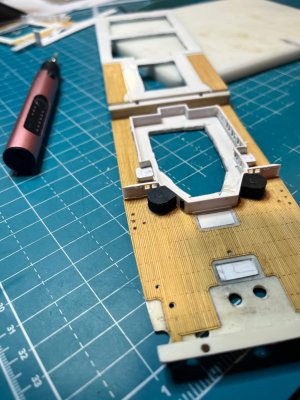


 I learned the hard way that most of that detail tends to disappear when the black paint is applied.