• Win a Free Custom Engraved Brass Coin!!!
    As a way to introduce our brass coins to the community, we will raffle off a free coin during the month of August. Follow link ABOVE for instructions for entering.

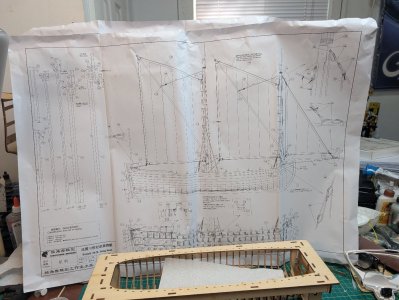
1/24th scale POF 36' French Longboat, Cherry wood version from Unicorn

I would expect the French inch to have been abandoned at the Revolution when they switched to the metric system… however I guess English inches could have been reintroduced (in a sort of culture wars of the time maybe???) at the Restauration? I am very surprised by that statement, it is very interesting and worthy of inquiry!
I ran into this same sort of question on my current project. What I learned was that in the late 17th century the French were definitely using the French inch (on my build I am doing all conversions based on that and building accordingly). But there was apparently a time that the French inch was abandoned, and the English inch was adopted (officially in 1824 but practically speaking considerably earlier). Anyway, I don't know the 'year' of your longboat so English inches may have been the standard. Or maybe not.
I would expect the French inch to have been abandoned at the Revolution when they switched to the metric system… however I guess English inches could have been reintroduced (in a sort of culture wars of the time maybe???) at the Restauration? I am very surprised by that statement, it is very interesting and worthy of inquiry!
 
Rob,
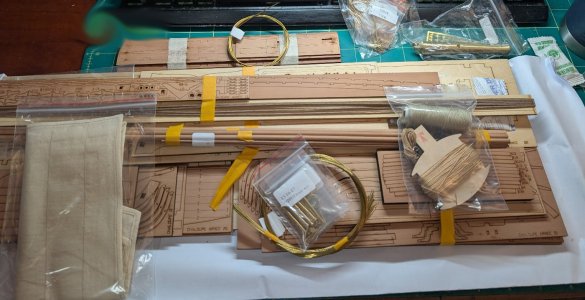
I'm curious if the instructions for your kit (the photographs) are provided in English. I ordered the Unicorn 1:160 Enterprize stern section and those were not. I ended up translating them and updating the PDF. Zoly now has that new PDF available on his site for download. I wonder if the same needs to be done for this longboat.
No, they are not, but there are a series of 24 videos detailing the build process here, which kind of makes up for it. So far google translate has been pretty solid.
 
Last edited:
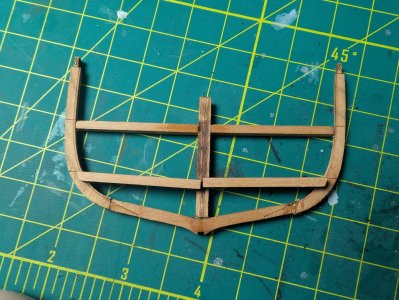
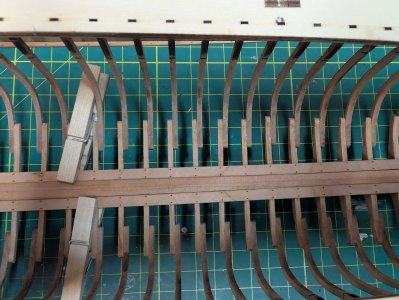
I added a second set of crossmembers to the final frame and afterwards it was stiff enough I could sand it. They were a bit long as you cans ee, but once I sanded the compound bevel in them they didn't need very much trimming to fit pretty well. The back needs to be flat for the transom, so that went well.
PXL_20250823_170334749.MP.jpg
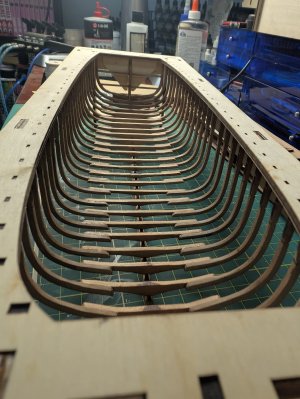
I forgot to get a pic of the finished frame, but here it is in the jig.
PXL_20250824_045741990.jpg
PXL_20250824_045716153.jpg
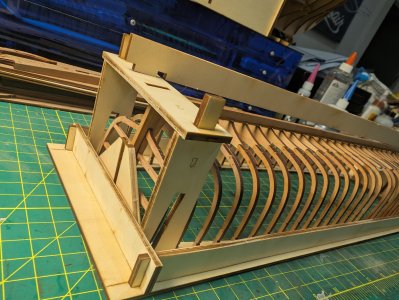
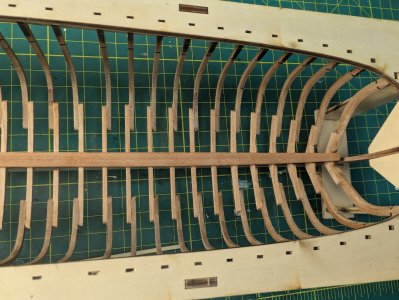
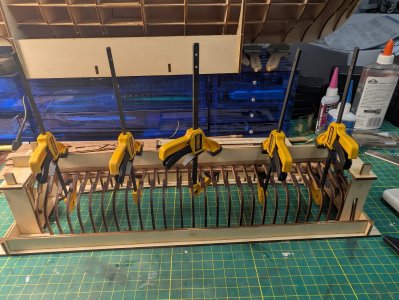
As you can see, after I finished that I added the keel to the jig and added the last three jig pieces to add some structure for clamping.
PXL_20250824_053700695.jpg
PXL_20250824_053714314.jpg
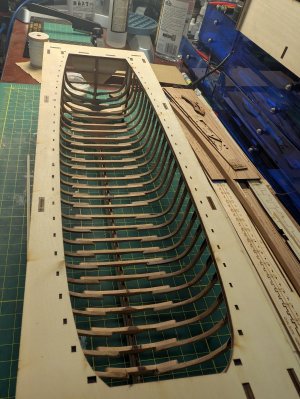
Here is the keelson in place.
PXL_20250824_055505725.jpg
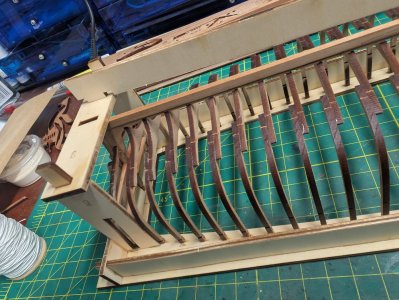
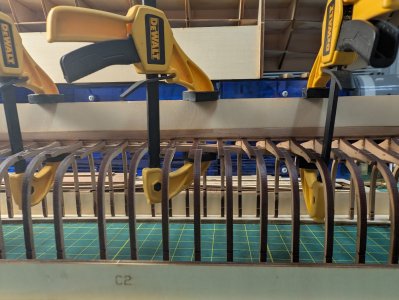
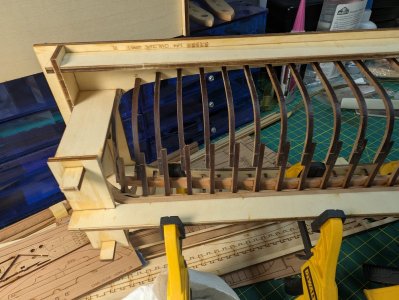
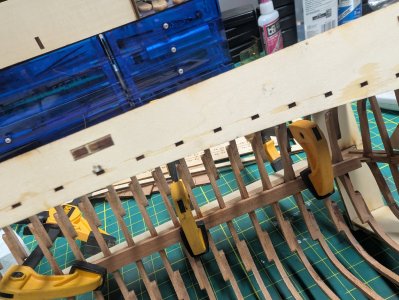
Getting everything to line up and seat properly was a huge challenge. I like these dewalt clamps because I can take them apart to slip through thin spaces. After that I just added light pressure to the keel and keelson and wiggled stuff around. The frames slowly worked themselves into place, then I'd add a little pressure on the clamps and wiggle the ones that were still not seated. I took about 20-25 minutes to do this because I did NOT want to just force anything and break more frames. I am glad I did because once it was over everything seated properly and the whole thing lined up.
PXL_20250824_060535068.jpg
I used CA to glue them because these won't be visible after the floor are in.
PXL_20250824_061437596.jpg

PXL_20250824_060527358.jpg
One interesting note, as I was gluing the ends of the frames into the jig, capillary attraction was leaving this trail of CA that leaked into the upper layer of plywood. But the trail leads directly through the path of the frame holes and it actually preceded the gluing path. I was gluing from right to left here and trail was slowly moving ahead of me as I glued.
PXL_20250824_065007149.jpg
 
Last edited:
Yep, that's what it said to do in the instructions and in the video. I think it is to make the whole frame more rigid for sanding.
 
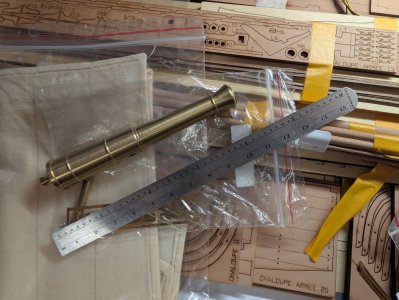
I looks so nice. I love open ribbed boats at the larger scales. Specially ones with build jigs. How's the kit quality in general? Are the rigging instructions clear? Are the sails presewn? Might get one - but I still have a model only 2/3 rigged yet - so.
 
I looks so nice. I love open ribbed boats at the larger scales. Specially ones with build jigs. How's the kit quality in general? Are the rigging instructions clear? Are the sails presewn? Might get one - but I still have a model only 2/3 rigged yet - so.
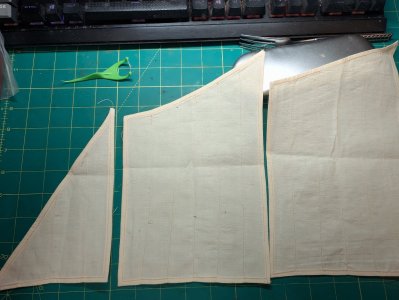
Thanks, Tim, the overall quality seems good, the only problems I am really running into are ones my fat fingers instigate so far. Sails are... meh. I won't call them great and one seam isn't even close to being straight, but on rumpled up sails it might not be noticeable.
PXL_20250824_211635608.MP.jpg
As for doing one of these, it's a great way to get your mind right when you are bogged down in the minutiae of a really long build and you just want to see some progress for once.

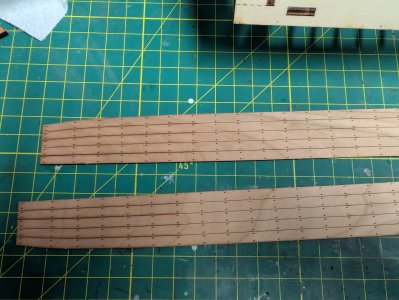
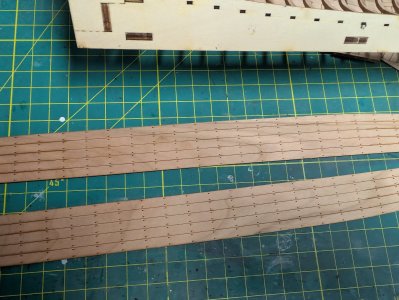
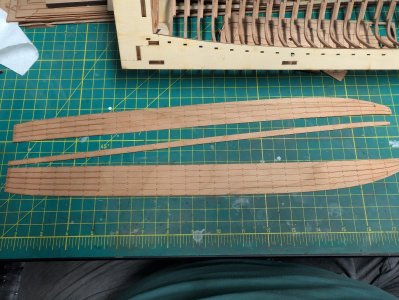
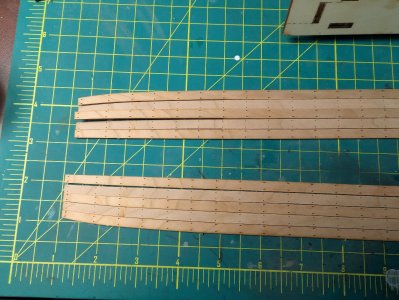
I'm going to take a break for the rest of the weekend so I'll post the little bit of work I have gotten done today before vegging out. I like the idea of laser cut decking, but I often dislike the execution because they never find a piece without clear grain in them. This causes the grain to continue across several planks and we all know that's not how it should be IRL. These decks are no exception, but they do separate the boards at the front and back ends to accommodate crowding.
PXL_20250824_075618914.jpg
PXL_20250824_075621023.jpg
But I can't just leave well enough alone.
PXL_20250824_075855601.jpg
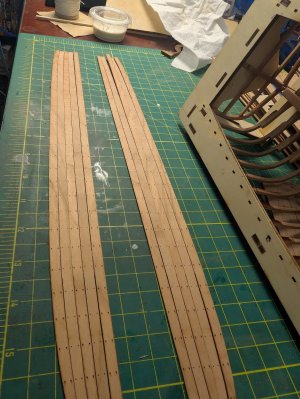
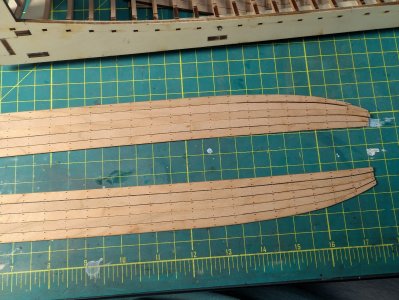
I just had to go and separate each board so I could swap every other board with it's partner across the keel. It wasn't hard to follow the laser cut etching with a really sharp xacto, then snap them apart. I swapped the 2nd and 4th planks across. I don't know if all of that work was worth it, I guess you can judge for yourself. I think if you aren't paying close attention then your eye won't be drawn to the grain like before.
PXL_20250824_082607029.jpg
PXL_20250824_082603675.jpg
PXL_20250824_082600877.MP.jpg
PXL_20250824_211840250.jpg
Have a great rest of your Sunday, ya'll.
 
Thanks, Tim, the overall quality seems good, the only problems I am really running into are ones my fat fingers instigate so far. Sails are... meh. I won't call them great and one seam isn't even close to being straight, but on rumpled up sails it might not be noticeable.
View attachment 539831
As for doing one of these, it's a great way to get your mind right when you are bogged down in the minutiae of a really long build and you just want to see some progress for once.

I'm going to take a break for the rest of the weekend so I'll post the little bit of work I have gotten done today before vegging out. I like the idea of laser cut decking, but I often dislike the execution because they never find a piece without clear grain in them. This causes the grain to continue across several planks and we all know that's not how it should be IRL. These decks are no exception, but they do separate the boards at the front and back ends to accommodate crowding.
View attachment 539825
View attachment 539826
But I can't just leave well enough alone.
View attachment 539827
I just had to go and separate each board so I could swap every other board with it's partner across the keel. It wasn't hard to follow the laser cut etching with a really sharp xacto, then snap them apart. I swapped the 2nd and 4th planks across. I don't know if all of that work was worth it, I guess you can judge for yourself. I think if you aren't paying close attention then your eye won't be drawn to the grain like before.
View attachment 539830
View attachment 539829
View attachment 539828
View attachment 539832
Have a great rest of your Sunday, ya'll.
Thanks for your very informative and enjoyable reply - nice pics.

I know exactly why you separated your planks. I like what you did.

And, I could live with those sails. So - I might order one of these. Maybe tonight.

I'm finishing up my first model with etched planking - the HMS Sherbourne from Vanguard Models. Tried staining some planks diff from the others. So-so. Still, not a bad looking little kit - I'm not gonna throw it away. But I prefer models with an almost 1 for 1 parts count, to there full scale sisters. Why I liked the ribs on your kit.
 
Back
Top