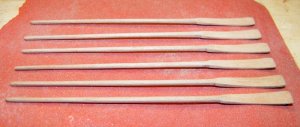
And now I am going to Hijack my own log and show you how I normally build my small boats, some of you maybe
interested,
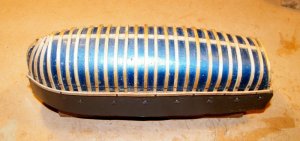
First of all i carve a wooden plug to the inside dimensions of the boats frames, with a channel cut out through the
middle and up the stem that will take the keelson and apron, I also nail a metal band around the plug just above
where the frame tops will be cut off, the band has to be the thickness of the frames away from the plug, the frame
ends tuck into this band to secure them.
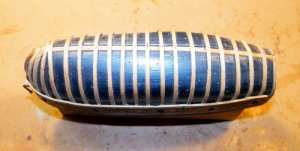
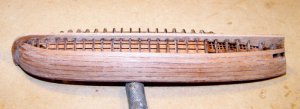
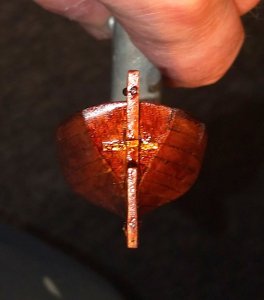
This photo shows the plug with the apron running down the bow and going along the keel as a keelson to meet up
with the transom.and then the ribs going over the plugand then down inside the metal band, finally there is a small
strip of timber going along the tops of the frames to hold them in place, you can see the cut off line marked around
the timbers just below the metal band, any questions just ask,
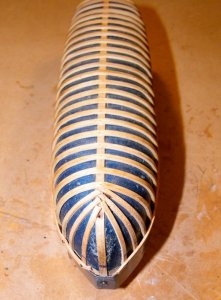
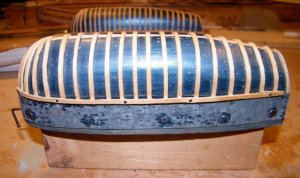
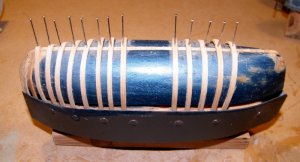
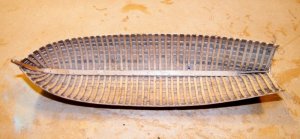
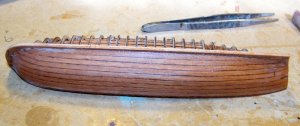
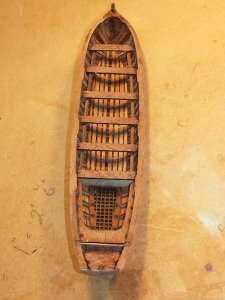
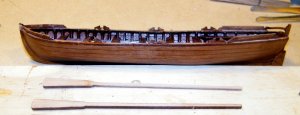
another view, this is a 1/48 scale 32 foot launch from the drawings by Underhill,
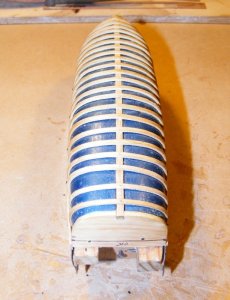
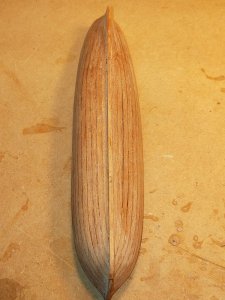
view from the stern,
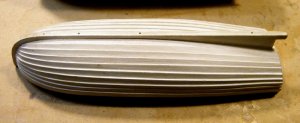
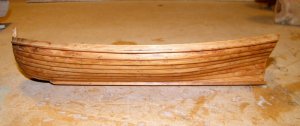
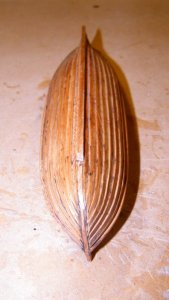
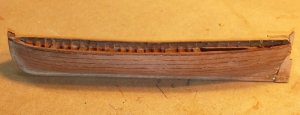
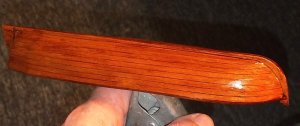
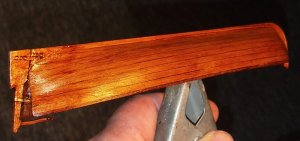
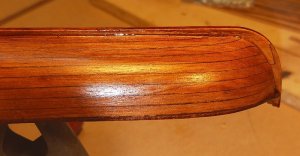
The shell of the launch after planking,
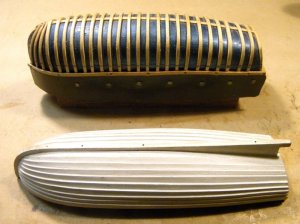
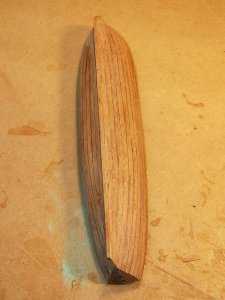
One in frame and one in shell,
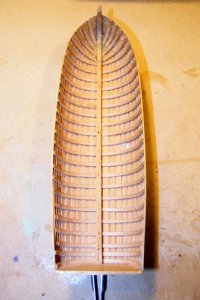
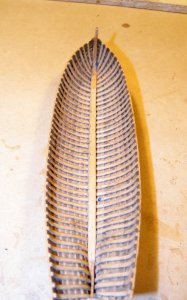
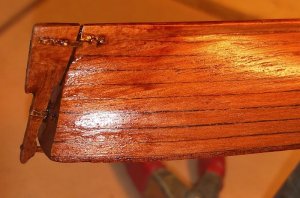
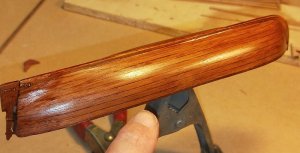
inside view,
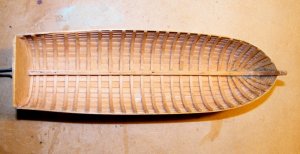
another inside view,
interested,

First of all i carve a wooden plug to the inside dimensions of the boats frames, with a channel cut out through the
middle and up the stem that will take the keelson and apron, I also nail a metal band around the plug just above
where the frame tops will be cut off, the band has to be the thickness of the frames away from the plug, the frame
ends tuck into this band to secure them.
This photo shows the plug with the apron running down the bow and going along the keel as a keelson to meet up
with the transom.and then the ribs going over the plugand then down inside the metal band, finally there is a small
strip of timber going along the tops of the frames to hold them in place, you can see the cut off line marked around
the timbers just below the metal band, any questions just ask,

another view, this is a 1/48 scale 32 foot launch from the drawings by Underhill,

view from the stern,

The shell of the launch after planking,

One in frame and one in shell,

inside view,

another inside view,
Last edited:


