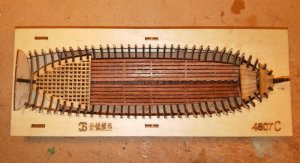
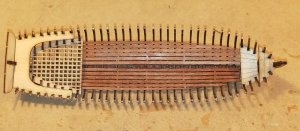
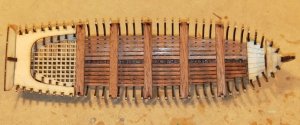
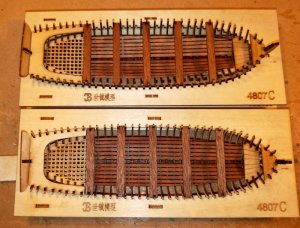
Great result john,
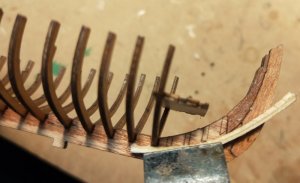
Guess the caulking is the laser edge of the planks?
Looks brilliant.
Guess the caulking is the laser edge of the planks?
Looks brilliant.
 |
As a way to introduce our brass coins to the community, we will raffle off a free coin during the month of August. Follow link ABOVE for instructions for entering. |
 |
 |
The beloved Ships in Scale Magazine is back and charting a new course for 2026! Discover new skills, new techniques, and new inspirations in every issue. NOTE THAT OUR FIRST ISSUE WILL BE JAN/FEB 2026 |
 |
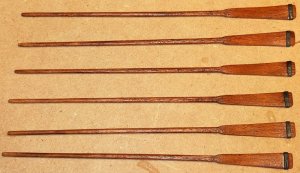
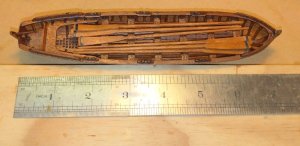
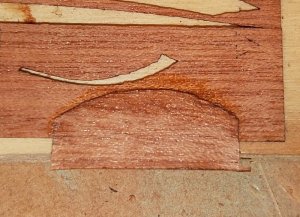
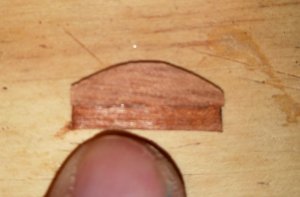
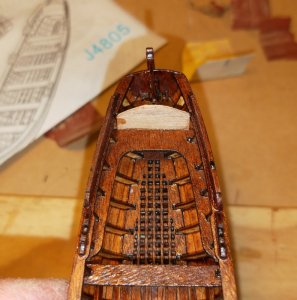
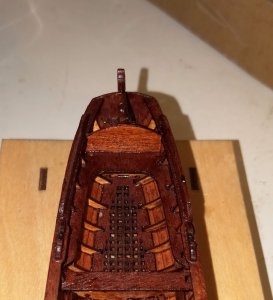
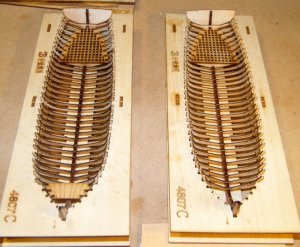

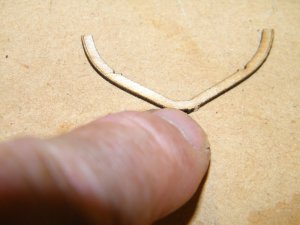
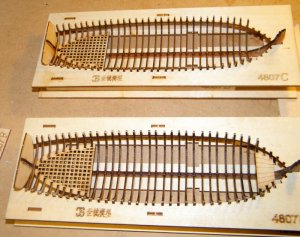
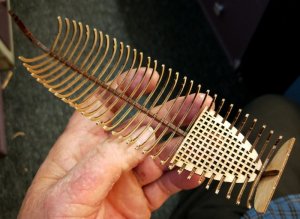
Looking like a very detailed small kit - is it possible to sand down the laser char before installation of the frames, or do you plan to sand them after you have a complete and rigid boats structure?
Hi John,
Isn't that a dog yard inspector.
Greeting John! Very well executed! I have built exactly those two boats, it was fun to assemble. Please keep up a great job. Did I miss earlier in the post, what glue did you use for the frame setup?
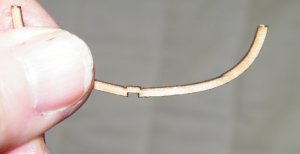
outstanding work on these little Boats, they aren't for the faint at heart for sure the pieces are delicate and often break making the whole job a nail biter
Greetings John, it tried a few times, and different technics, but no avail. I broke a few. You would guess that jig would hold those frames tight, then try a second guess. As you mentioned, those frames made out of very thin and fragile plywood.did you sand the char off your frames or just leave them as they are,
Greetings John, it tried a few times, and different technics, but no avail. I broke a few. You would guess that jig would hold those frames tight, then try a second guess. As you mentioned, those frames made out of very thin and fragile plywood.
G'day John
View attachment 61983
He's a big boy mate, he doesn't look like to be scared of thunderstorms.
Havagooday mate
Greg
That's to funny. my dogs also hate storms, they will go after a much larger dog though. I have 2 chihuahuas tiny dogs with little dog syndrome lolYes Greg, he doesn't like thunder storms, but he will chase a motor bike, trouble is I don't know what to do with them when he brings them back,
.
That's to funny. my dogs also hate storms, they will go after a much larger dog though. I have 2 chihuahuas tiny dogs with little dog syndrome lol
