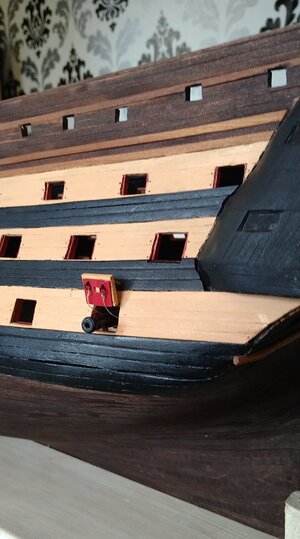
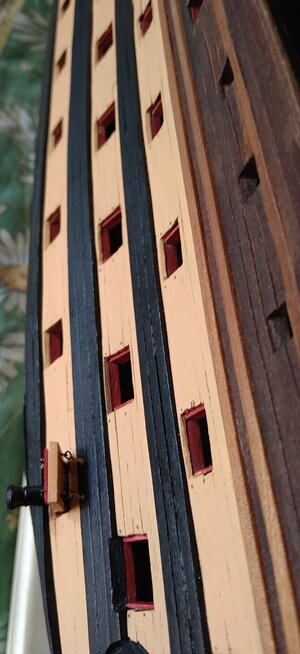
118 Gun French three-decker - Le Commerce de Marseille / L'Ocean - scale 1:72

Updated on port lids

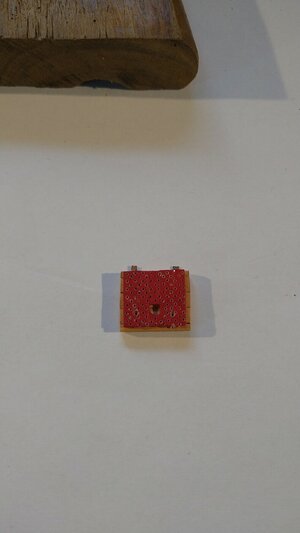
It's firts version and only dry fitting for now.
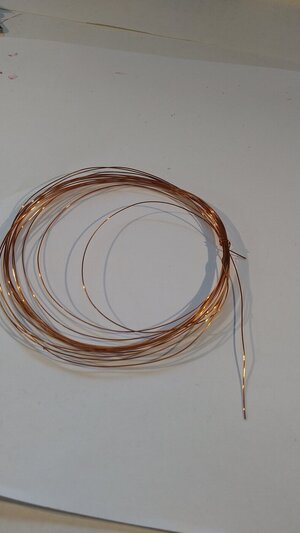
Eyelets are from 0,4mm brass wire and strips on outside of port lid are from 0,3mm copper sheet. In hull are 0,5mm brass pipes for ropes

Main theme is simplification, but I still want to make some easier details. That's why there won't be nails on the inside part but there're eyelets.

Question for you should I keep ropes on inside eyelets, because I see a lot of models without them, or maybe keep them only for looks?

DSC_0566.JPG
DSC_0567.JPG
 
Update on port lids

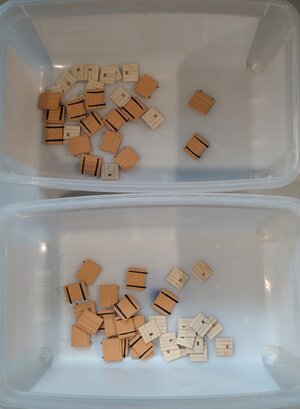
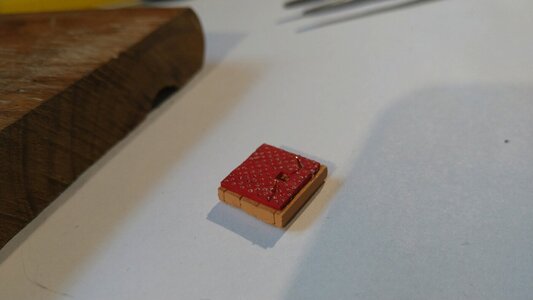
Almost all of first part of port lids are ready to glue and paint. There's a matter how to finish them
DSC_0570.JPG

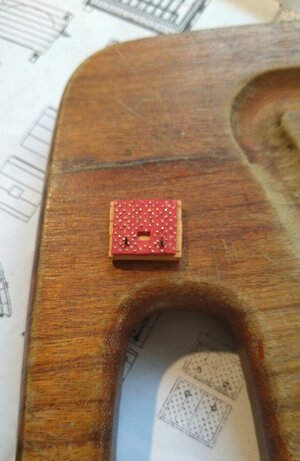
I did one attempt how it would look and how much dose it take to make one. The difference is too significant to ignore it. I was thinking how to do it so as not to get stuck doing only this thing and I came to the conclusion that I'd rather do 1 piece, even per week at a time, than go with simplification. In addition, they will be mounted at the very end so that they don't get damaged, so there is a lot of time. It remains only to complete the hull with pipes for ropes and I can proceed to the next stage.

DSC_0569.JPG


Next stage:

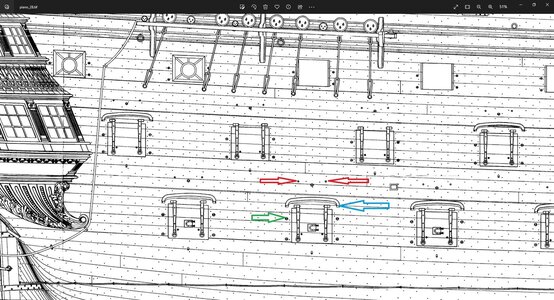
strzlki.jpg


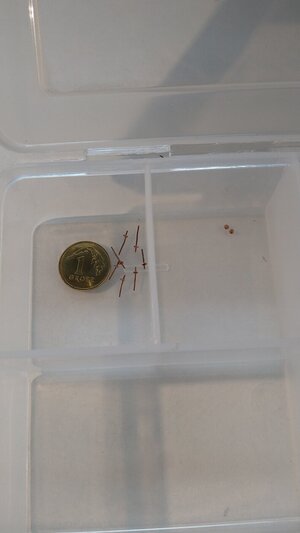
I did some attempts how to make this pins marked in green
DSC_0571.JPG
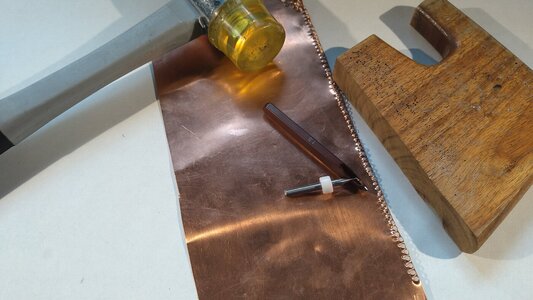
DSC_0573.JPG


There is no great philosophy here, you just have to hit it with a hammer The matter is made easier by the fact that I found a Tamiya puncher with a diameter of 1.5 mm, otherwise it would not be so rosy Sooo you need to hit it with a hammer about 480+ times then drill with a 0.5mm drill bit in a 0.2mm copper plate and here you goROTF
 
Thanks Paul

I have 64 port lids to make if I could do 1 per week that leaves me with 16 weeks. That's not some unimaginable time period. Completion of whole model will take much more. I think you know how much it takes to fully rigg a ship of the line:)
 
Update on port lids

Almost all of first part of port lids are ready to glue and paint. There's a matter how to finish them
View attachment 372952

I did one attempt how it would look and how much dose it take to make one. The difference is too significant to ignore it. I was thinking how to do it so as not to get stuck doing only this thing and I came to the conclusion that I'd rather do 1 piece, even per week at a time, than go with simplification. In addition, they will be mounted at the very end so that they don't get damaged, so there is a lot of time. It remains only to complete the hull with pipes for ropes and I can proceed to the next stage.

View attachment 372951


Next stage:

View attachment 372955


I did some attempts how to make this pins marked in green
View attachment 372953
View attachment 372954


There is no great philosophy here, you just have to hit it with a hammer The matter is made easier by the fact that I found a Tamiya puncher with a diameter of 1.5 mm, otherwise it would not be so rosy Sooo you need to hit it with a hammer about 480+ times then drill with a 0.5mm drill bit in a 0.2mm copper plate and here you goROTF
I salute your persistence and patience!
I would be happy to learn from you how you produce the effect of the nails that are mounted on the inside (painted red) of the cannon port cover. Thank you
 
Thanks Paul

I have 64 port lids to make if I could do 1 per week that leaves me with 16 weeks. That's not some unimaginable time period. Completion of whole model will take much more. I think you know how much it takes to fully rigg a ship of the line:)
Time consuming but rewarding decision. Go for the details to the level you are able to make them.
 
Thank you all for coments and good word.

Yes, patience is reqired but it's more like skill that you can develop. When I started building this ship a lot of thing seemed to last. With every new part or piece done this feeleing was going away and things seem to be much easier and not so tiring.
 
Witaj
Cierpliwość popłaca bądź wytrwały. Pozdrawiam i czymam za ciebie kciuki Mirek
Cześć Mirek

Kiedy uświadomiłem sobie, że te kalpy jest bardzo łatwo uszkodzić i powinienem je zamontować po olinowaniu cała presja, że muszę je teraz zrobić przeszła. Jak poświęcę godzinkę czy dwie na tydzień to nic się nie stanie, a właśnie koło godziny trwa gwoździowanie wstępnie przygotowanej klapy. Pewnie dało by się szybciej, ale takim spokojnym tempem tyle wychodzi
 
I salute your persistence and patience!
I would be happy to learn from you how you produce the effect of the nails that are mounted on the inside (painted red) of the cannon port cover. Thank you
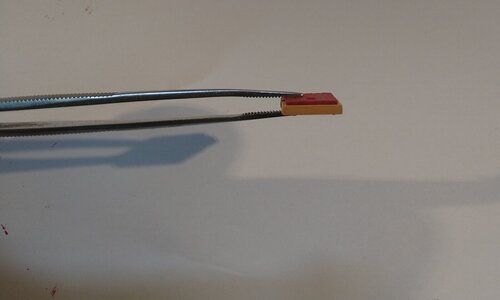
No problem

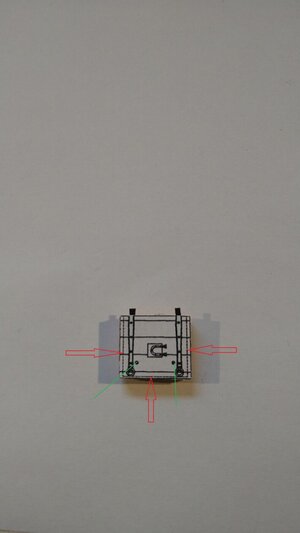
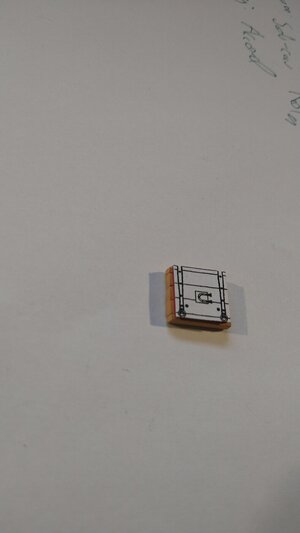
When both parts are already glued. I cut patterns to check dimensions.
Parts pointed with red arrows are cut and put on reverse(red) side
Green ones are for eyelets
DSC_0574.JPG
DSC_0575.jpg


On reverse I mark points for eyelets and drill them a little deeper, so there's a mark
DSC_0577.JPG


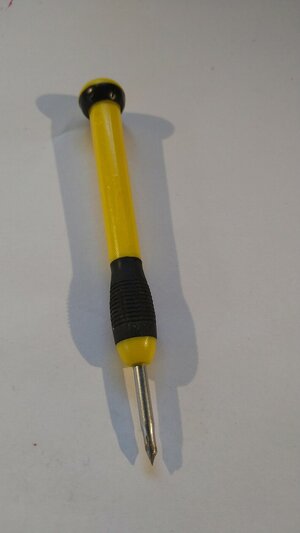
This used to be a screwdriver now after scharpening makes for pointer
DSC_0585.JPG

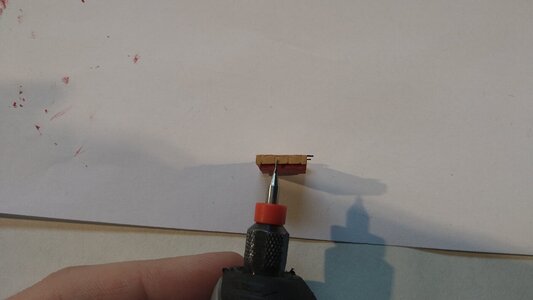
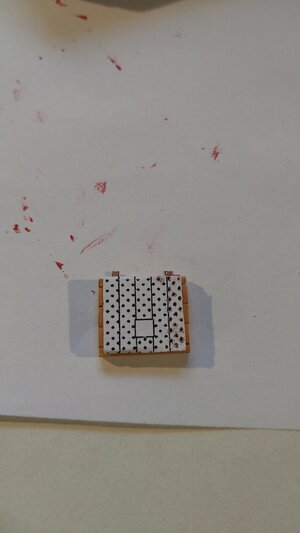
Next I put patern with nails and drill them with 0,5mm shortened drill bit.

DSC_0578.JPG
DSC_0579.JPG


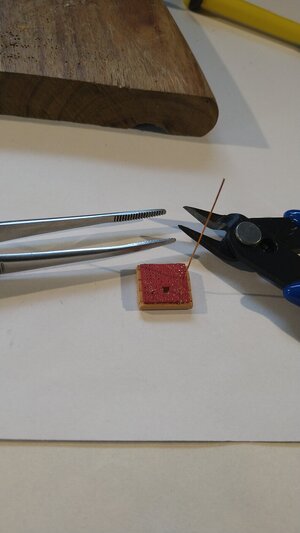
Next I is just placing and cutting copper wire 0,4mm.
For the eyelets I place them first and leave a little longer

DSC_0580.JPG
DSC_0581.JPG
DSC_0583.JPG

DSC_0584.JPG

DSC_0586.JPG
 
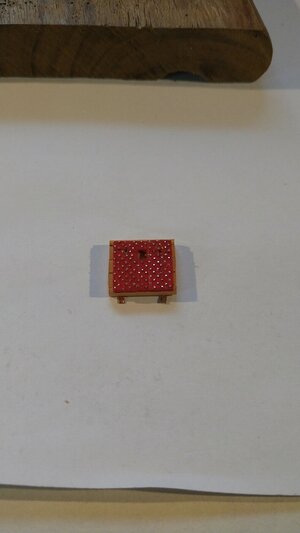
Here are the effects of few hours of work over the past week. The work is quite easy but time consuming.
It's a small portion, but you can already see the difference. In "+" or in "-"? I don't know. Now I must finish it no matter the result.

DSC_0590.JPG
 
Here are the effects of few hours of work over the past week. The work is quite easy but time consuming.
It's a small portion, but you can already see the difference. In "+" or in "-"? I don't know. Now I must finish it no matter the result.

View attachment 374196
Good morning. Wow- that is a load of nailing. It looks awesome though. Cheers Grant
 
Back
Top