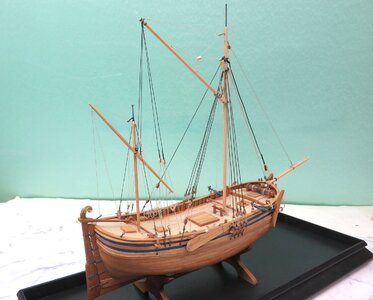
Part 7 Masting and Rigging
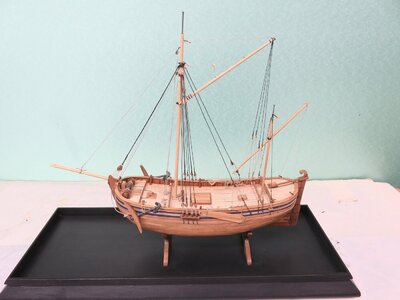
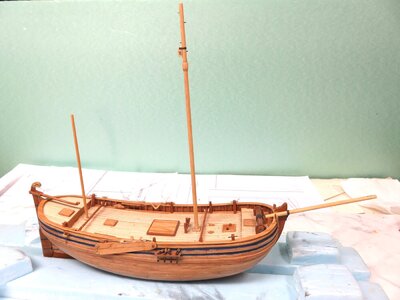
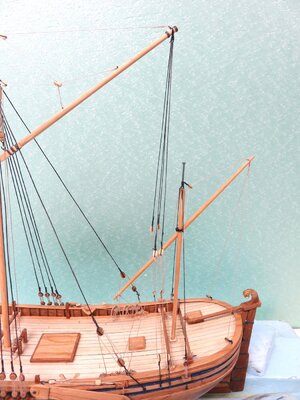
Masting on this model was simple consisting of a main and mizzen lower masts terminating in poles. The poles are rather small in diameter, 1/16” and 3/32”, and would have been relatively weak if made from wood. So rather than turning the ends of the mast dowels to the pole size, holes were drilled in the ends for later insertion of brass rods before starting to the taper the masts. The below photo shows the model with masts in place.
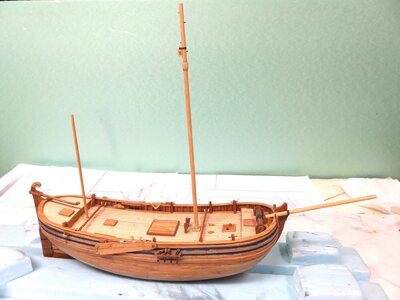
The yards consisted of a gaff on the main mast and a boom on the mizzen.
I prefer not to install sails or any of the rigging that is associated with sail handling on my models. So the rigging plan was simplified to only the standing rigging for the masts and running rigging for the yards. Curiously, the plans showed no rigging to control the mizzen boom. I added a lift, bowlines and vangs as would be typical for a yard of this type. Even if these lines were not needed on the real ship, I needed them to keep the yard in place on the model. Also the plans did not show any belaying points. So I had to ask myself how a Dutch sea captain in 1670 would prefer to have his ship rigged. The answer is that I don't have the foggiest idea. I added a number of cleats to the rails and deck in positions I thought were reasonable to accept the ends of the lines and also installed a pin rail between the masts. These can be seen in the above photo.
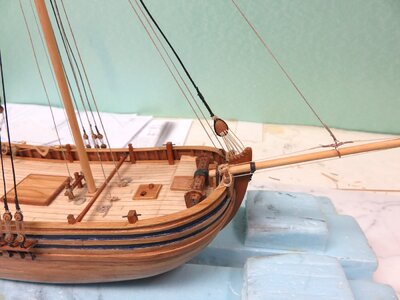
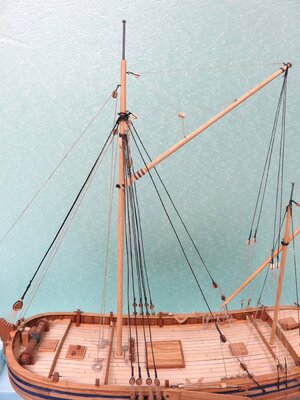
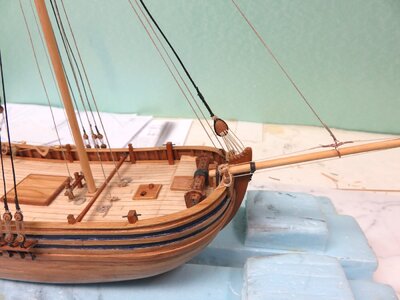
The next three figures show the completed rigging on the main mast, a detail of the traveller, formed from copper wire, on the bowsprit, and a closeup of the main mast rigging with the pole inserted in the mast.
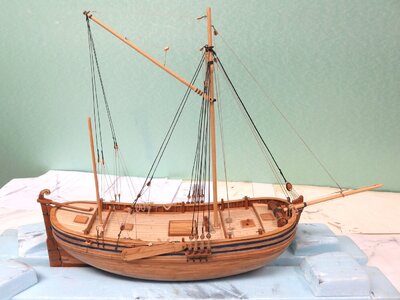
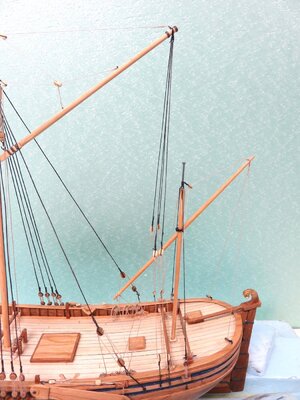
Mizzen mast and boom rigging is illustrated below:
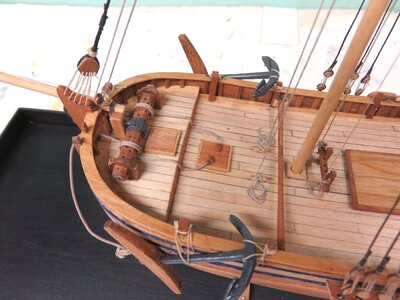
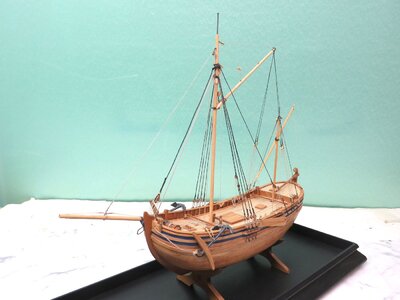
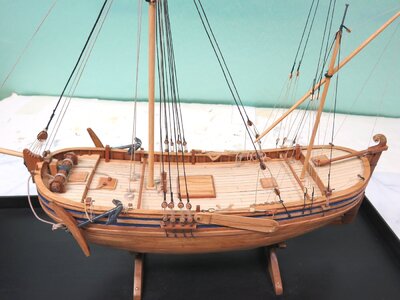
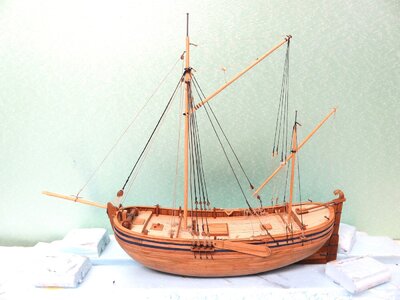
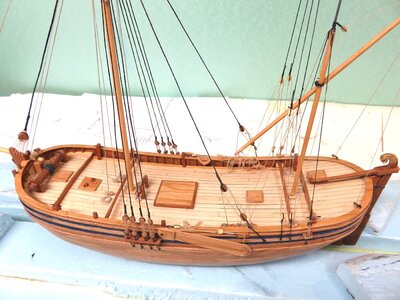
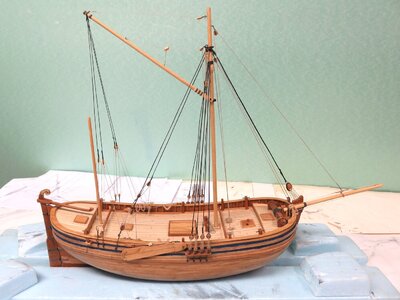
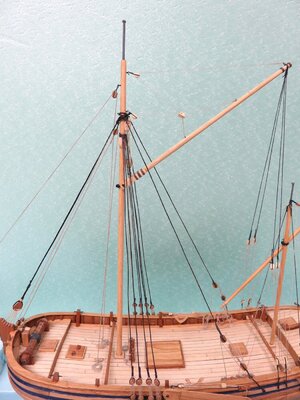
The model with rigging completed and a view of the deck to indicate the belaying scheme are shown in the final two photos. Now the only work left is to build and install the anchors and mount the model on a base.
Masting on this model was simple consisting of a main and mizzen lower masts terminating in poles. The poles are rather small in diameter, 1/16” and 3/32”, and would have been relatively weak if made from wood. So rather than turning the ends of the mast dowels to the pole size, holes were drilled in the ends for later insertion of brass rods before starting to the taper the masts. The below photo shows the model with masts in place.

The yards consisted of a gaff on the main mast and a boom on the mizzen.
I prefer not to install sails or any of the rigging that is associated with sail handling on my models. So the rigging plan was simplified to only the standing rigging for the masts and running rigging for the yards. Curiously, the plans showed no rigging to control the mizzen boom. I added a lift, bowlines and vangs as would be typical for a yard of this type. Even if these lines were not needed on the real ship, I needed them to keep the yard in place on the model. Also the plans did not show any belaying points. So I had to ask myself how a Dutch sea captain in 1670 would prefer to have his ship rigged. The answer is that I don't have the foggiest idea. I added a number of cleats to the rails and deck in positions I thought were reasonable to accept the ends of the lines and also installed a pin rail between the masts. These can be seen in the above photo.
The next three figures show the completed rigging on the main mast, a detail of the traveller, formed from copper wire, on the bowsprit, and a closeup of the main mast rigging with the pole inserted in the mast.


Mizzen mast and boom rigging is illustrated below:

The model with rigging completed and a view of the deck to indicate the belaying scheme are shown in the final two photos. Now the only work left is to build and install the anchors and mount the model on a base.


 dimensions for the model were not shown in the plans so had to be determined from other depictions of galliots. Thickness of the shank was estimated to be 3/32”. I glued 1/32” plywood to 1/16” plywood to get starting material of the right size, pasted on paper patterns for the anchor shape, and cut out anchor blanks minus the palms. I have found plywood to be essential for making a one piece wooden anchors to avoid breakage. The blank was then sanded to the correct shape and dimensions, and palms, cut from 1/32” plywood were attached. The completed anchor was painted with pearl noir paint to give it a metallic iron appearance. The stock was shaped from 3/16” cherry. The anchors and ground tackle installed on the model are shown below: