- Joined
- Oct 1, 2023
- Messages
- 2,001
- Points
- 488

Thanks, I'll get A dowel tomorrow.
BTW, I moved the chain plates up, duh
BTW, I moved the chain plates up, duh
 |
As a way to introduce our brass coins to the community, we will raffle off a free coin during the month of August. Follow link ABOVE for instructions for entering. |
 |
 |
The beloved Ships in Scale Magazine is back and charting a new course for 2026! Discover new skills, new techniques, and new inspirations in every issue. NOTE THAT OUR FIRST ISSUE WILL BE JAN/FEB 2026 |
 |


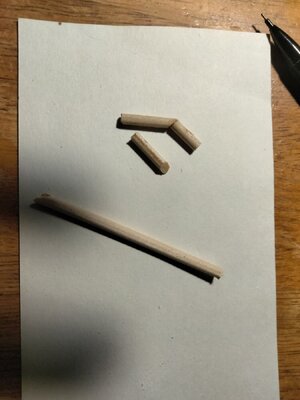
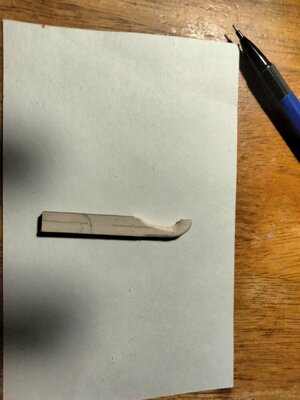
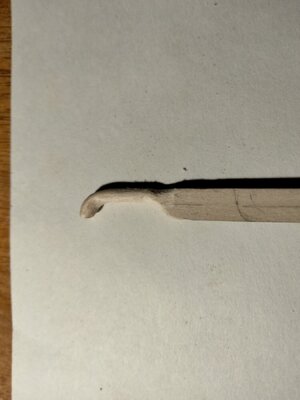
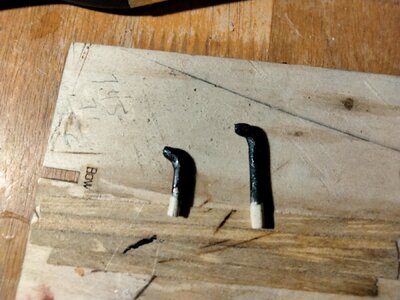
I ground down a piece of wood sprue and made a first attempt at a smokestack. It broke while sanding. Second attempt is just carving from a piece of wood sprue. My total life experience at carving consists of the bow/stern of this model and this smoke stack. I'll give it some more sanding and maybe paint it to see if it is acceptable. See below.I would junk both (or how many there are) smokestacks and use wood dowels. Two thirds of the way up I would use a miter box and cut them at a 30 degree or so bias and then use another piece with the same bias as the top part to produce a bend in the "pipe".



Thank you for reminding me that this is for fun. I am gaining valuable experience and having a blastAlthough you may at times feel like you're "polishing a turd", the positive spin I put on it is simply to look at all the things you've learned in the process of building this kit. Those skills will come in handy in future builds, and also give you insight into how to approach and navigate other challenges you'll face in assembling other kits. FWIW, I think you're doing just fine, and in the end you'll be your own most harsh critic. Others viewing your finished model won't see or even notice a quarter of what you personally perceive as flaws. Keep up the good work! You've inspired me to tackle my Swift as well, and I may create a build log as well. That would be my first on this site, but perhaps I'm long overdue to do just that.
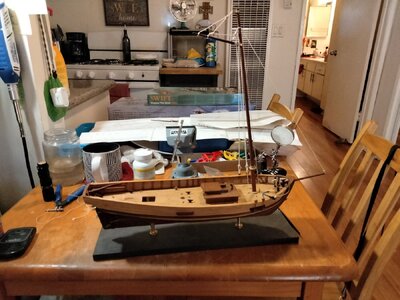


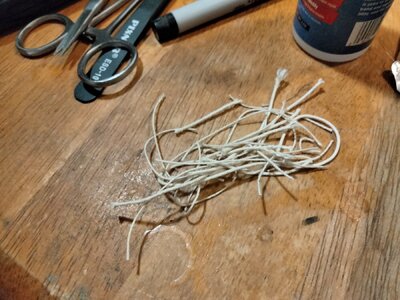
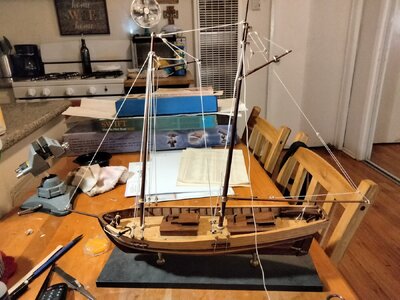 pairs of deadeyes and ran out of stock for the smaller line. The total amount of scrap is surprising small. Photo attached. I got so frustrated that I actually measured the cutoffs and found that I would have been short two sets of deadeyes with no waste. I guess I'll go to Michaels and JoAnns and try to fond something that'll match.

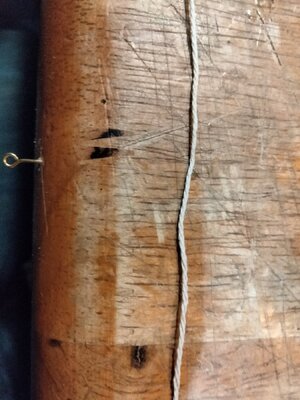 there and made my first rope. $4.00 for 30 yards ouch. It will get this Swift kit finished and I'm pleased.


Been cloudy here for two weeks. SorryMy congratulations already without seeing the final result - hope the weather conditions are changing


I "think" my first version of the Swift included a cannon as well, but I don't remember there being any supplemental instructions on how to install it, or to cut out a cannon port in the bulwarks. Then the second Swift kit I purchased a couple of years later (the one I'm currently building) has no included cannon. Really strange decision AL made with the kit. If they included two cannon, one for each side, I could potentially see some rationale behind it... but to only include one is a bit odd. At least odd as I see it. Then there's the whole "where the heck to I place it" consideration. It's a pretty tight deck layout, especially with the dual cabins. The only possible place I could think of situating them would be on both sides, immediately aft of the entrance to the fore cabin. Either that, on both sides immediately in front of the fore cabin. It would be getting pretty close to the location of the foremast wales. Regardless.... a bit of a moot point as you don't plan to install them, and I'm not going to purchase a couple to install on my kit. Maybe some future builder will incorporate them into their Swift. Great progress with your build... I'm just getting ready to install my rudder at this point, so you're way ahead of me.Also found the instructions for the canons. They are not included in the new version from Model Shipways.
