1930 Bentley Blower by Aifix 1/12 build log [COMPLETED BUILD]

Ok so it's hood update time.

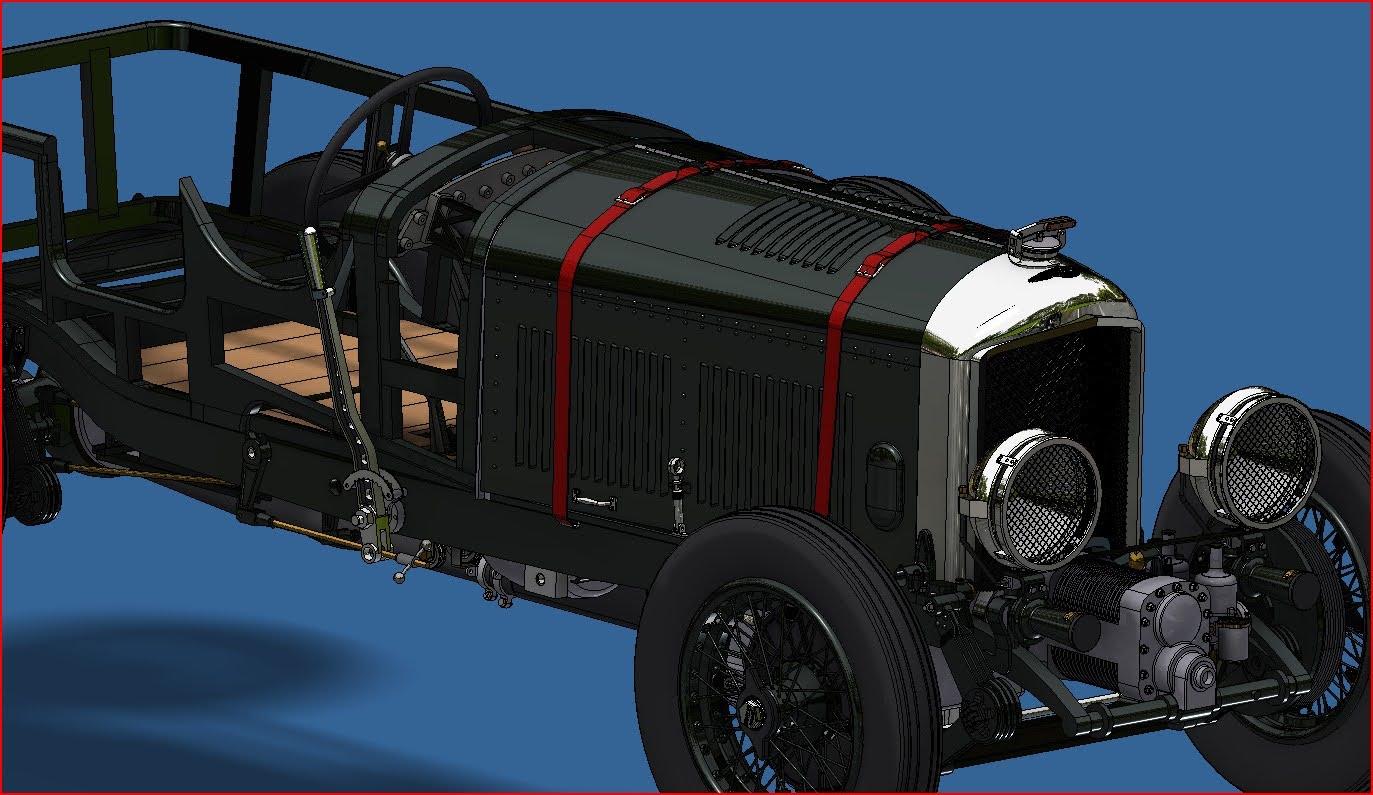
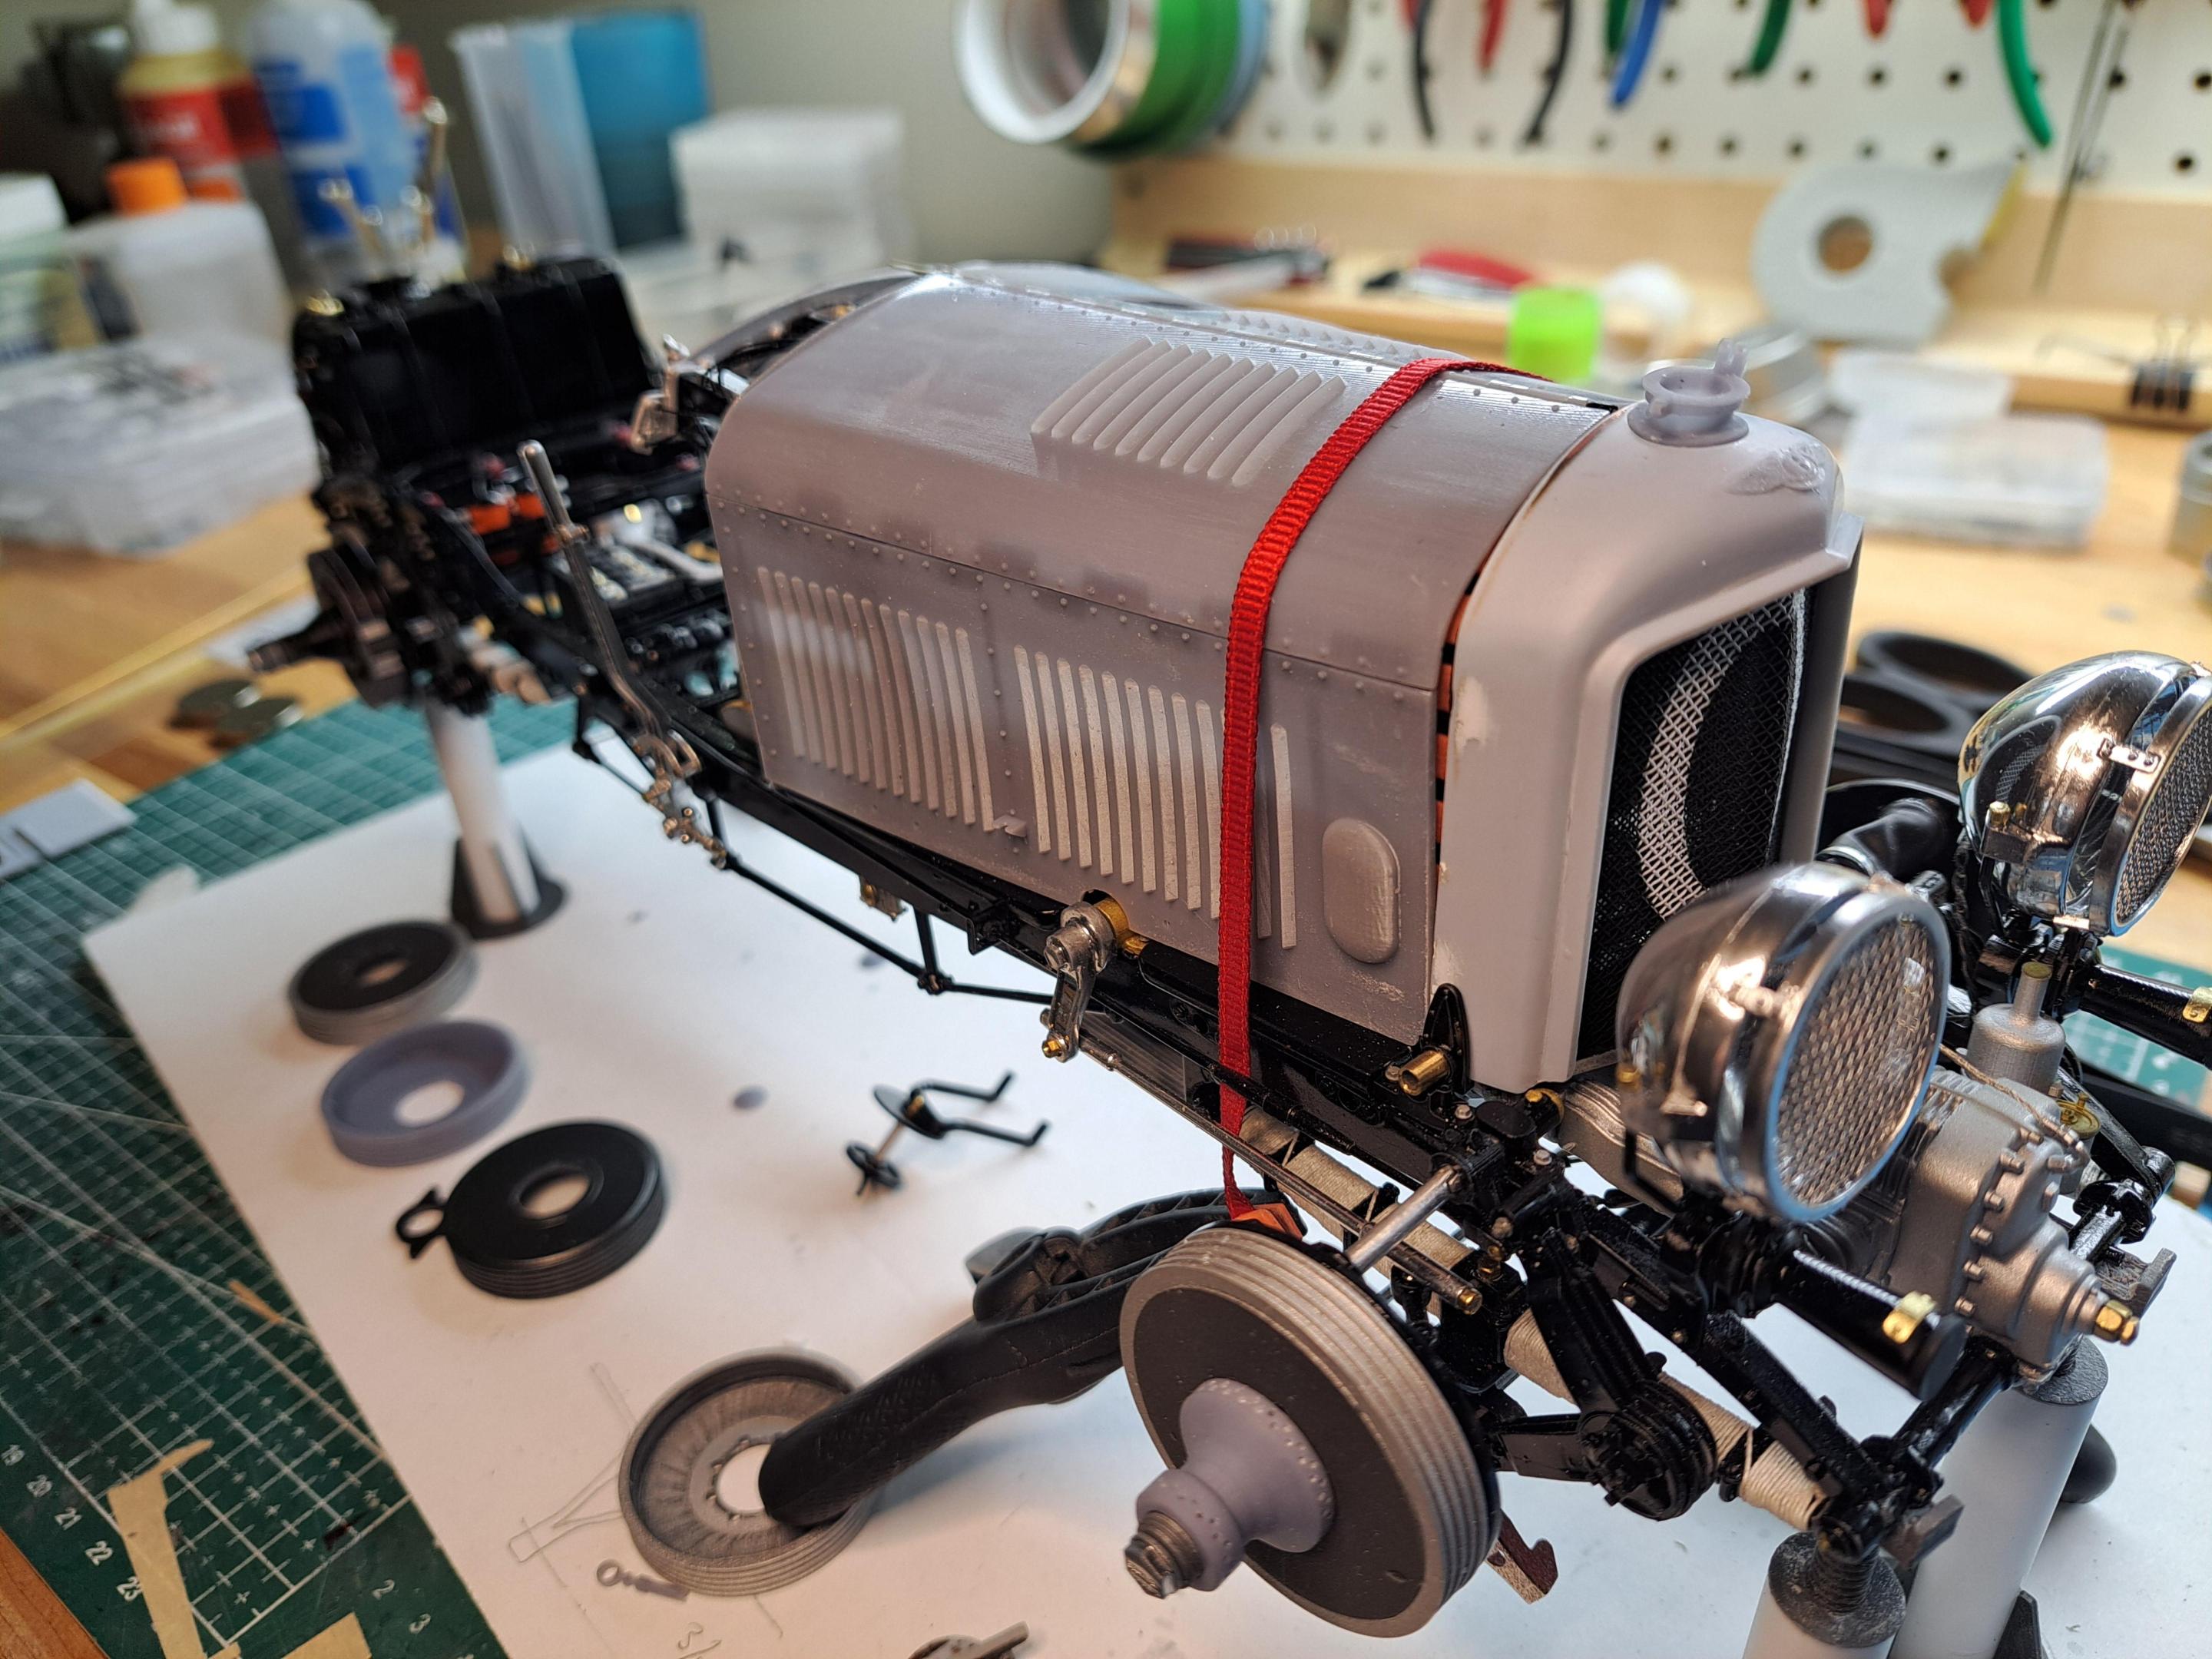
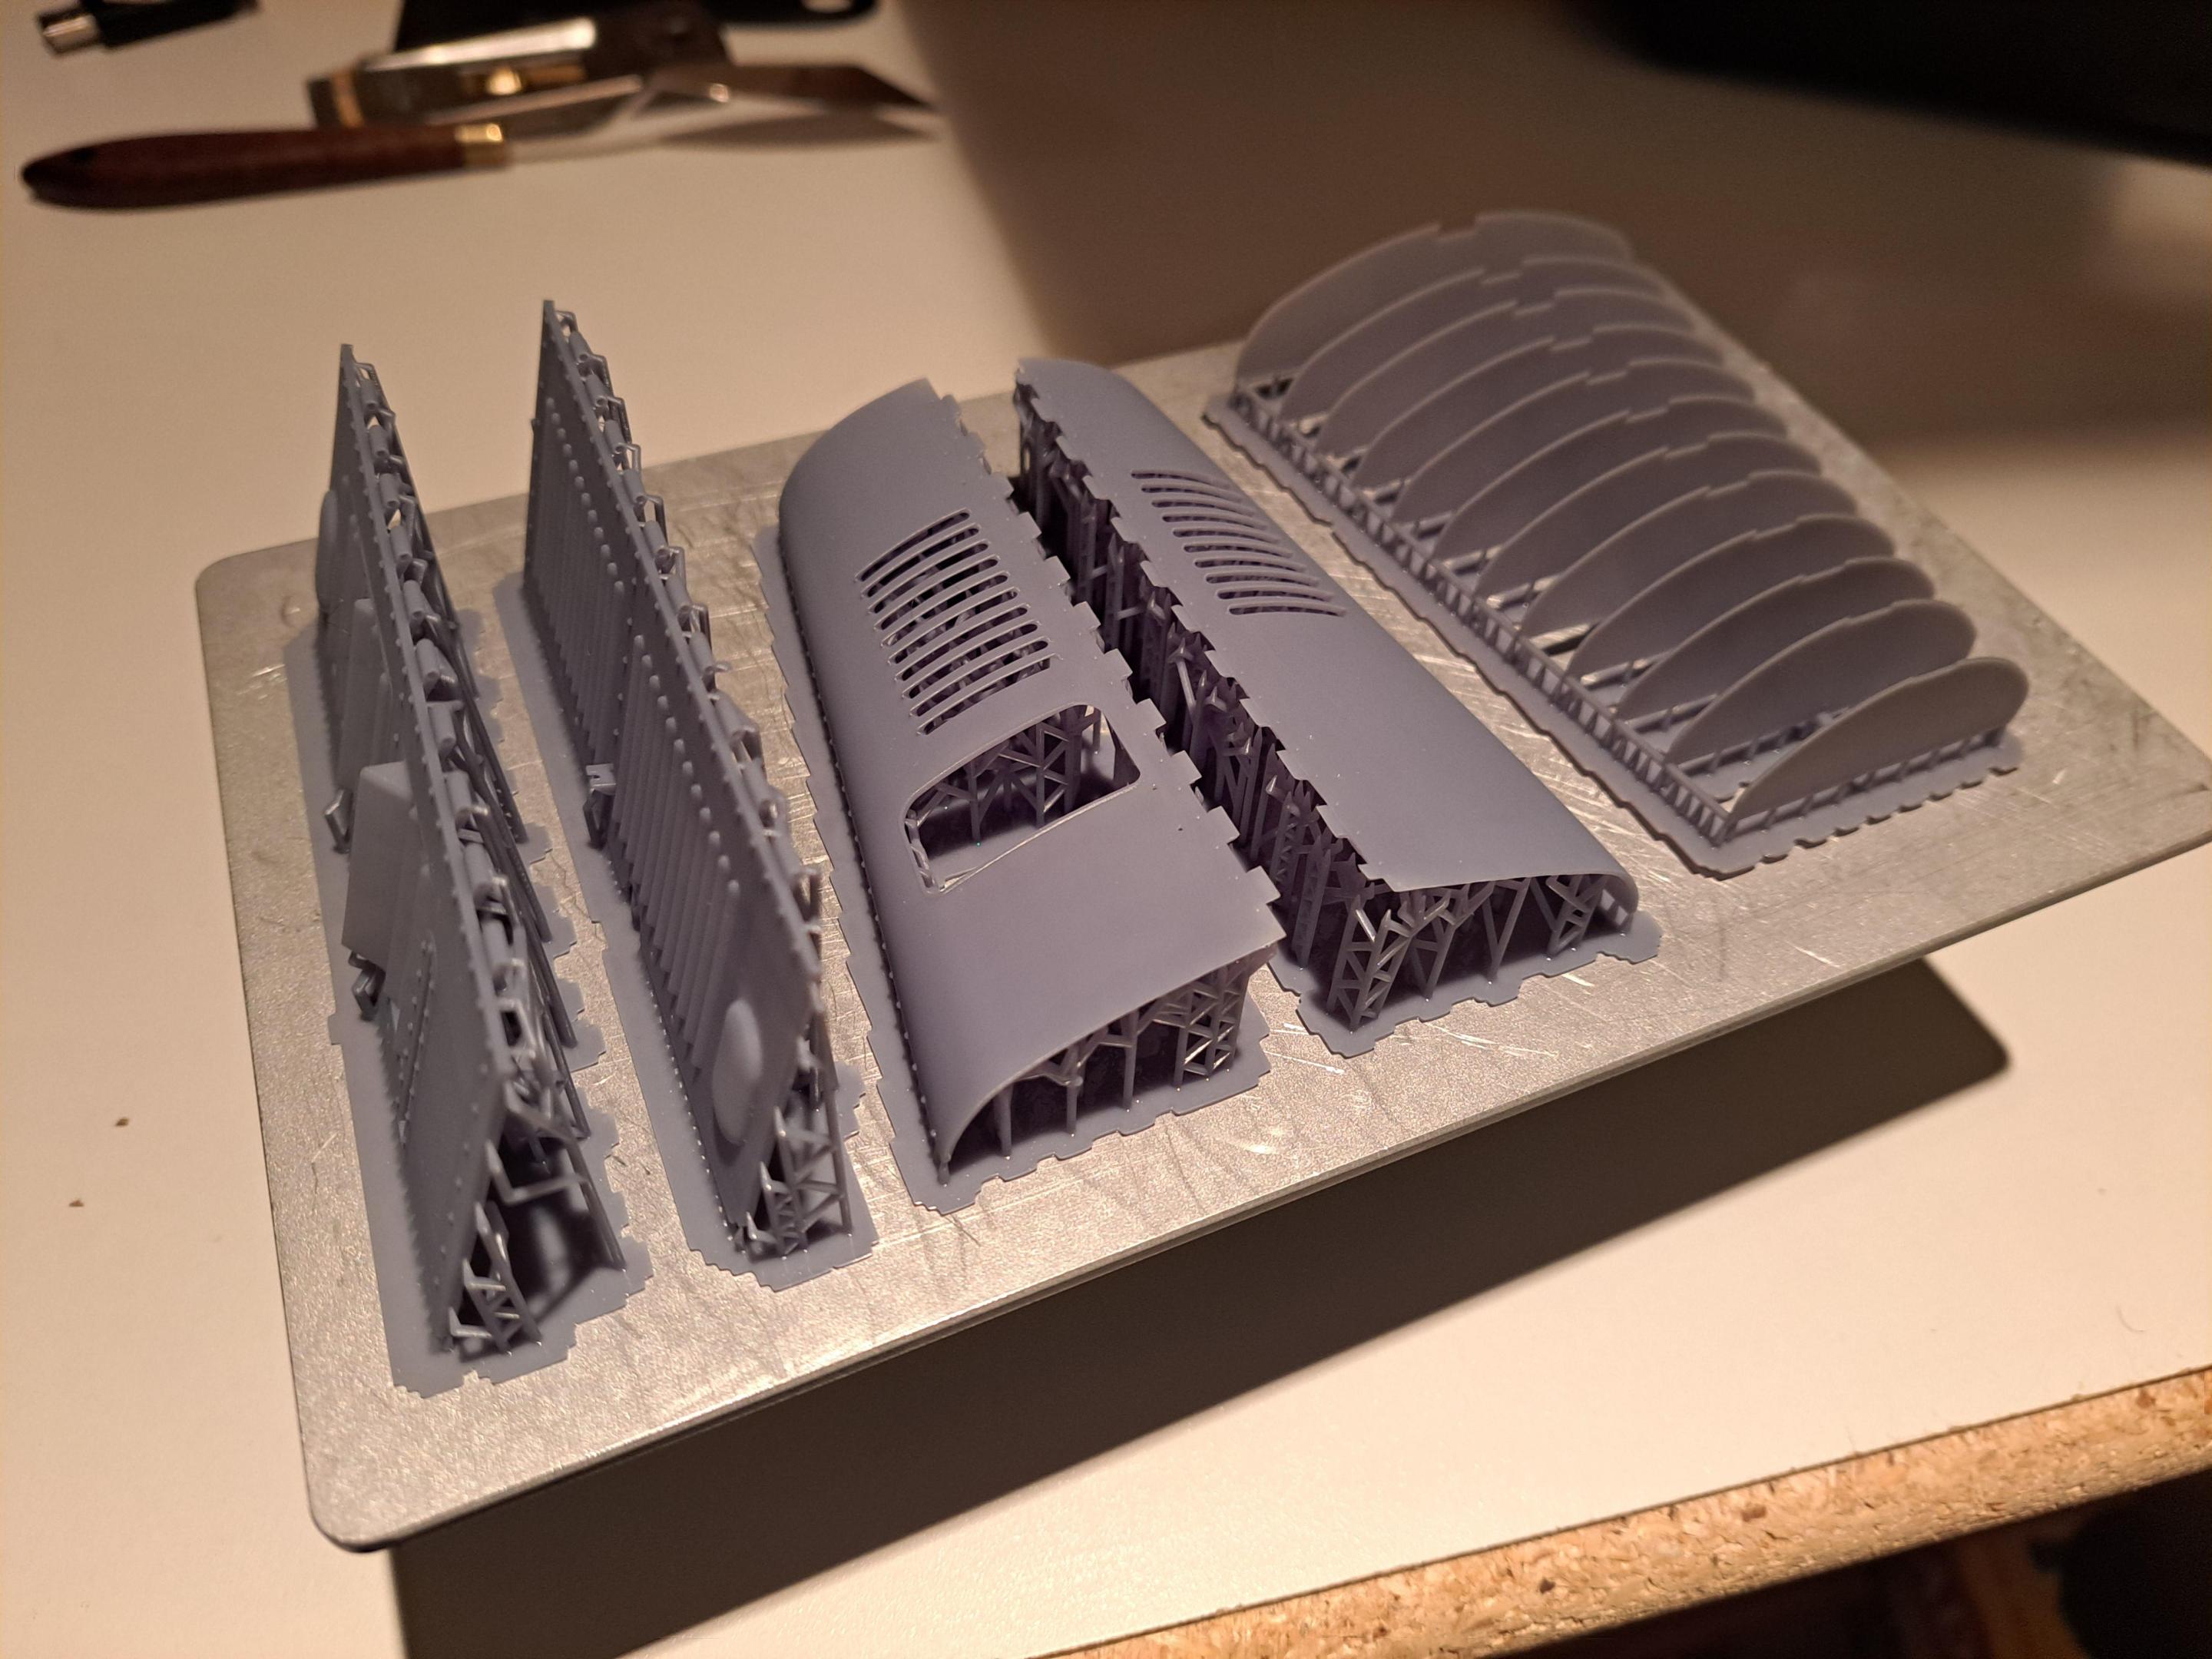
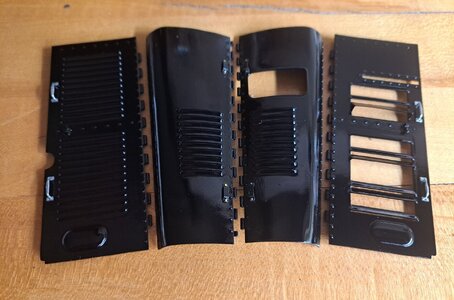
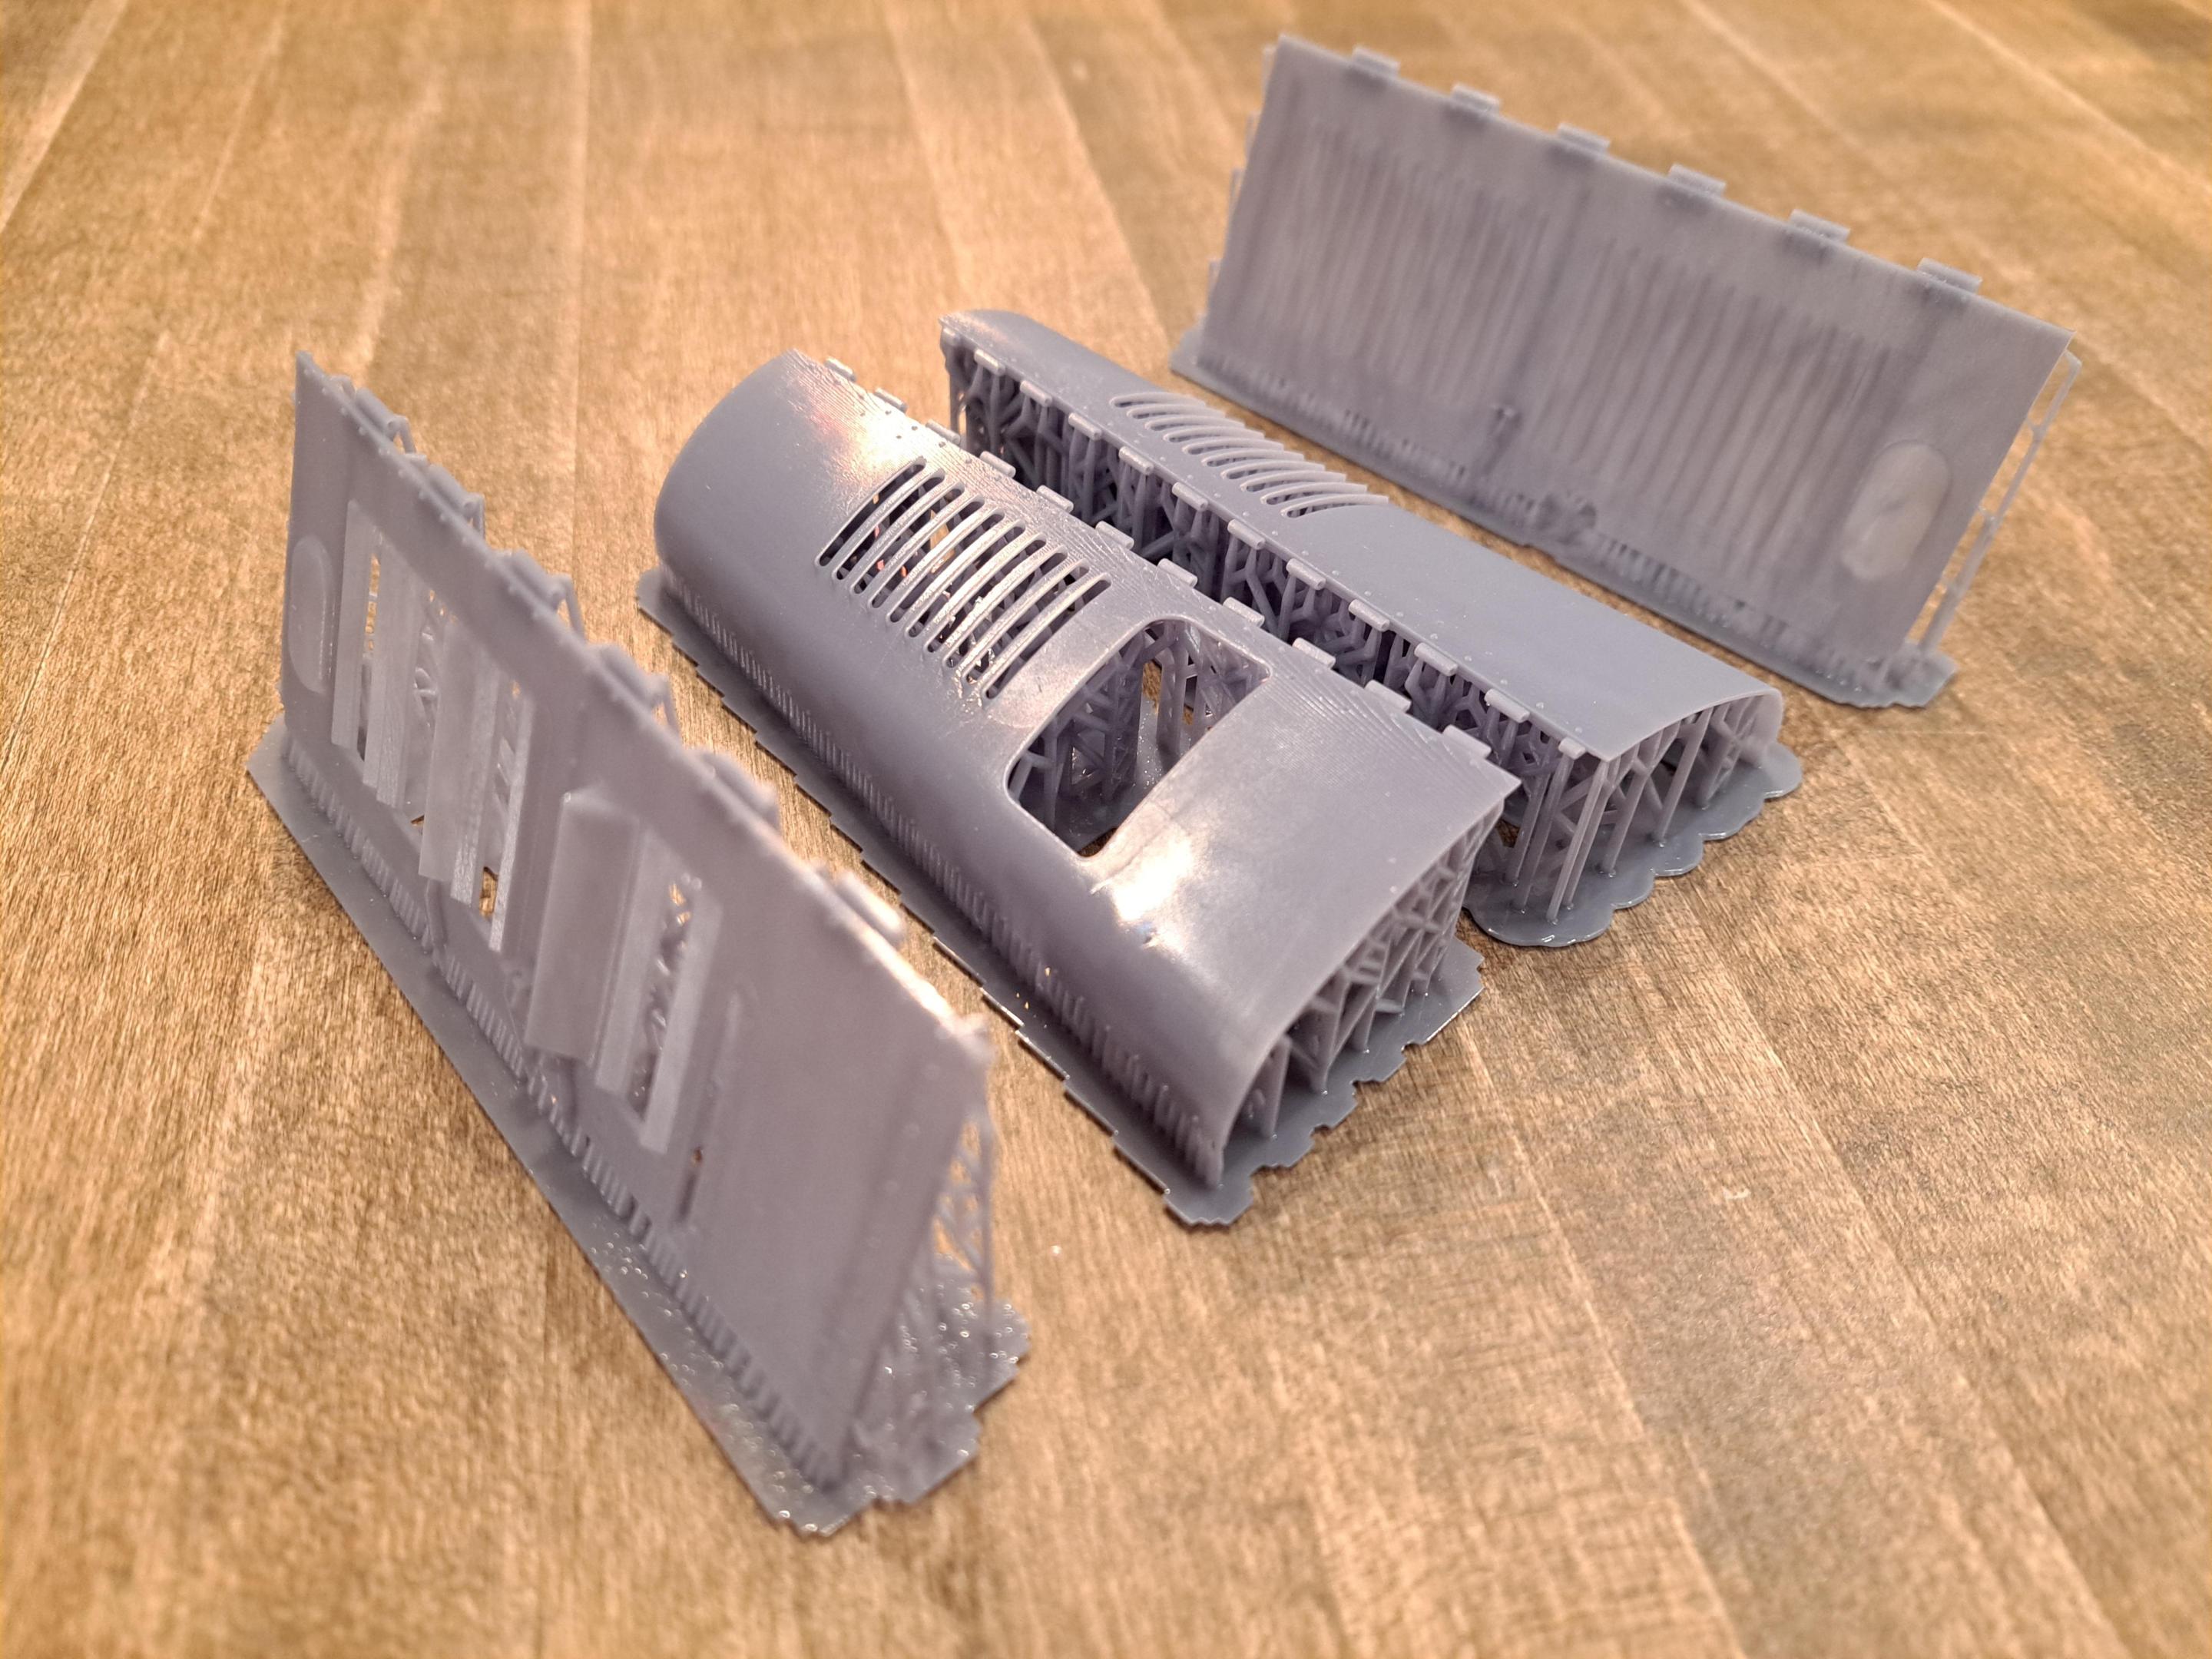
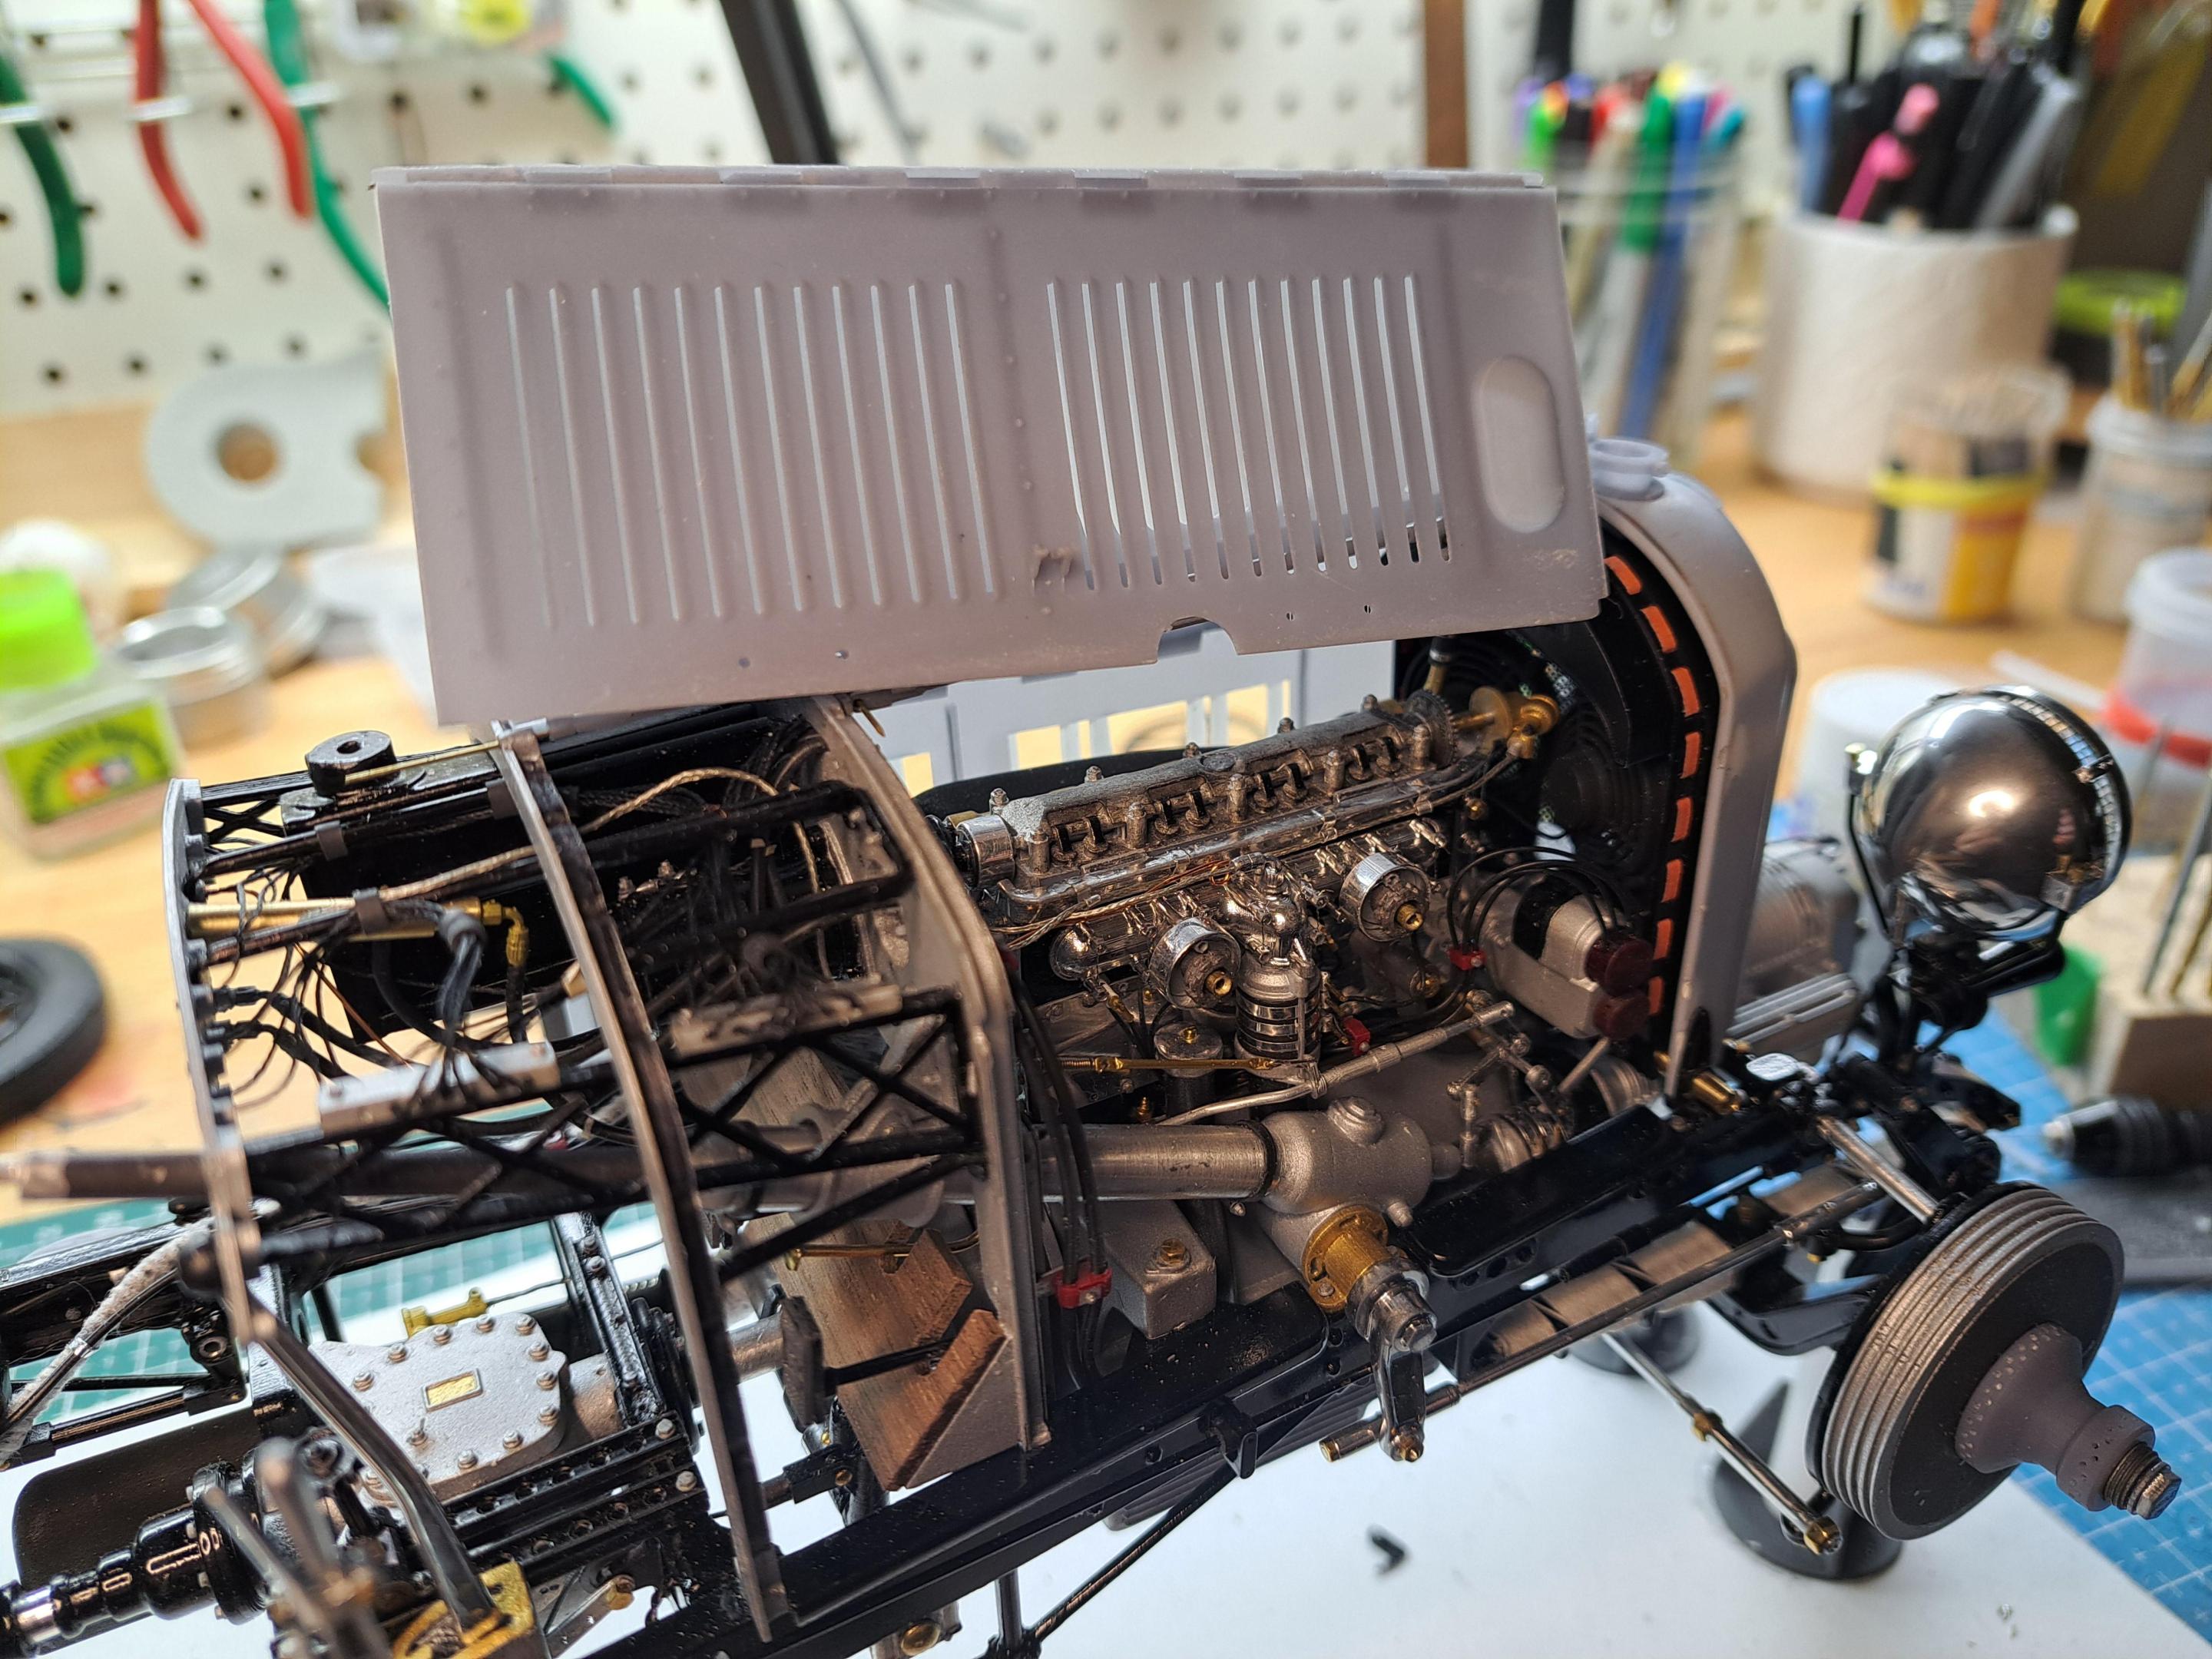
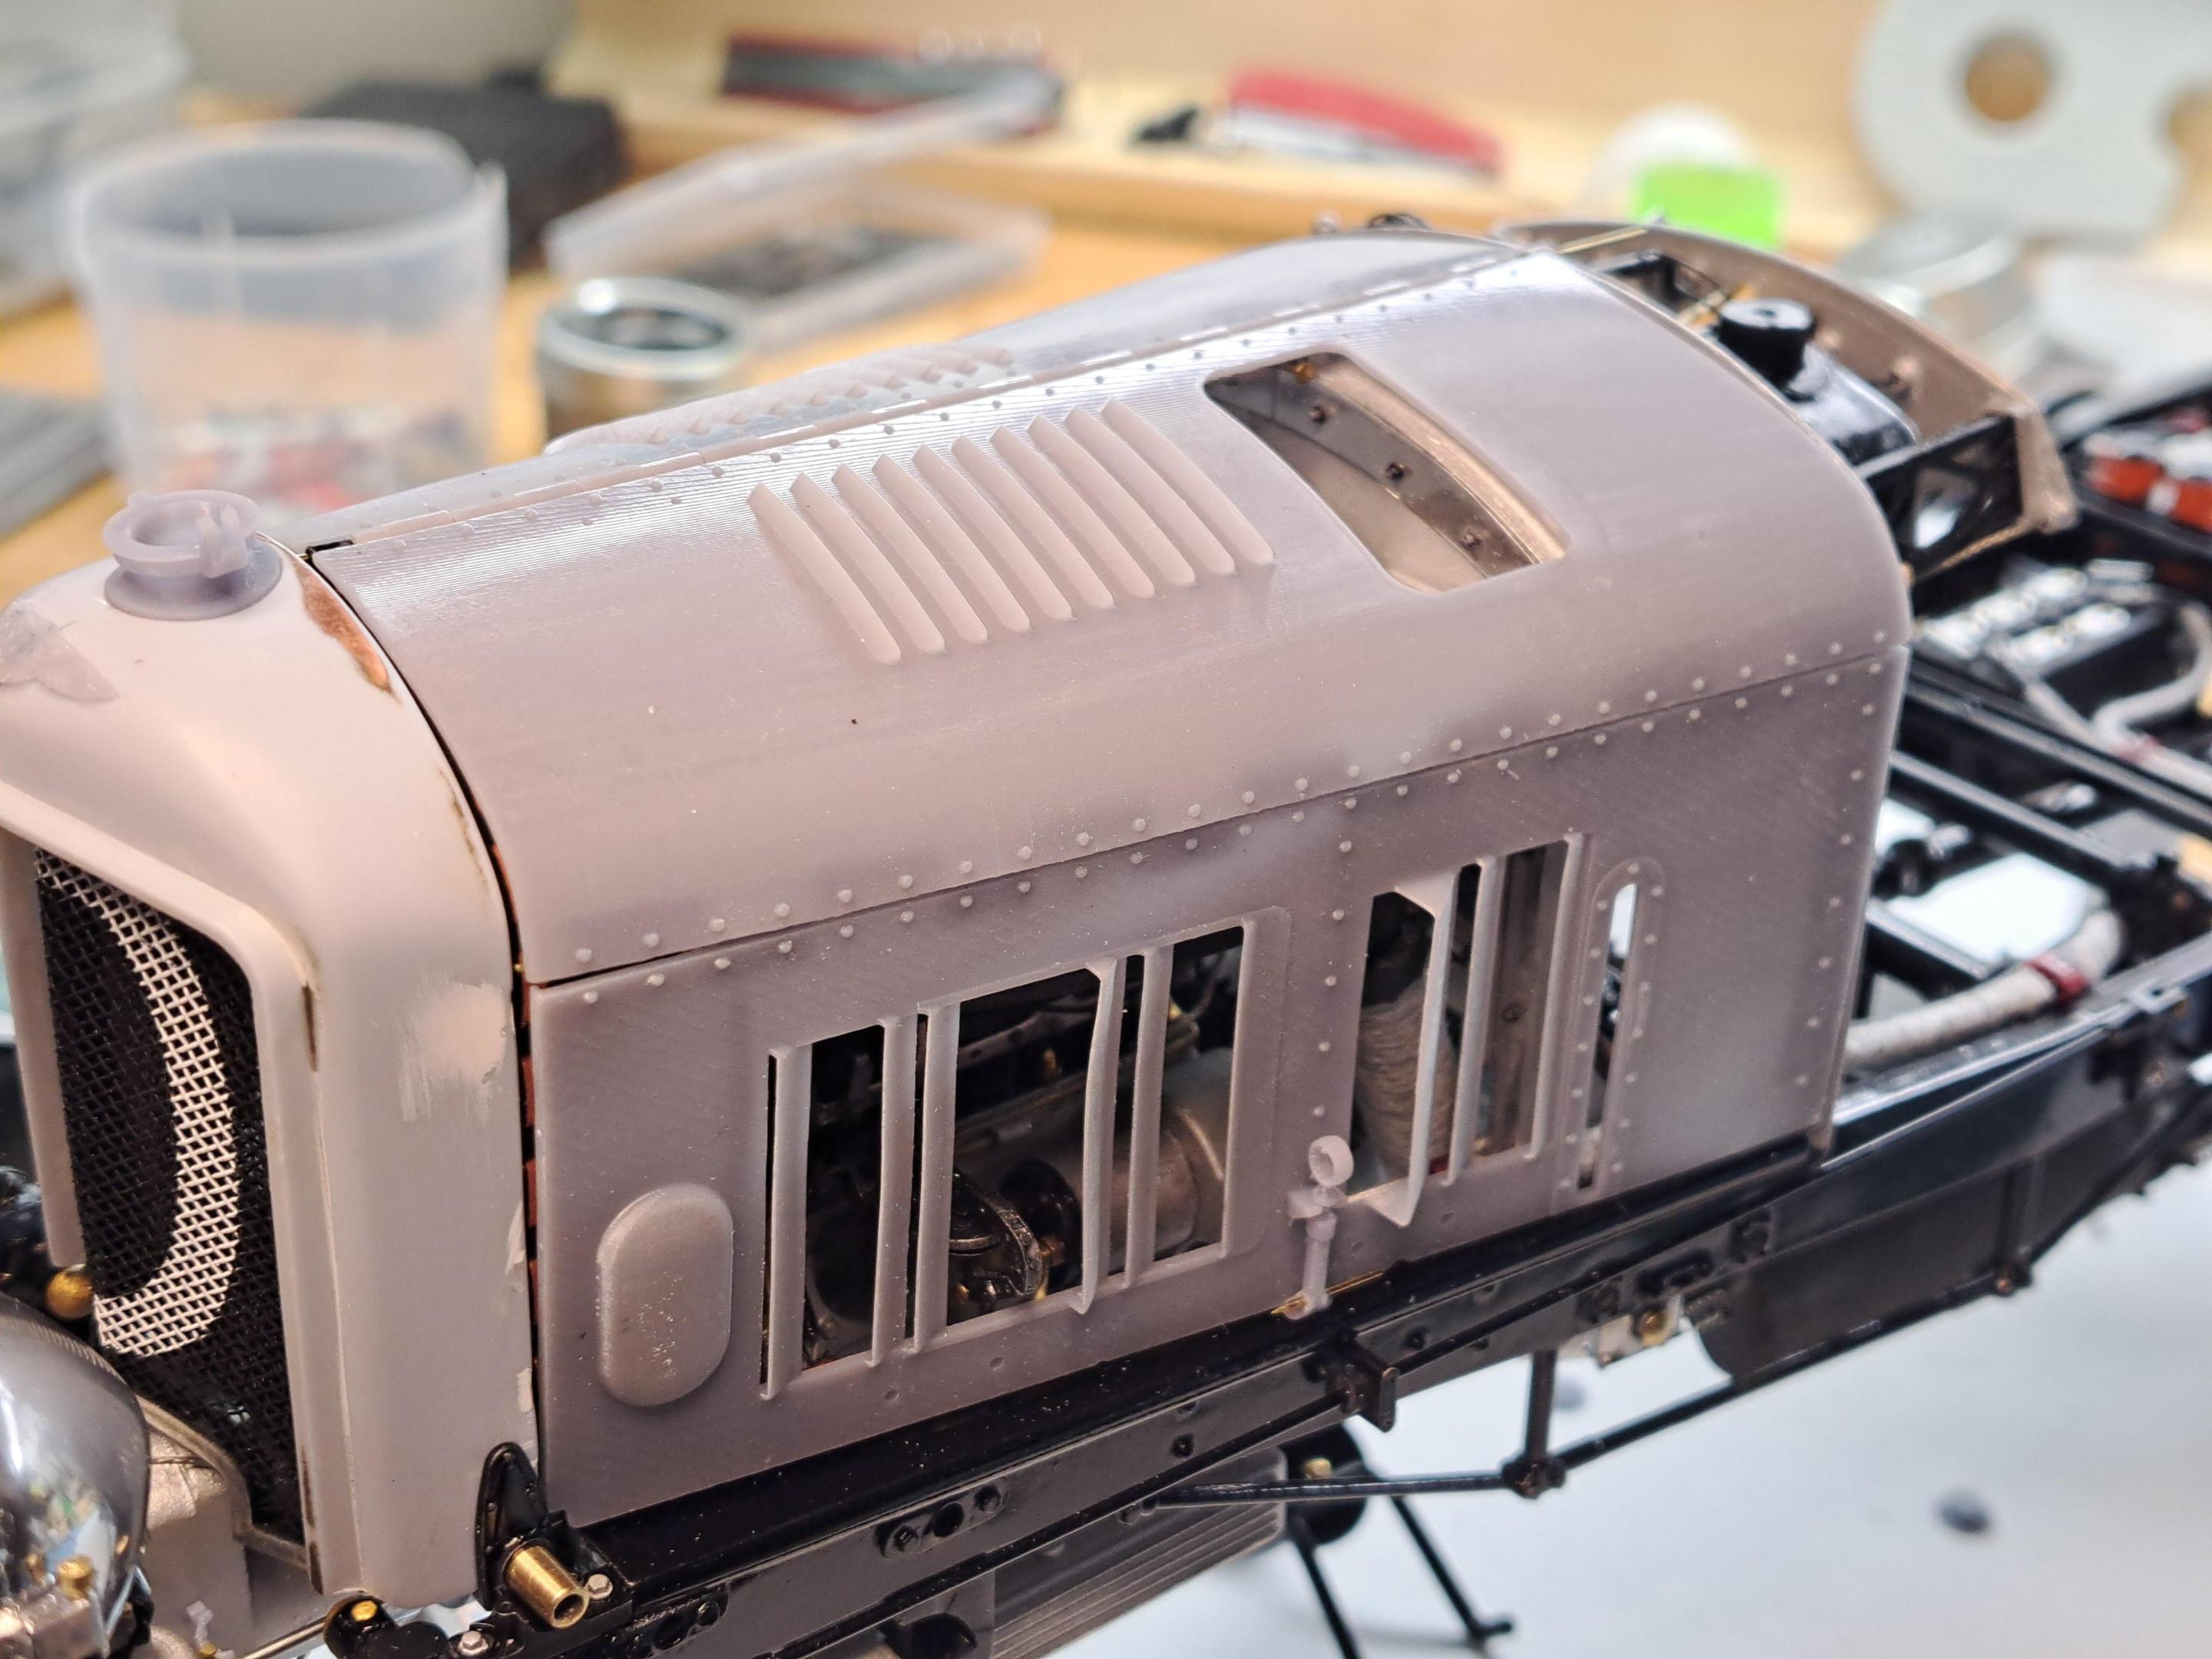
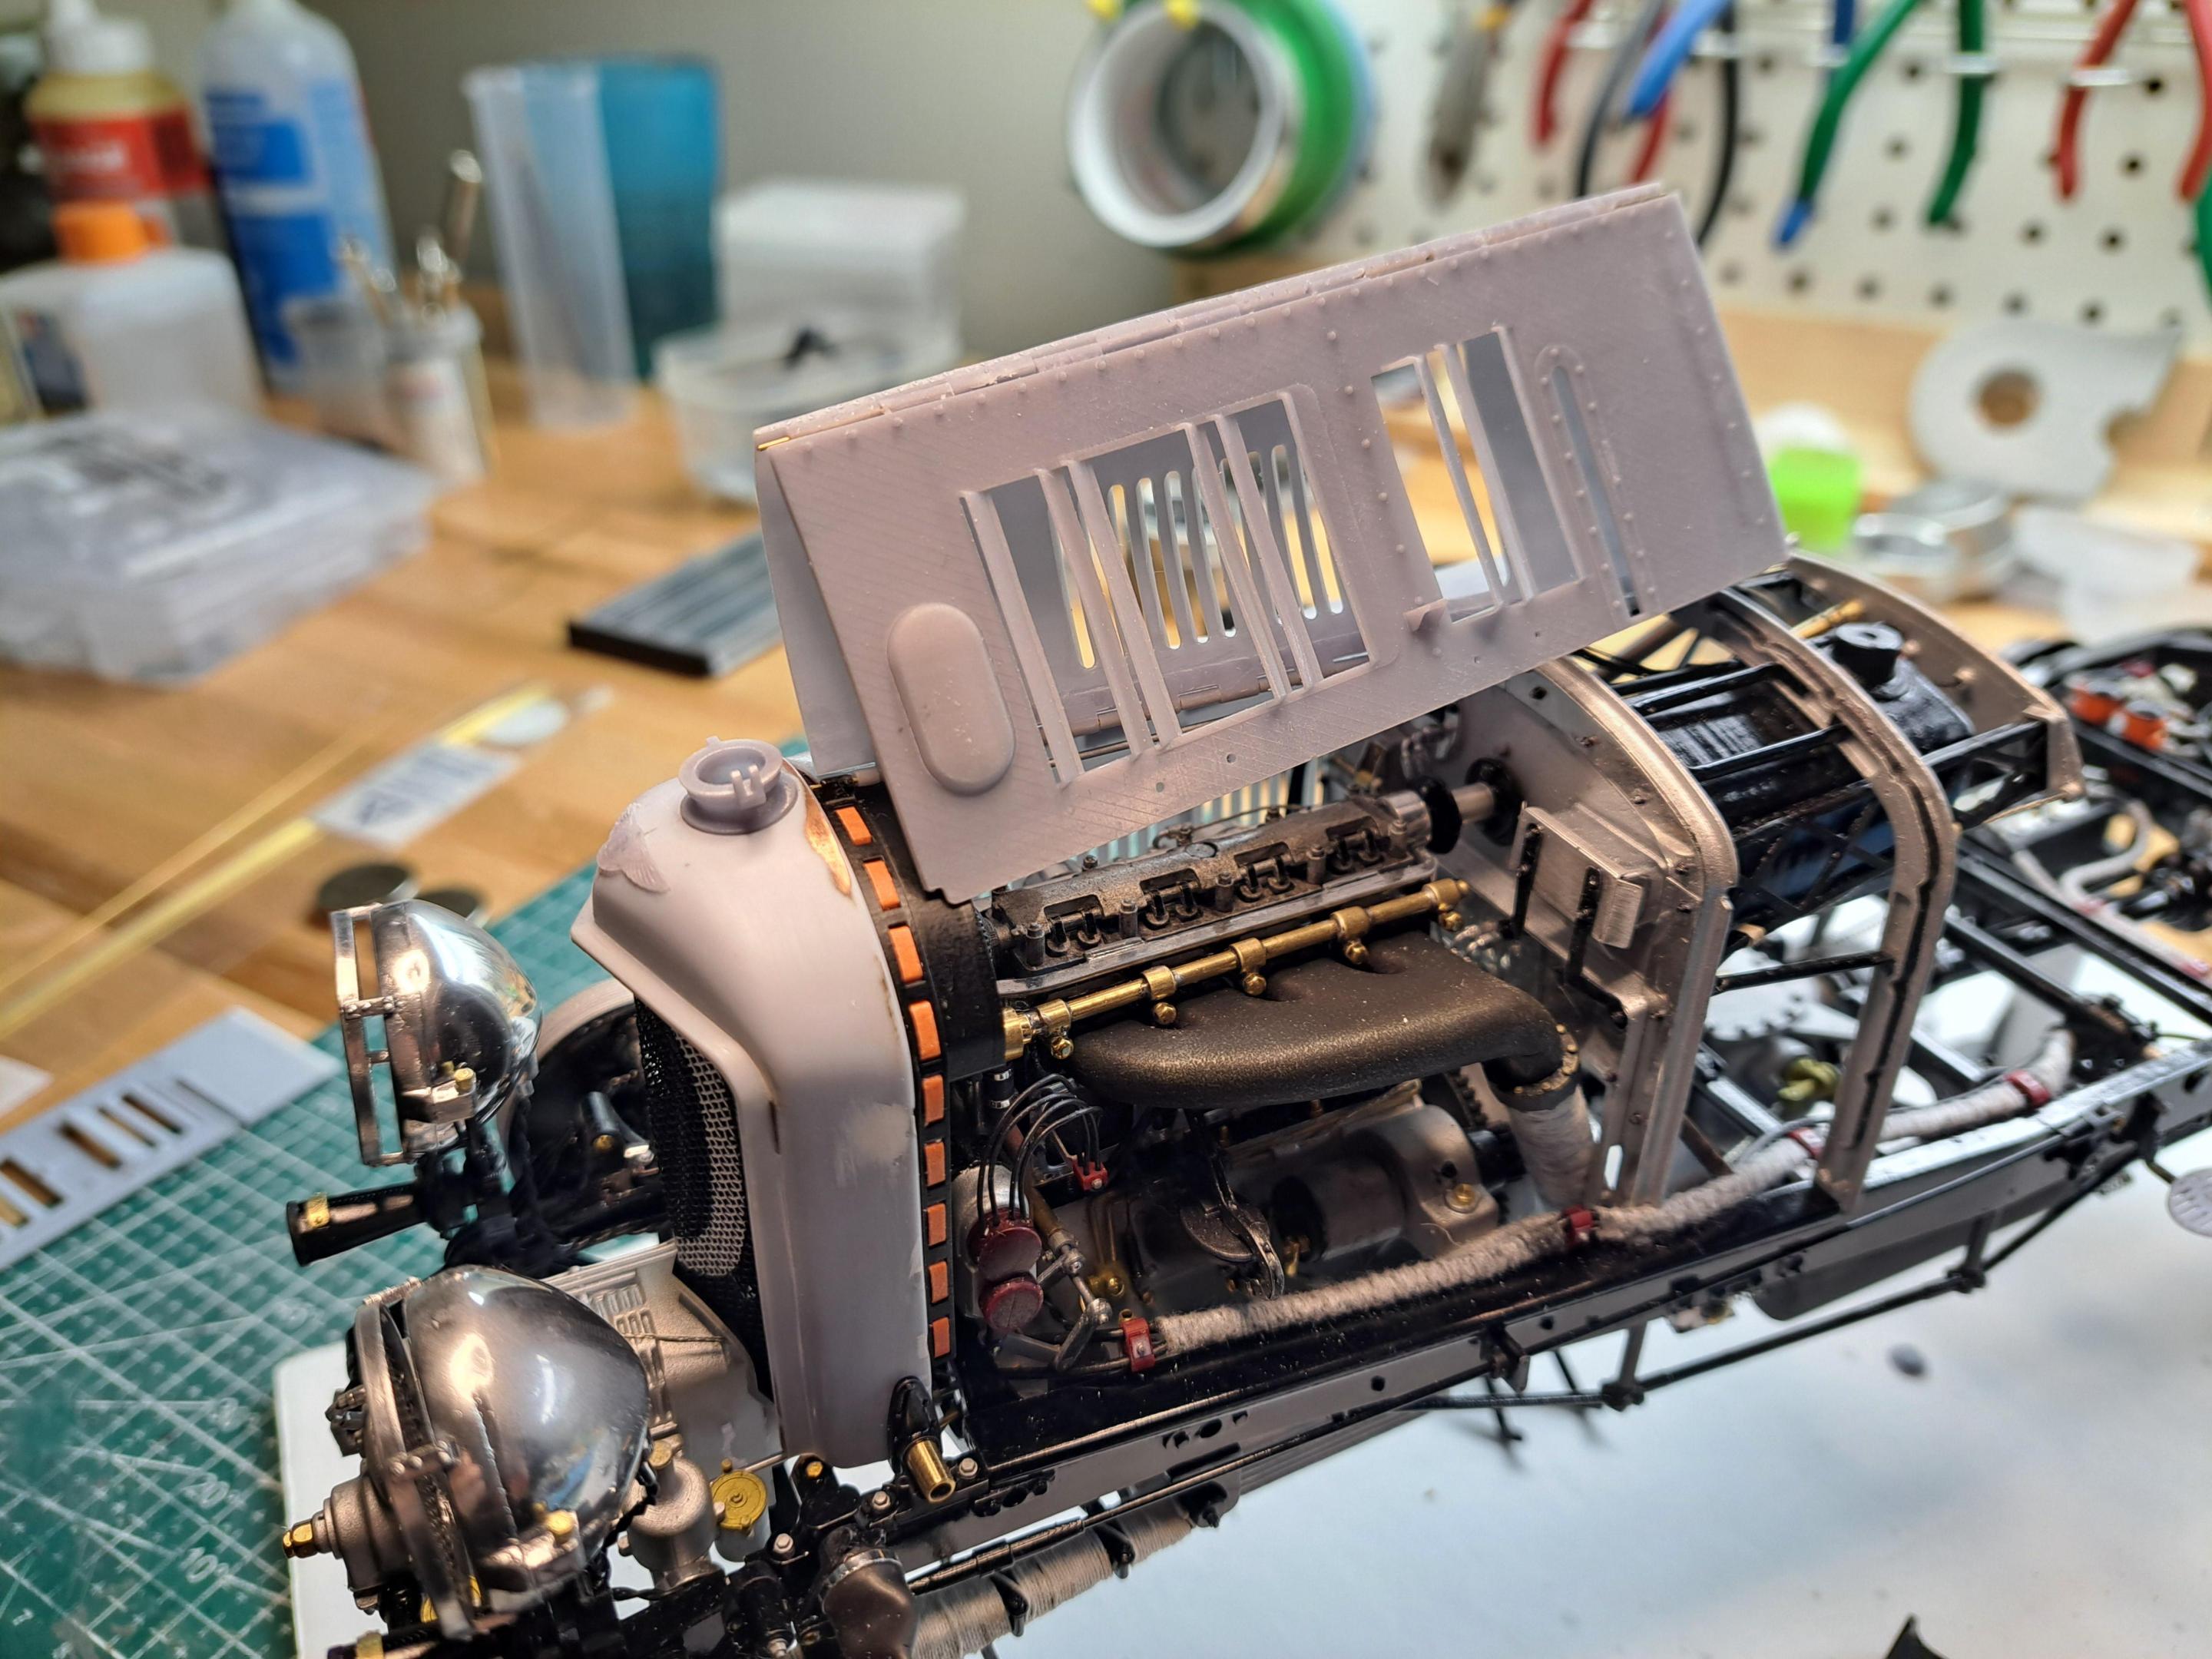
So far, the 4 panels have been 3d modeled with better details than the kit's and incorporated hinges. I modeled the lifting handles and the latch. I even modeled the straps (I'll fabricate real straps, not printed ones). The 3d model look pretty good. But this is not a cad model forum, it's a scale model forum. So here's where I'm at with my real model. I printed (again) the hood panels, this time with a thickness of .03in, up .005 from the last print. I'm very happy with the result but I think I could do better. I might up the thickness another 005. to give them a little more rigidity. I also need to tweak certain de curves a little but aside from that, l pretty much there. So here are some pictures. Please remember that the radiator is not uet fixed in place, that's why it's a little off.

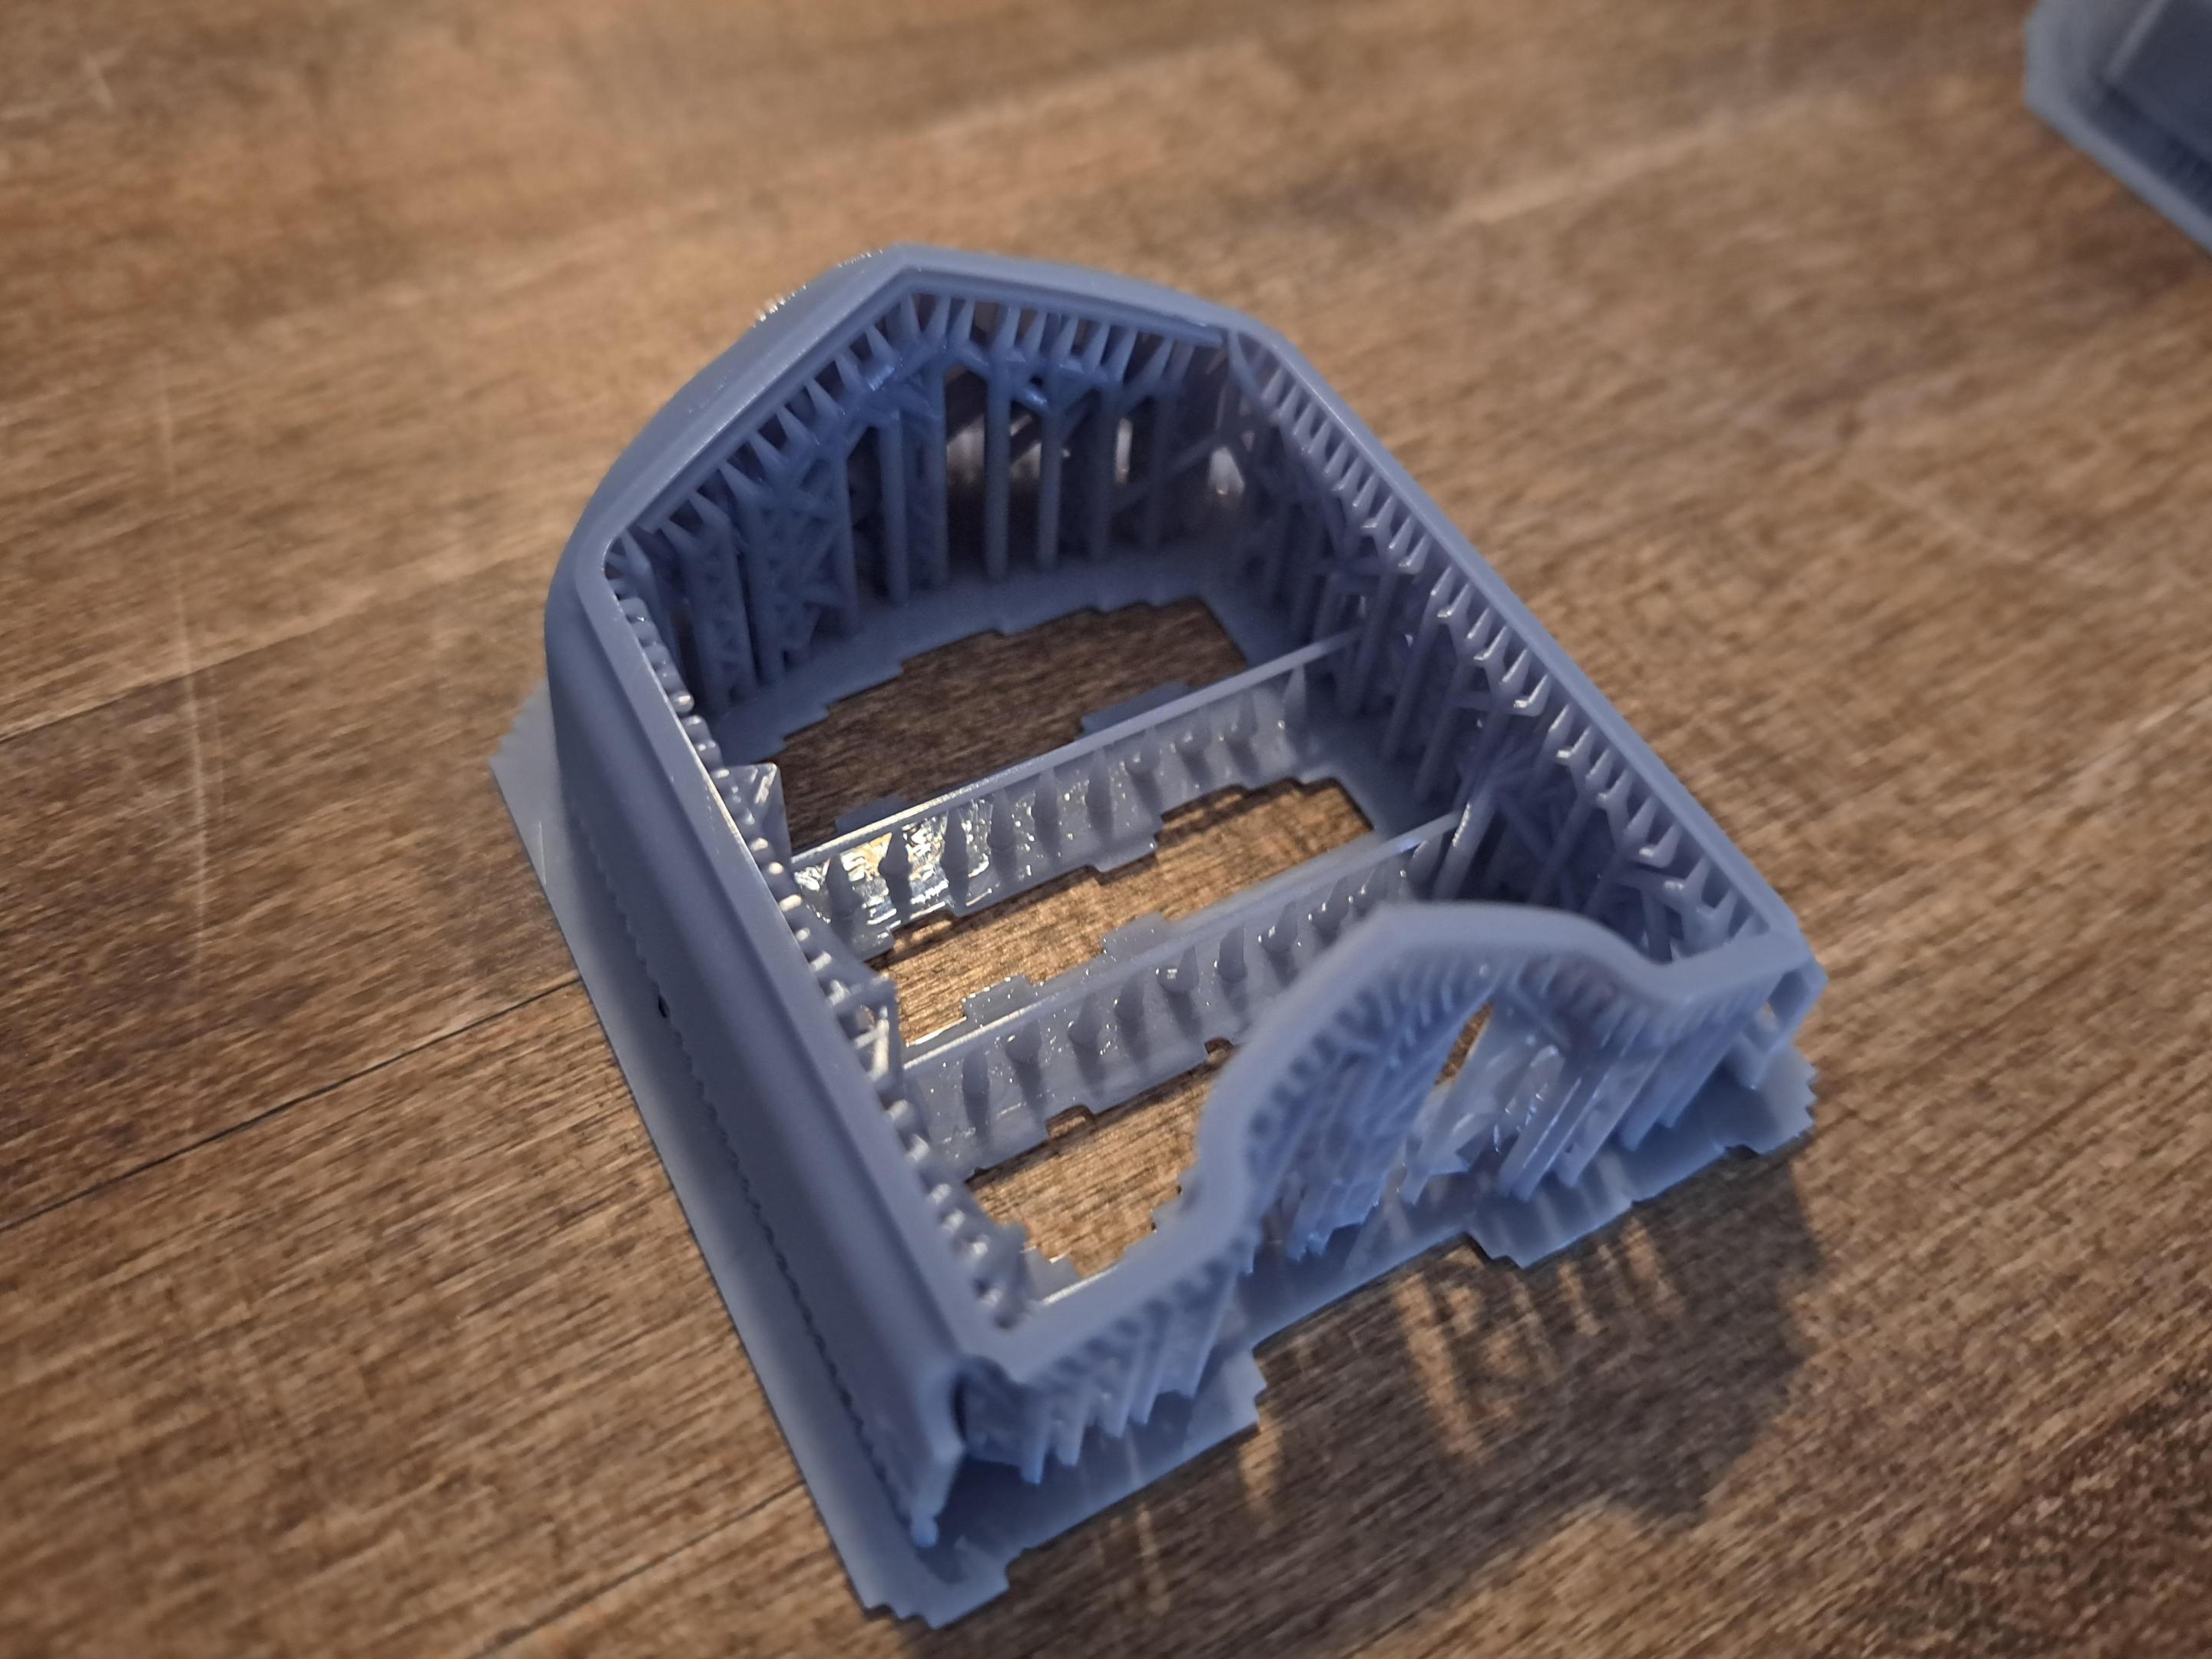
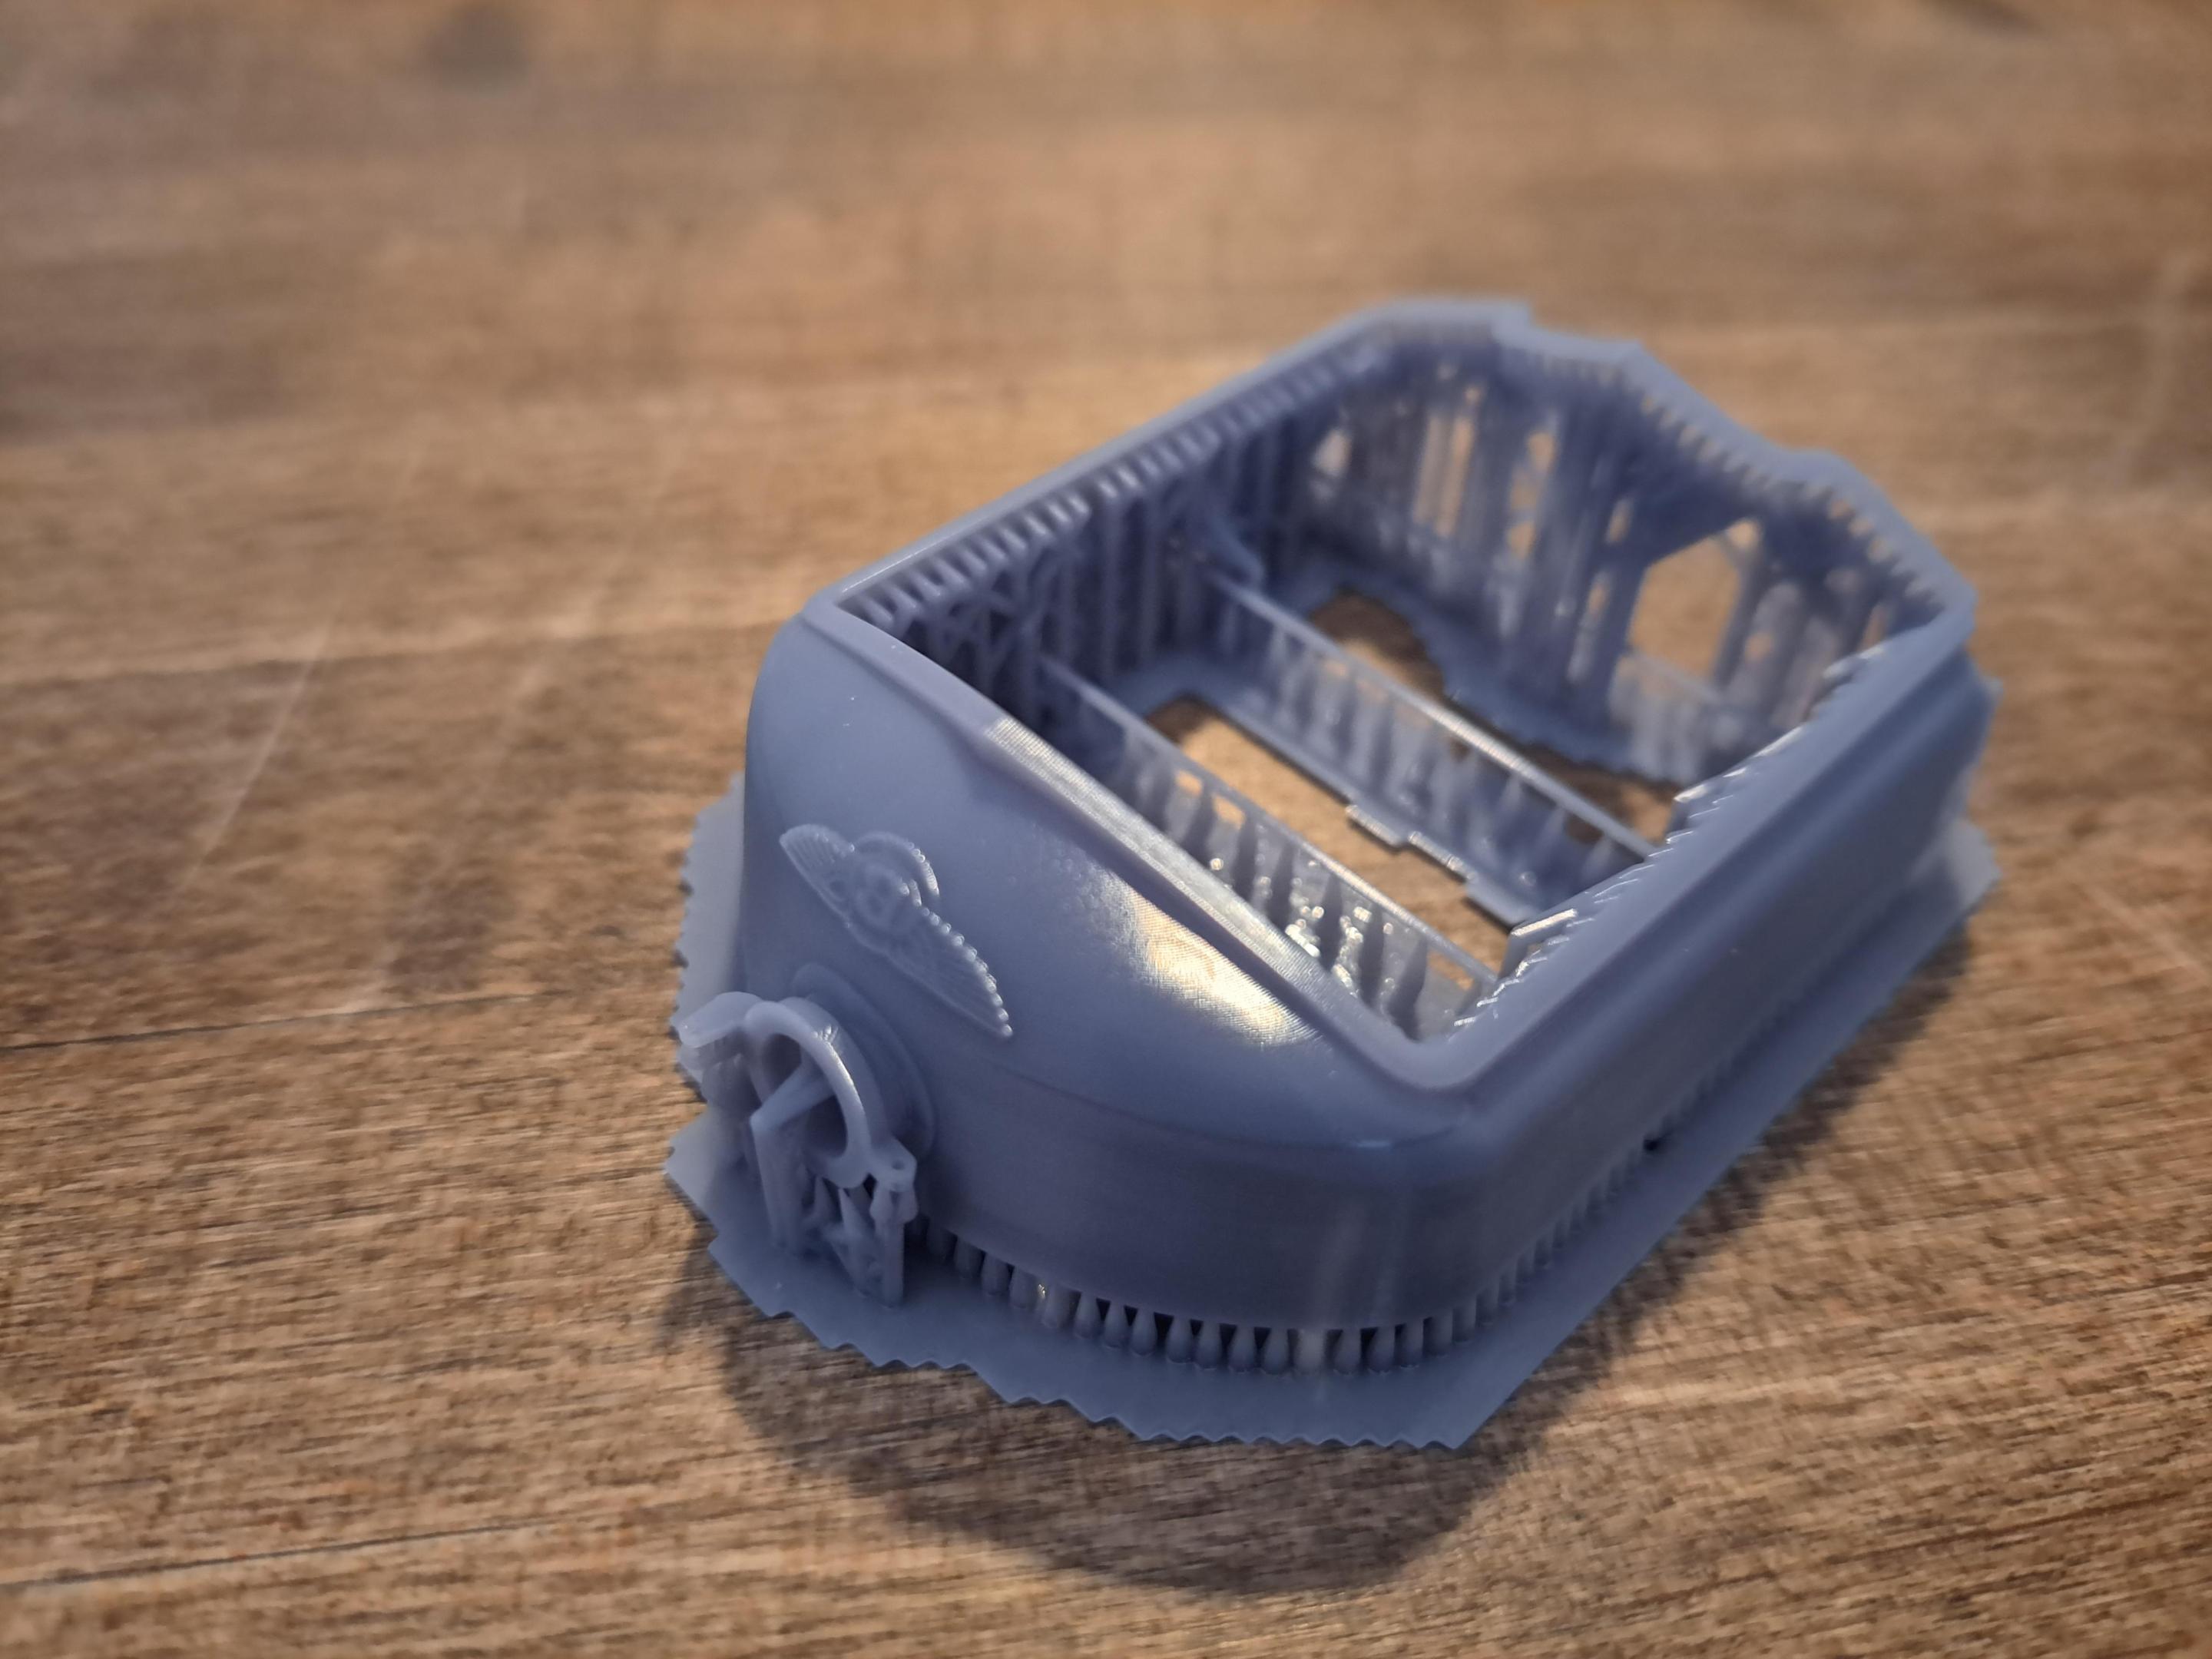
Printed panels before supports removal


Right side panel down
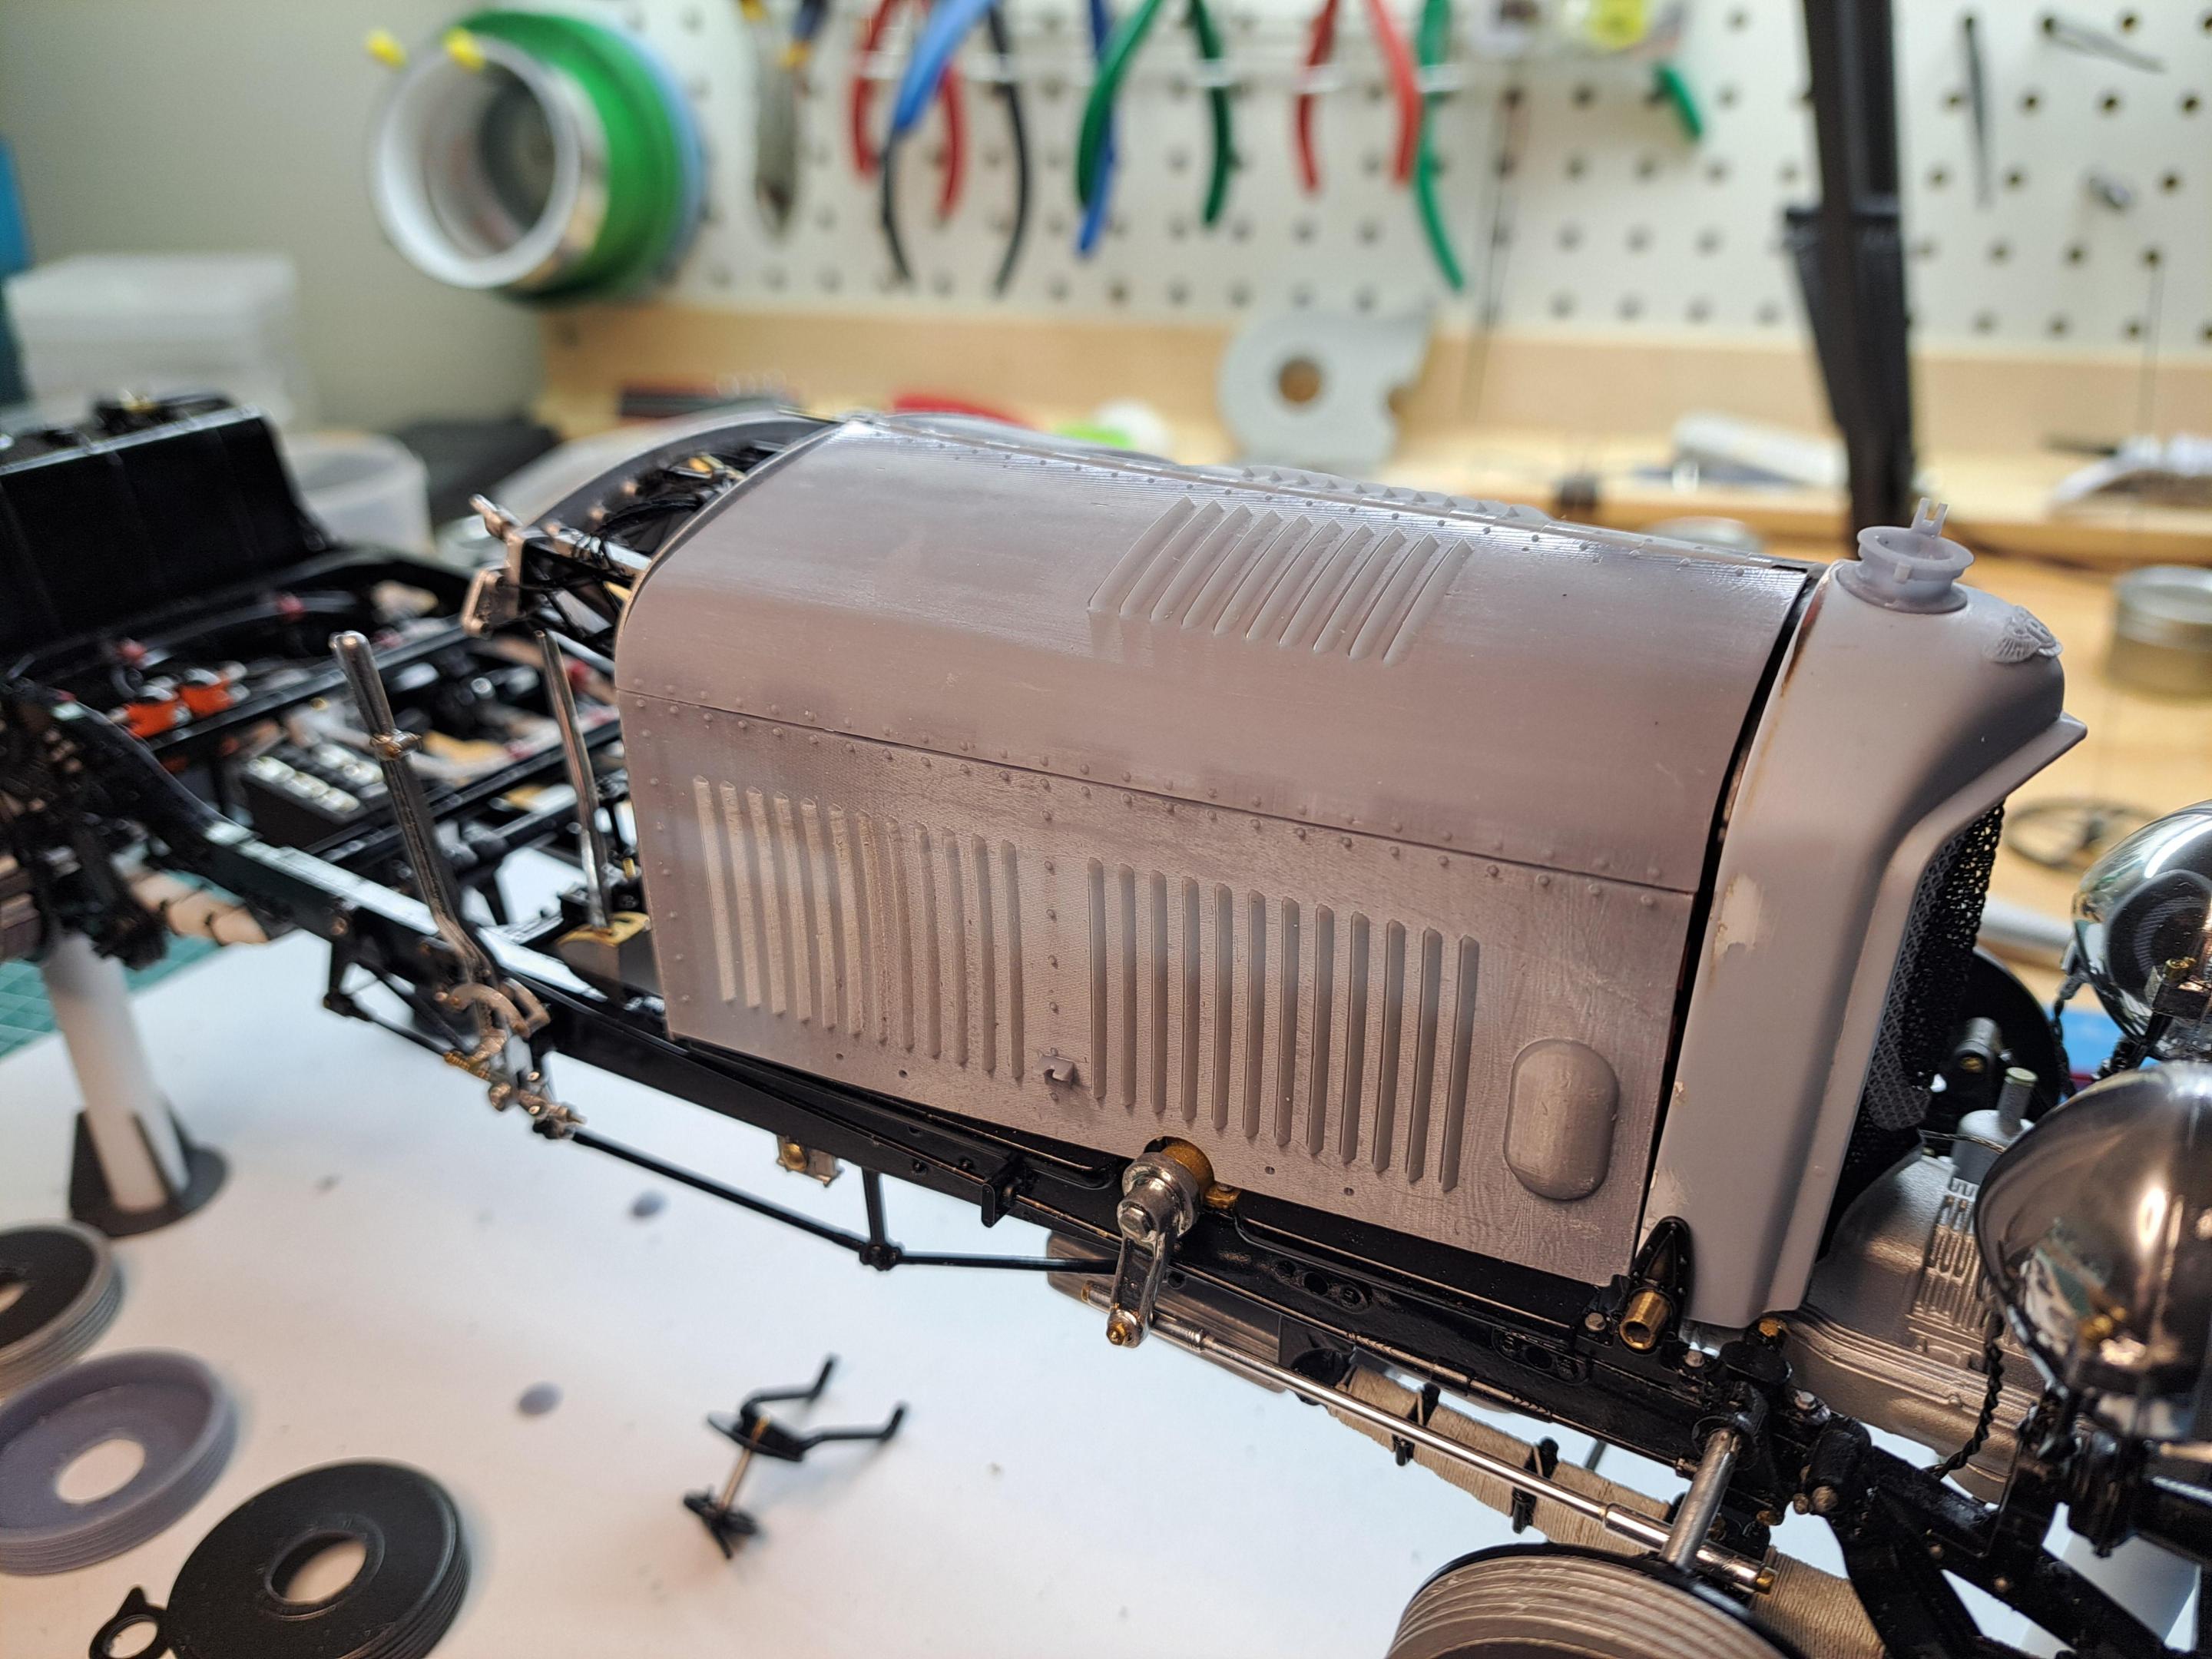


Right side panel up


Left side panel down


Left side panel up


Latch


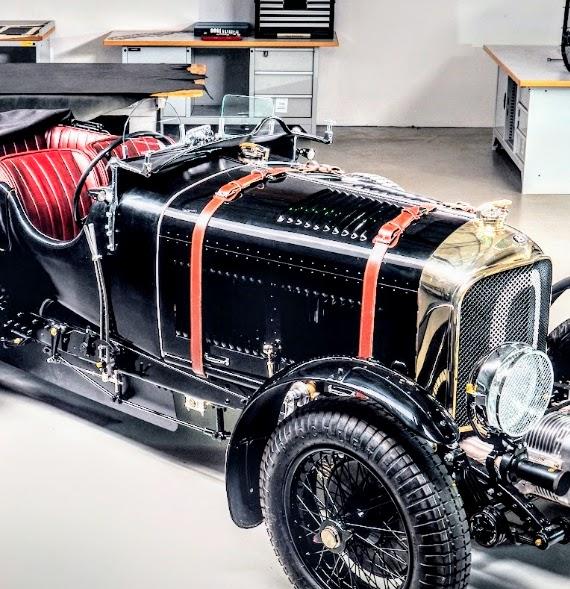
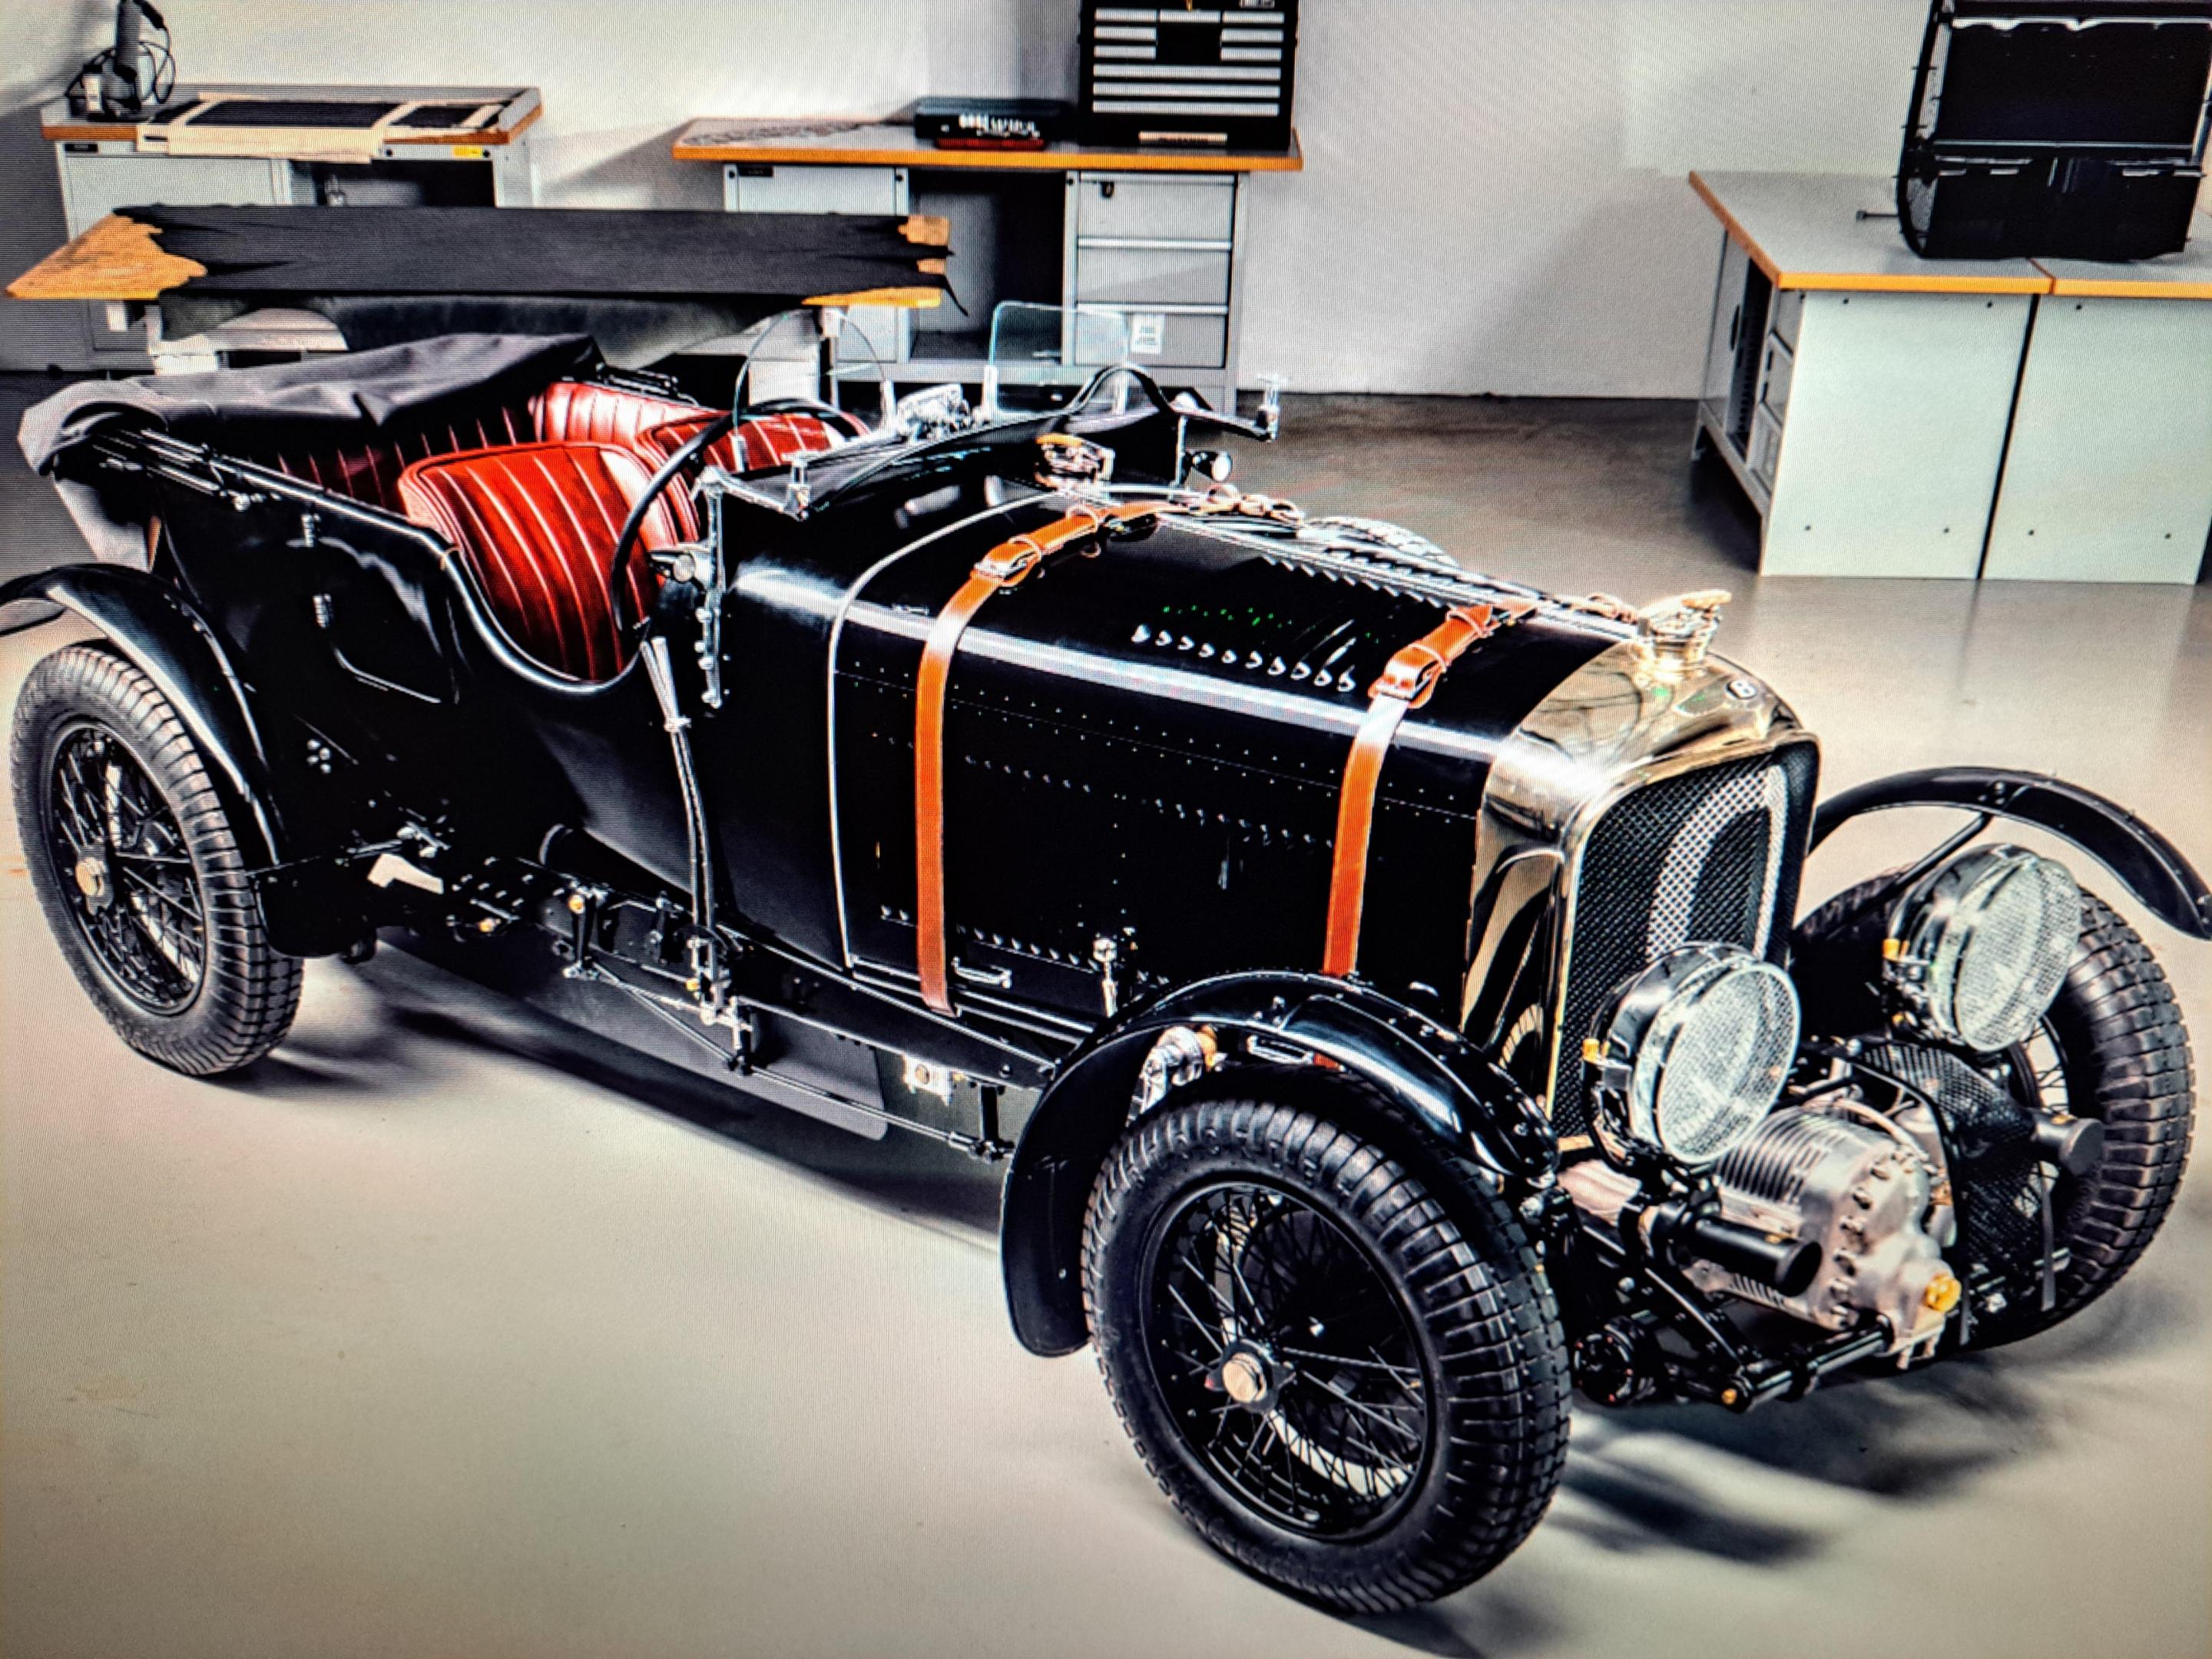
And finally, real car vs cad model vs scale model


vuedensemble_1.jpg.ae1214abc4b622f643cfb18d06ef0289.jpg


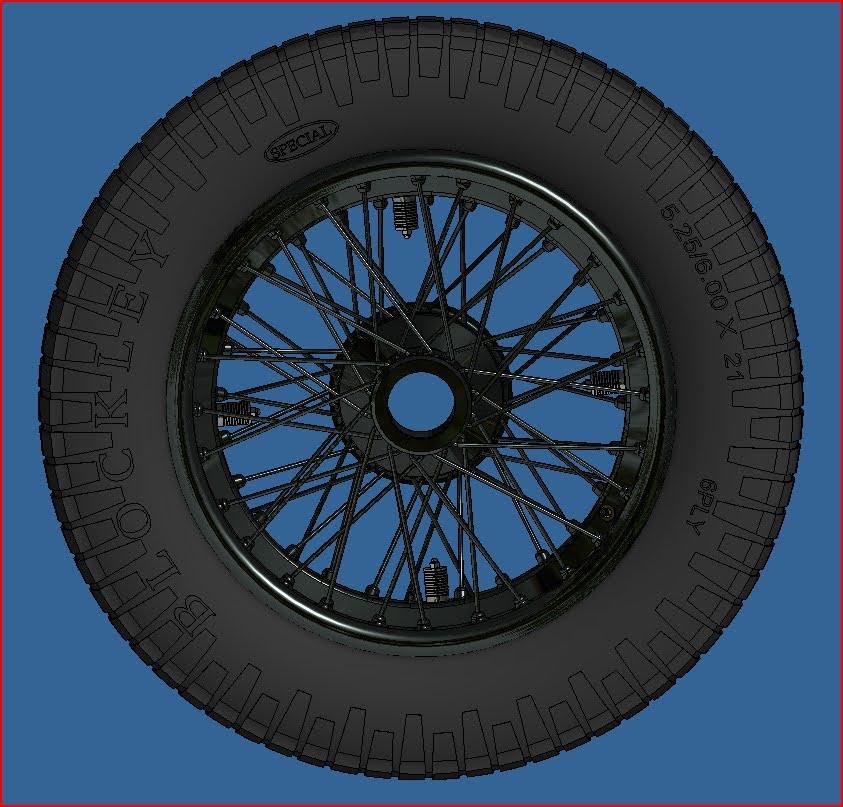
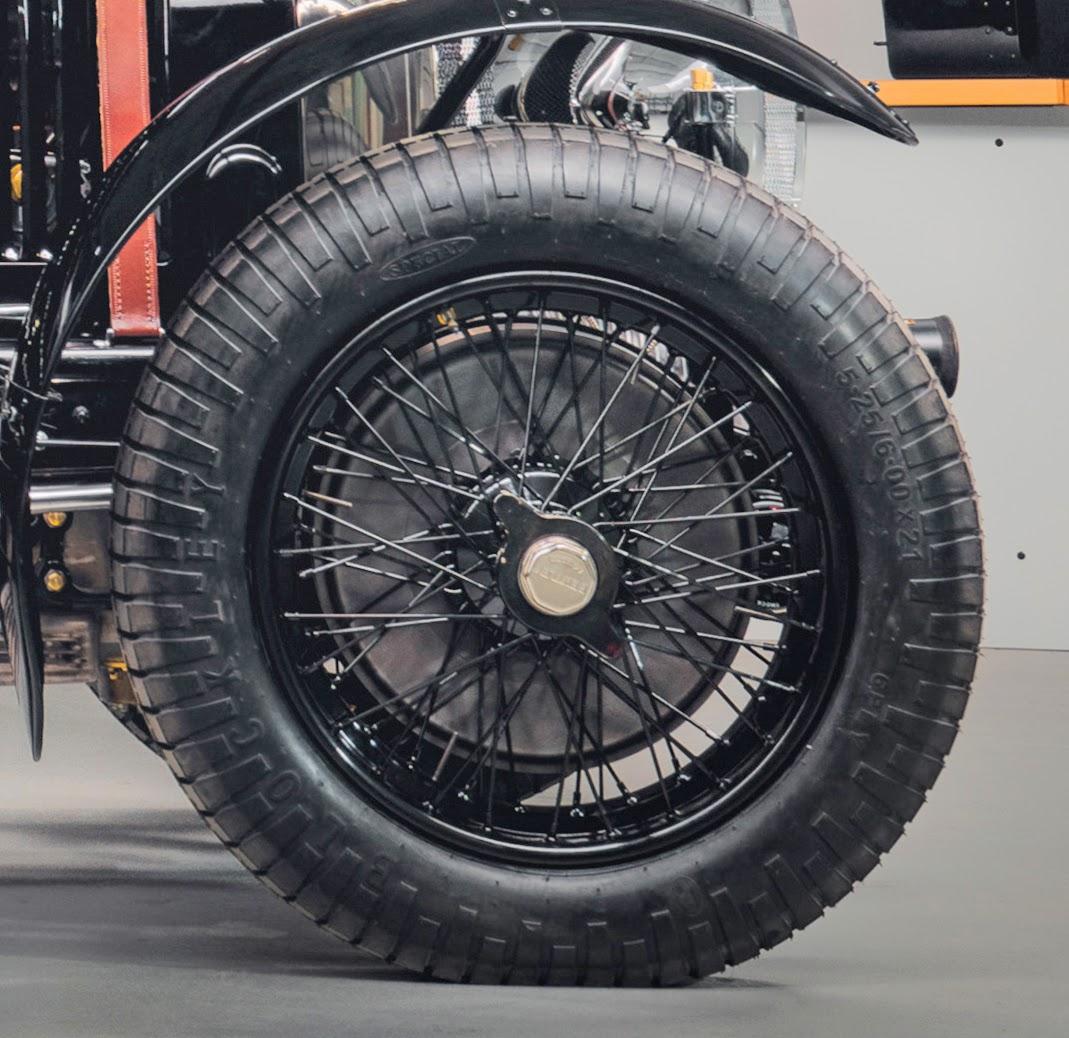
I worked a bit on a more accurate tire model. I might try to print it with a flexible resin to see if it could better fit the wheel.

WHEELASSY.jpg.2d0e31c766a9f40d654eee6bd919c63a.jpg


image.jpg.237b34793d57391582cc4319af110391.jpg


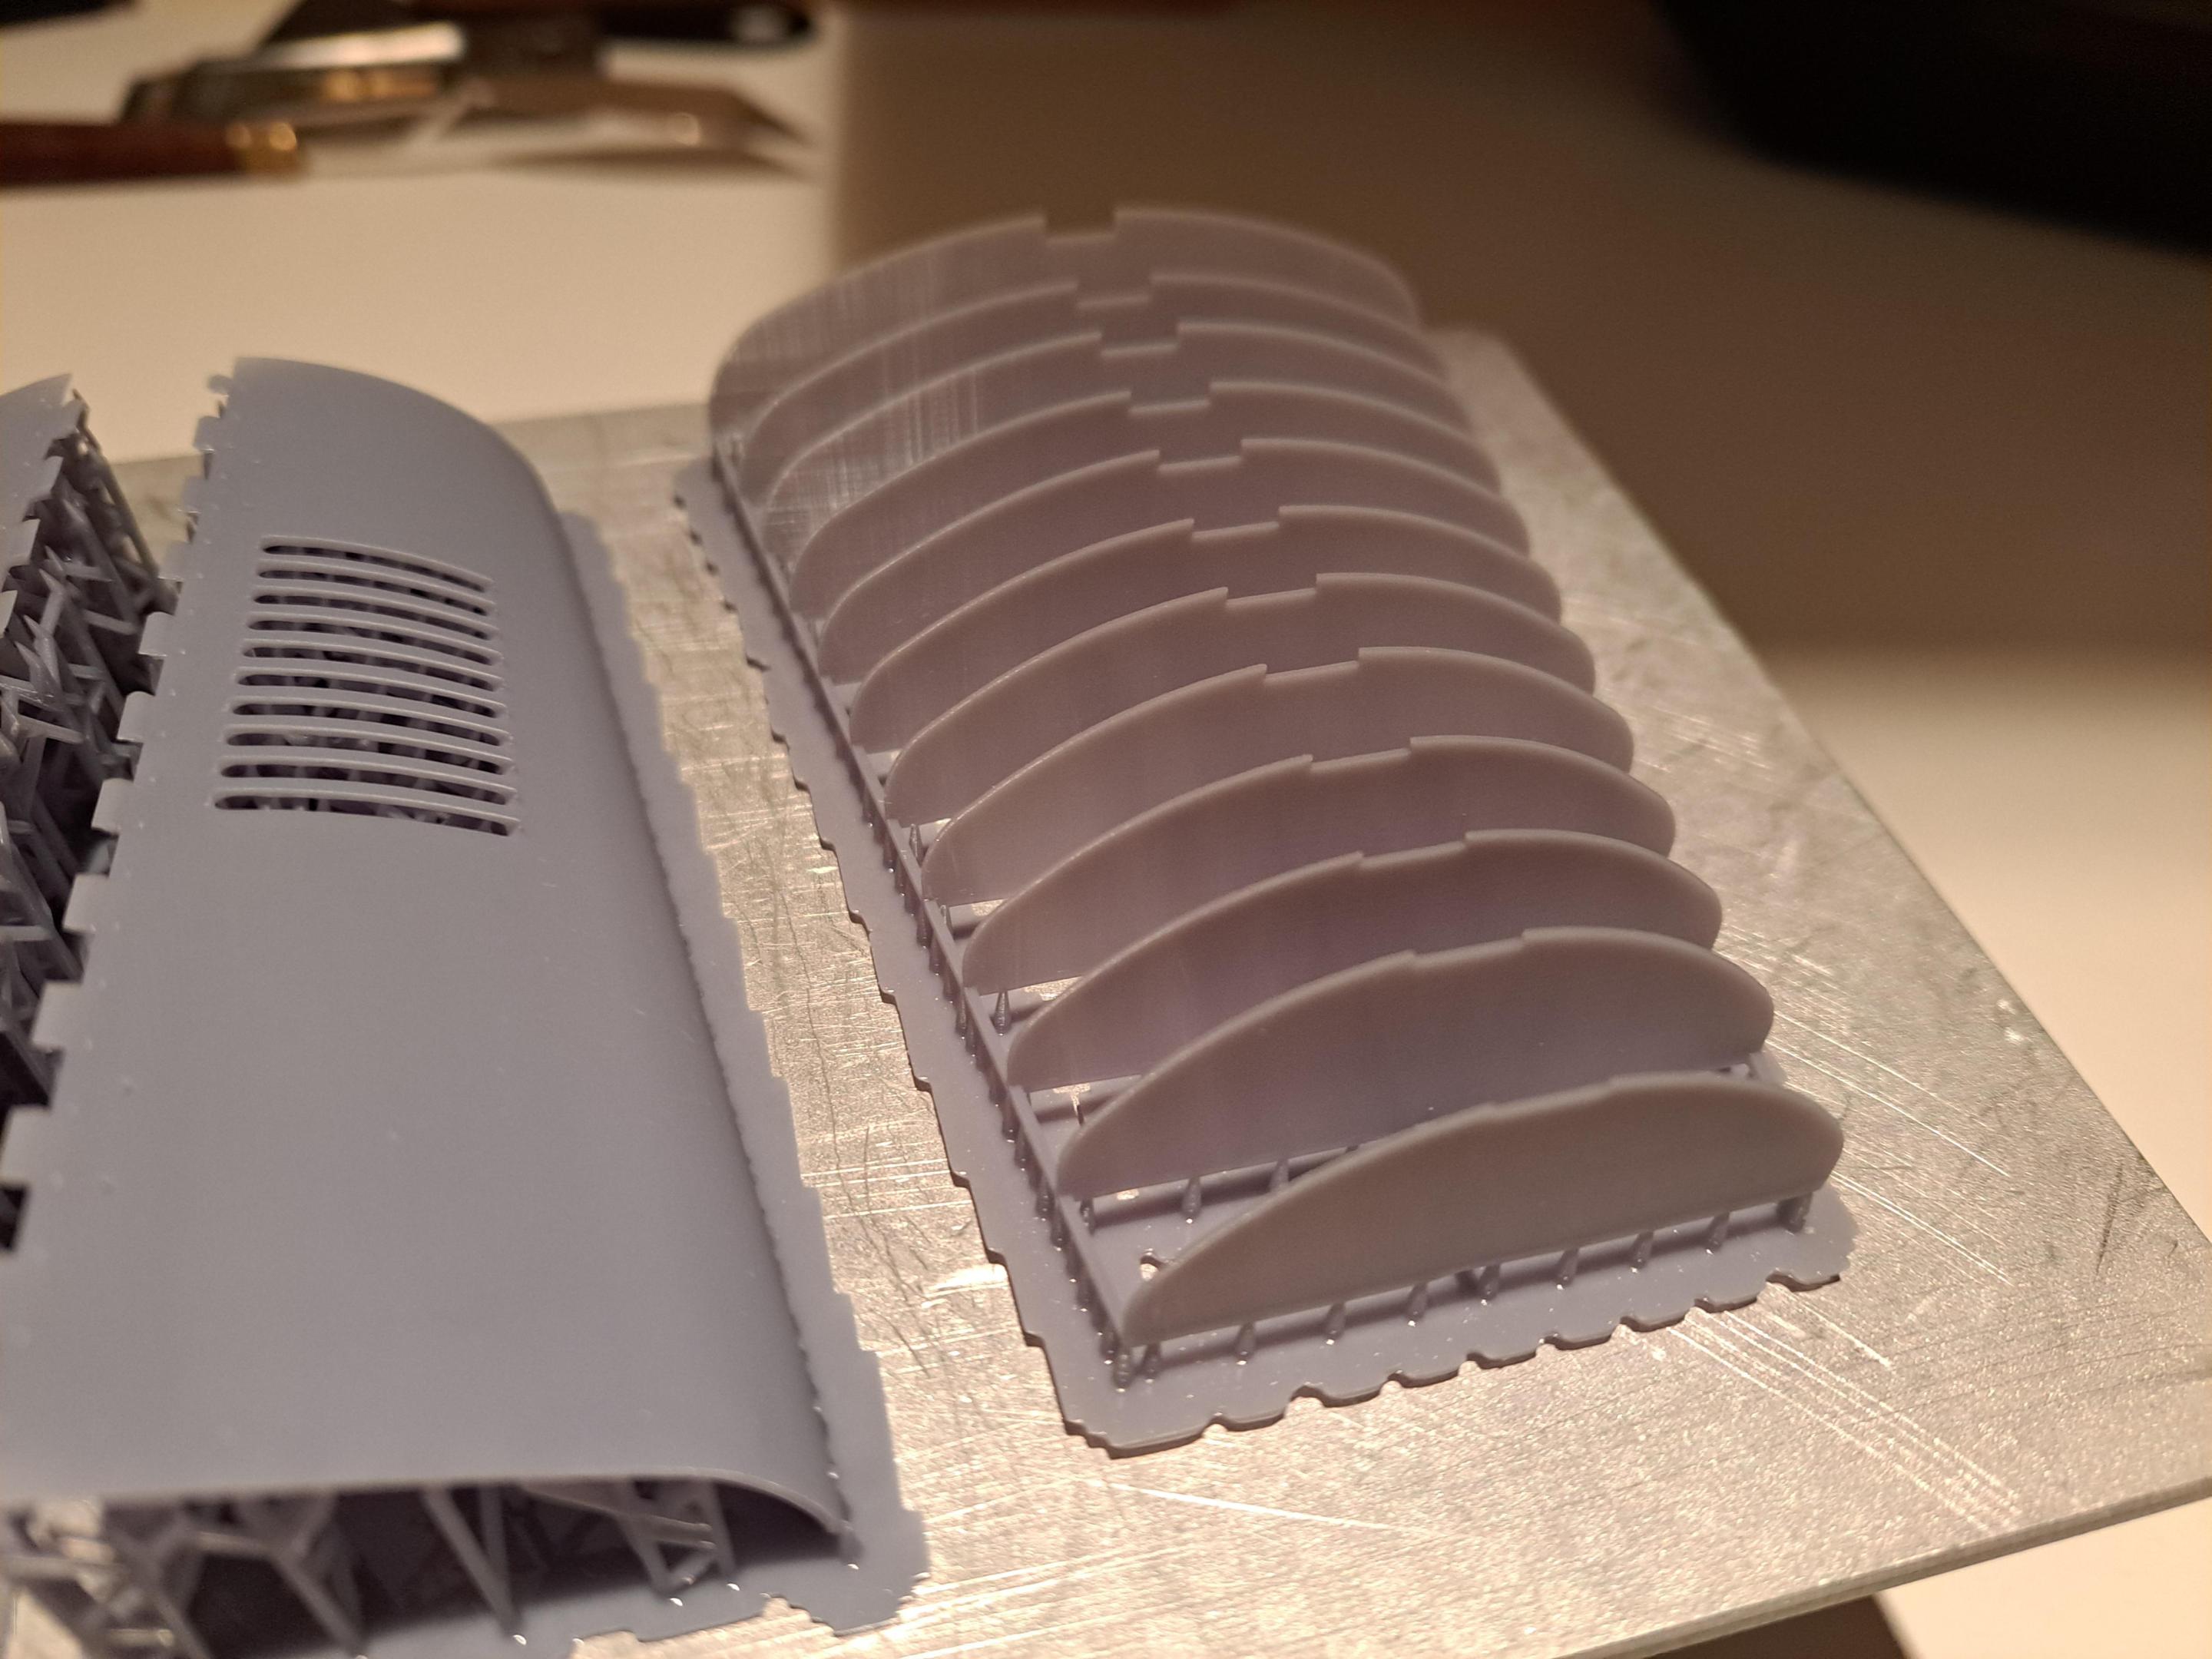
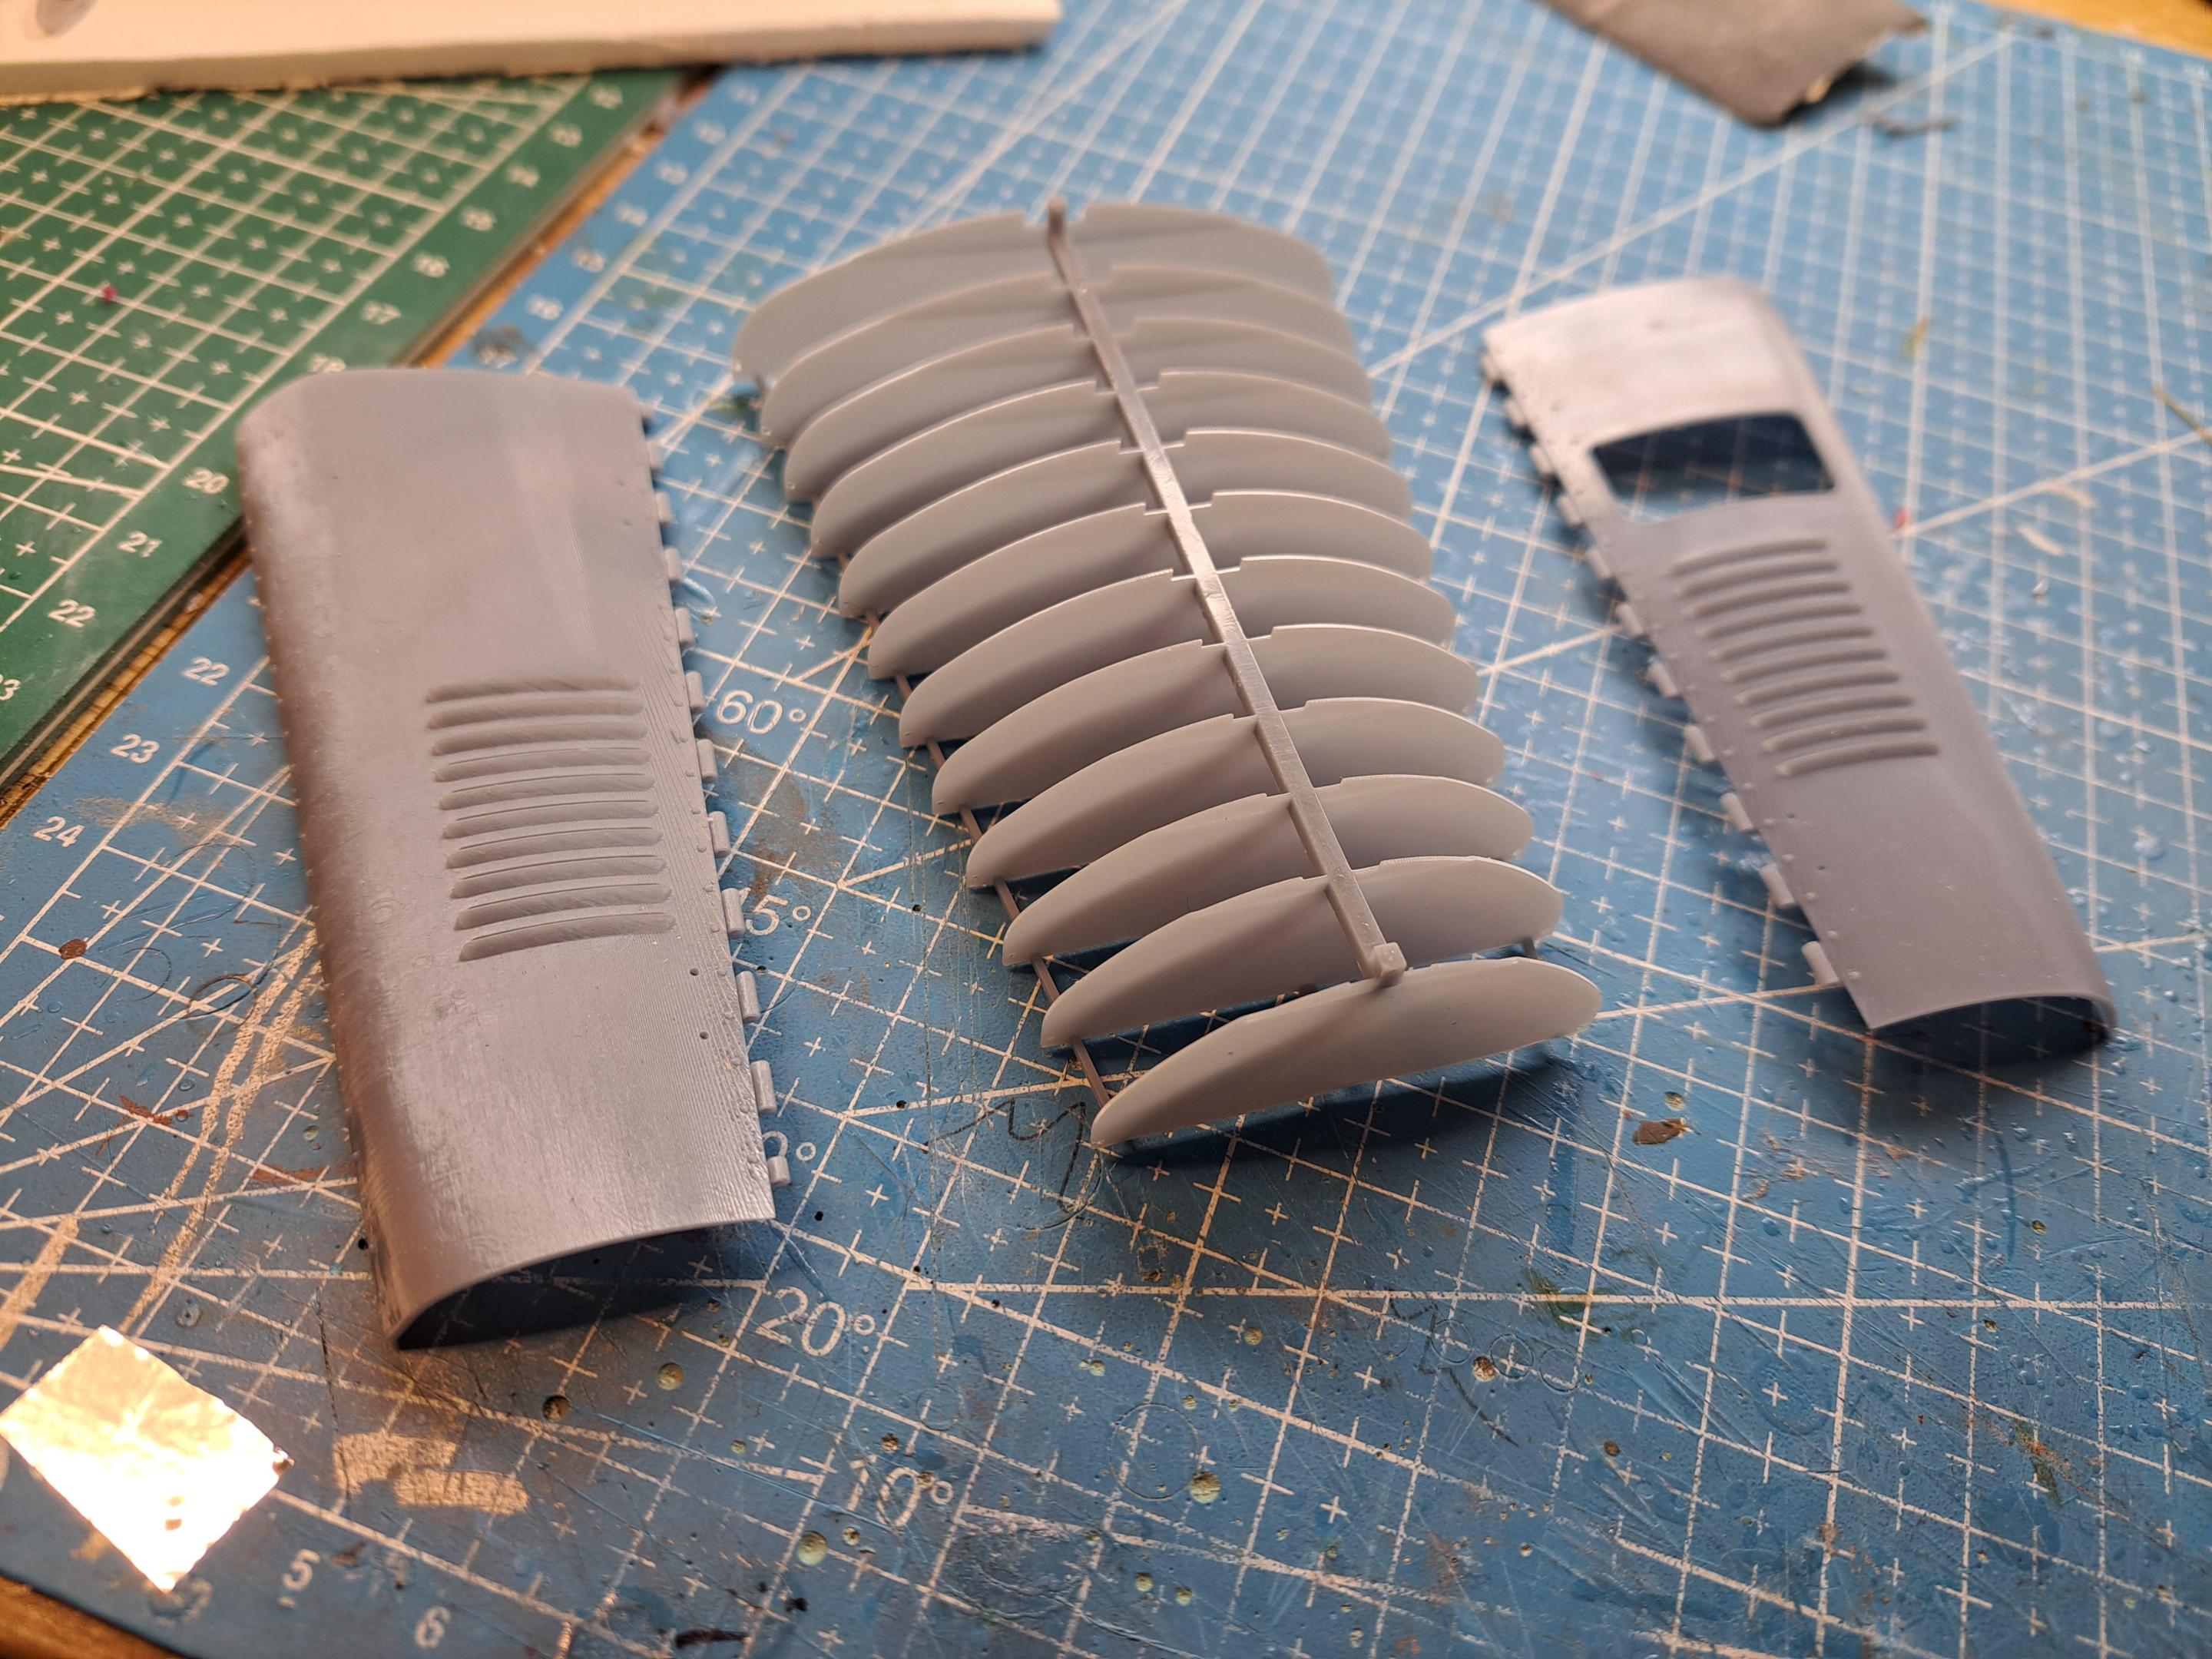
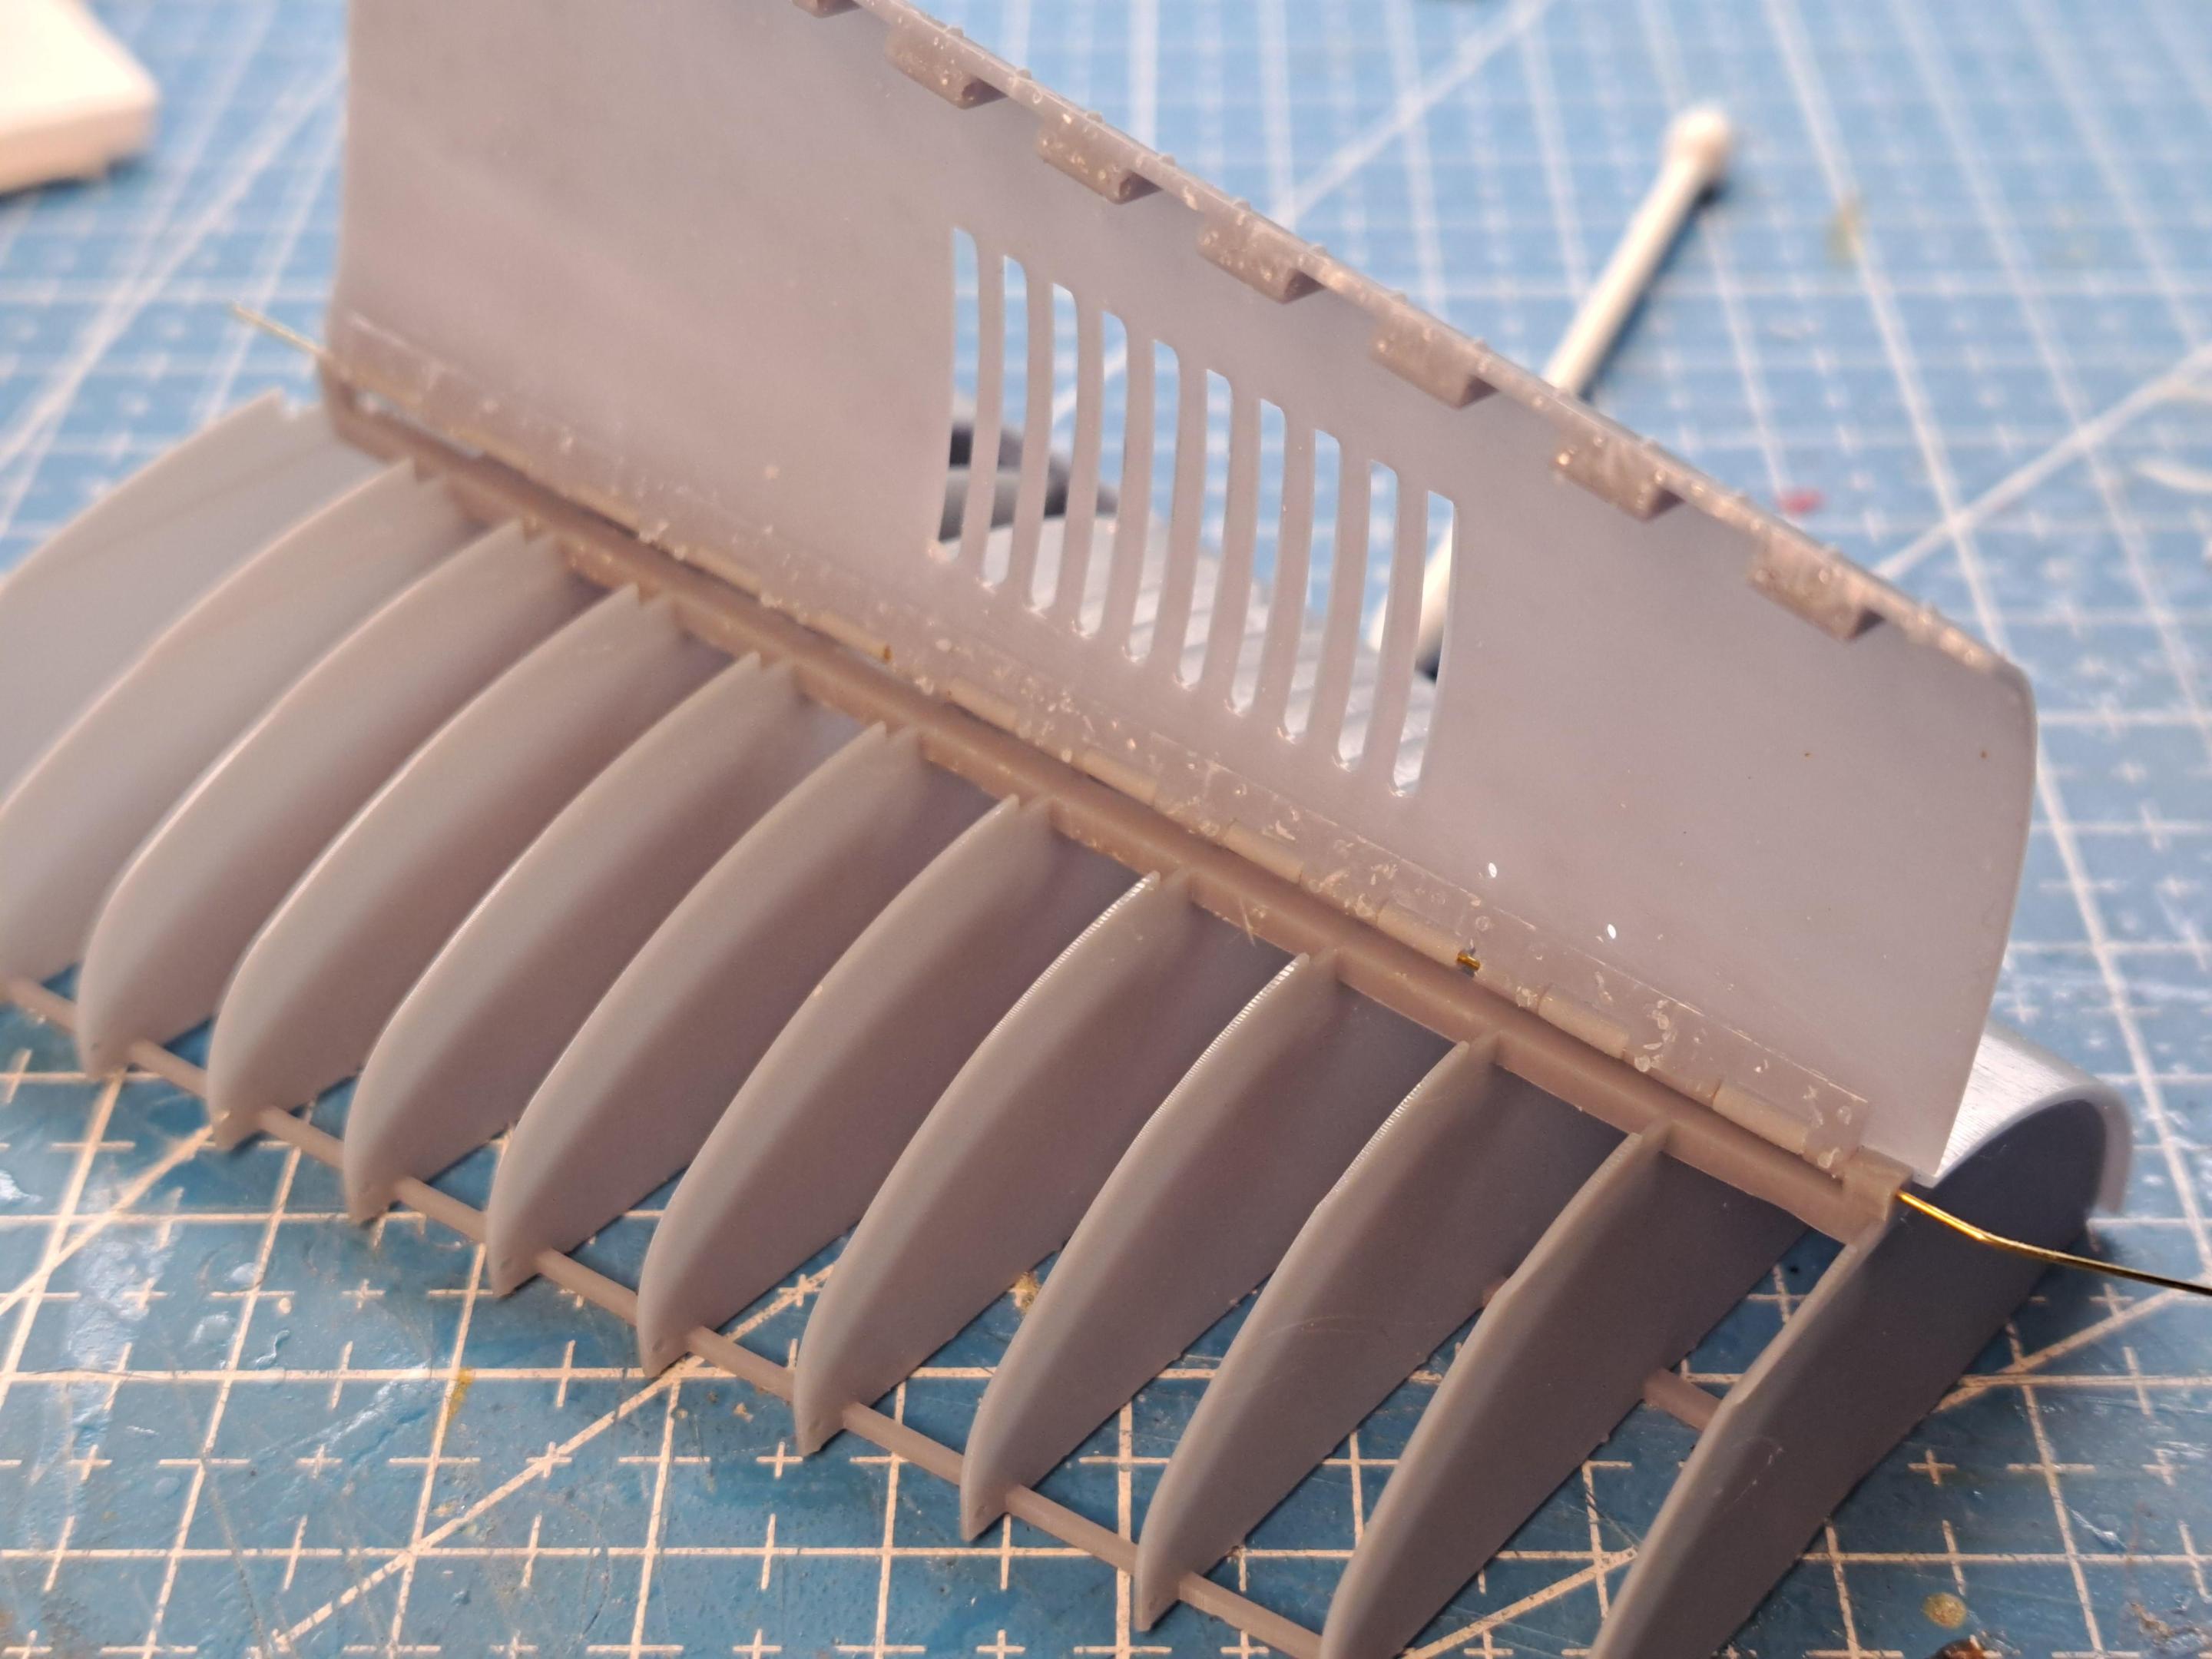
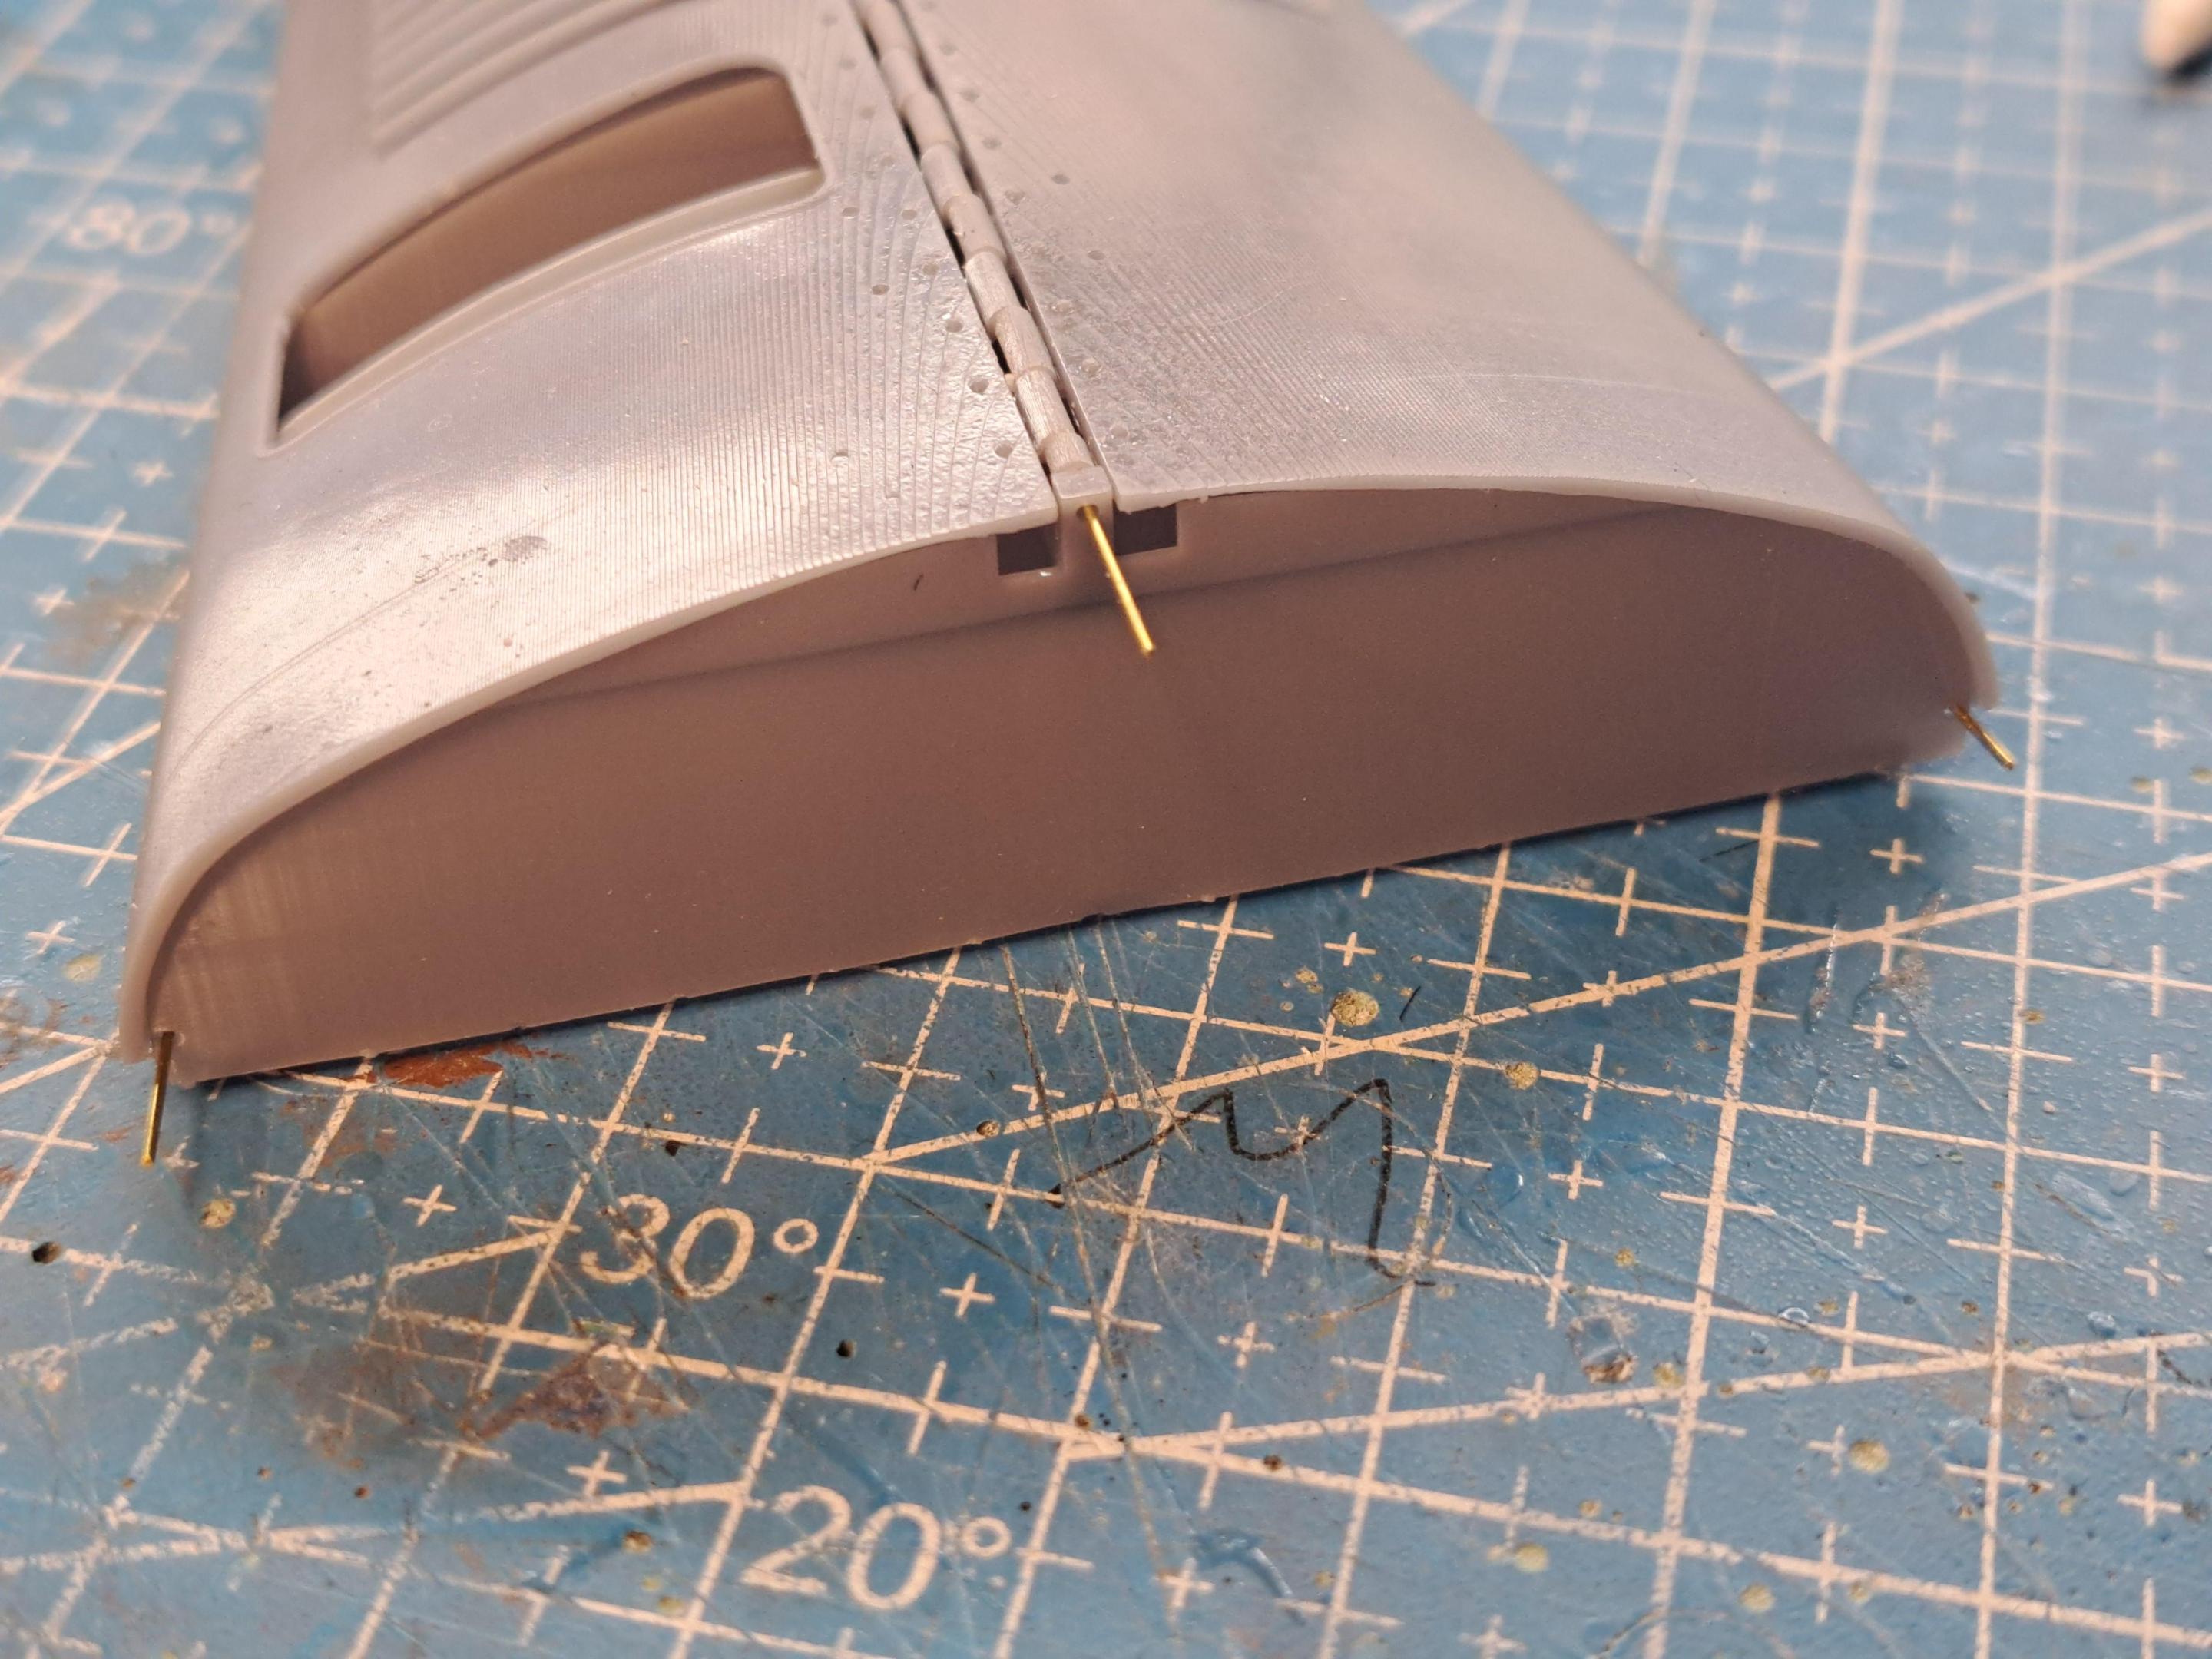
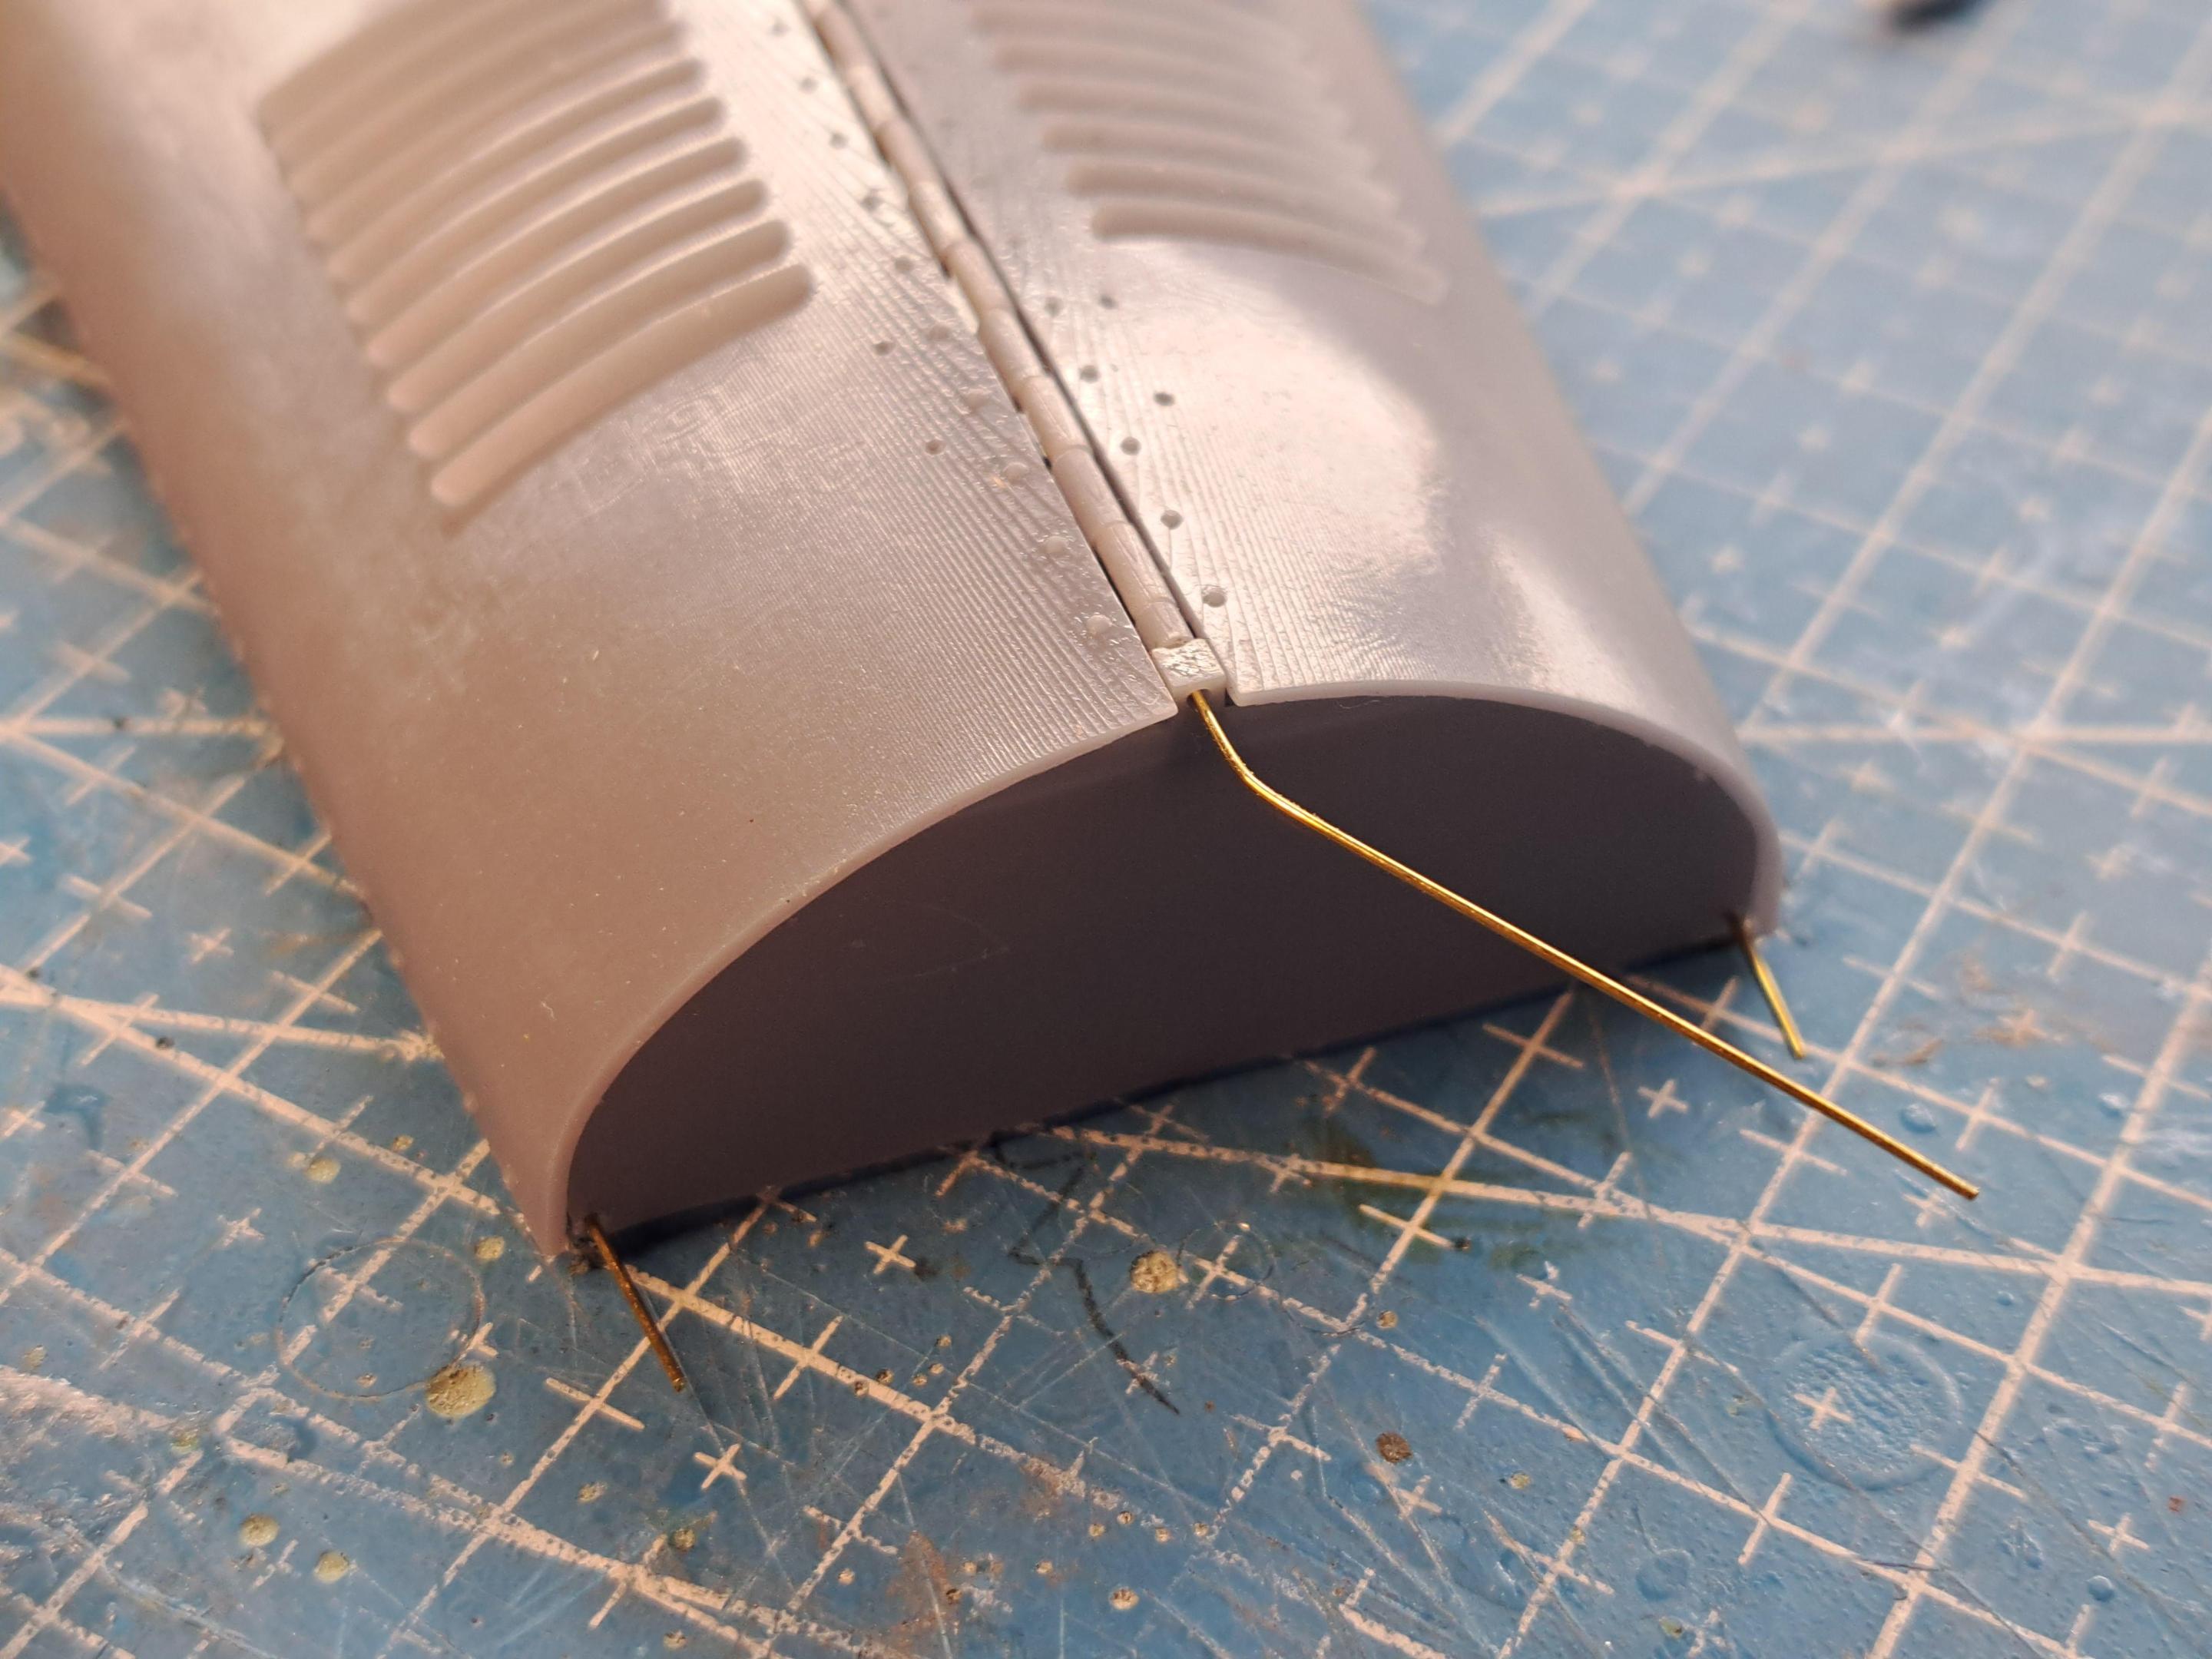
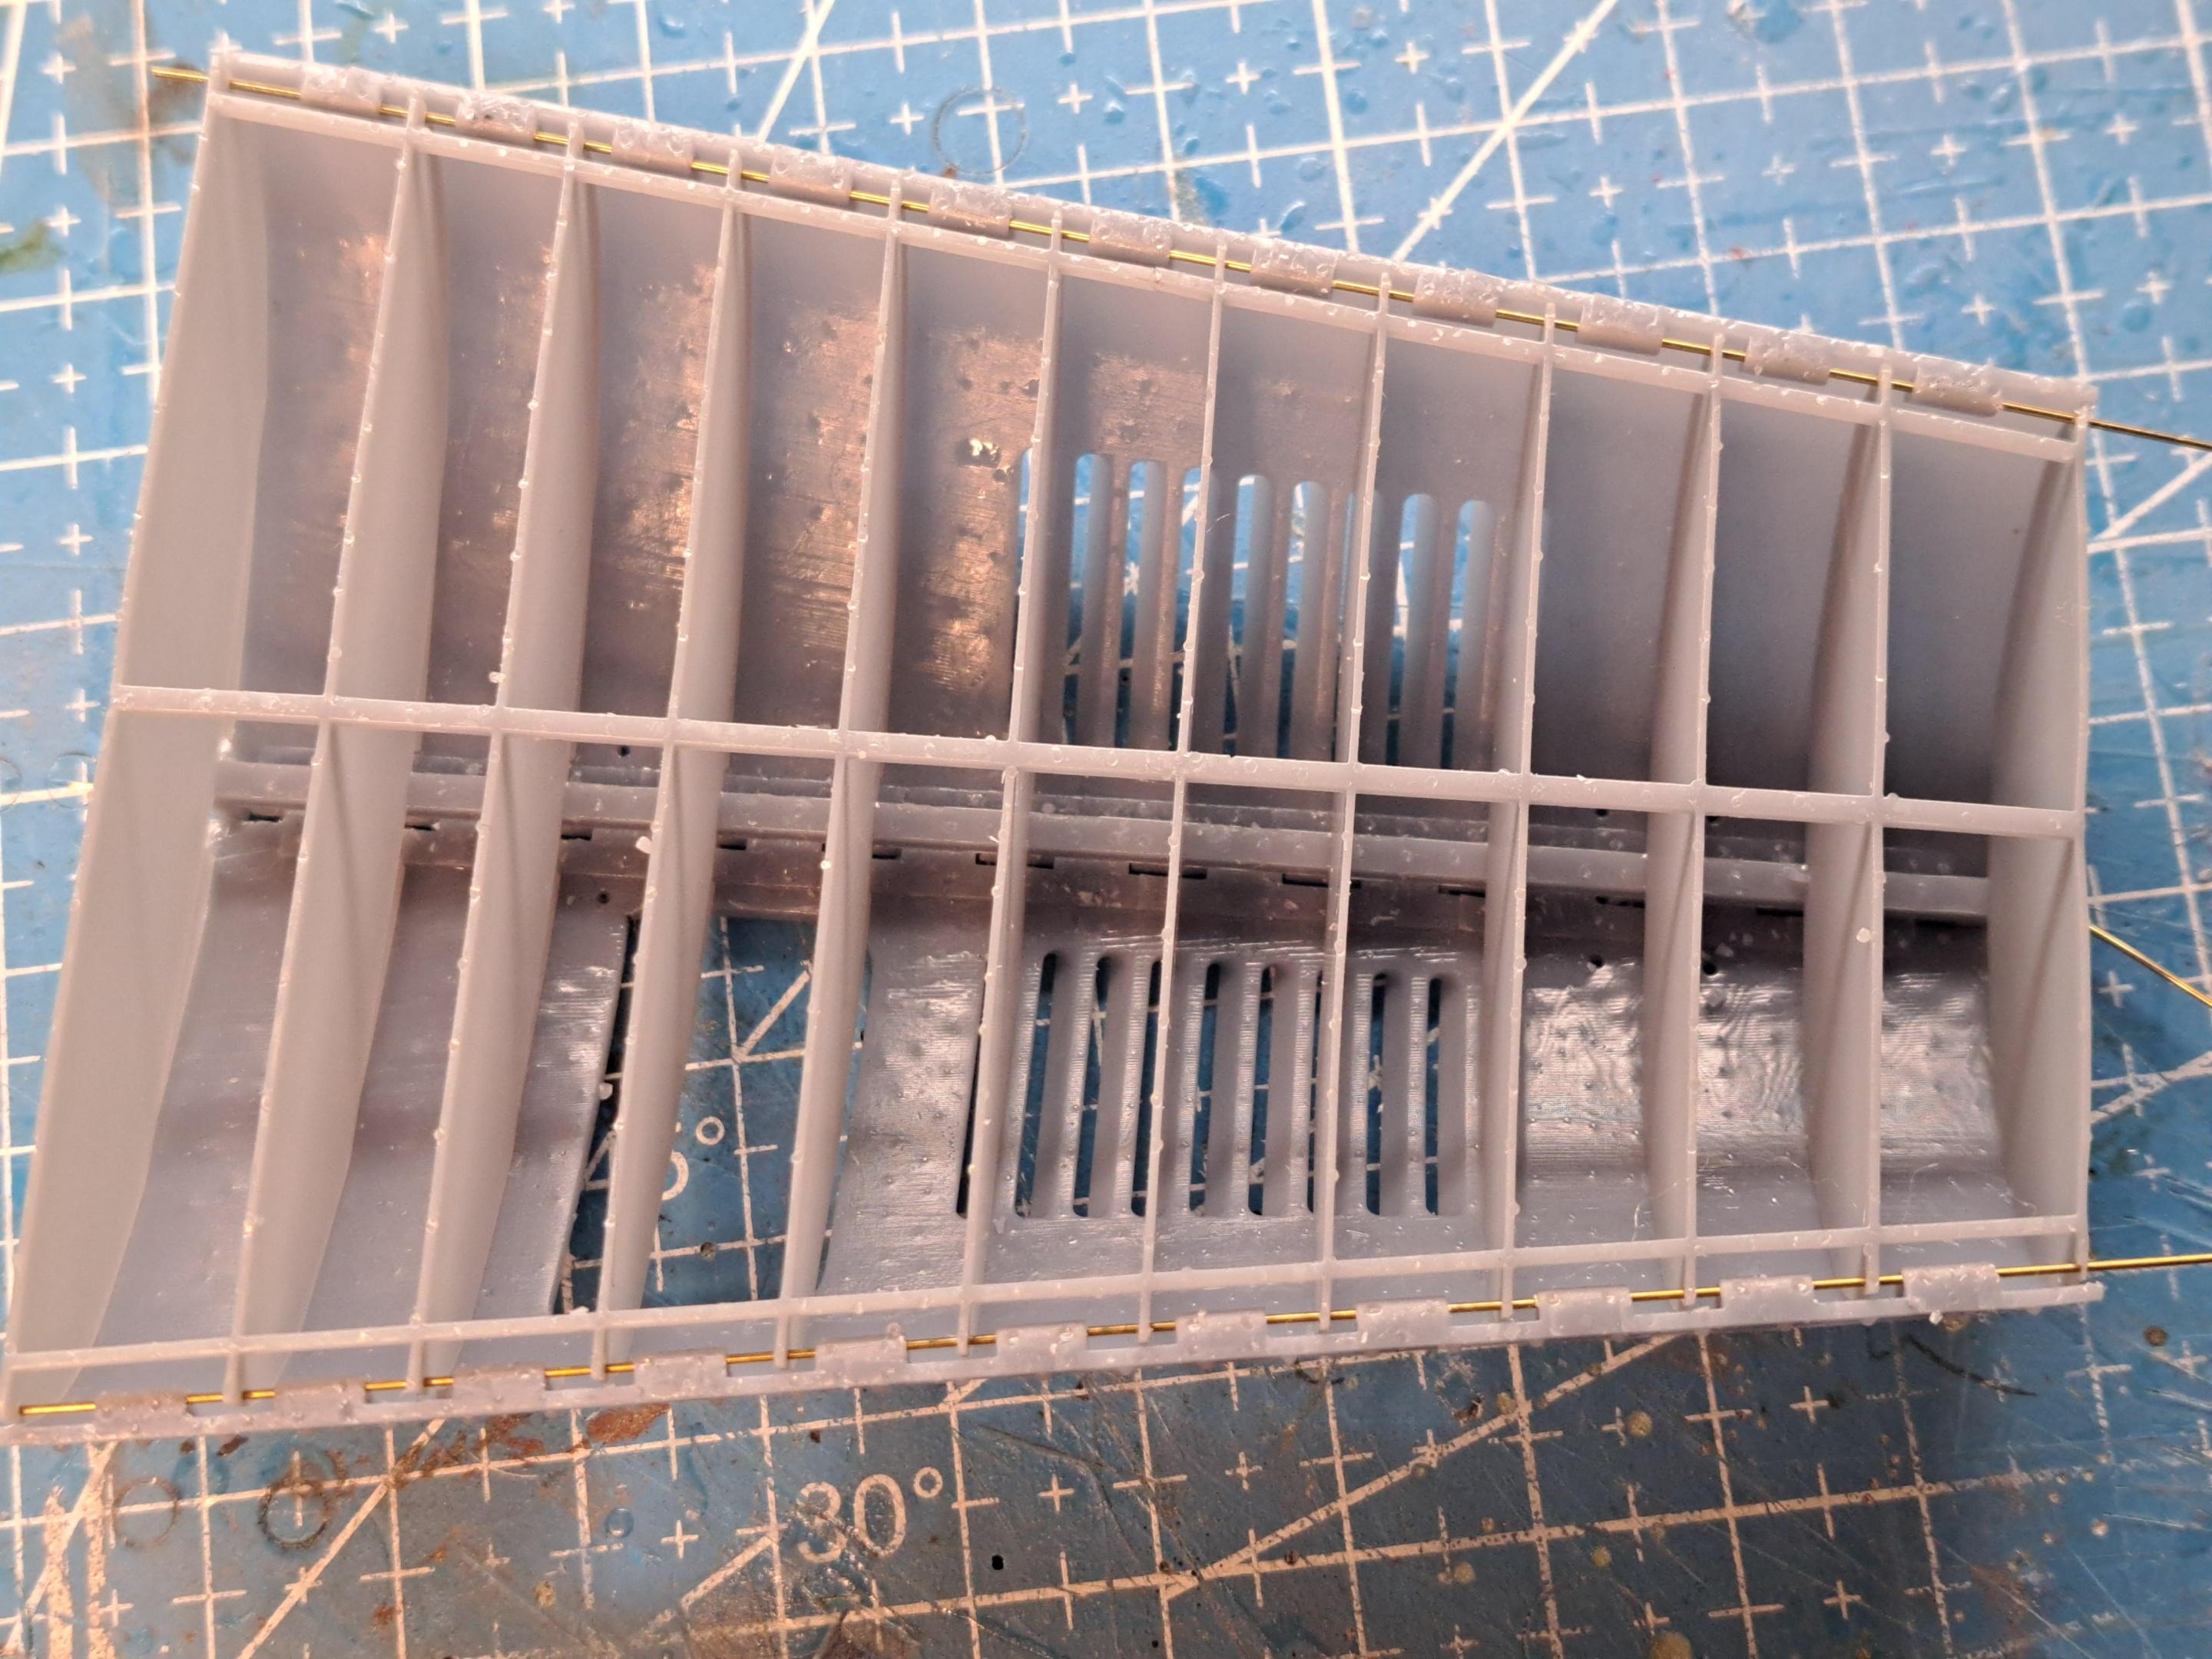
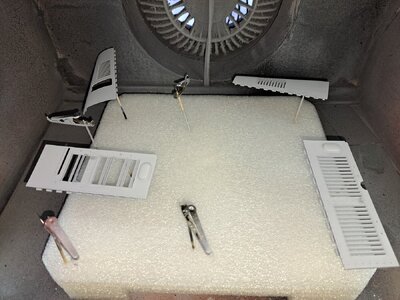
I also reprinted the hood panels with a curing fixture ( on right side of print plate). The idea with this fixture is to try and conforme the curved panel while curing.


Like I mentionned before, I've made so many modifications/add-ons on this model that I have to take certain measures to assure correct fit and alignment. I tackled 2 of these measures over the weekend.

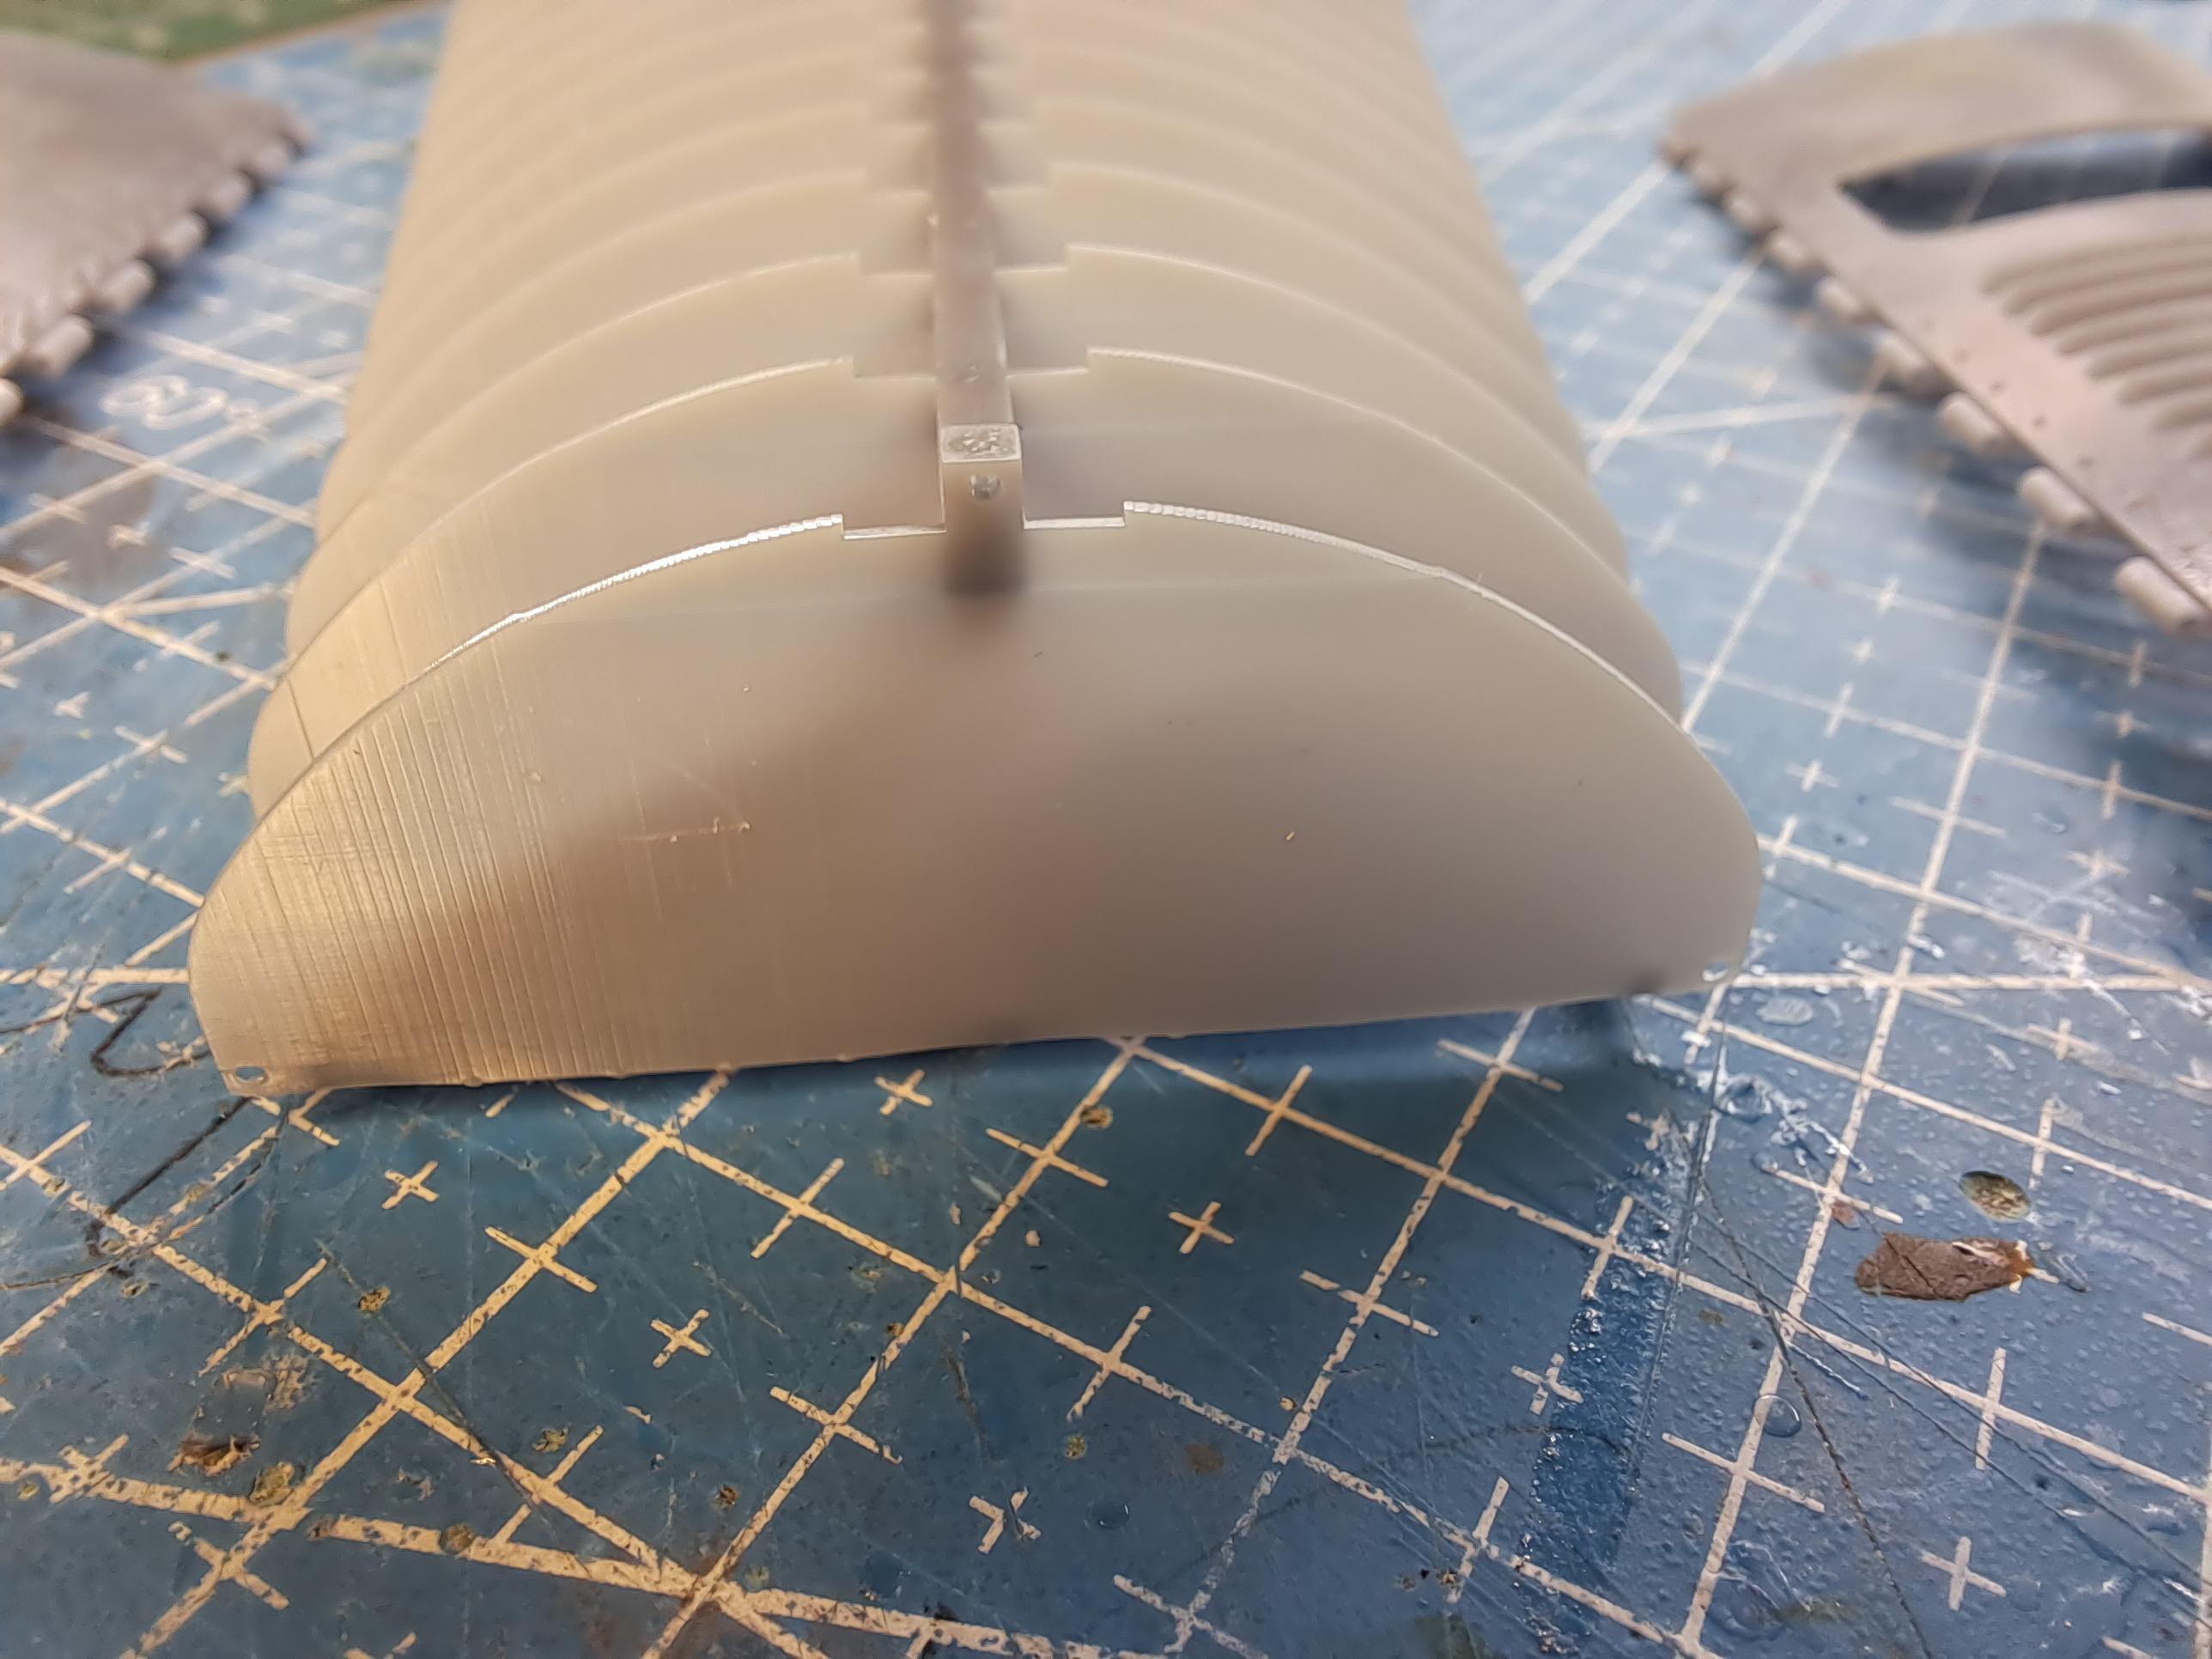
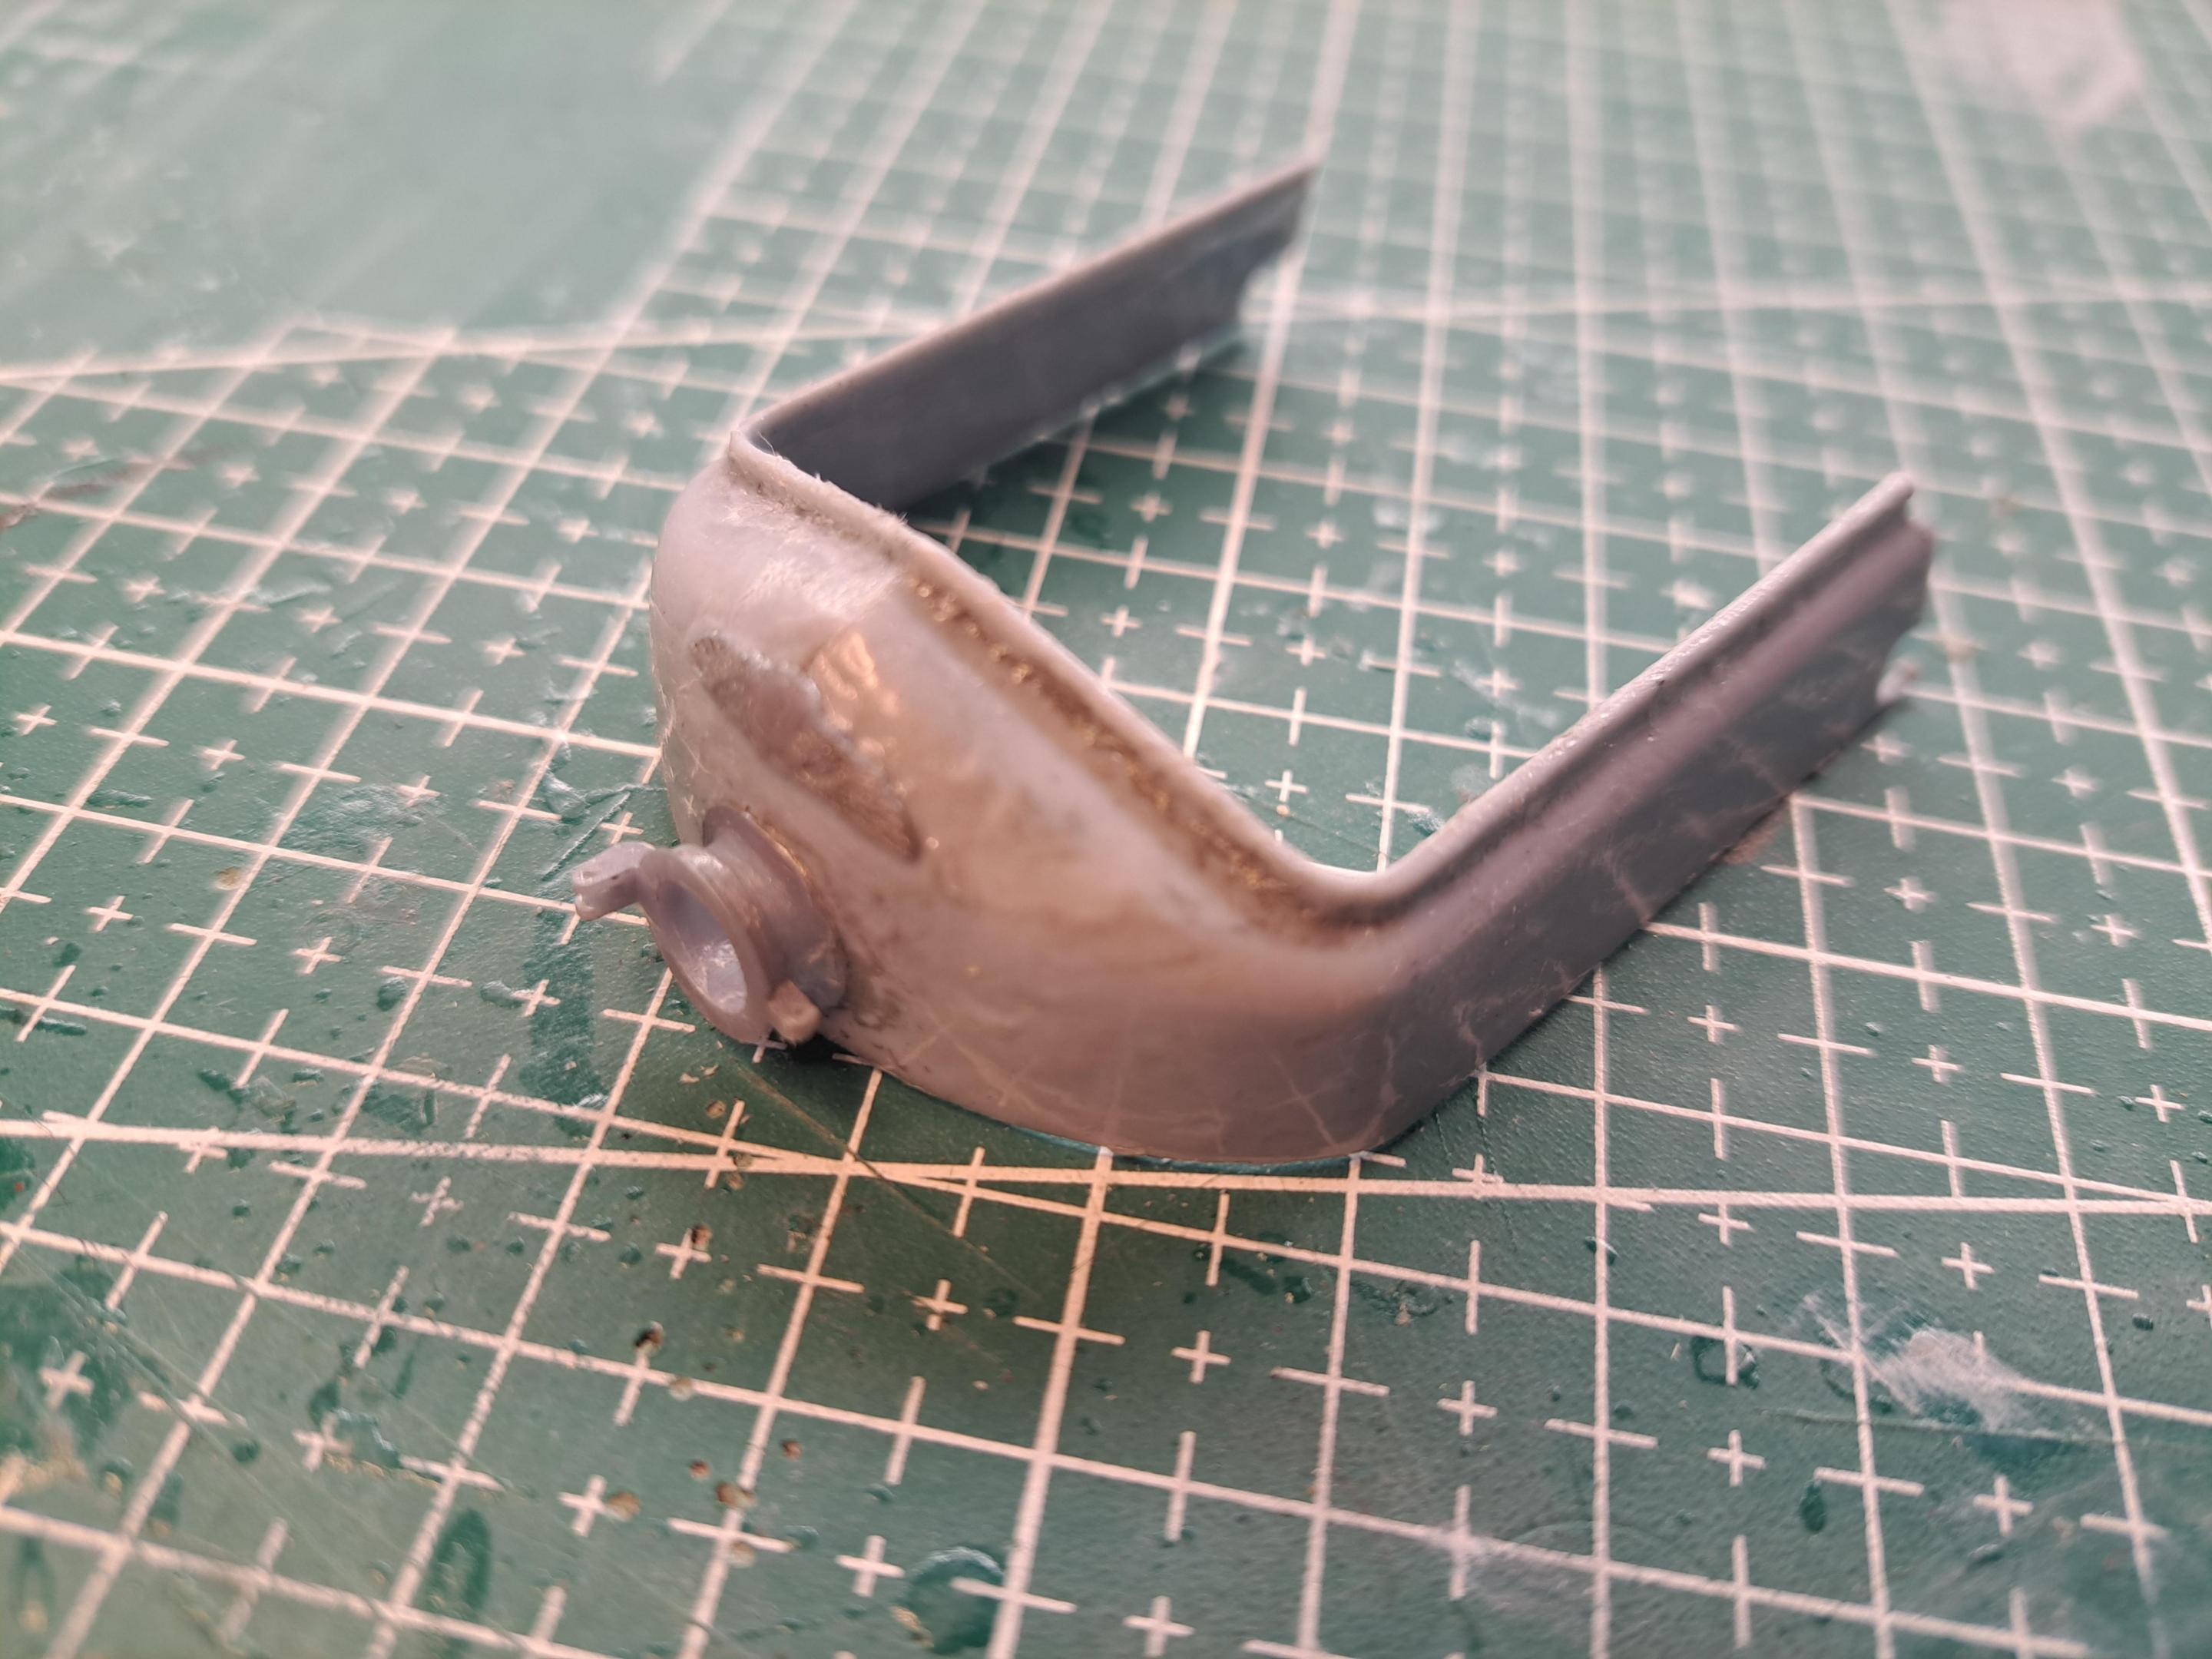
Since I printed new thinner hood panels to replace the bulky looking ones from the kit, one problem I'm face with is to try and maintain the correct curvature of the 2 top panels. When a part come out of the washer after printing, it is still very soft and can be deformed a bit just by manipulating it. So I made a curing fixture to conform the panel during curing. The fixture has the exact shape of the top panel as there are once installed on the model. I incorporated holes that align with the hinges, that way, the panels are firmly held in place at exactly the correct relation. Here are a few pictures.


20240204_202041.jpg.023de0f69274a93f5b2ccba8c74f636c.jpg


The fixture worked perfectly and held the panels during curing. I'm designing a similar fixture for both side panels as well.

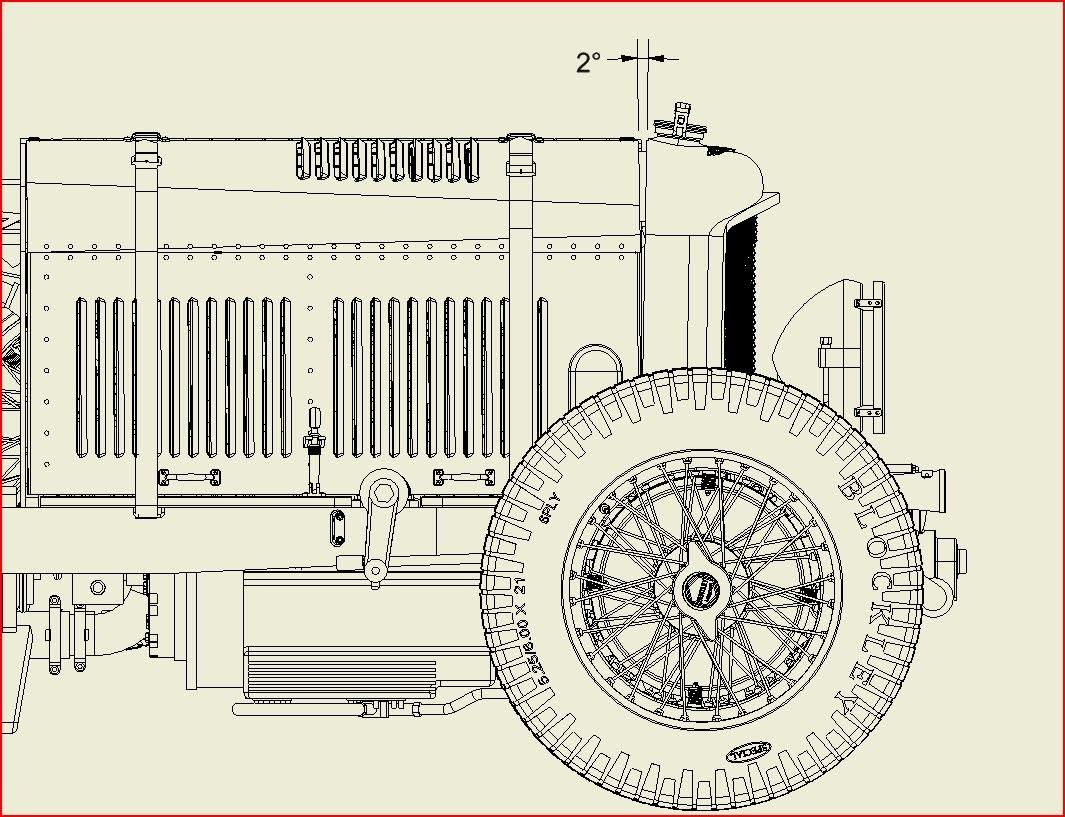
The second measure was a bit more tricky to figure out. It's the alignment between the radiator and the hood panel. I want to hava as close to an even gap as possible between them. But, since almost everything in this section of the model is new, the gap is not parallel. In the following pictures, I want the angle show as close to zero as I can get it.
HOODANGLE.jpg.5919e2be568e2e3f5f7424eed1bf1625.jpg


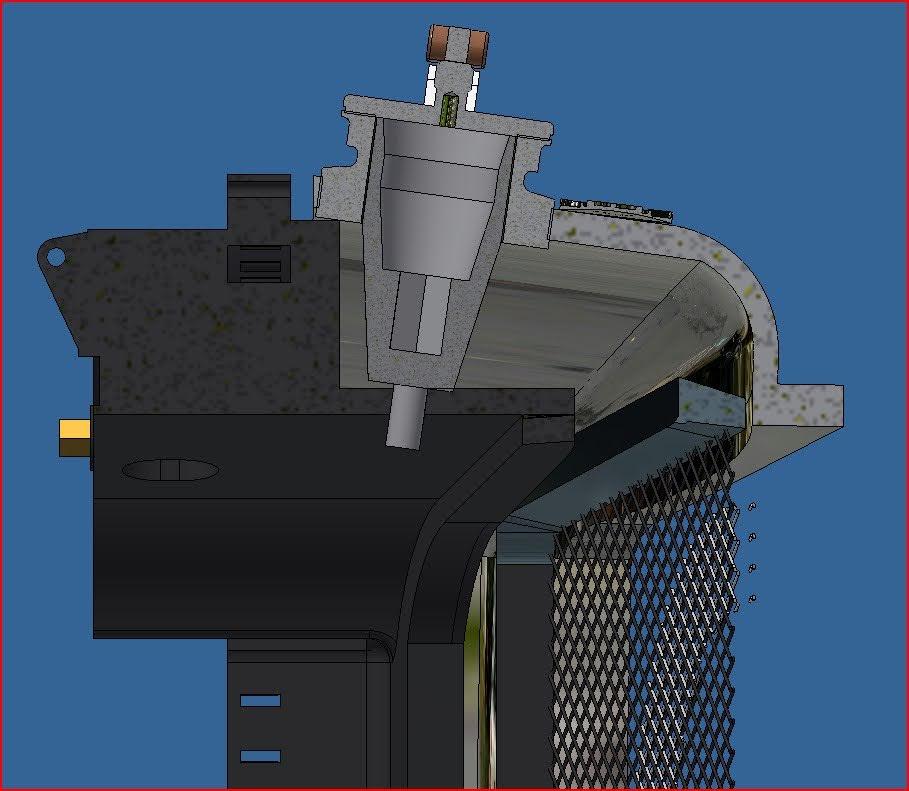
to achieve this, I designed a mecanism that will permit me to ajust this angle once the radiator and the hood are permanently in place.

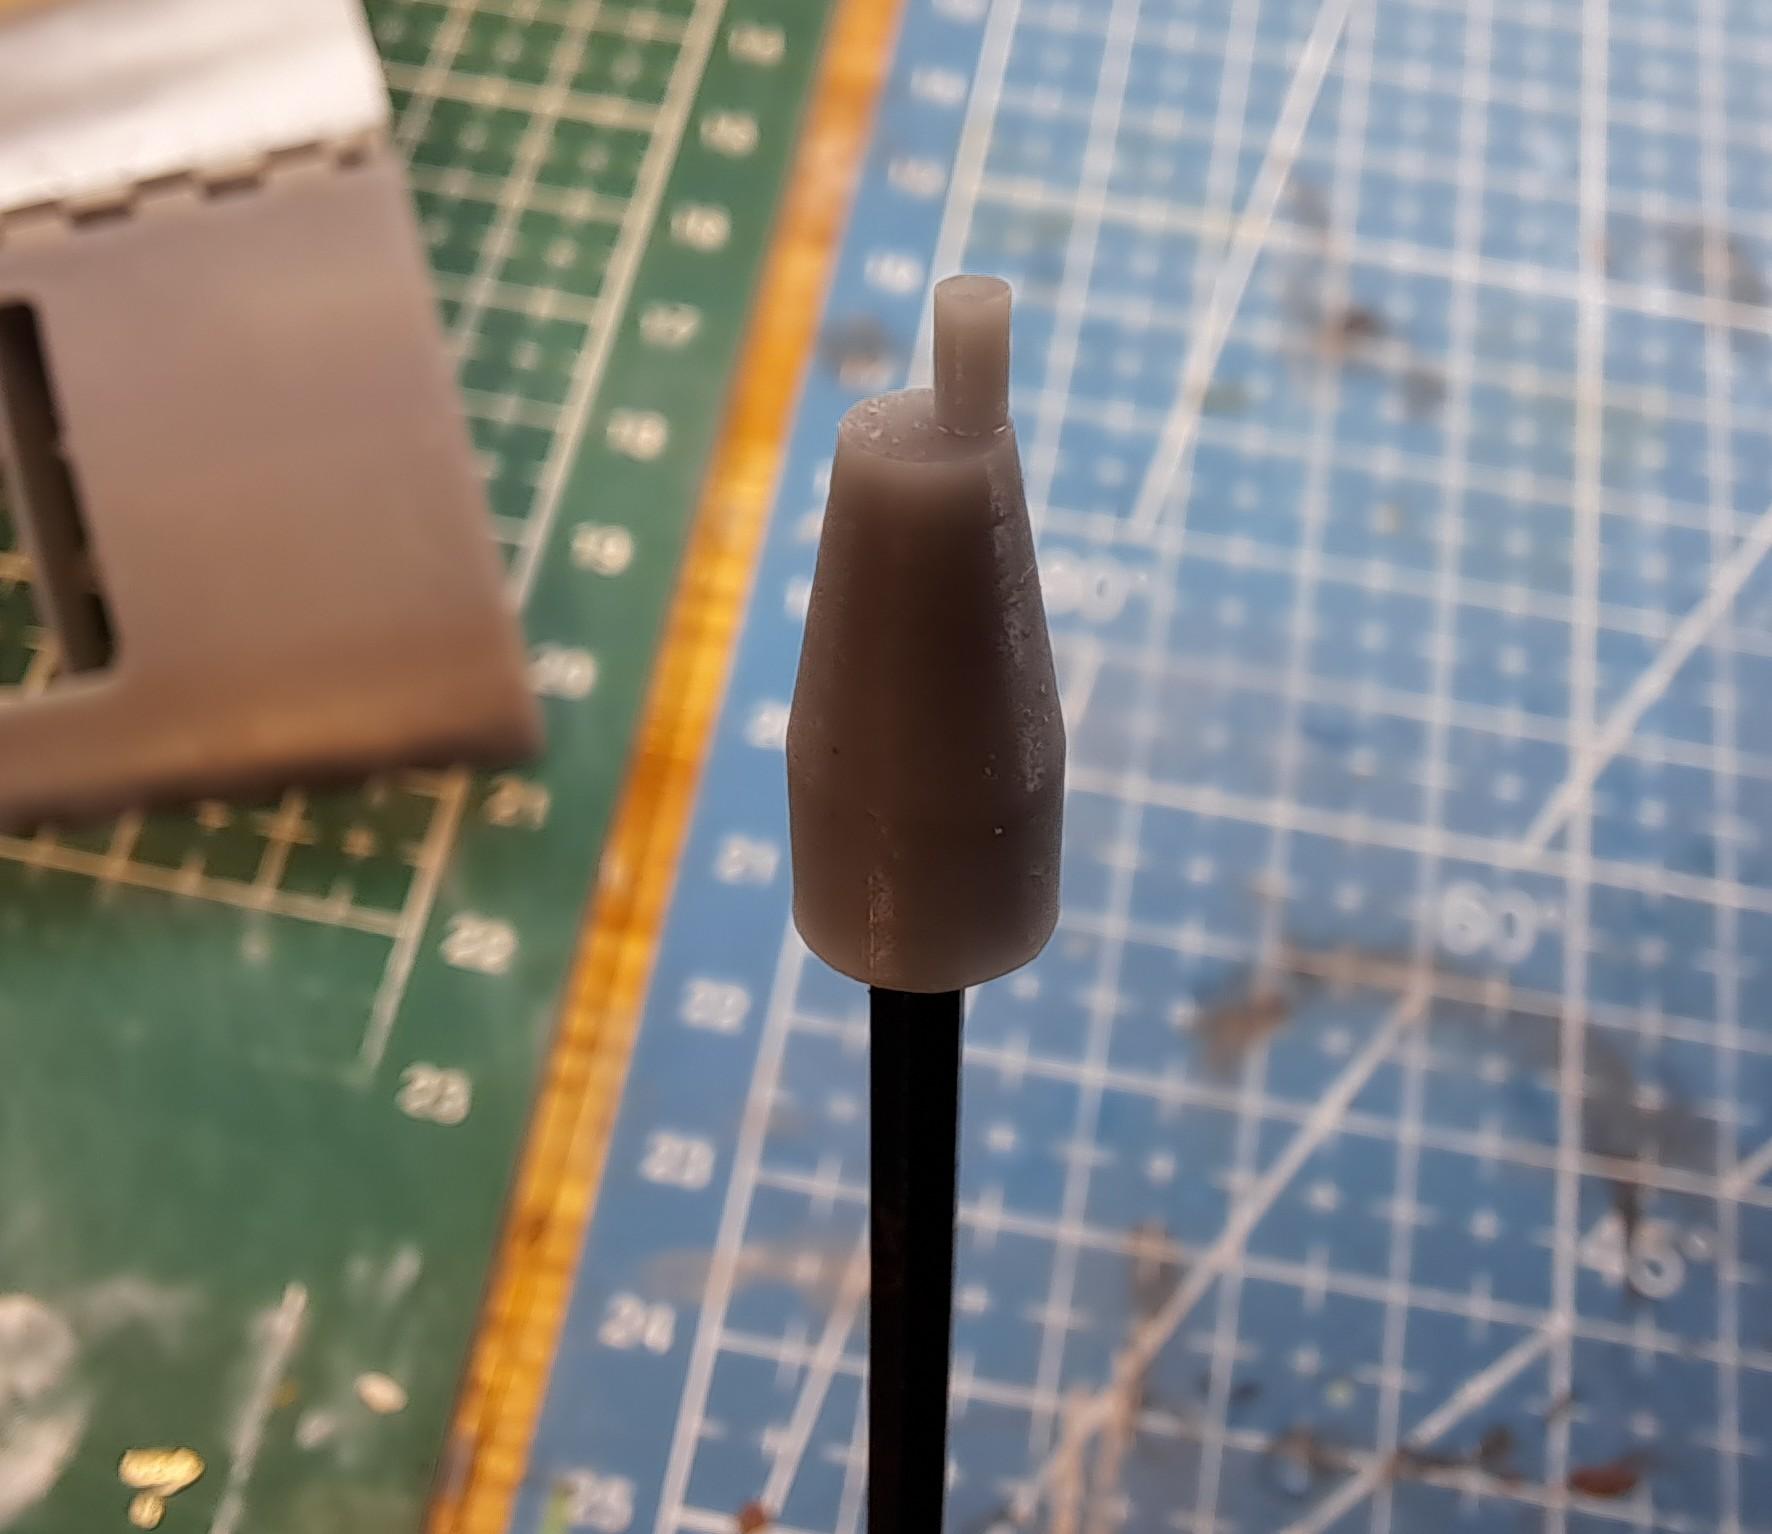
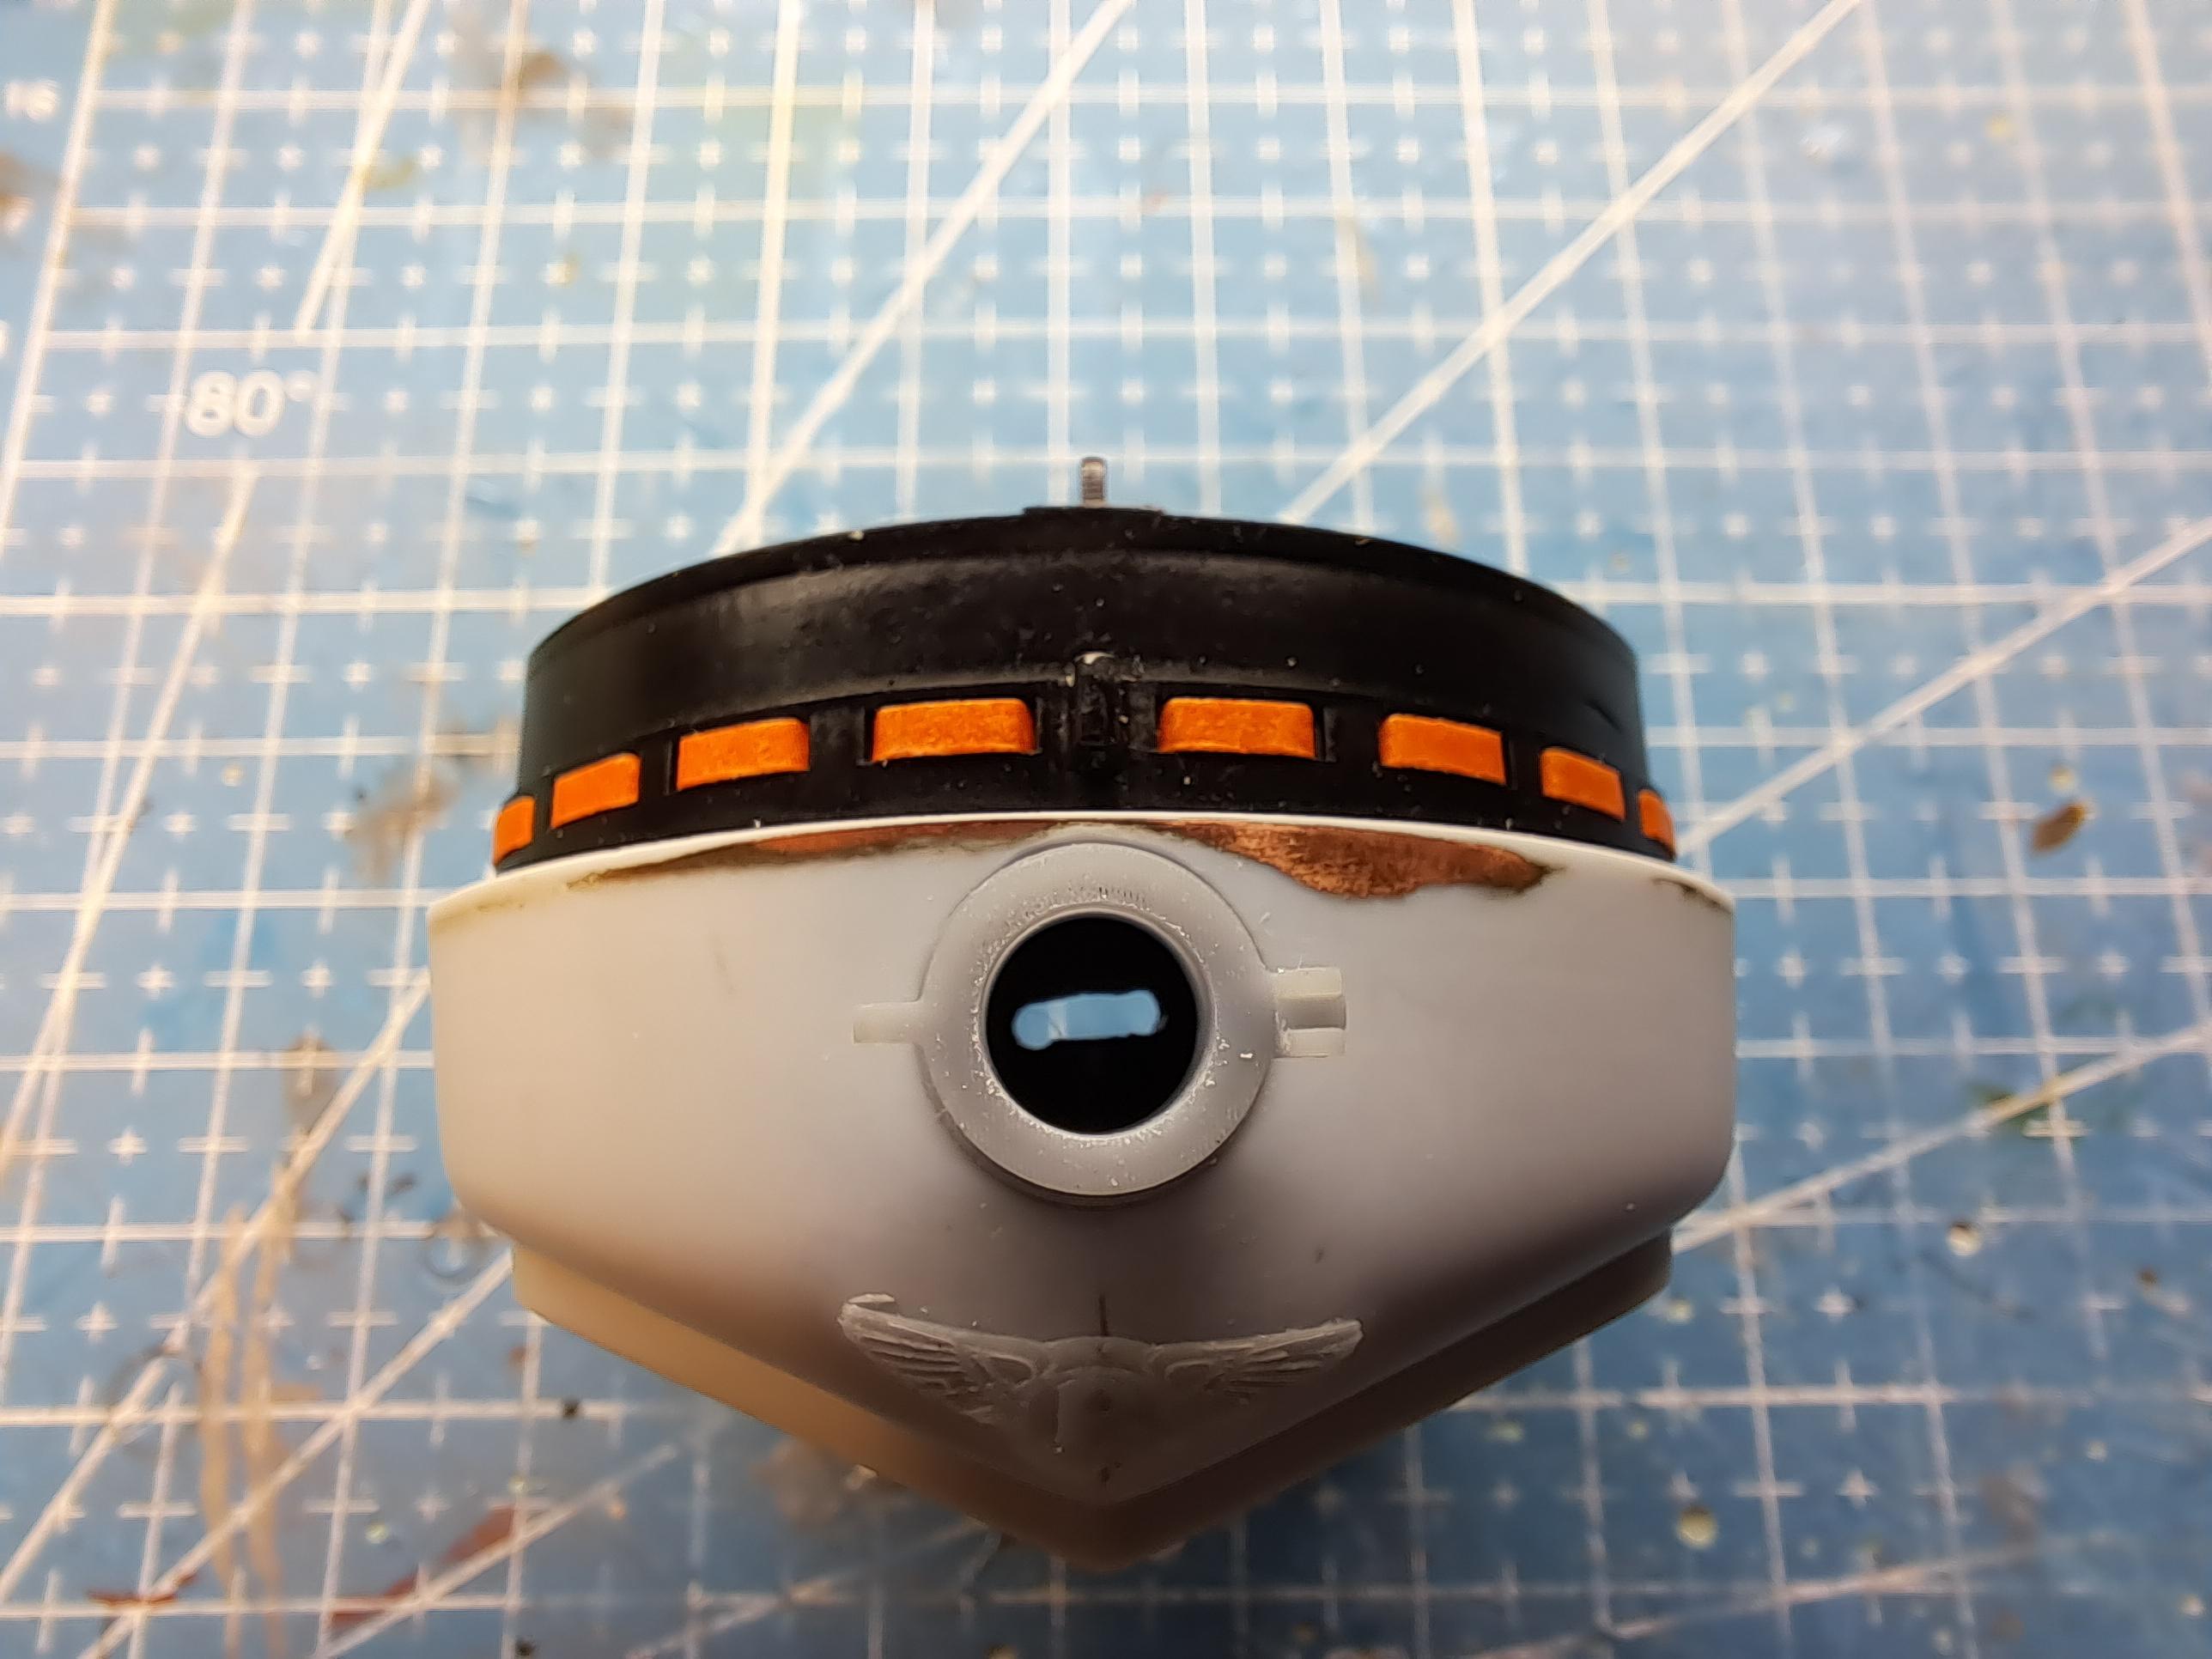
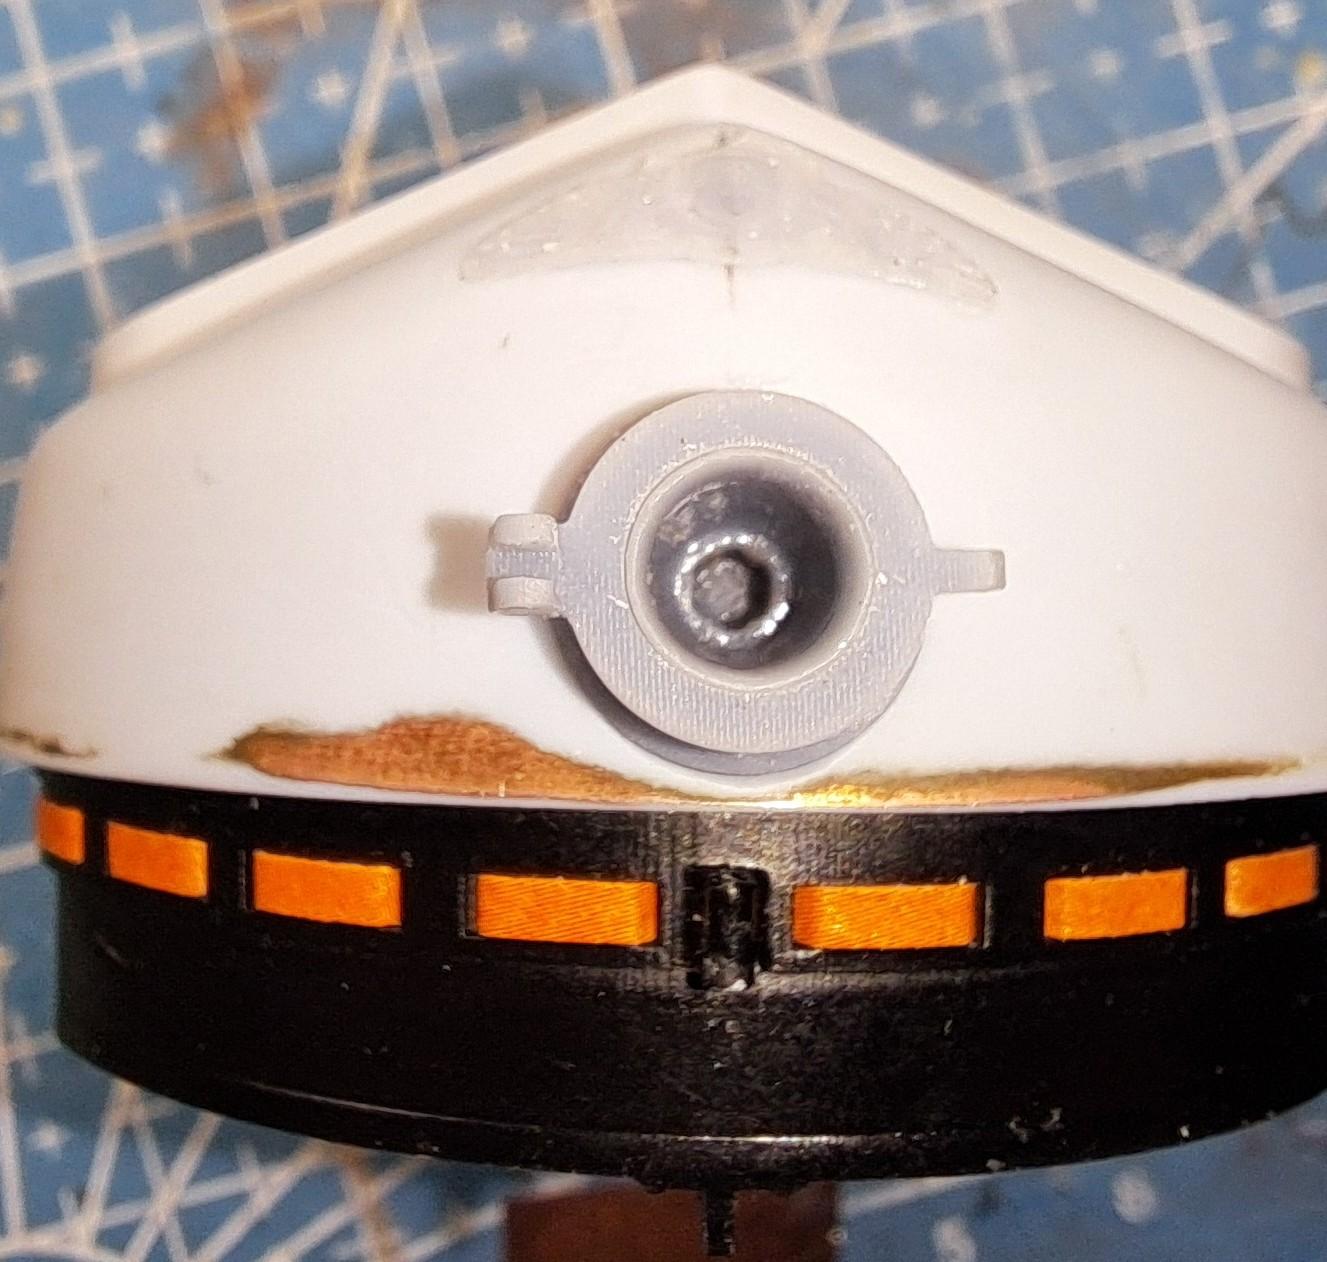
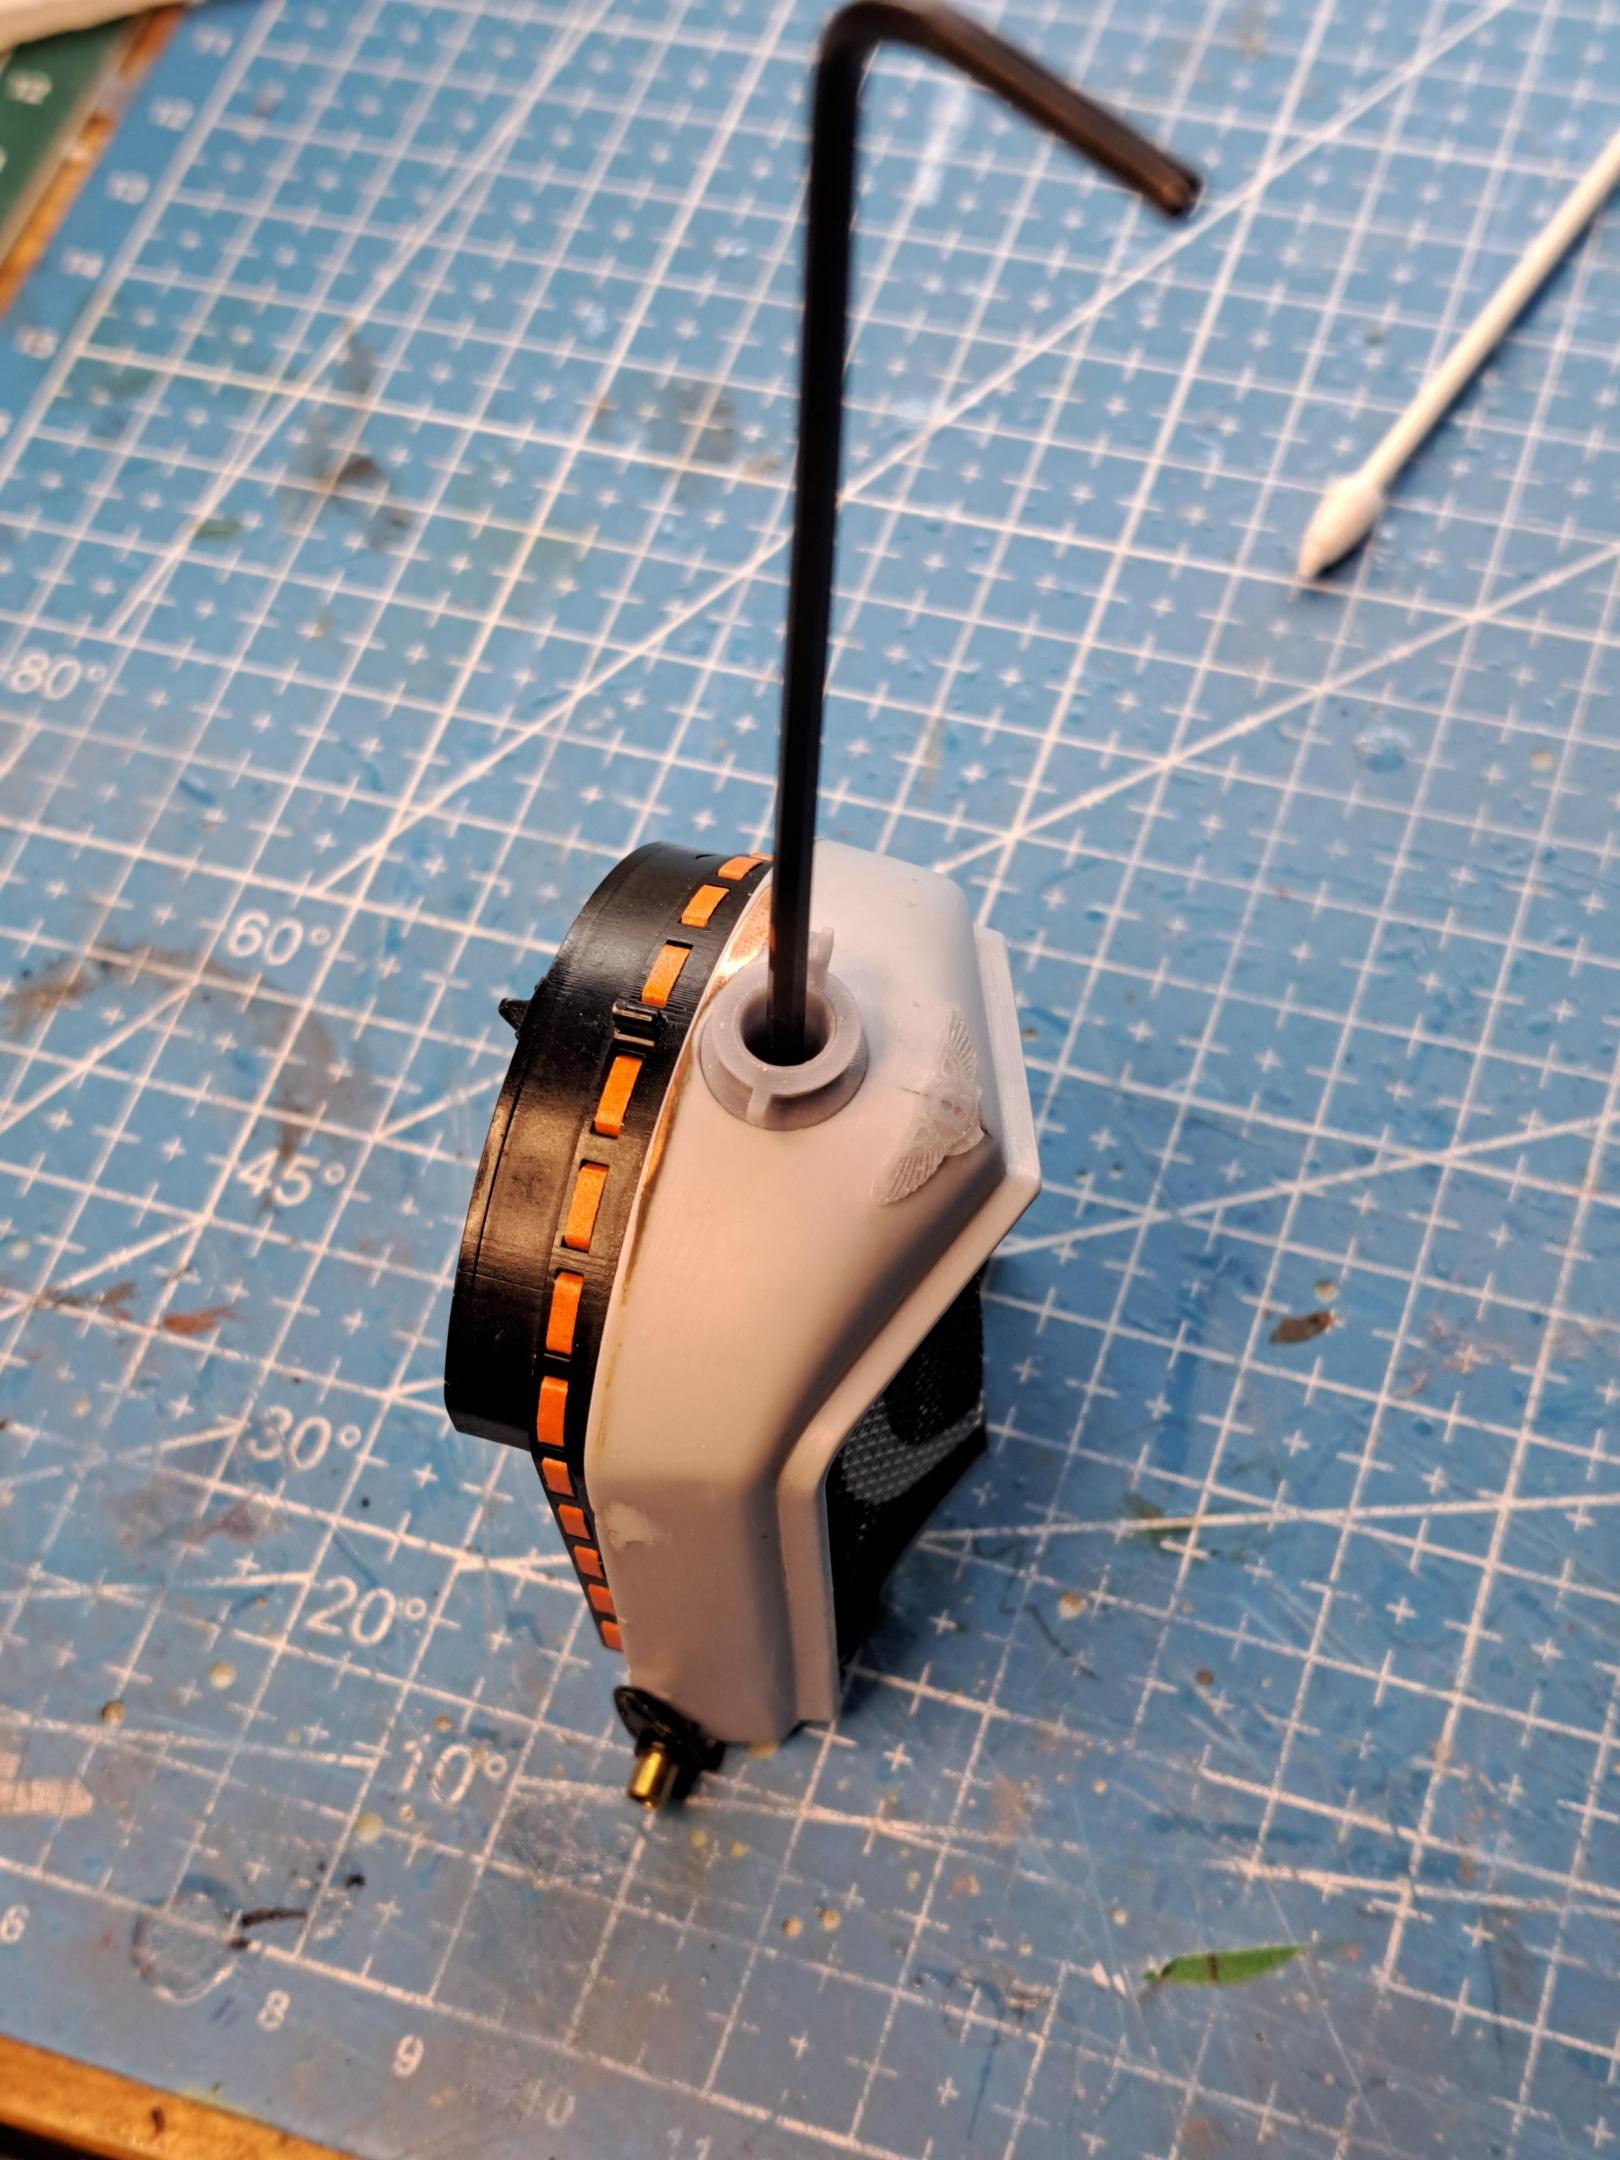
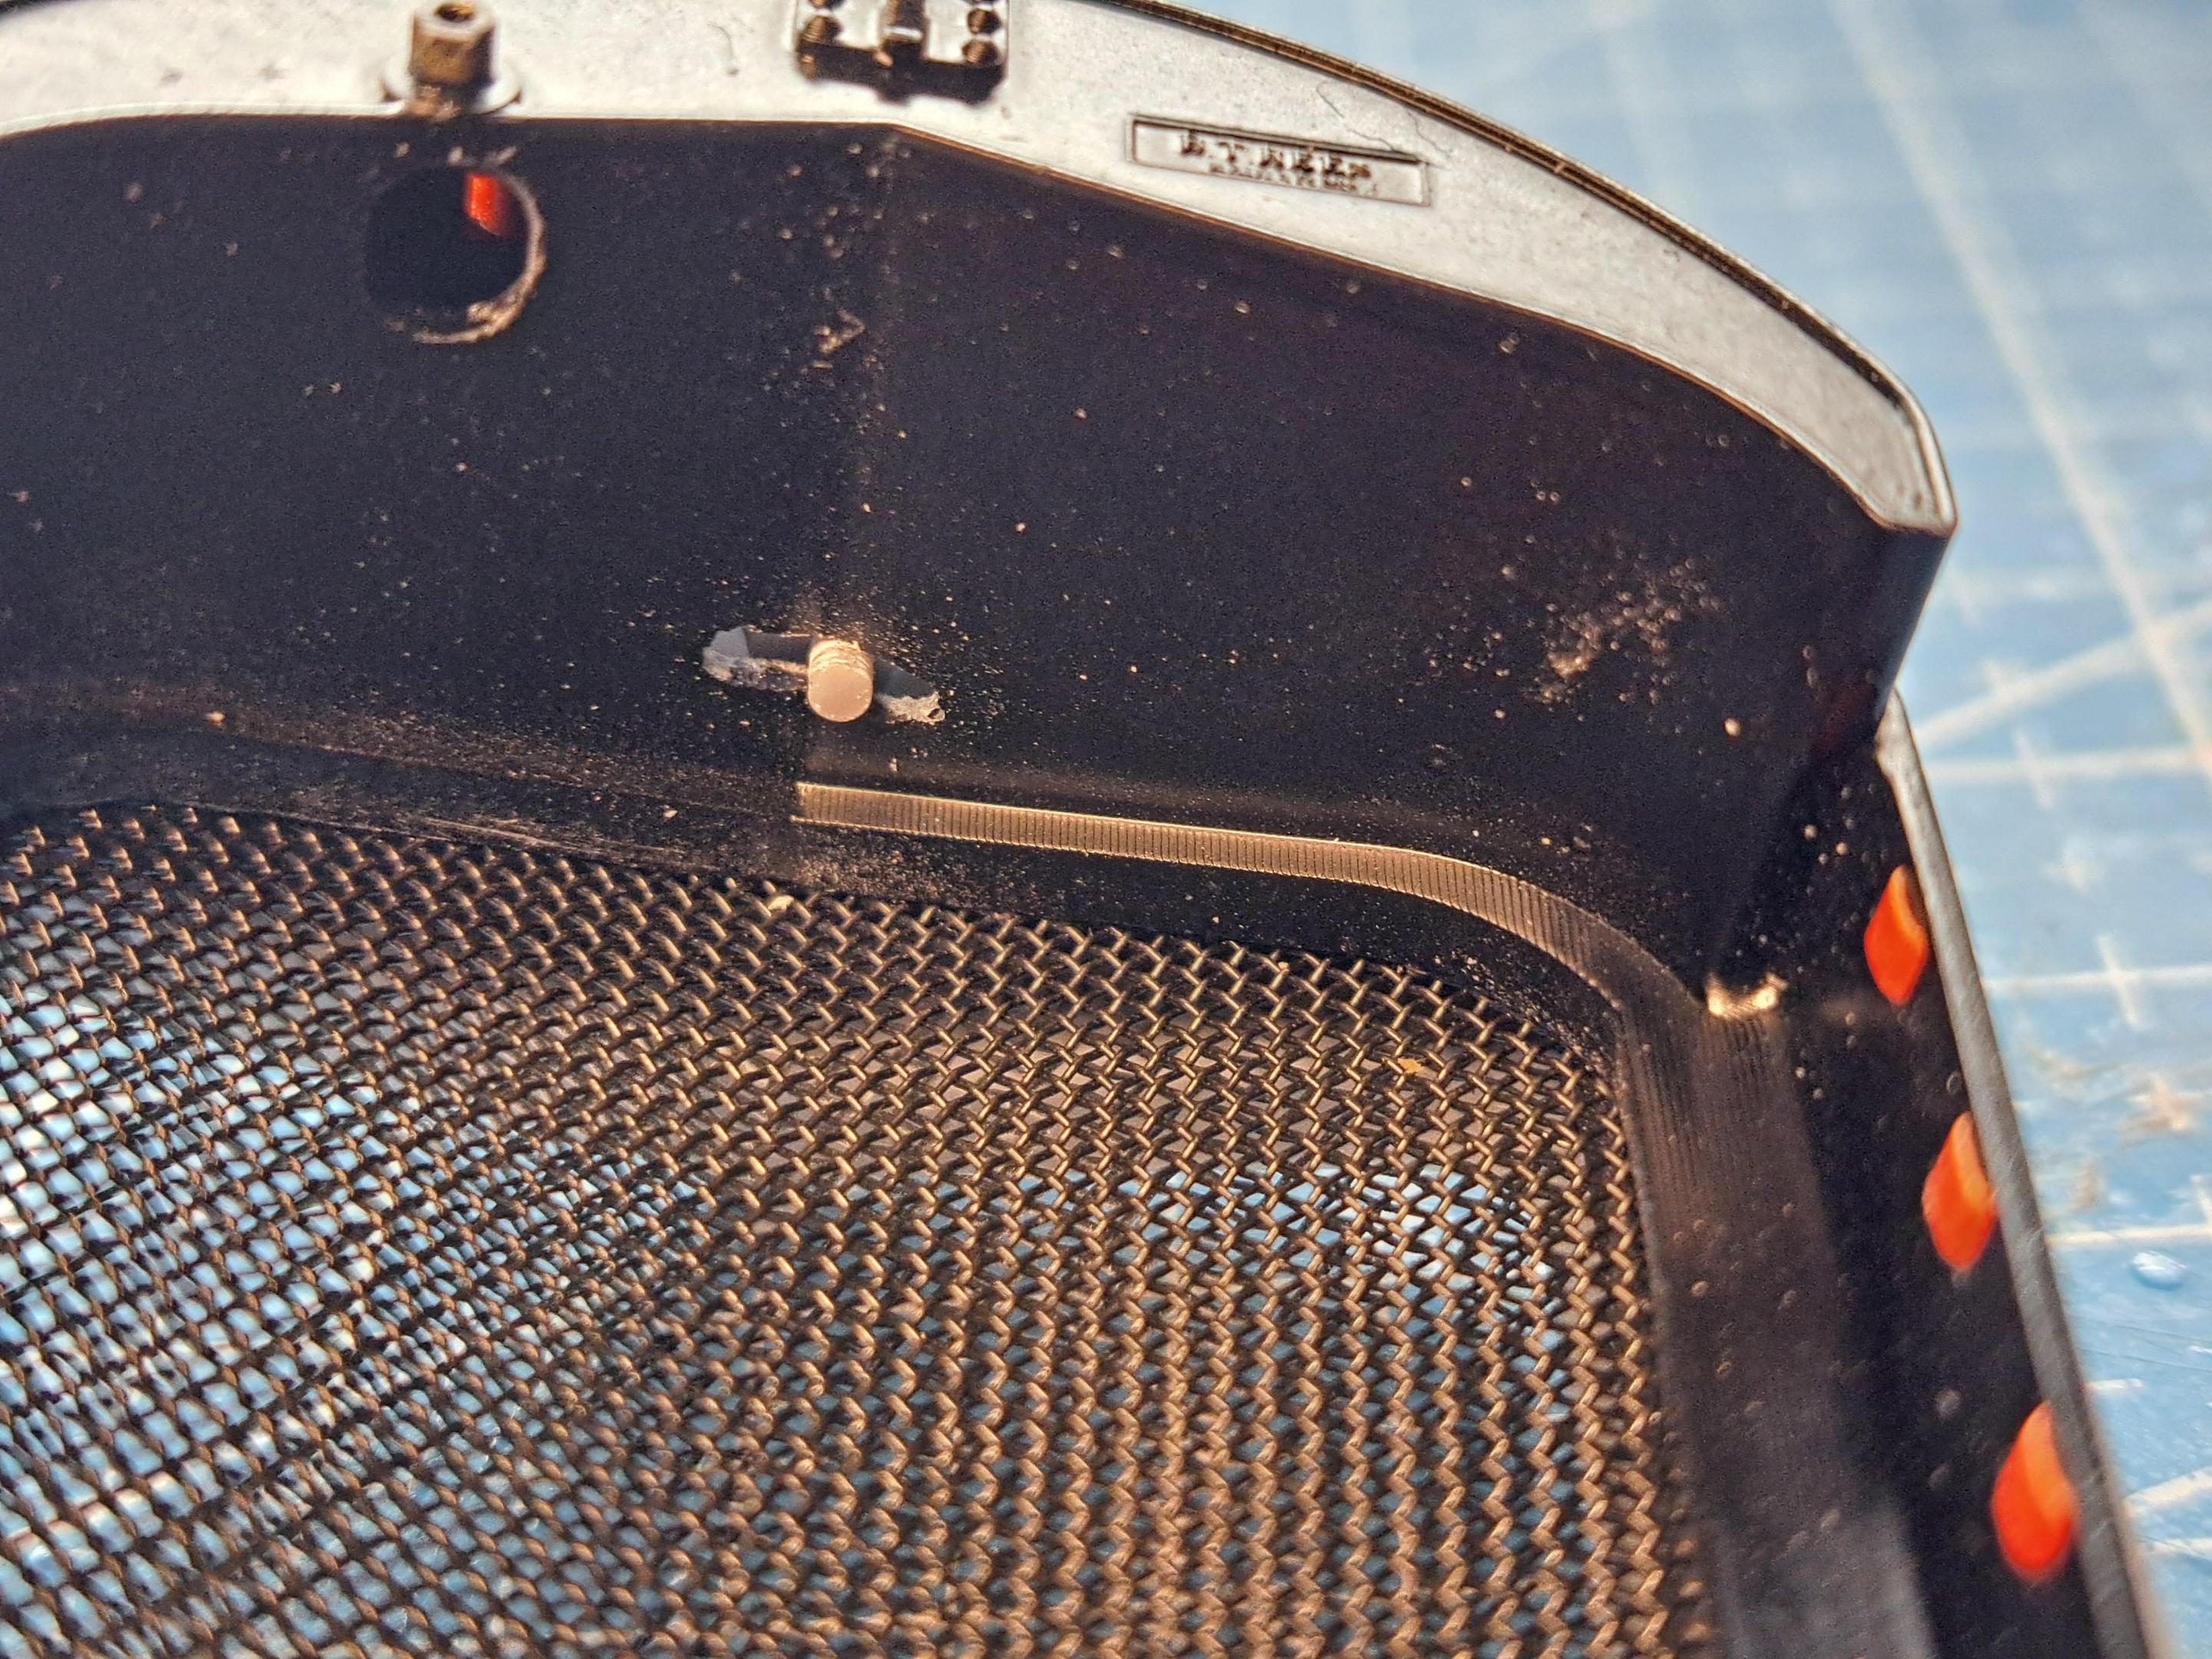
I made a sleeve that fits inside the radiator cap. This part will be glued in place once the ajustement's done so it will be painted black to look like the radiator filler tube. At the end of the sleeve, I added a small stud that as a .035in excentricity. This means that when the sleeve rotates, the stud move on a .07in diameter circle (2x the excentric). I also added a hex socket on the inside the drive the sleeve with a small allen key. To work, the excentric stud is engaged in a slot I made in the radiator core, the slot has the same width as the diameter of the stud. By rotating the sleeve, the stud move the radiator cover in relation to the core and since the cover is mounted to the core via a pivot point at the bottom, the angle between the 2 parts varies.

Here's the design

RADAJUST.jpg.425180570bd750960d475d0c74a82752.jpg


The sleeve, you can clearly see the excentric stud.

20240204_203623.jpg.2518ff1c40390411e8a12b1c1640fa75.jpg


The slot seen thru the filler cap

20240204_172728.jpg.eb6125239540fed48f6c1fc6fffe4a6e.jpg


The hex socket

20240204_204856.jpg.4c8c76dc58839407991ae3f8880e1daf.jpg


And the key


Here you can see the stud in the slot


And finally, a little video showing how it works
View attachment 20240204_204438~2.mp4
I hope my explanations are clear.
 
Like I mentionned before, I've made so many modifications/add-ons on this model that I have to take certain measures to assure correct fit and alignment. I tackled 2 of these measures over the weekend.
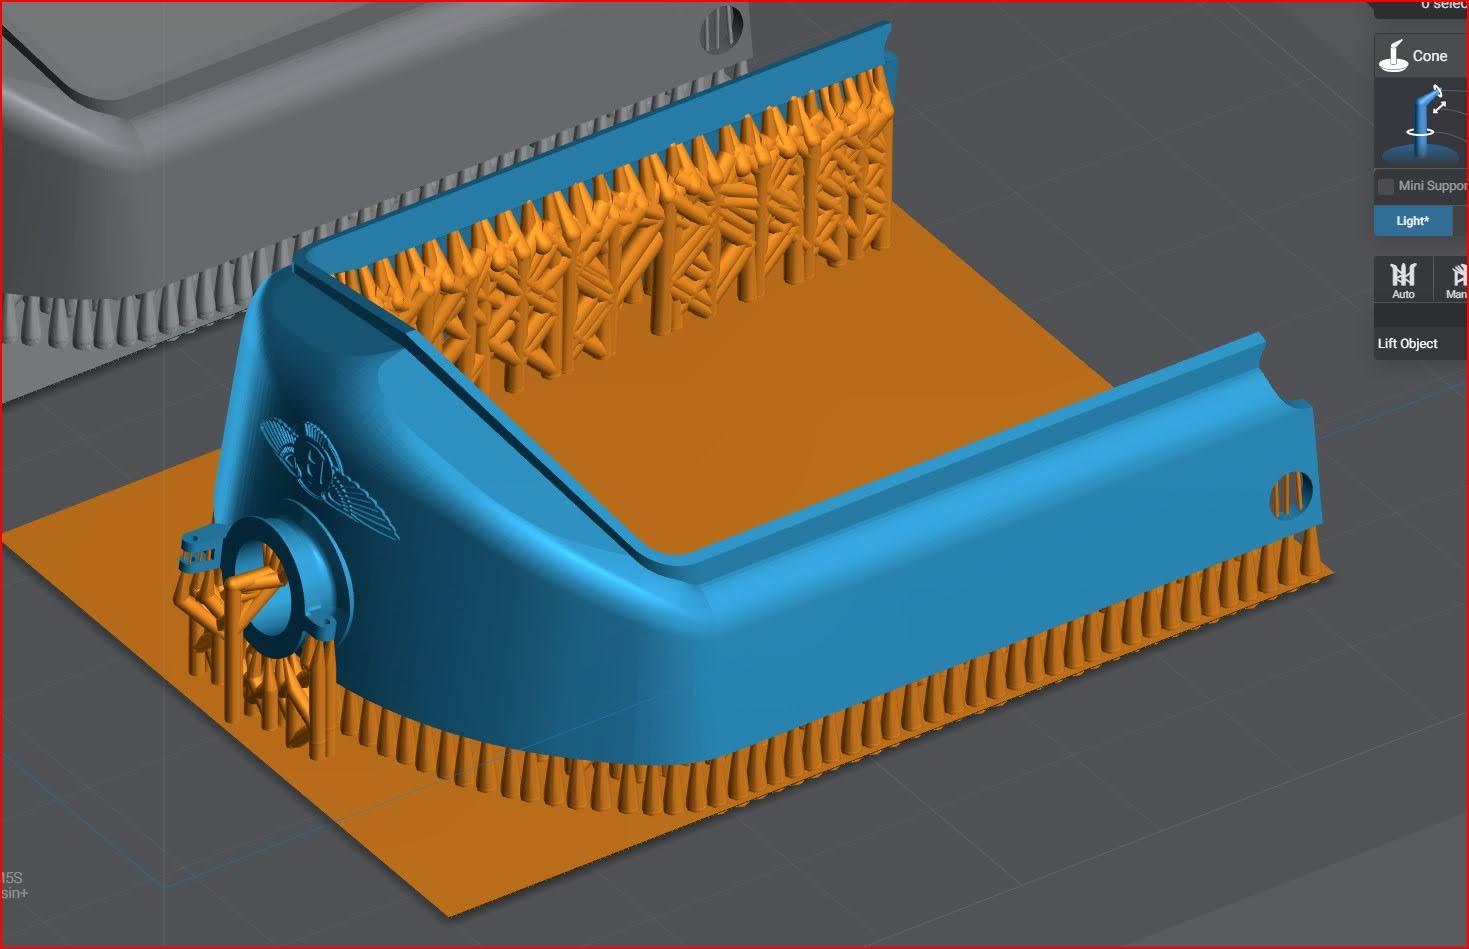
Since I printed new thinner hood panels to replace the bulky looking ones from the kit, one problem I'm face with is to try and maintain the correct curvature of the 2 top panels. When a part come out of the washer after printing, it is still very soft and can be deformed a bit just by manipulating it. So I made a curing fixture to conform the panel during curing. The fixture has the exact shape of the top panel as there are once installed on the model. I incorporated holes that align with the hinges, that way, the panels are firmly held in place at exactly the correct relation. Here are a few pictures.


20240204_202041.jpg.023de0f69274a93f5b2ccba8c74f636c.jpg


The fixture worked perfectly and held the panels during curing. I'm designing a similar fixture for both side panels as well.

The second measure was a bit more tricky to figure out. It's the alignment between the radiator and the hood panel. I want to hava as close to an even gap as possible between them. But, since almost everything in this section of the model is new, the gap is not parallel. In the following pictures, I want the angle show as close to zero as I can get it.
HOODANGLE.jpg.5919e2be568e2e3f5f7424eed1bf1625.jpg


to achieve this, I designed a mecanism that will permit me to ajust this angle once the radiator and the hood are permanently in place.

I made a sleeve that fits inside the radiator cap. This part will be glued in place once the ajustement's done so it will be painted black to look like the radiator filler tube. At the end of the sleeve, I added a small stud that as a .035in excentricity. This means that when the sleeve rotates, the stud move on a .07in diameter circle (2x the excentric). I also added a hex socket on the inside the drive the sleeve with a small allen key. To work, the excentric stud is engaged in a slot I made in the radiator core, the slot has the same width as the diameter of the stud. By rotating the sleeve, the stud move the radiator cover in relation to the core and since the cover is mounted to the core via a pivot point at the bottom, the angle between the 2 parts varies.

Here's the design

RADAJUST.jpg.425180570bd750960d475d0c74a82752.jpg


The sleeve, you can clearly see the excentric stud.

20240204_203623.jpg.2518ff1c40390411e8a12b1c1640fa75.jpg


The slot seen thru the filler cap

20240204_172728.jpg.eb6125239540fed48f6c1fc6fffe4a6e.jpg


The hex socket

20240204_204856.jpg.4c8c76dc58839407991ae3f8880e1daf.jpg


And the key


Here you can see the stud in the slot


And finally, a little video showing how it works
View attachment 425727
I hope my explanations are clear.
2 very inventive solutions to solve those 2 problems, François. Especially the little hidden one. Hopefully it will work as you planned.
Regards, Peter
 
Hi Francois,
which chrome paint are you using? I'm sorry if you answered the same question before. I tried a search but I was not able to find the topic.
Thanks in advance for the indication
Luigi
 
Well, I really messed up this morning. I didn't like the chrome on the radiator so I tried to remove it. By doing so, I sorta melted the plastic, the part is now unsusable. I spent many hours modeling the radiator cover and it is printing as I write this.


RAD.jpg.ab12ad5b29e7ab0c4e3201e05e368eea.jpg


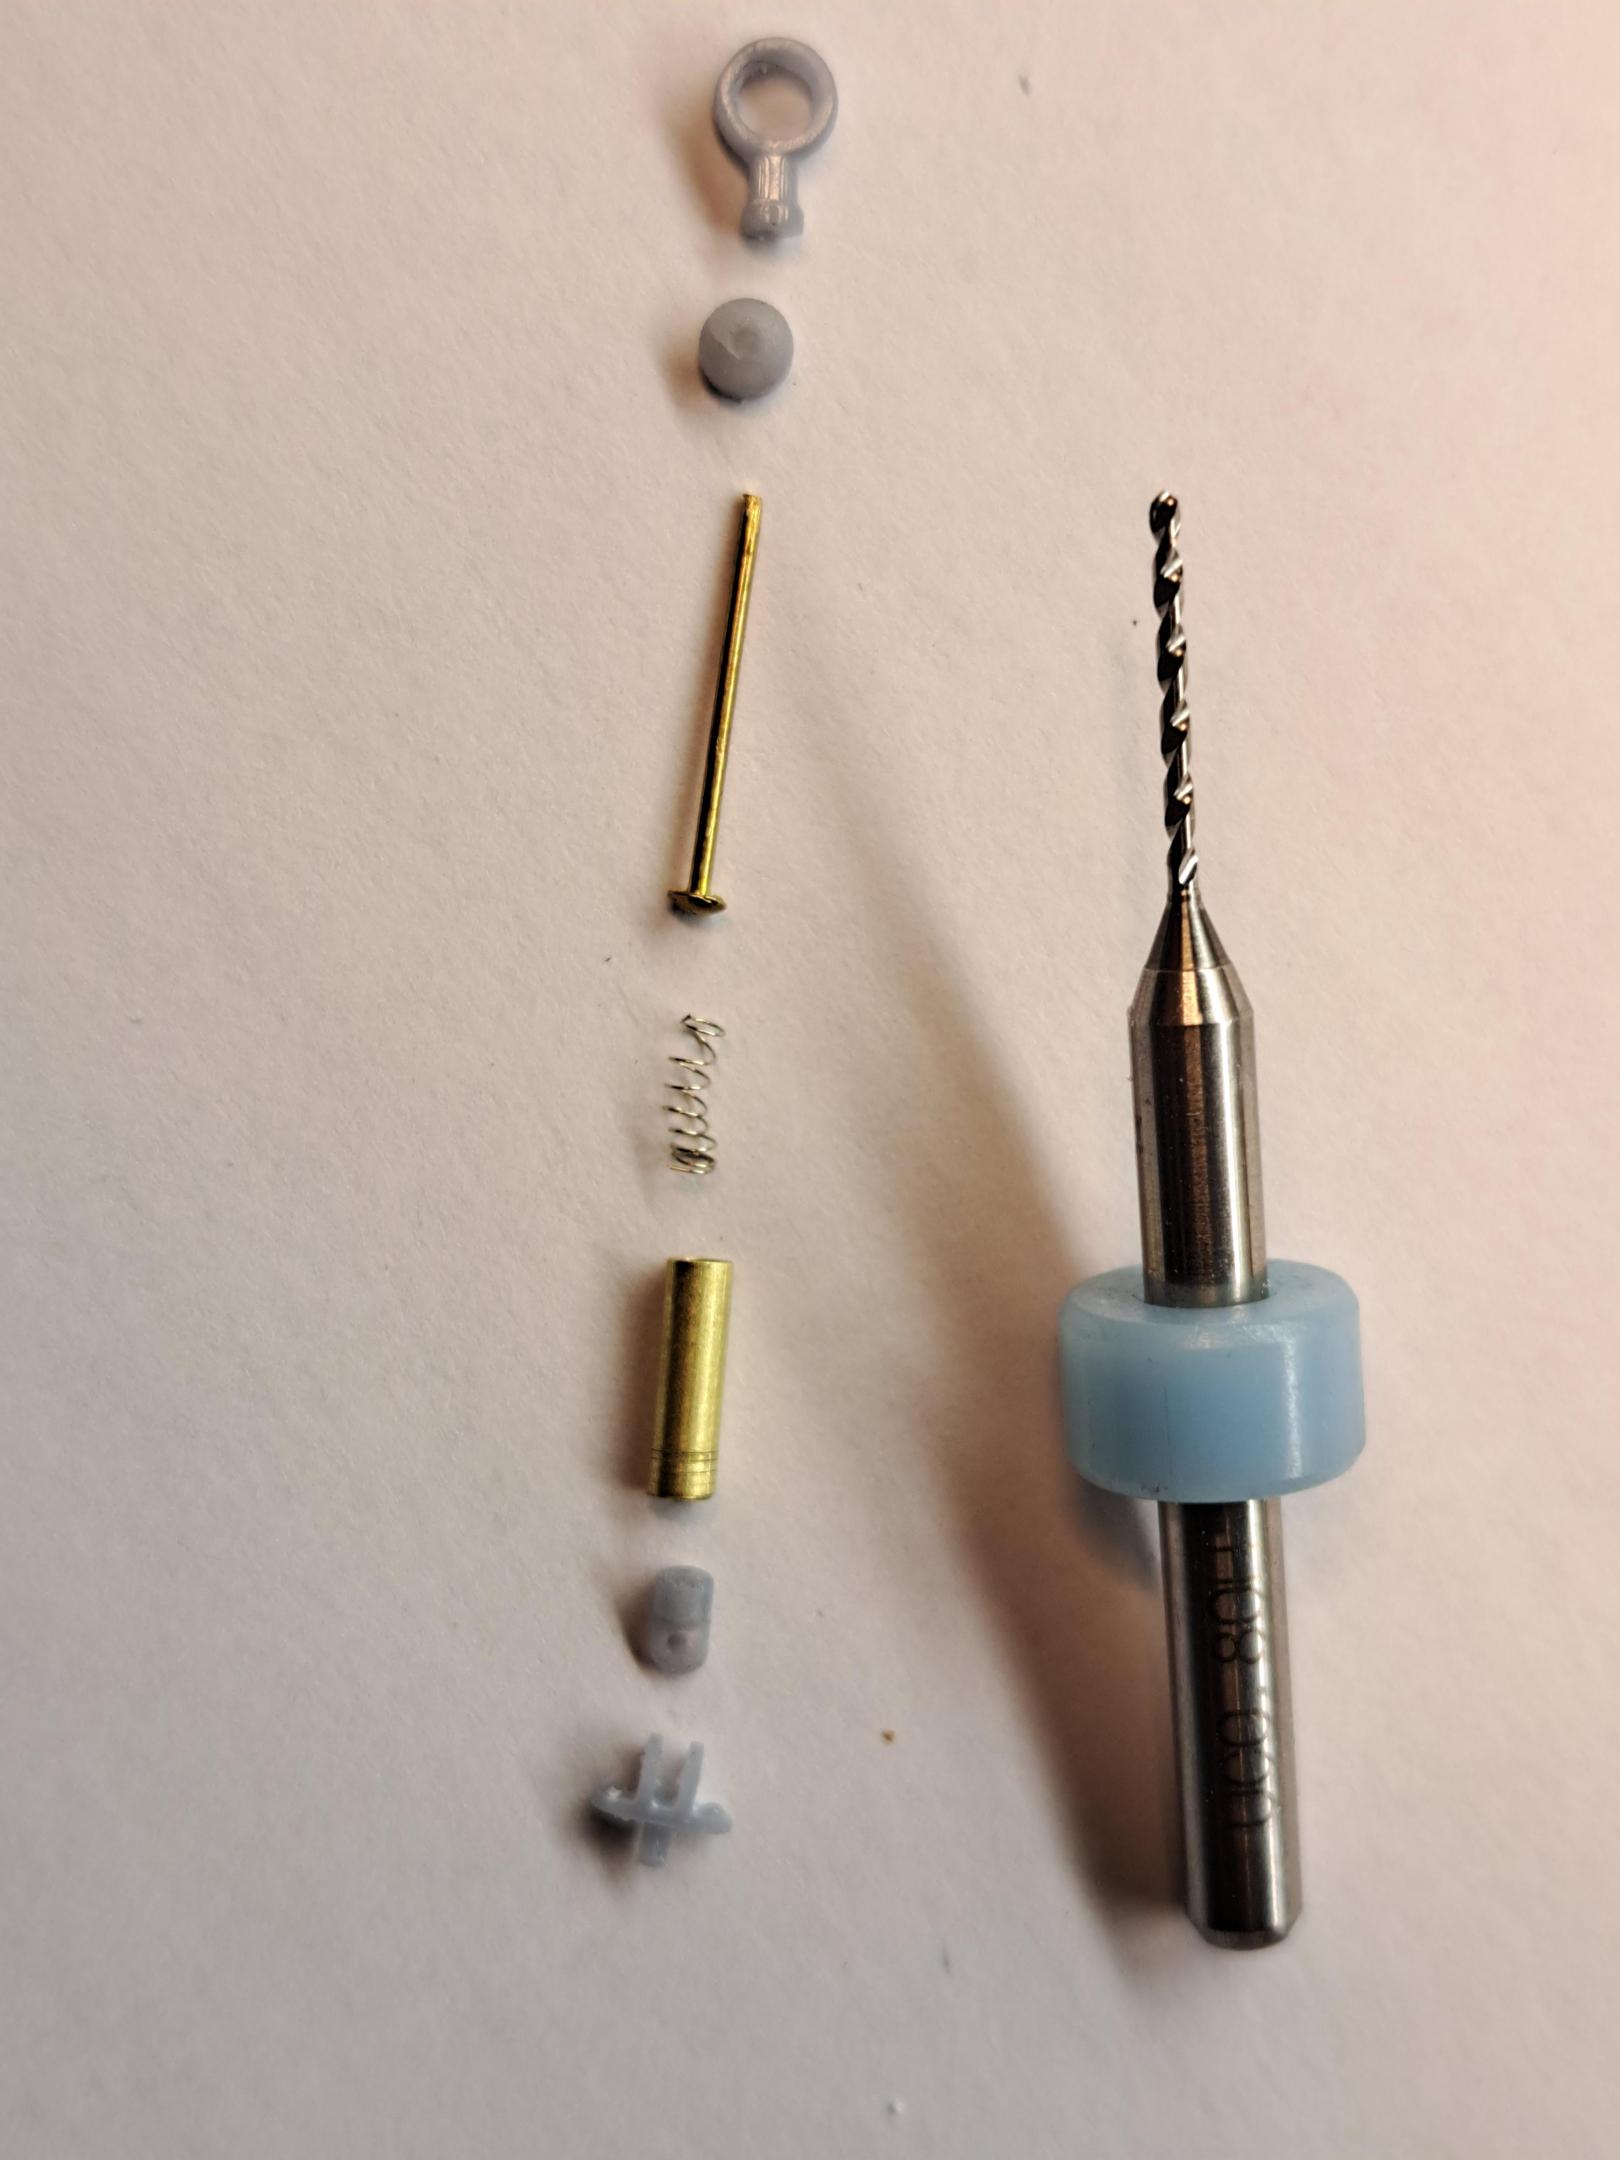
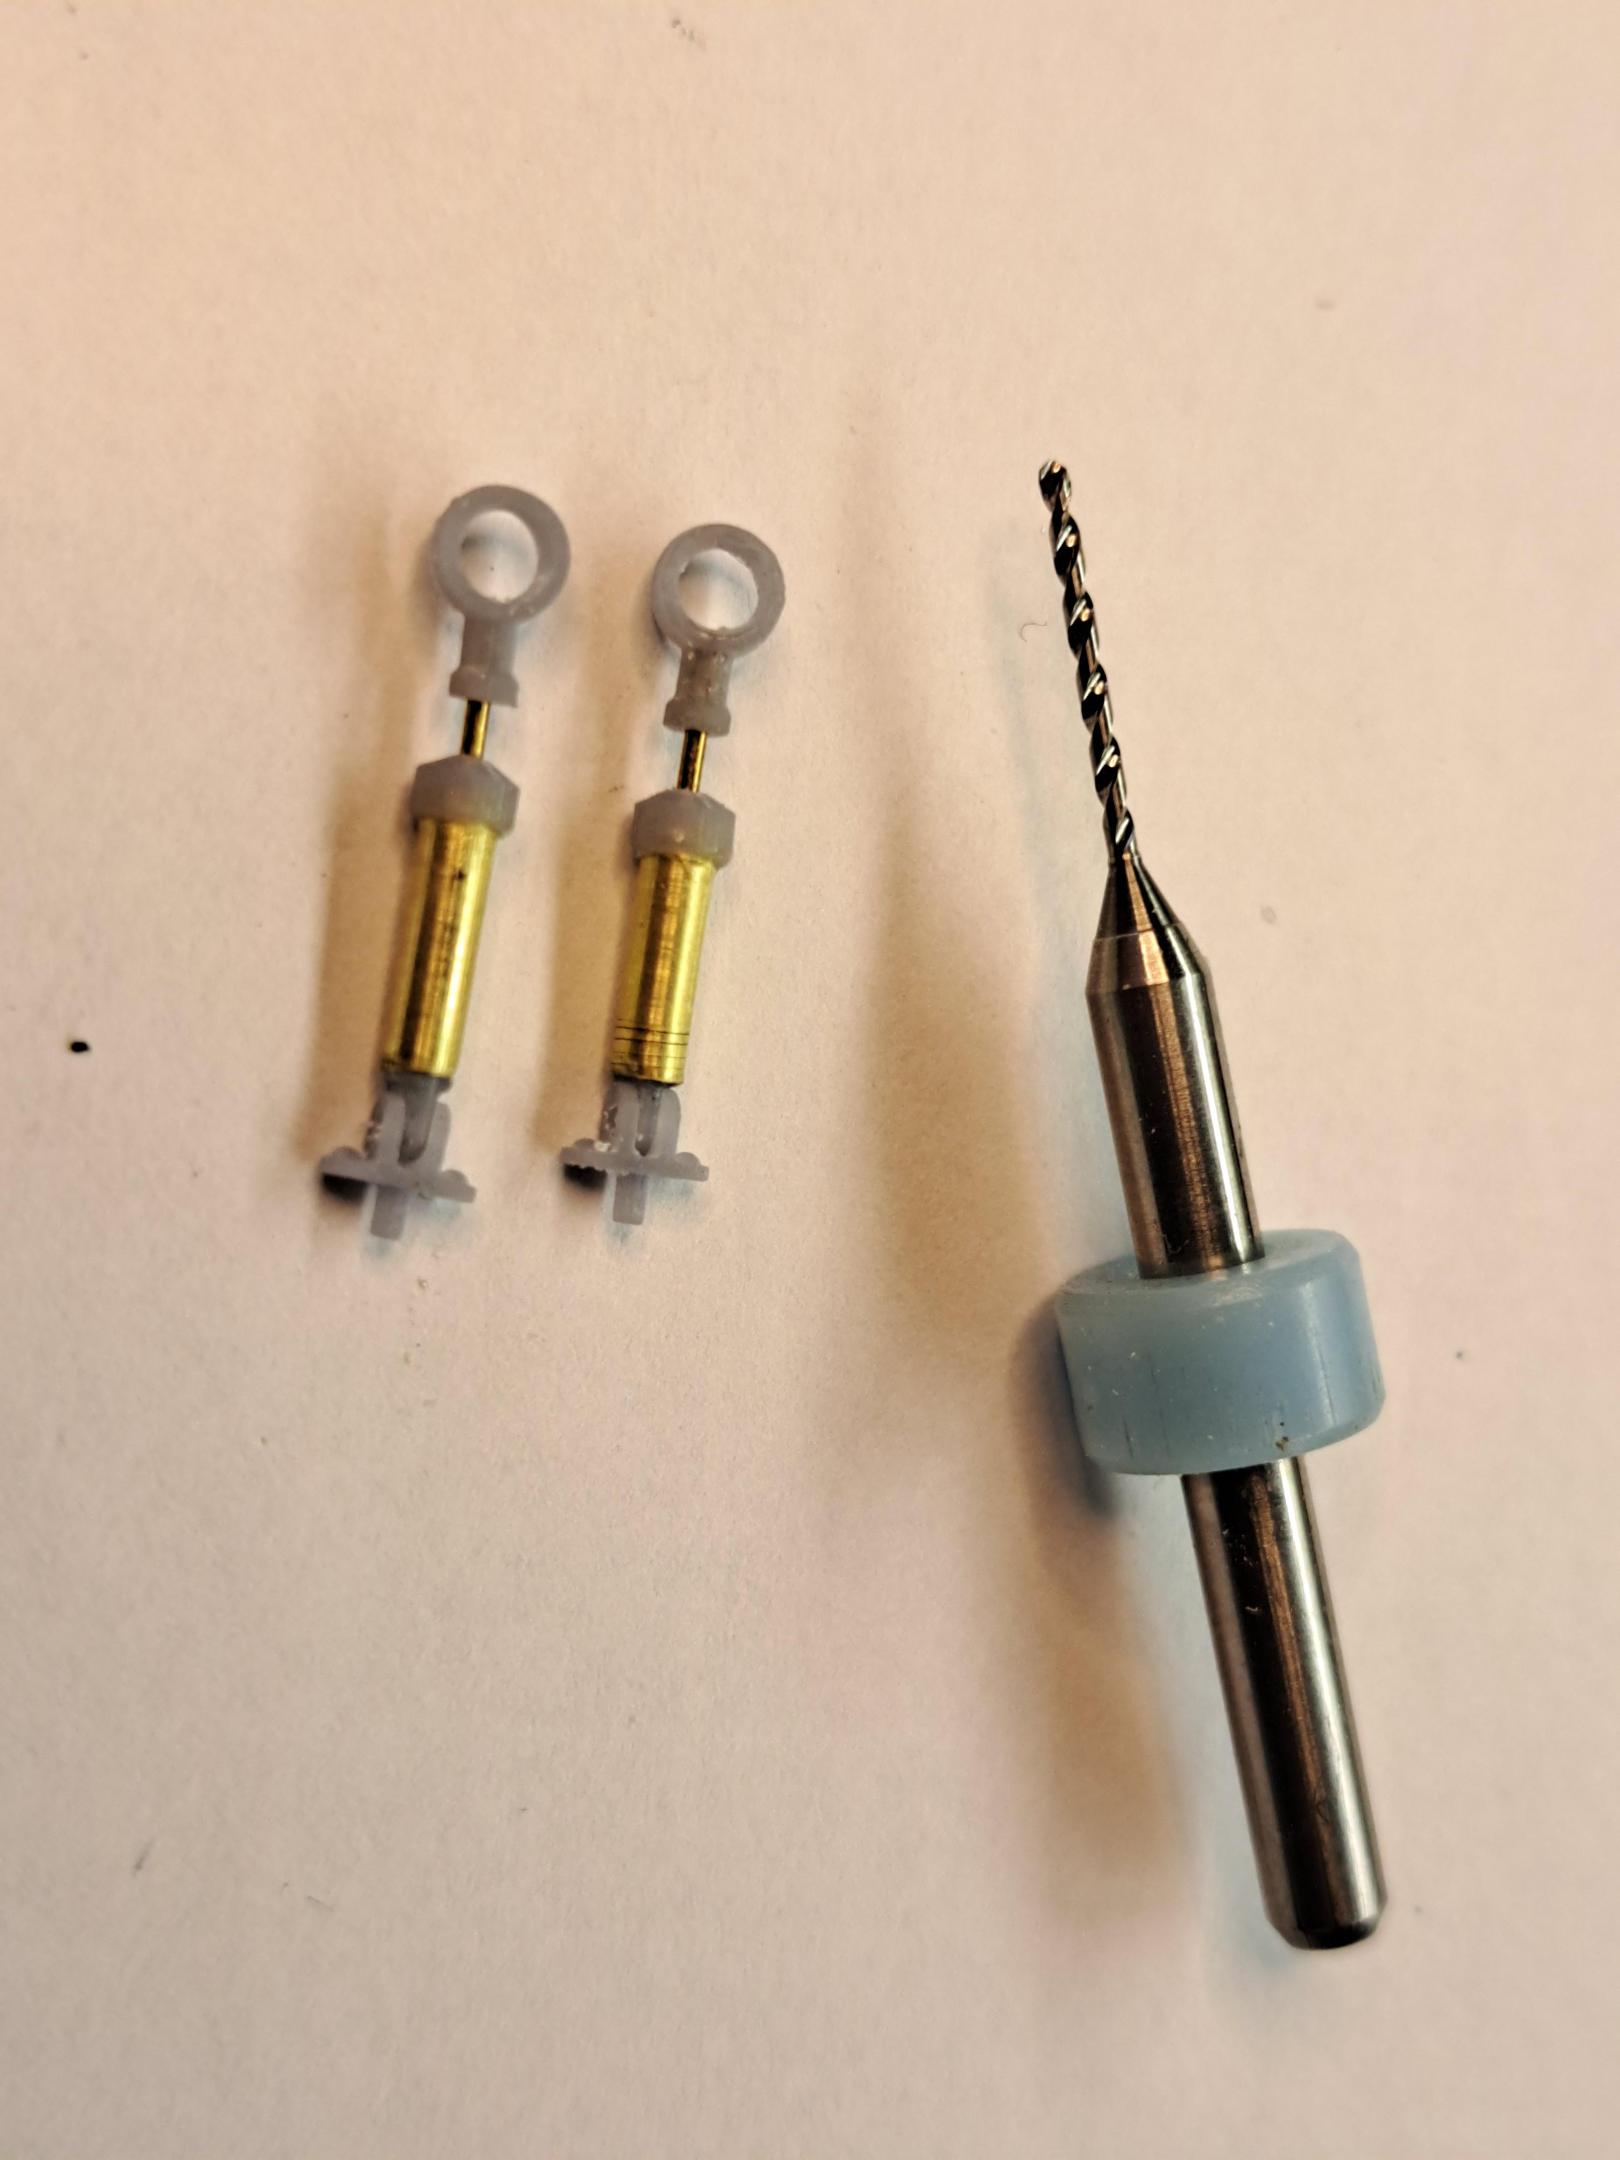
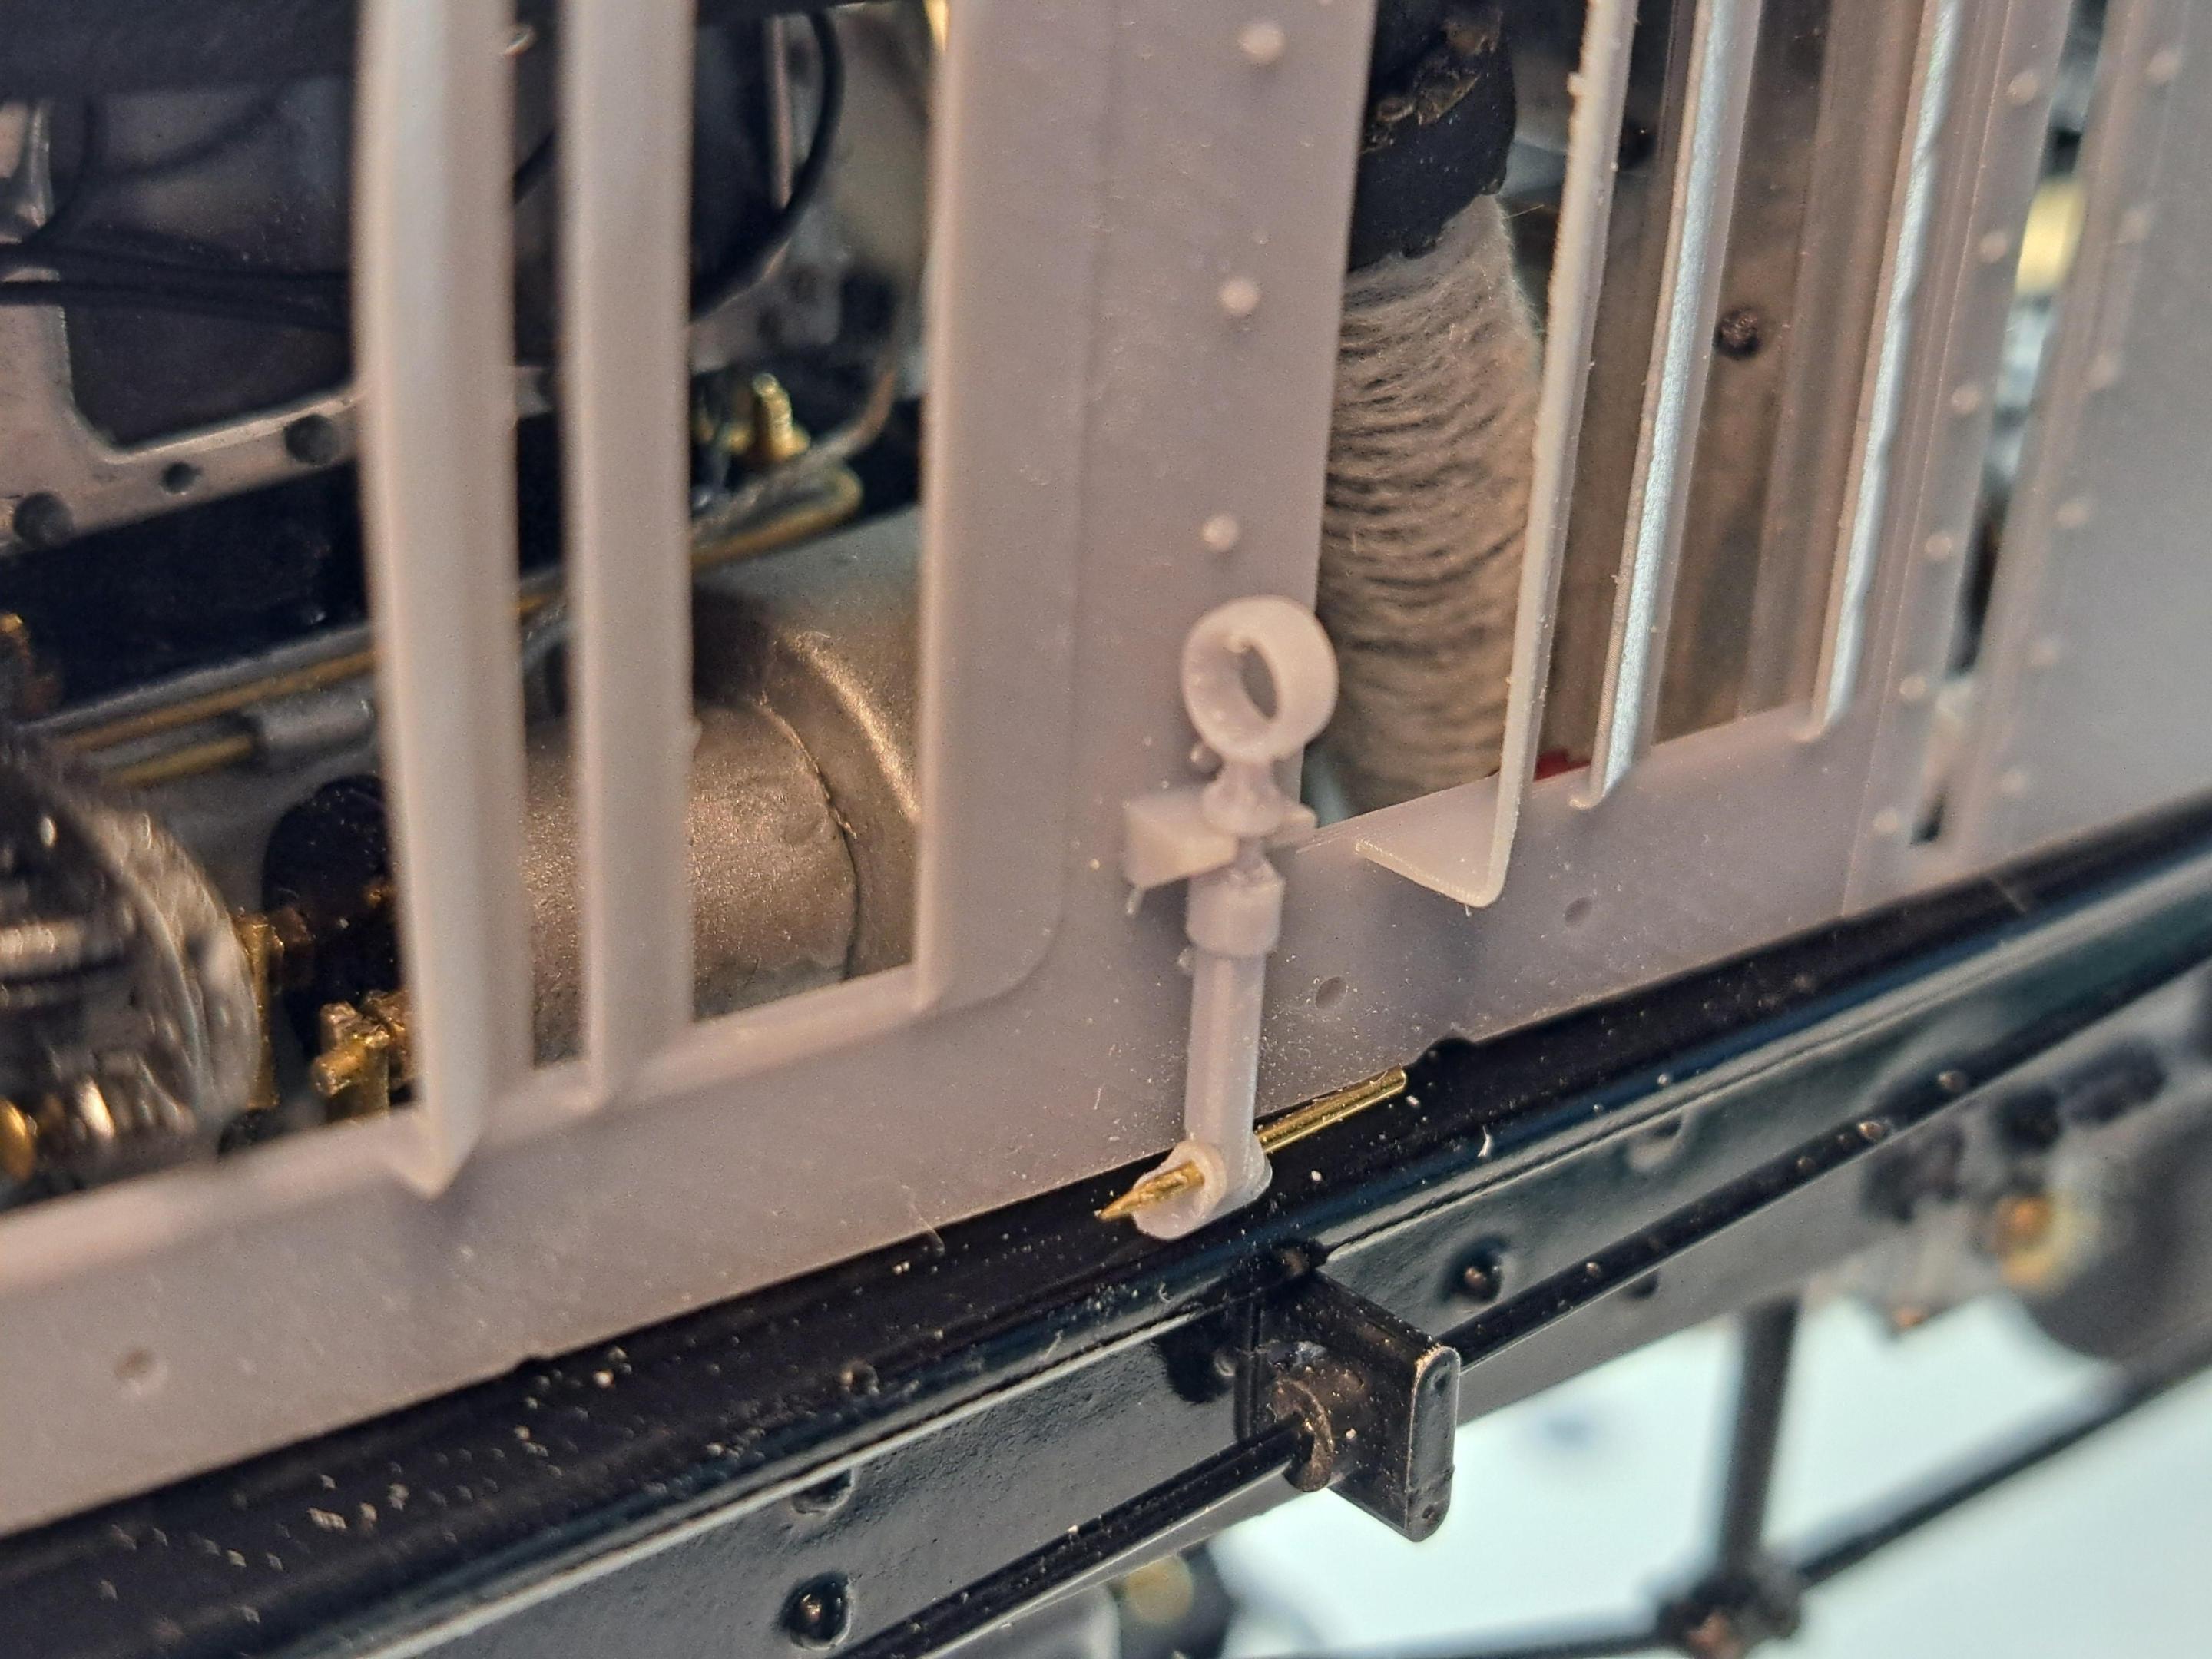
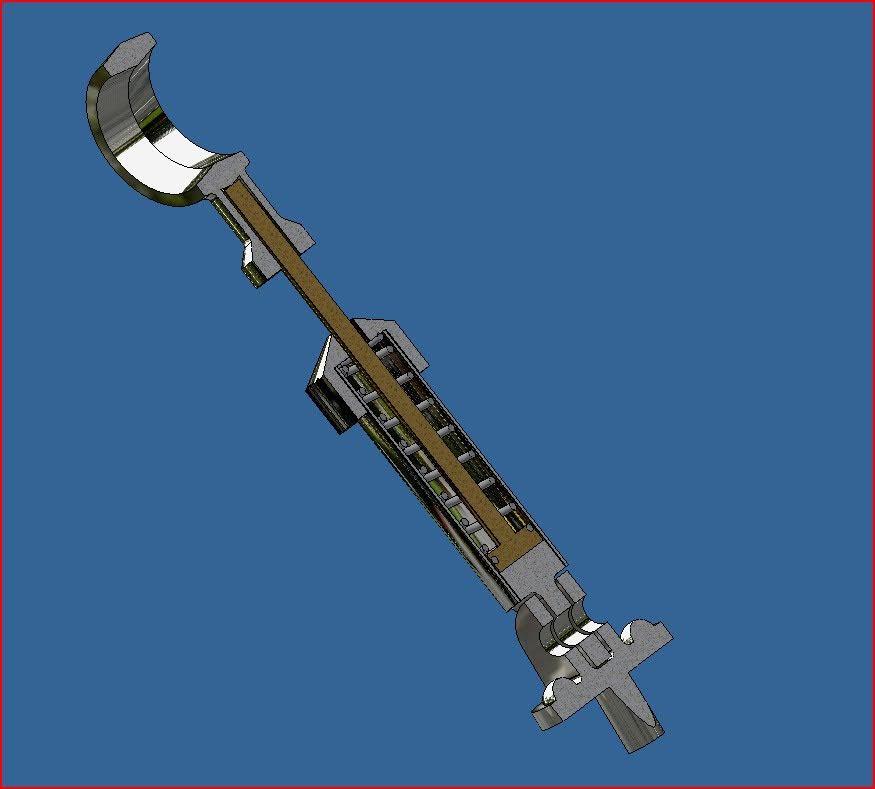
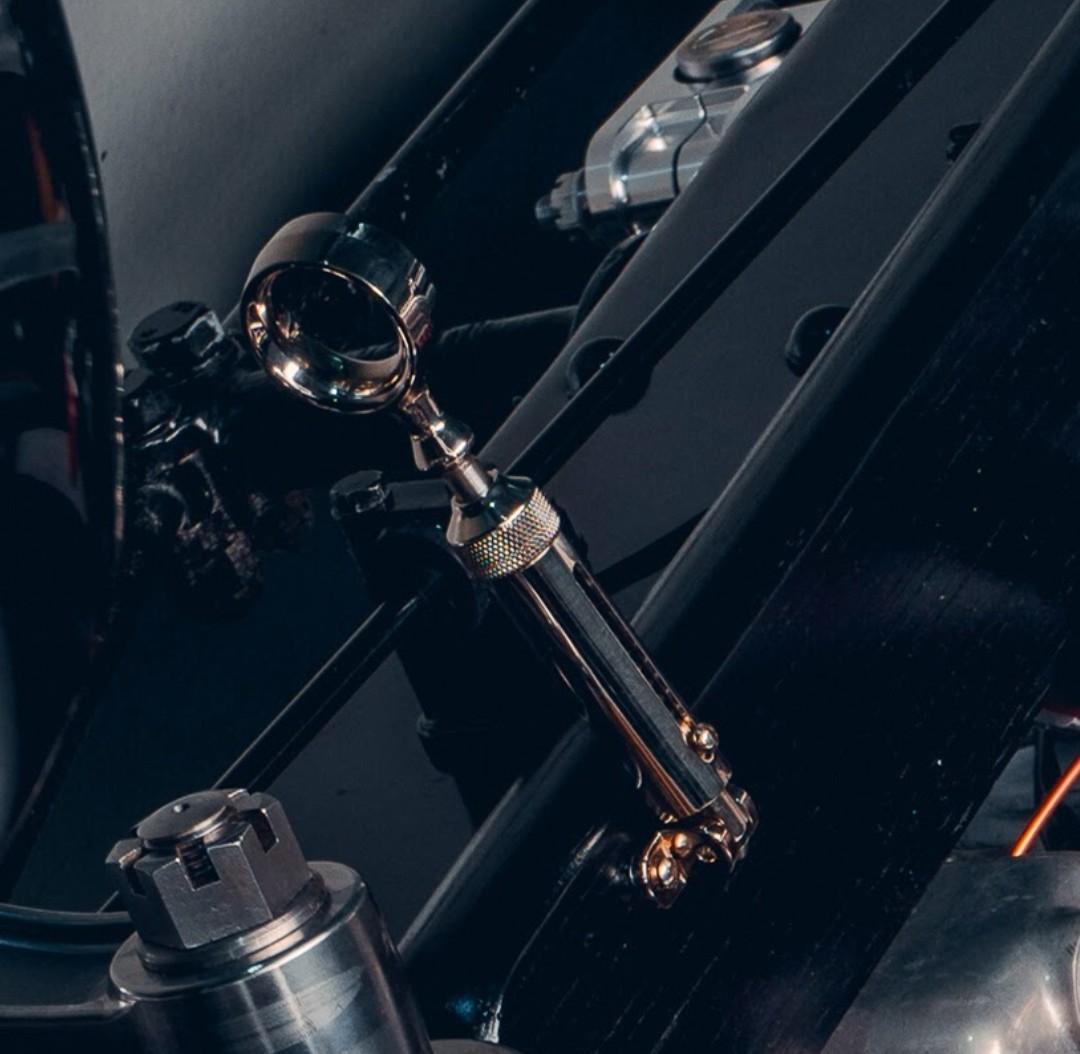
I modeled a working hood latch. It consists of a tiny spring loaded cylinder with a finger ring at the of the piston rod. This thing is micro. I'll have to fabricate a .05in od compression spring. I'm using a small brass nail for the rod (leftovers from a wooden ship build)

HOODLATCH.jpg.1d26bc23478b94e5a8f2cbc346be15e1.jpg


HOODLATCH1.jpg.4d01af26346076b012ff6144dafe3649.jpg


The real one
Screenshot_20240208_221525_Photos.jpg.60121f5c61a39523fe792244579adf41.jpg
 
very sorry you messed up the radiator. I'm sure the new one will look great! That hood latch is really small parts! If anyone can do it, you will and you will make it look wonderful!
 
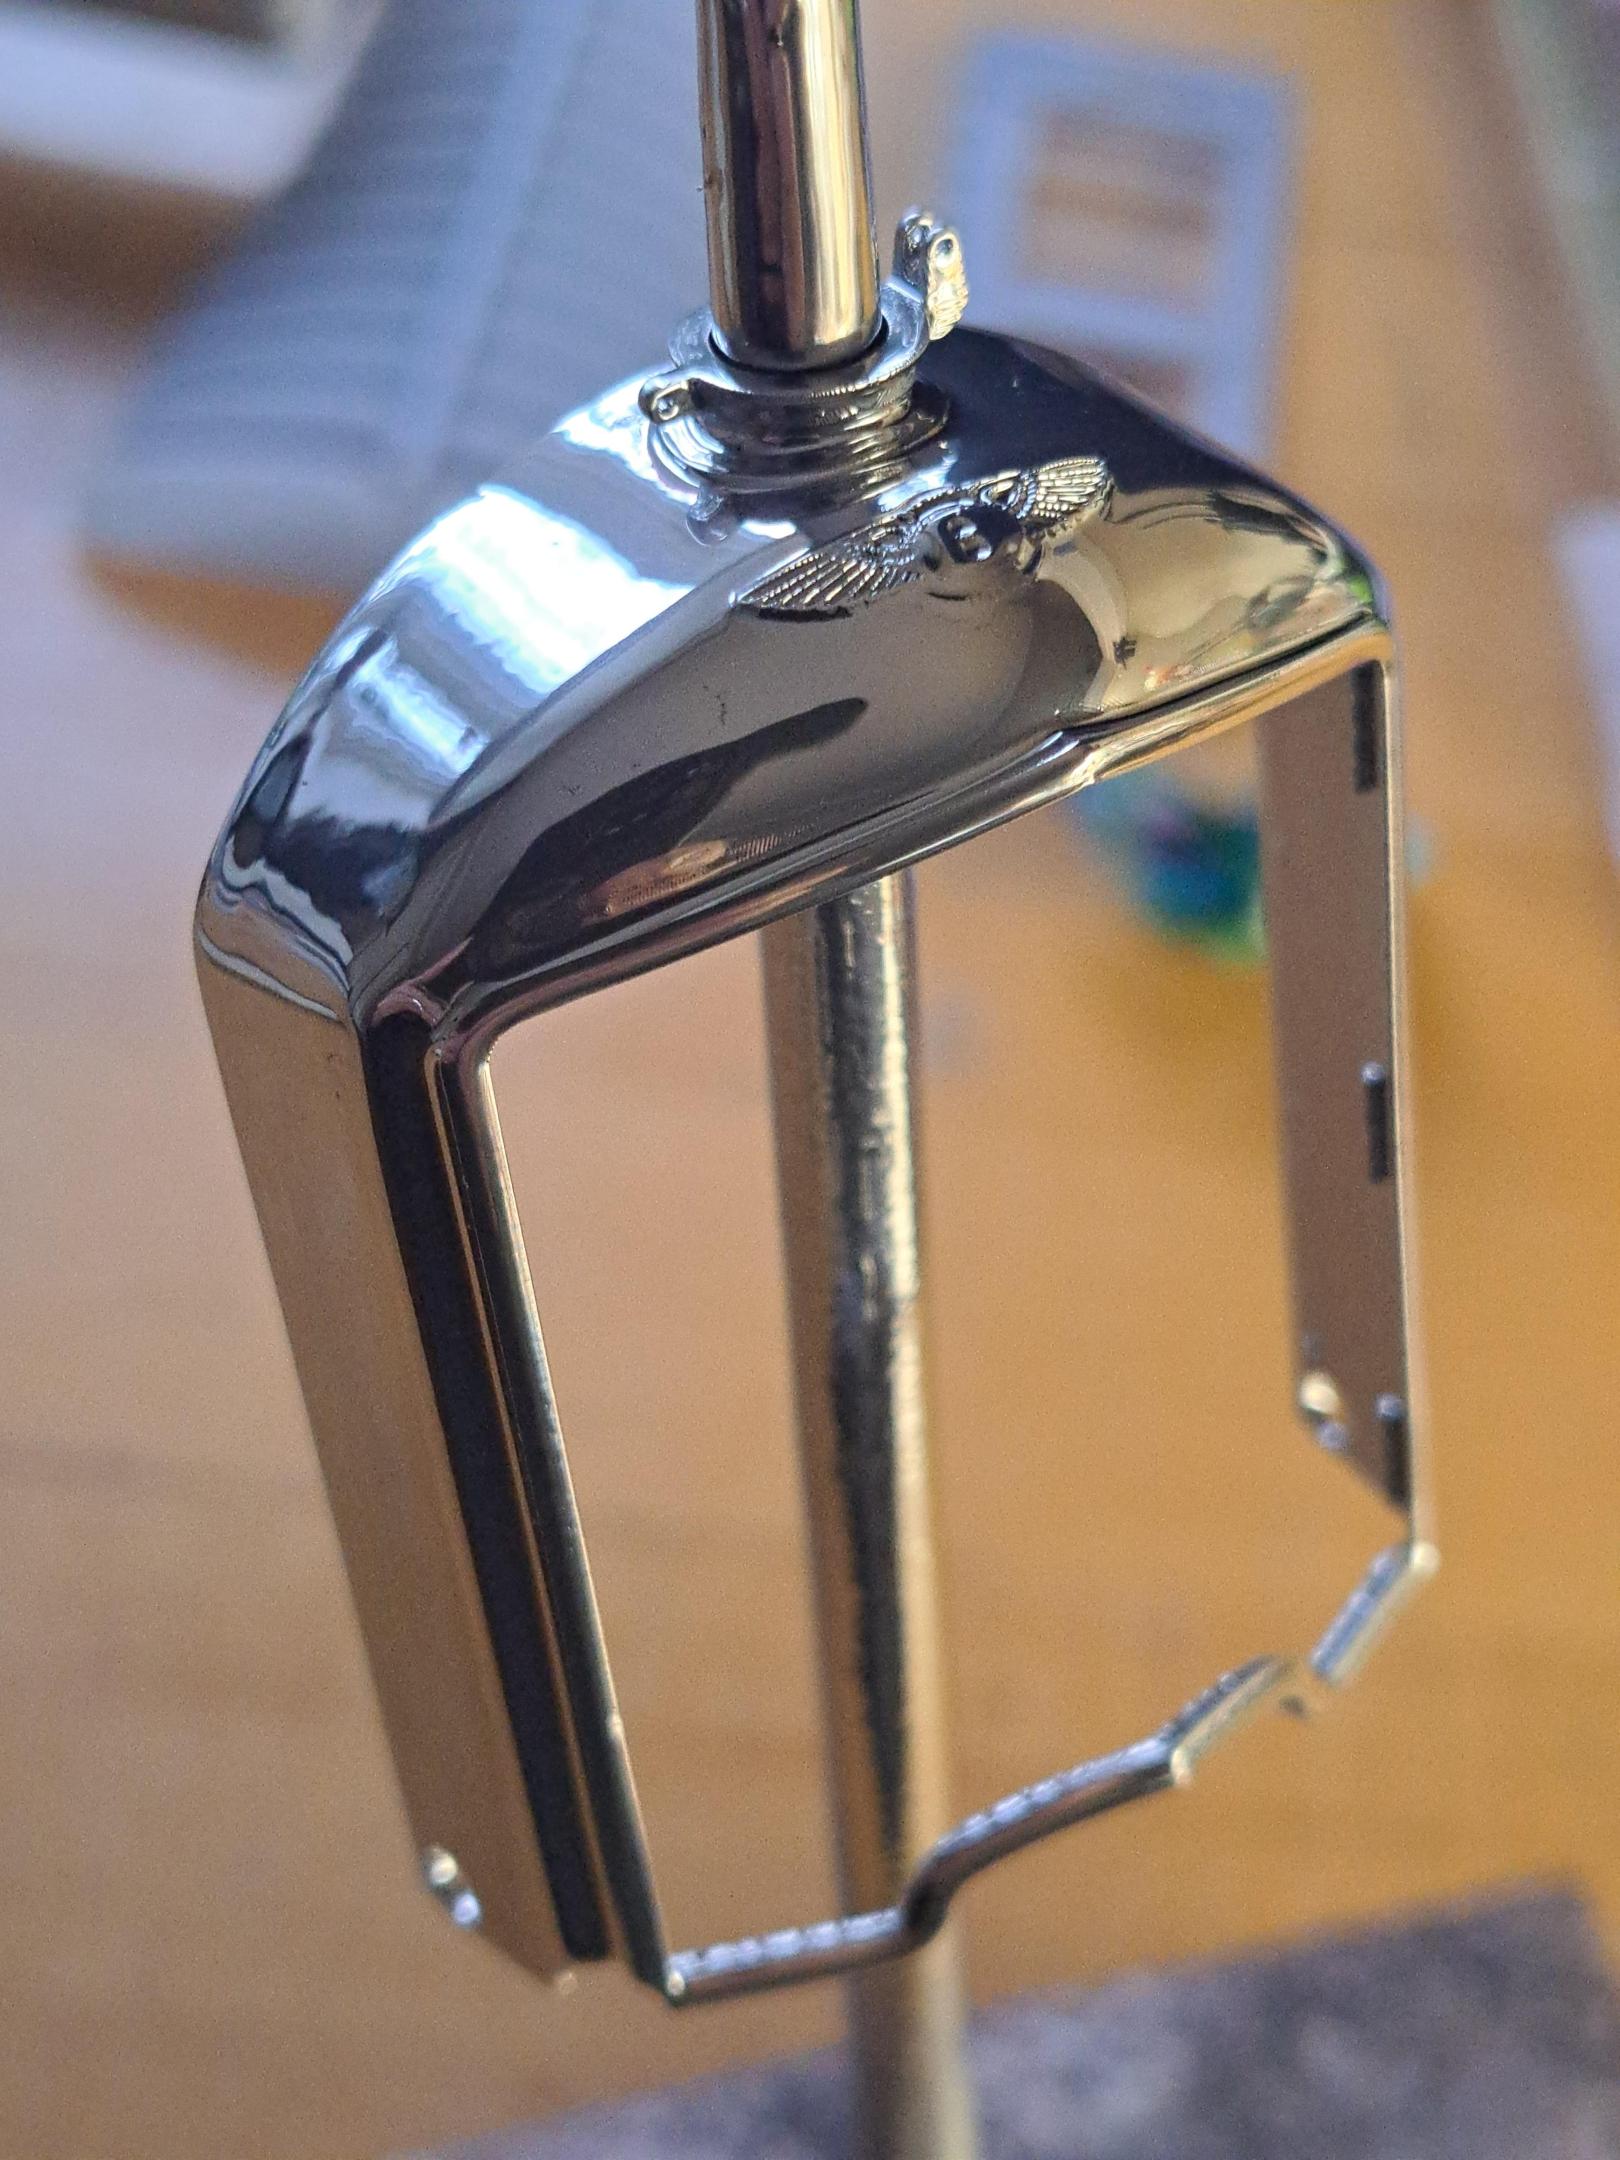
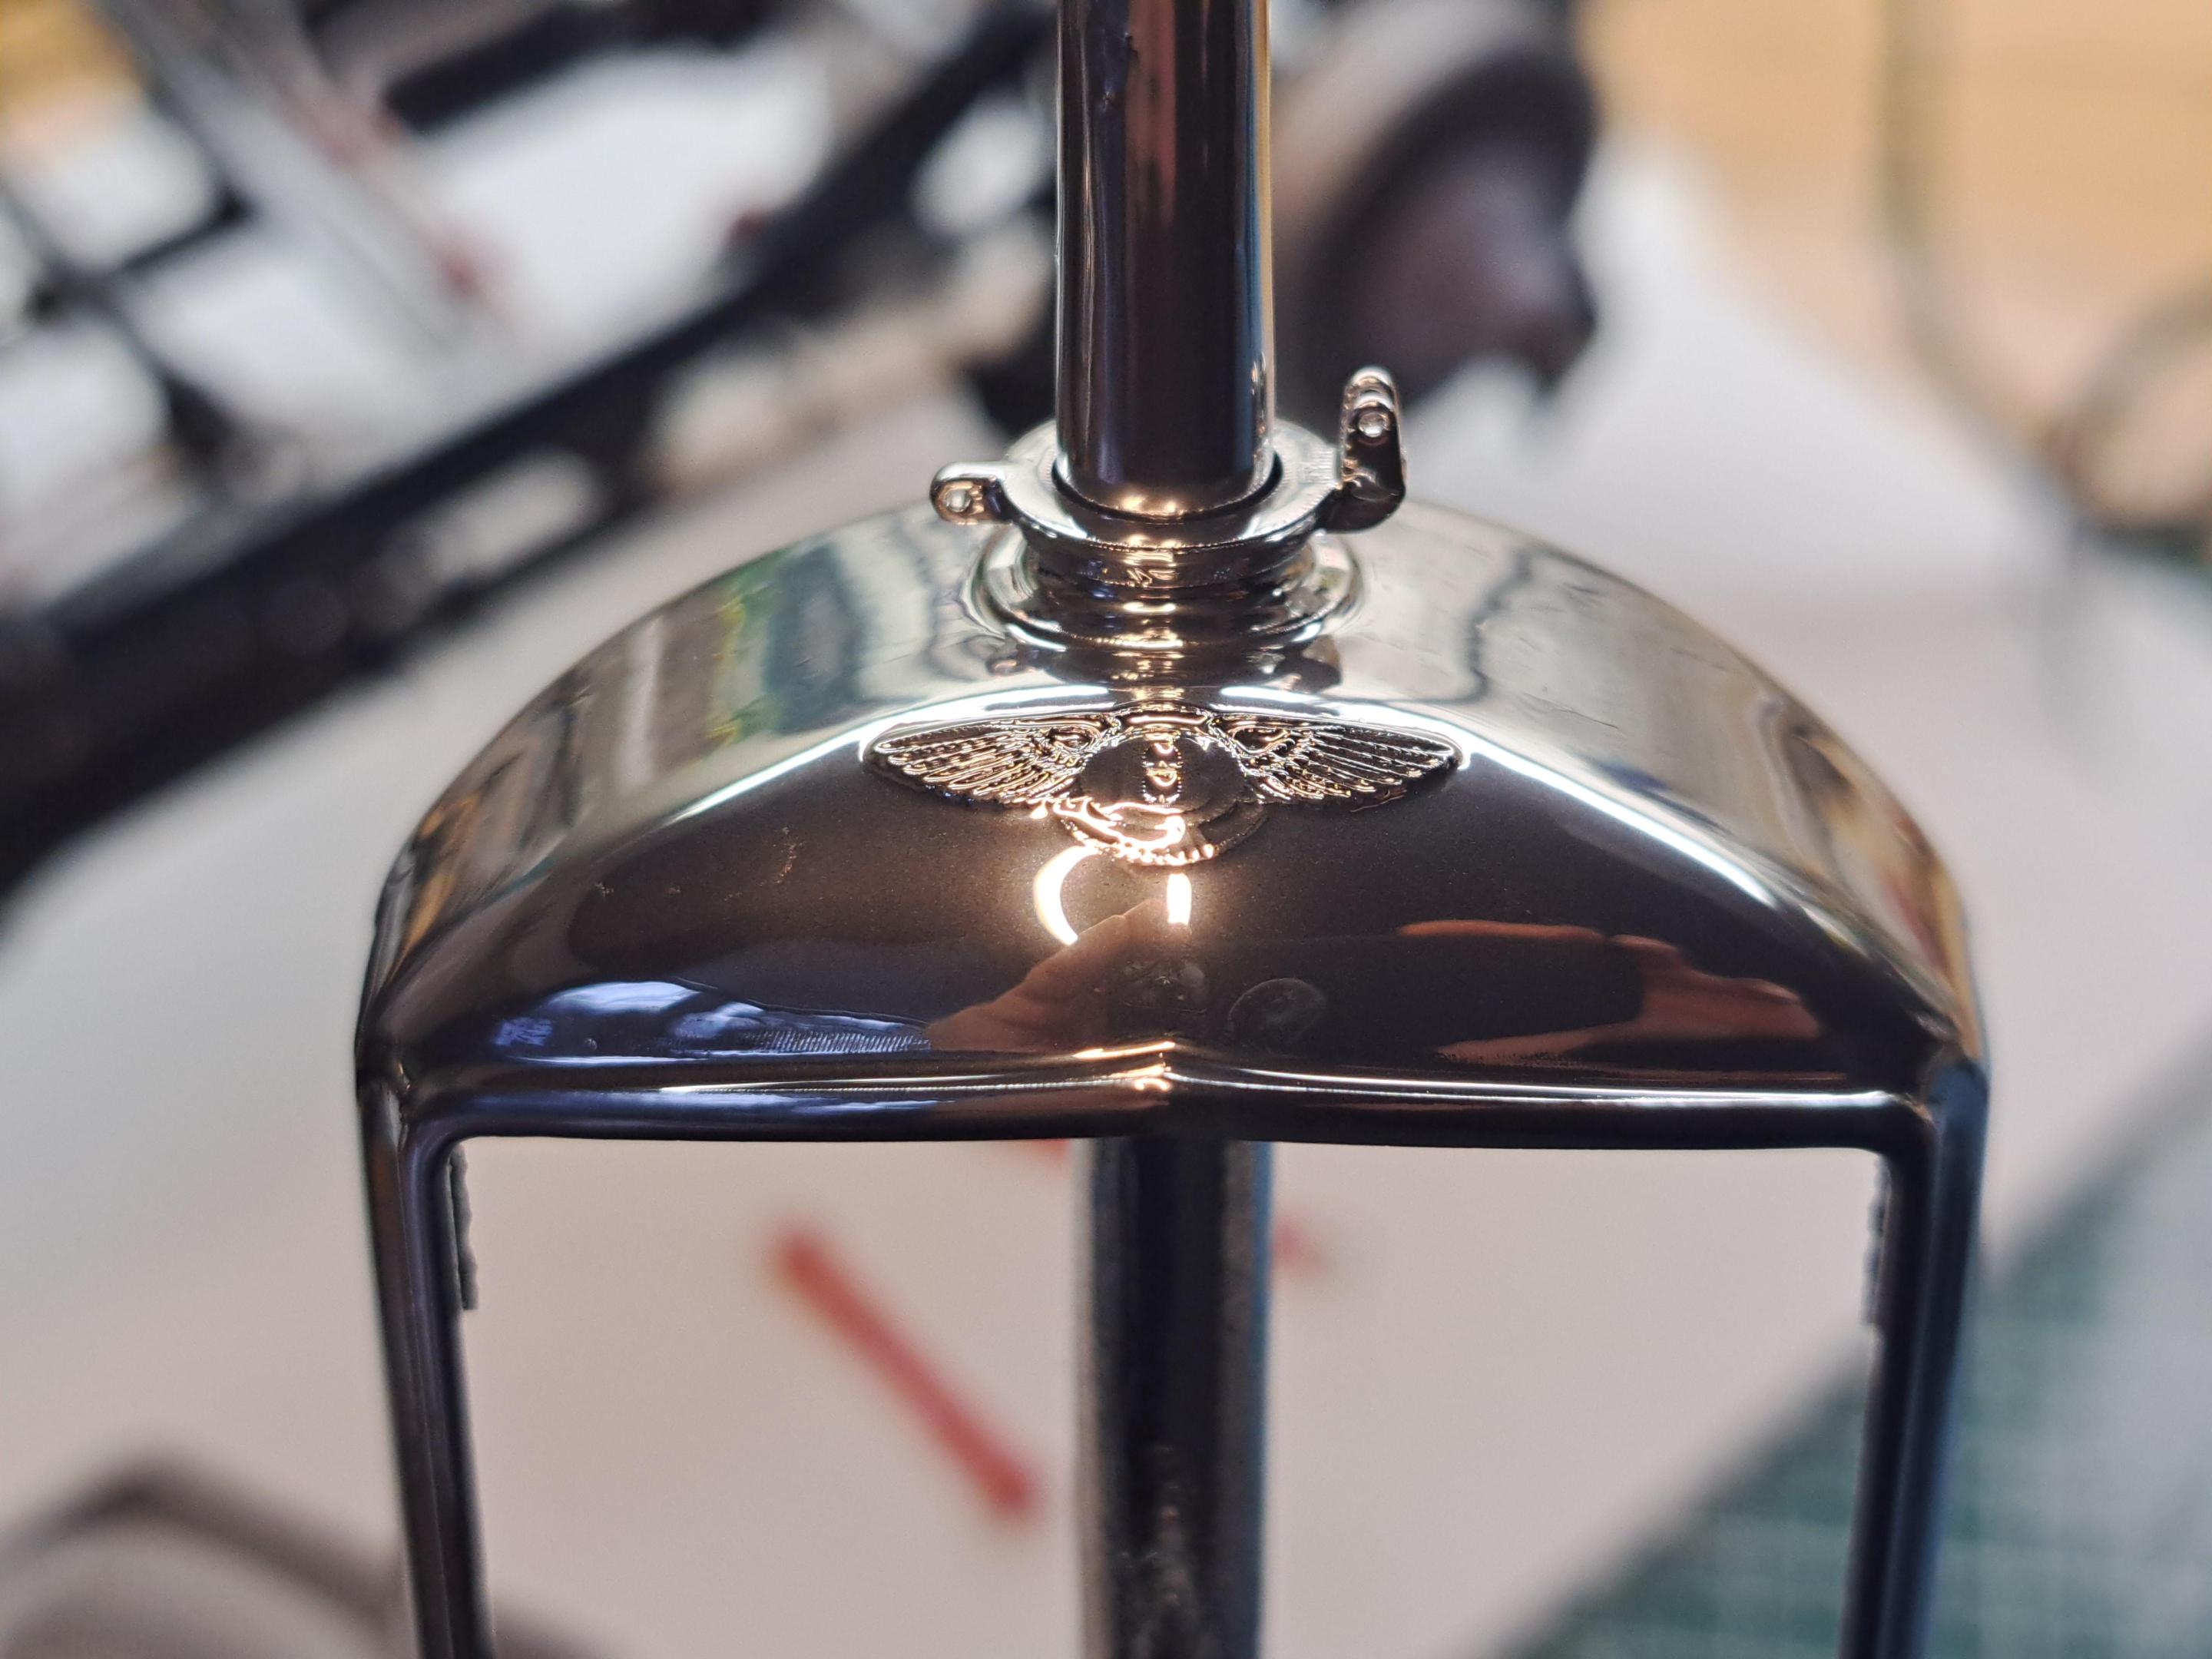
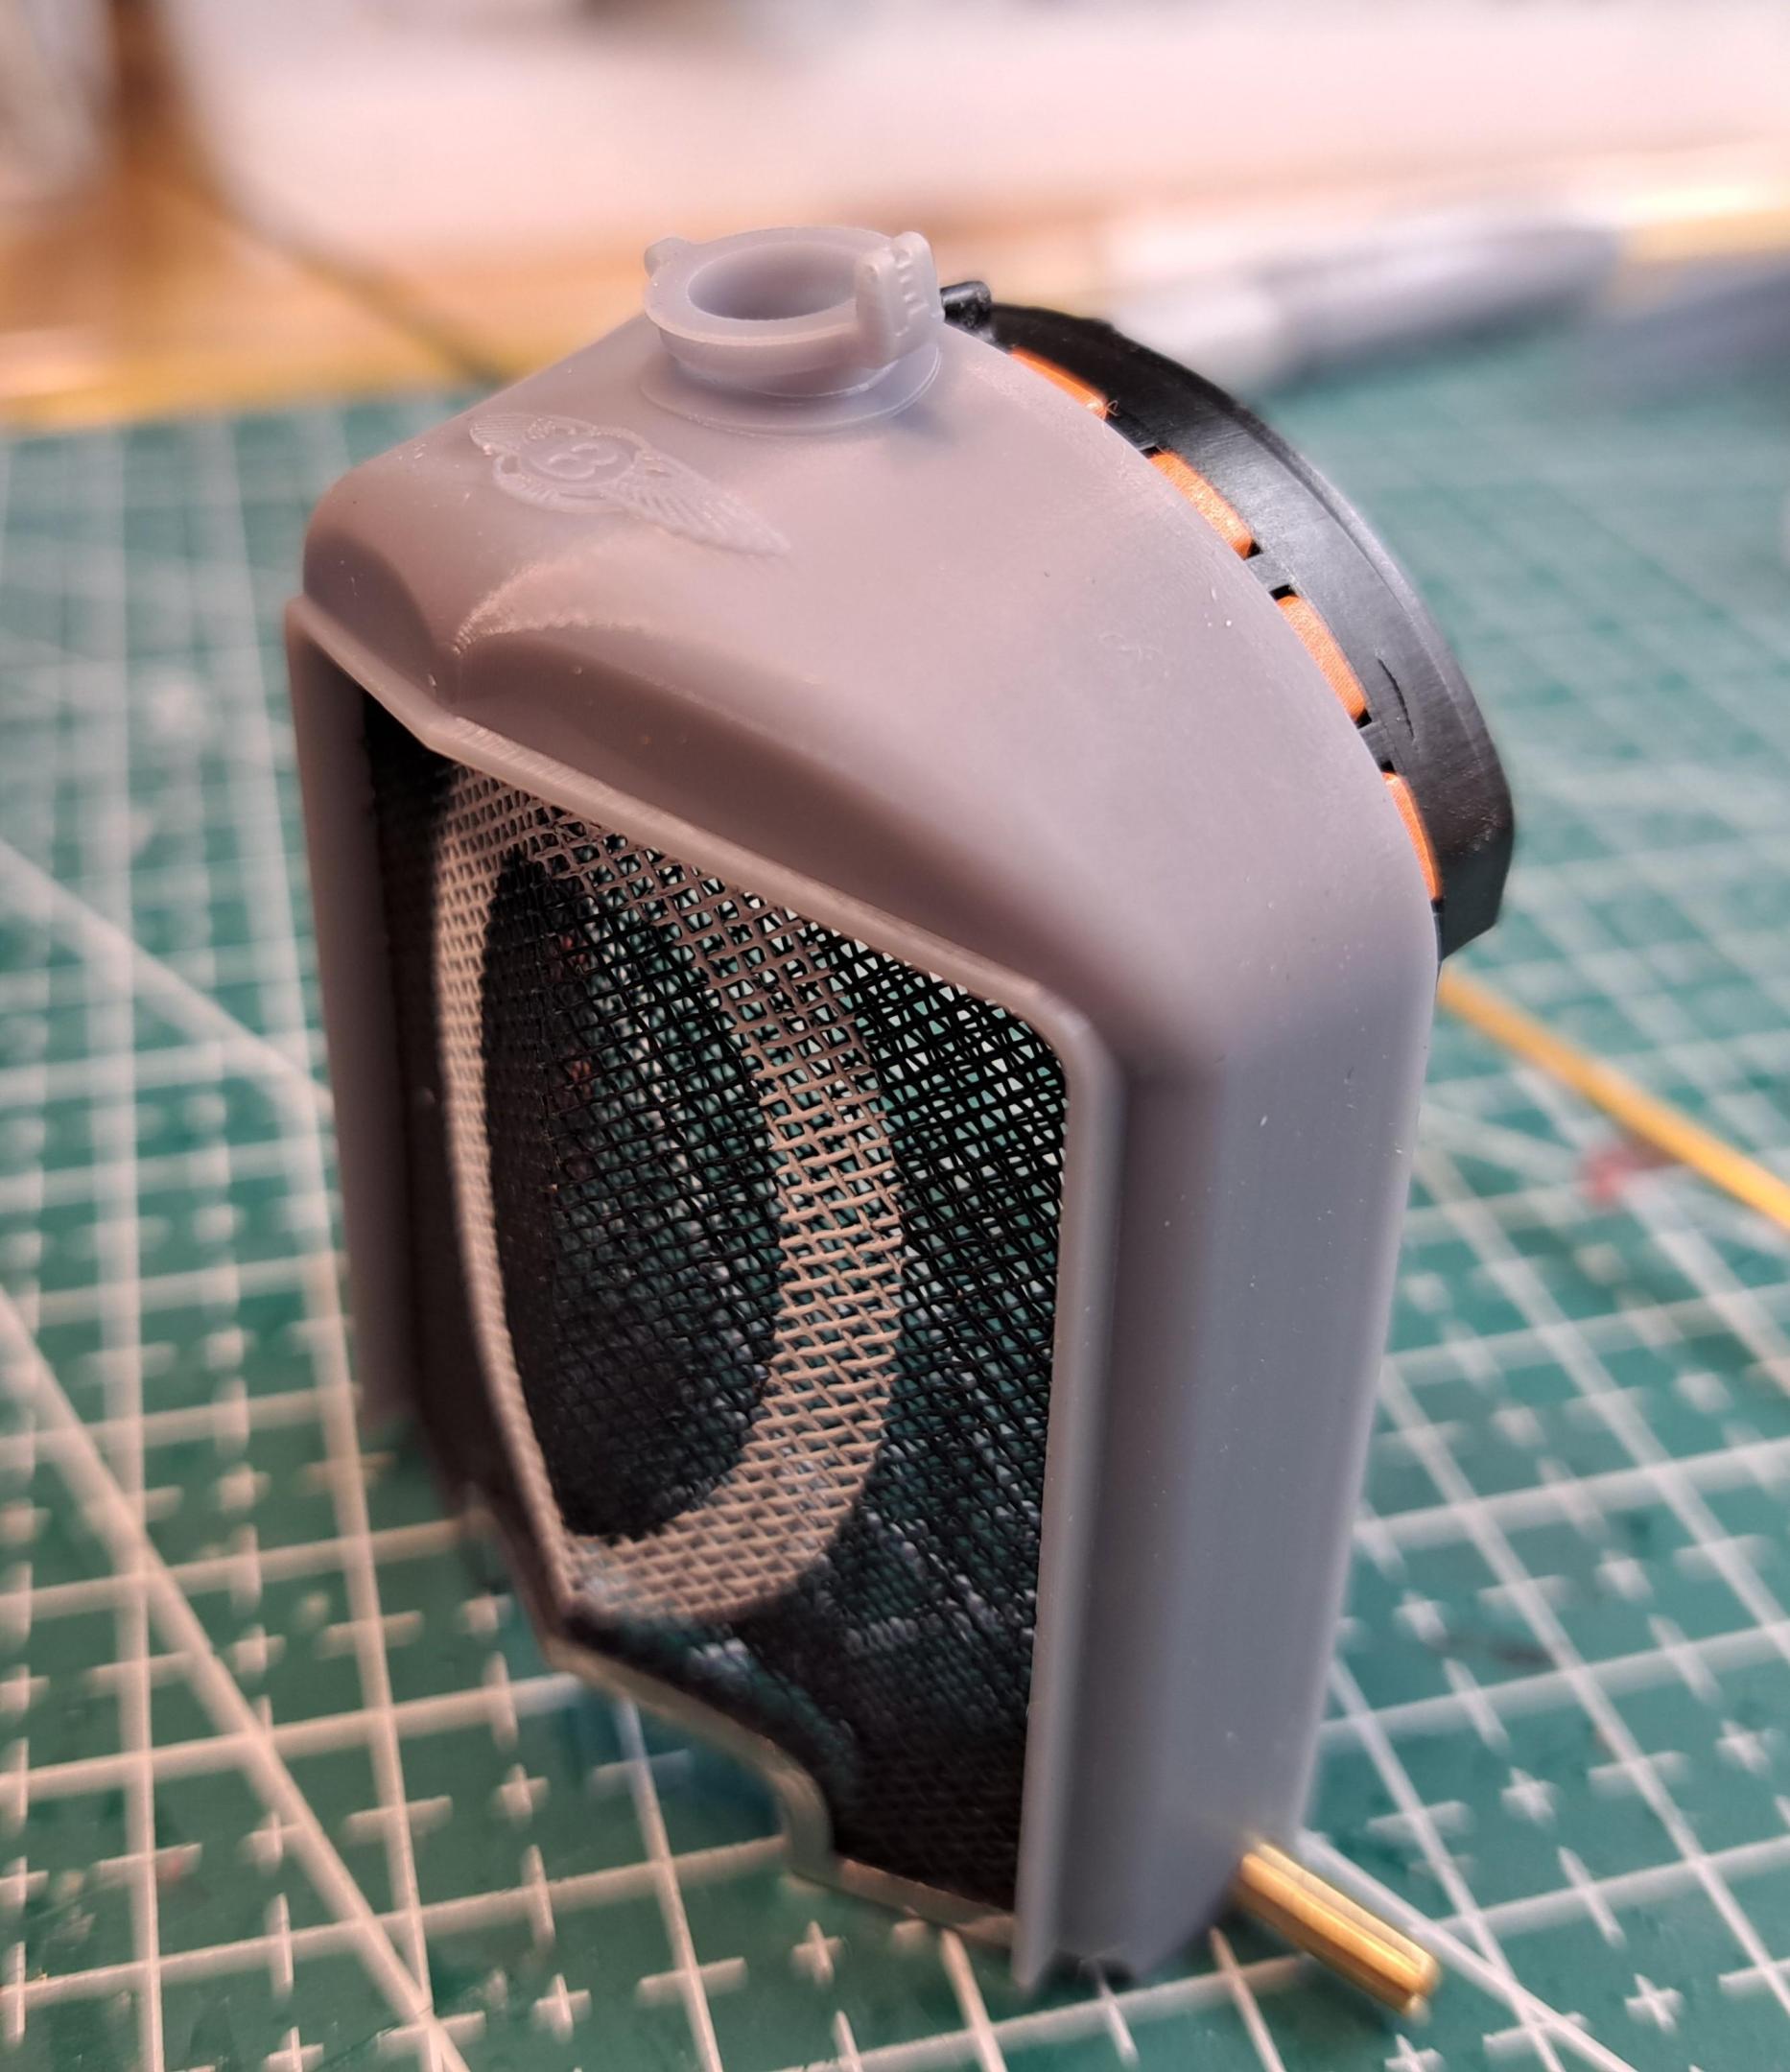
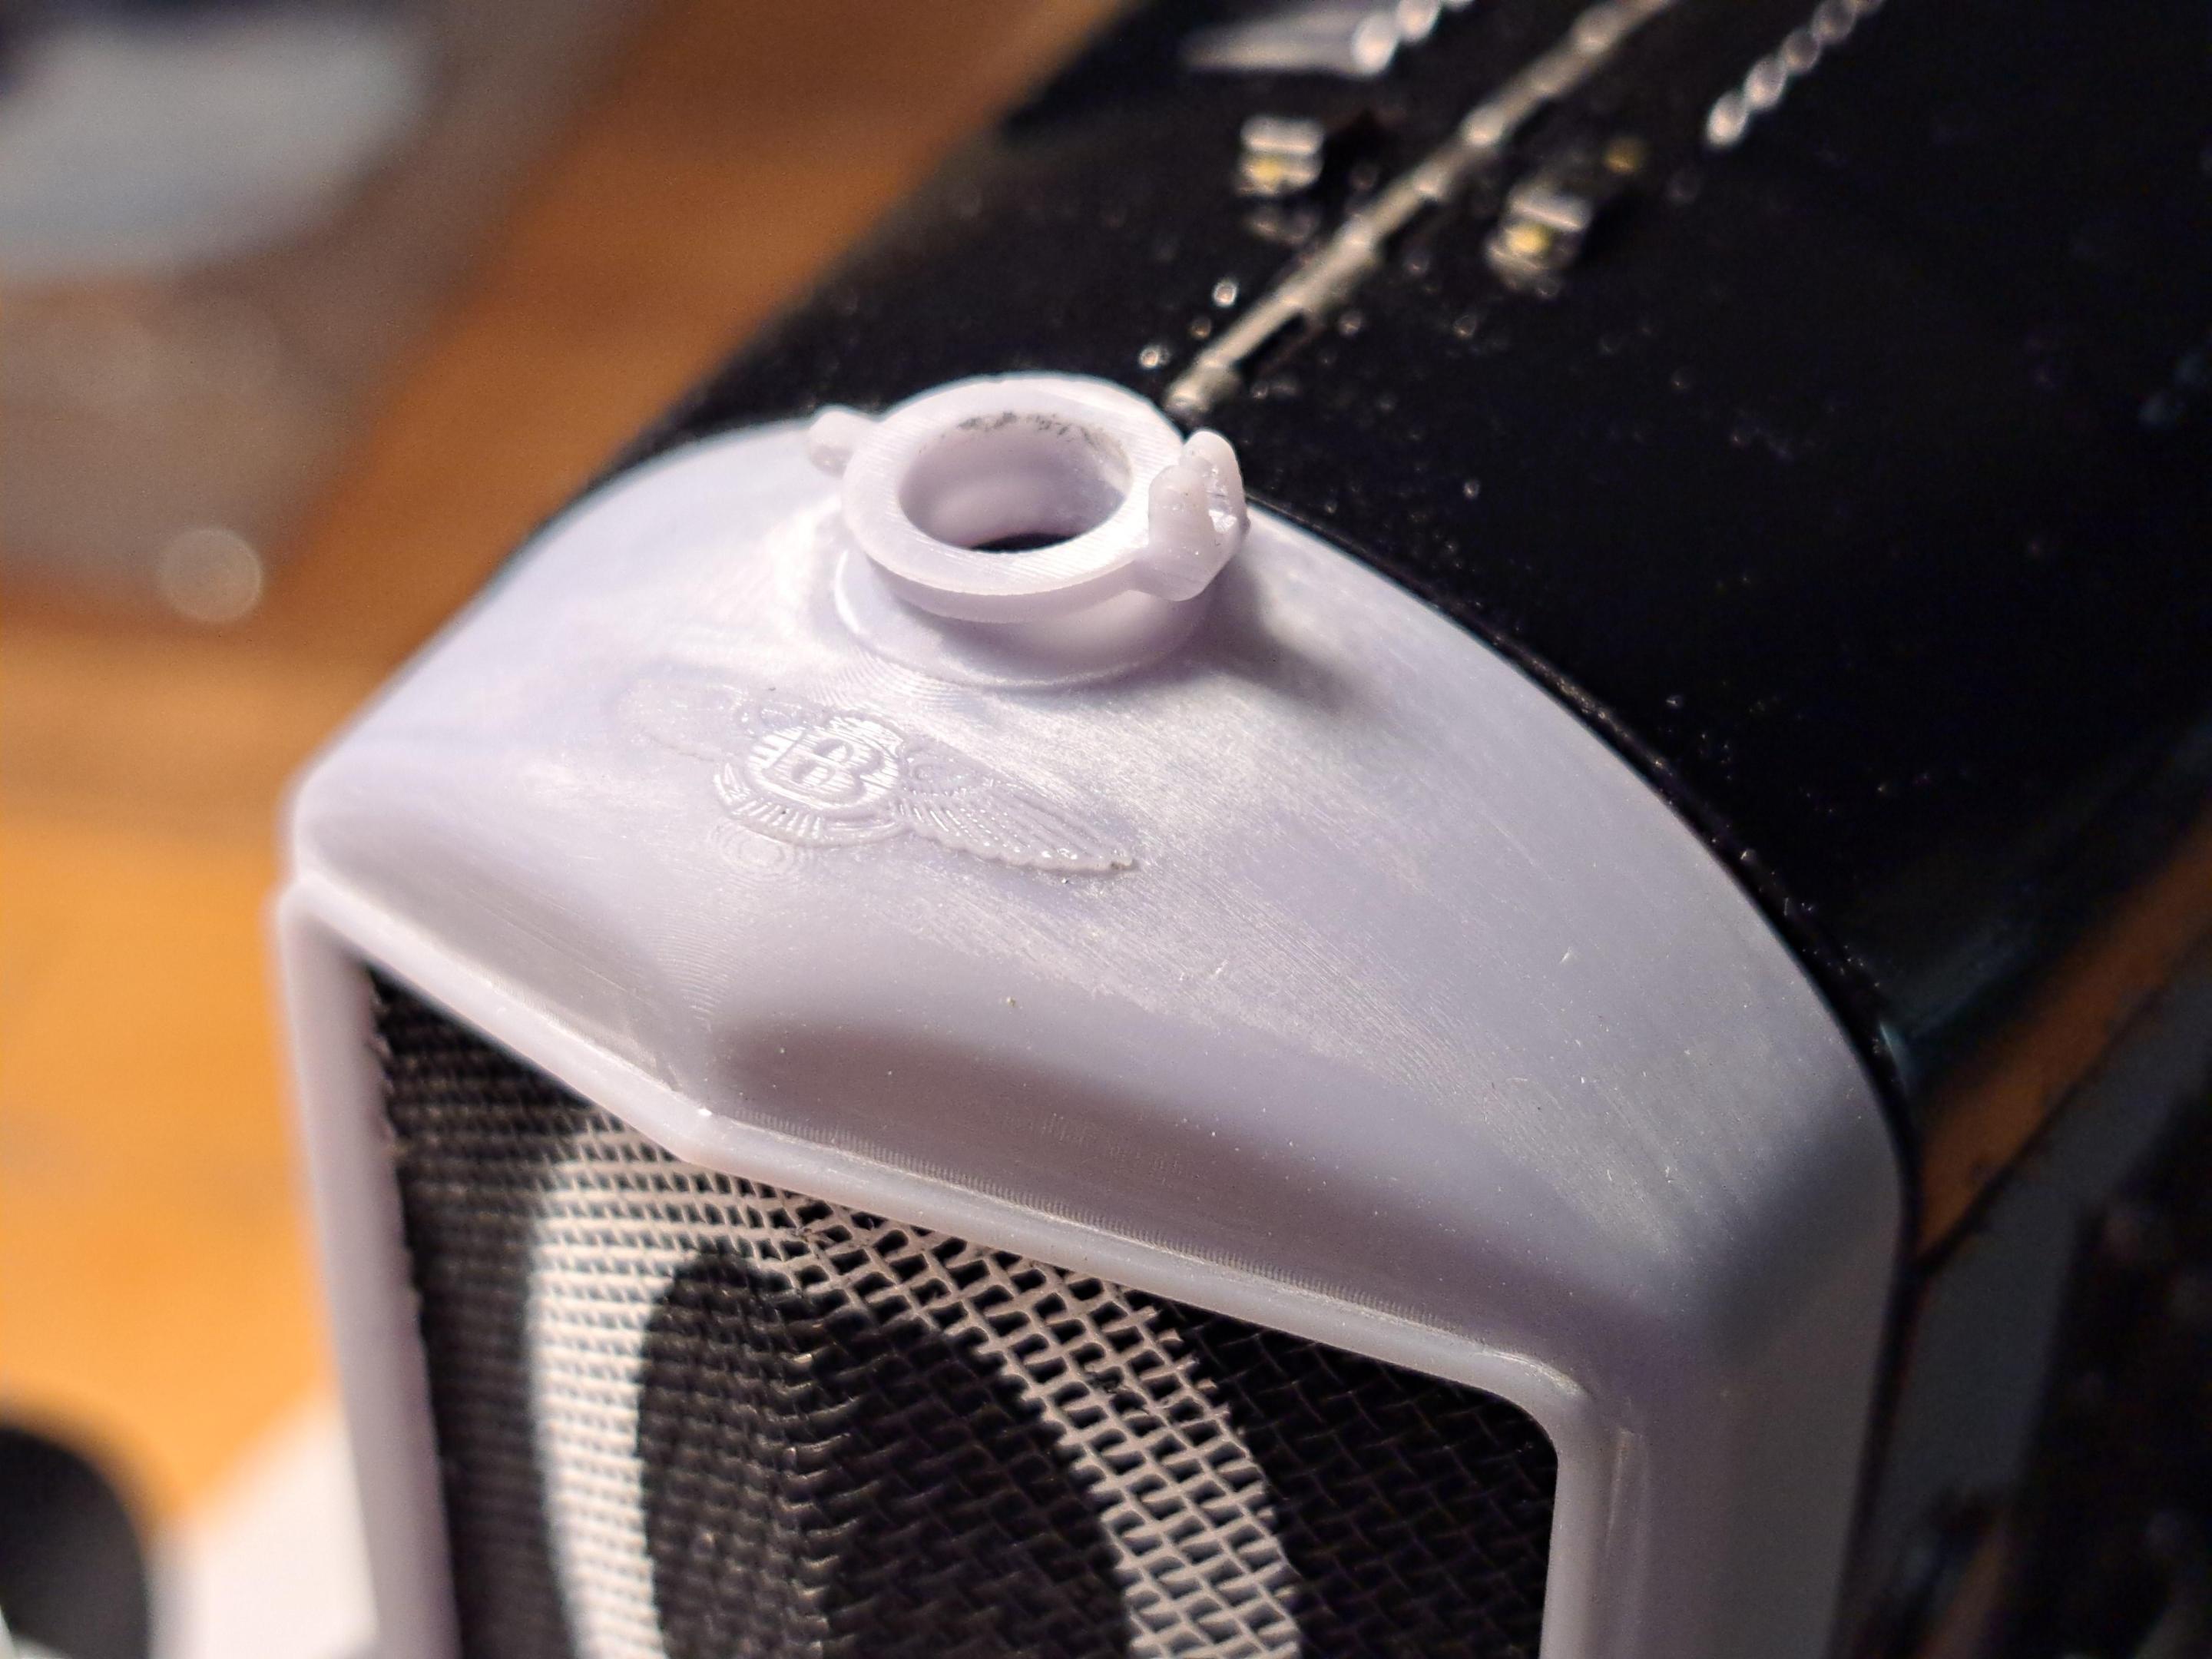
I printed the new radiator cover. I incorporated the bottom trim directly instead of being on a separate part. That way, I'll be able to directly fit the front grill inside the cover.

Here's the newest version.


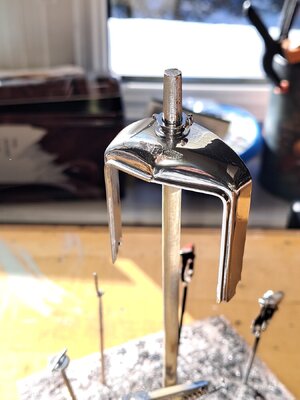
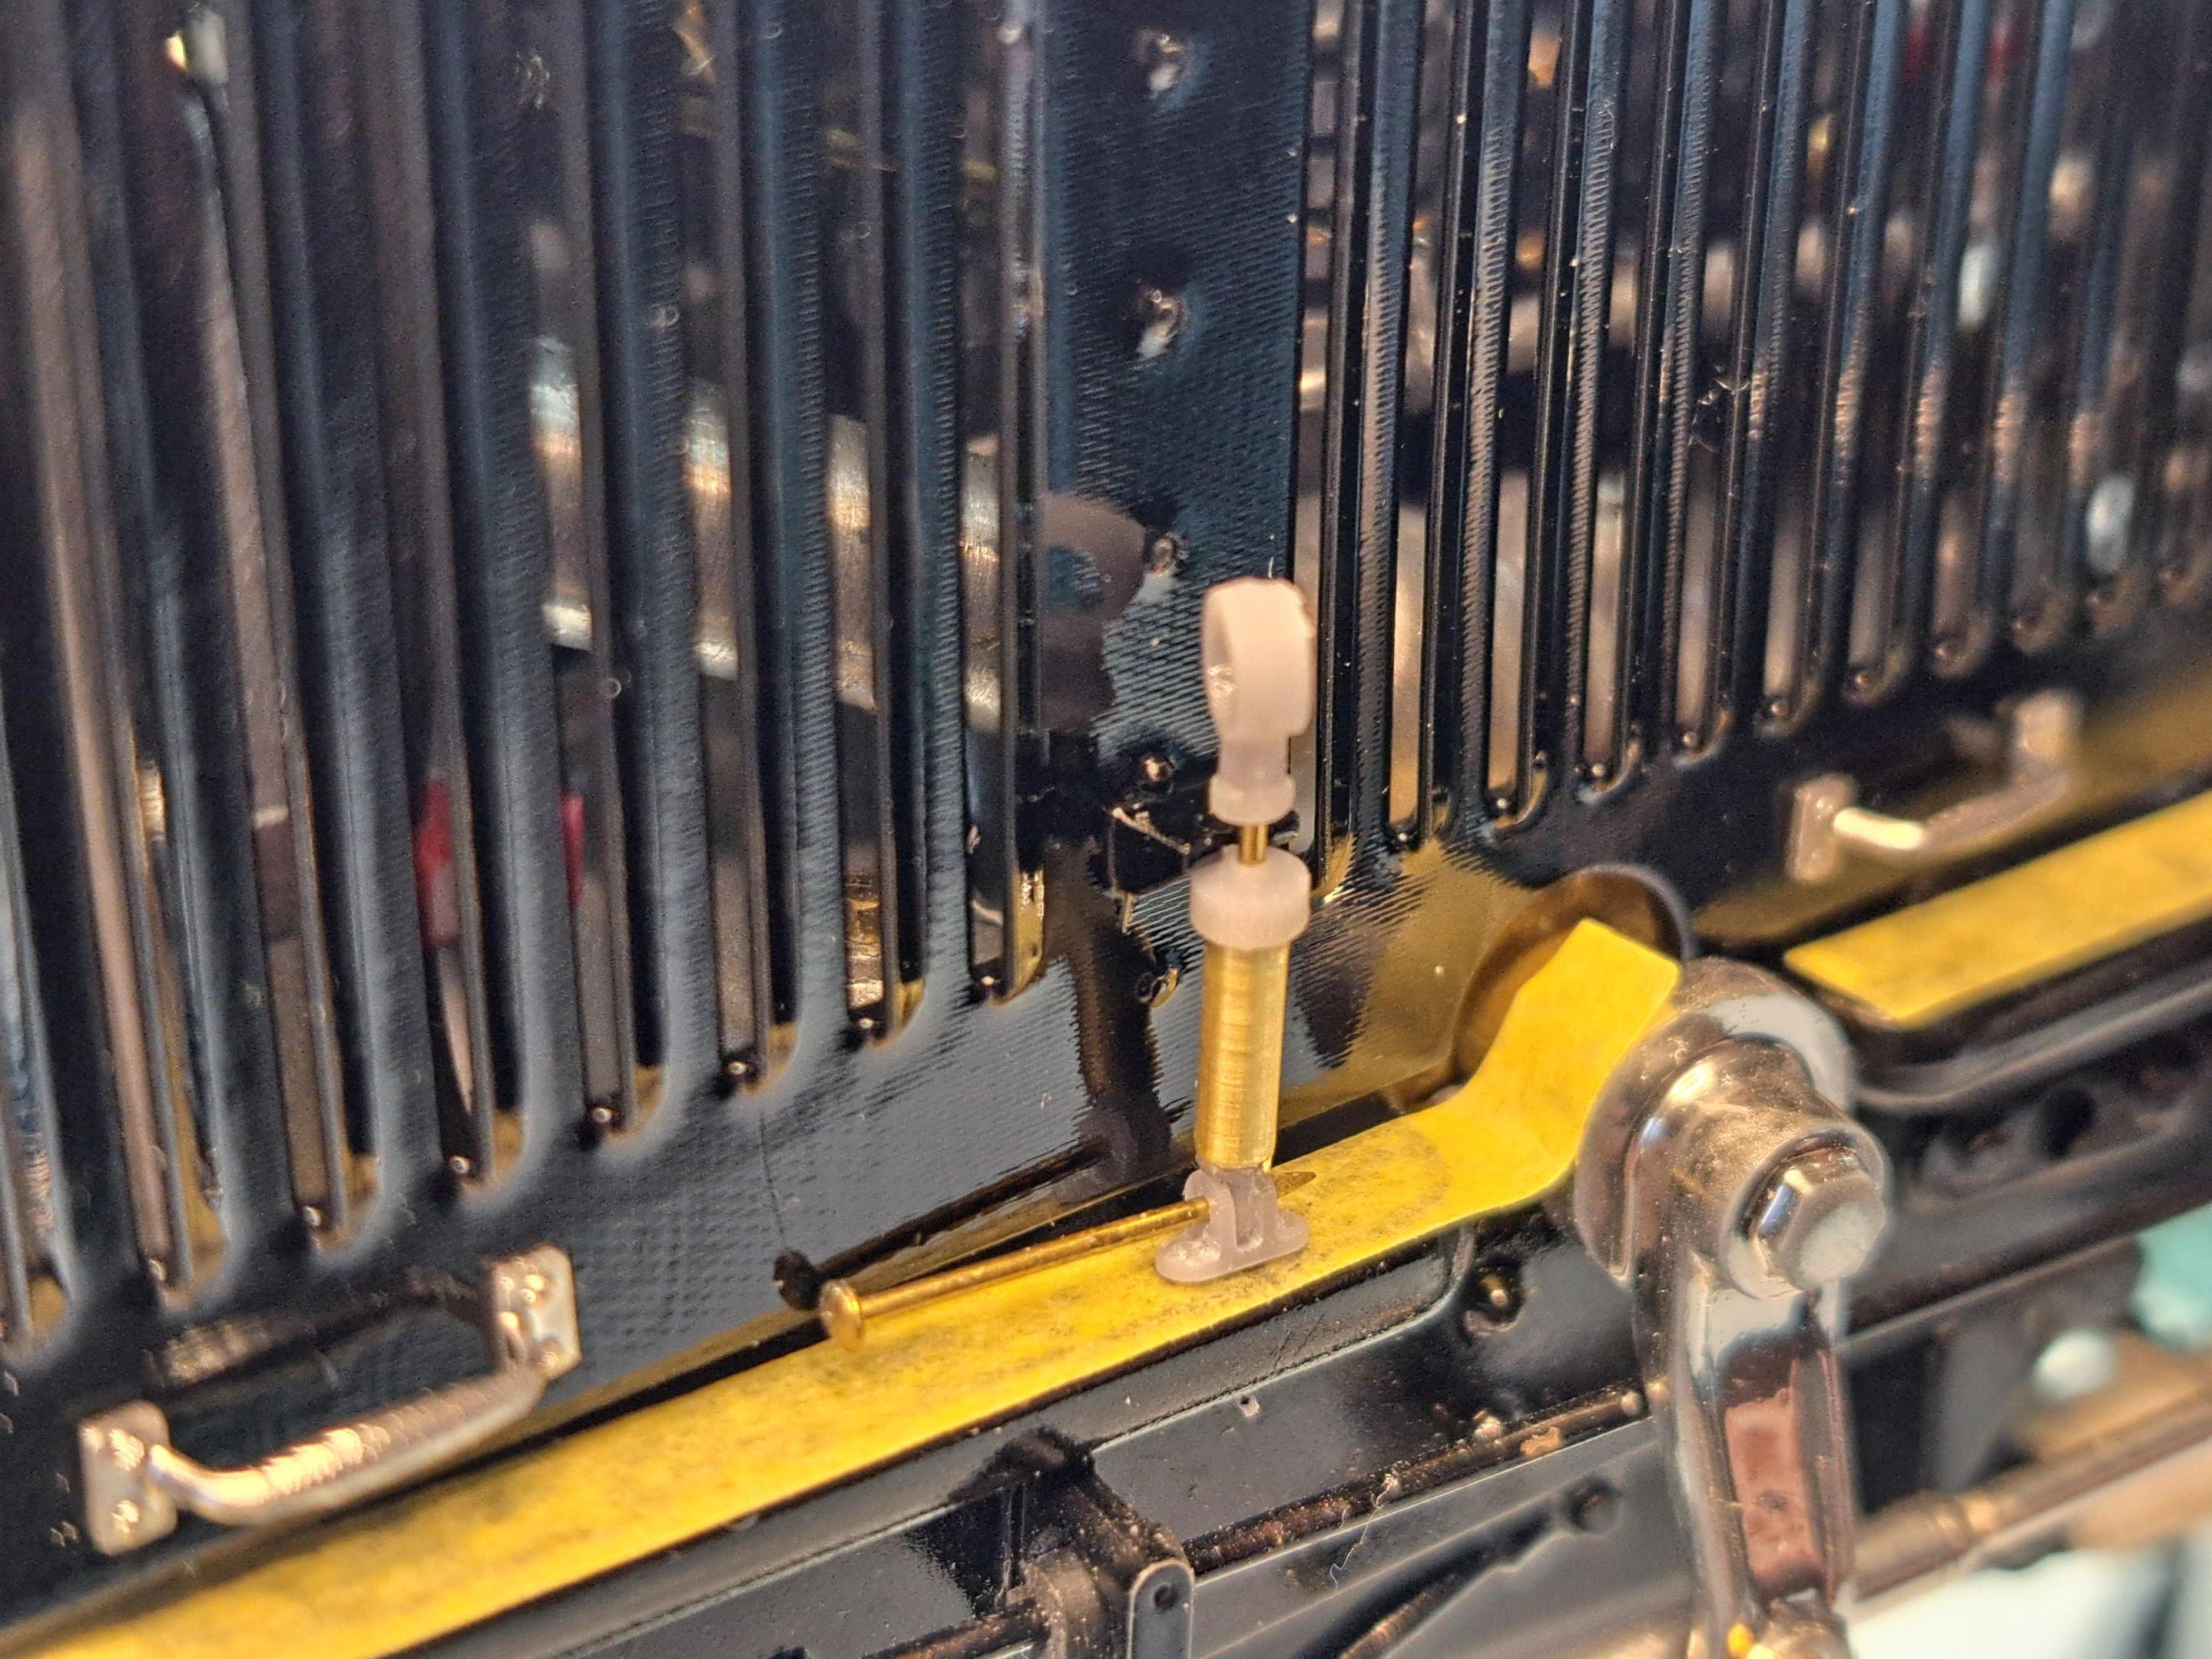
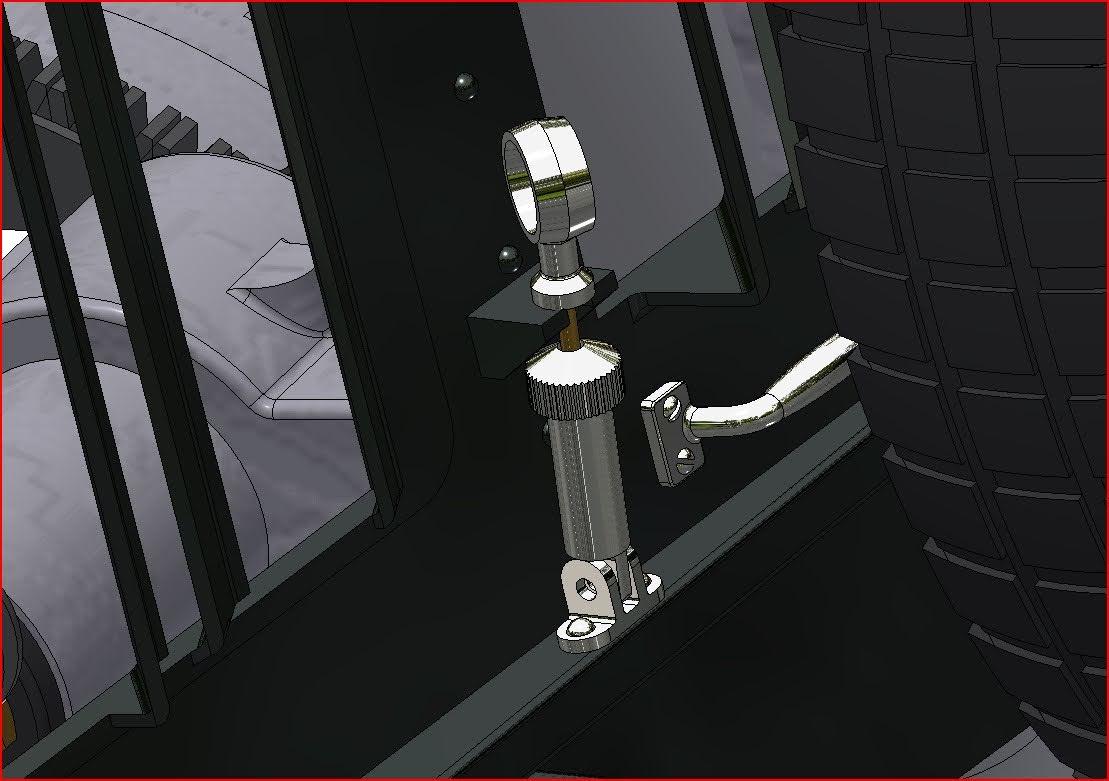
I also made the 2 hood clamps, they are actually spring loaded and somewhat functional.

Exploded view of a clamp


Both clamps assembled


Test fit on the model
 
Dear Francois. You are doing an absolutely incredible job on this build. Your attention to detail, innovation and ability to view a bigger picture in your mind's eye are truly astonishing. Of course, all this would mean nothing unless you could execute these details - in your case however, the skillset is the equivalent of the vision.

To me the Blowers have always been kind of enigmatic - apart from Birkin's high-speed record runs in his much-modified Red Blower, the race cars were not successful (certainly not when compared to the normally aspirated 6-liters), and yet, the Blowers are the cars that have captured the imagination of the motoring public. To the uninitiated you are building a model car, to those in the know, you are creating a piece of model automotive art!
 
There's a saying that goes like this

" Third time's a charm"...

Well in the case of the radiator cover, it's the fifth that charmed me!! I finally got the chrome right!
Now, all I have to do is install the front grill whitout damaging the chrome... yeah right...


Installed the hood clamps (I'm using a dummy hood while a new coat of paint dries on the good one).
View attachment 20240213_165816.mp4


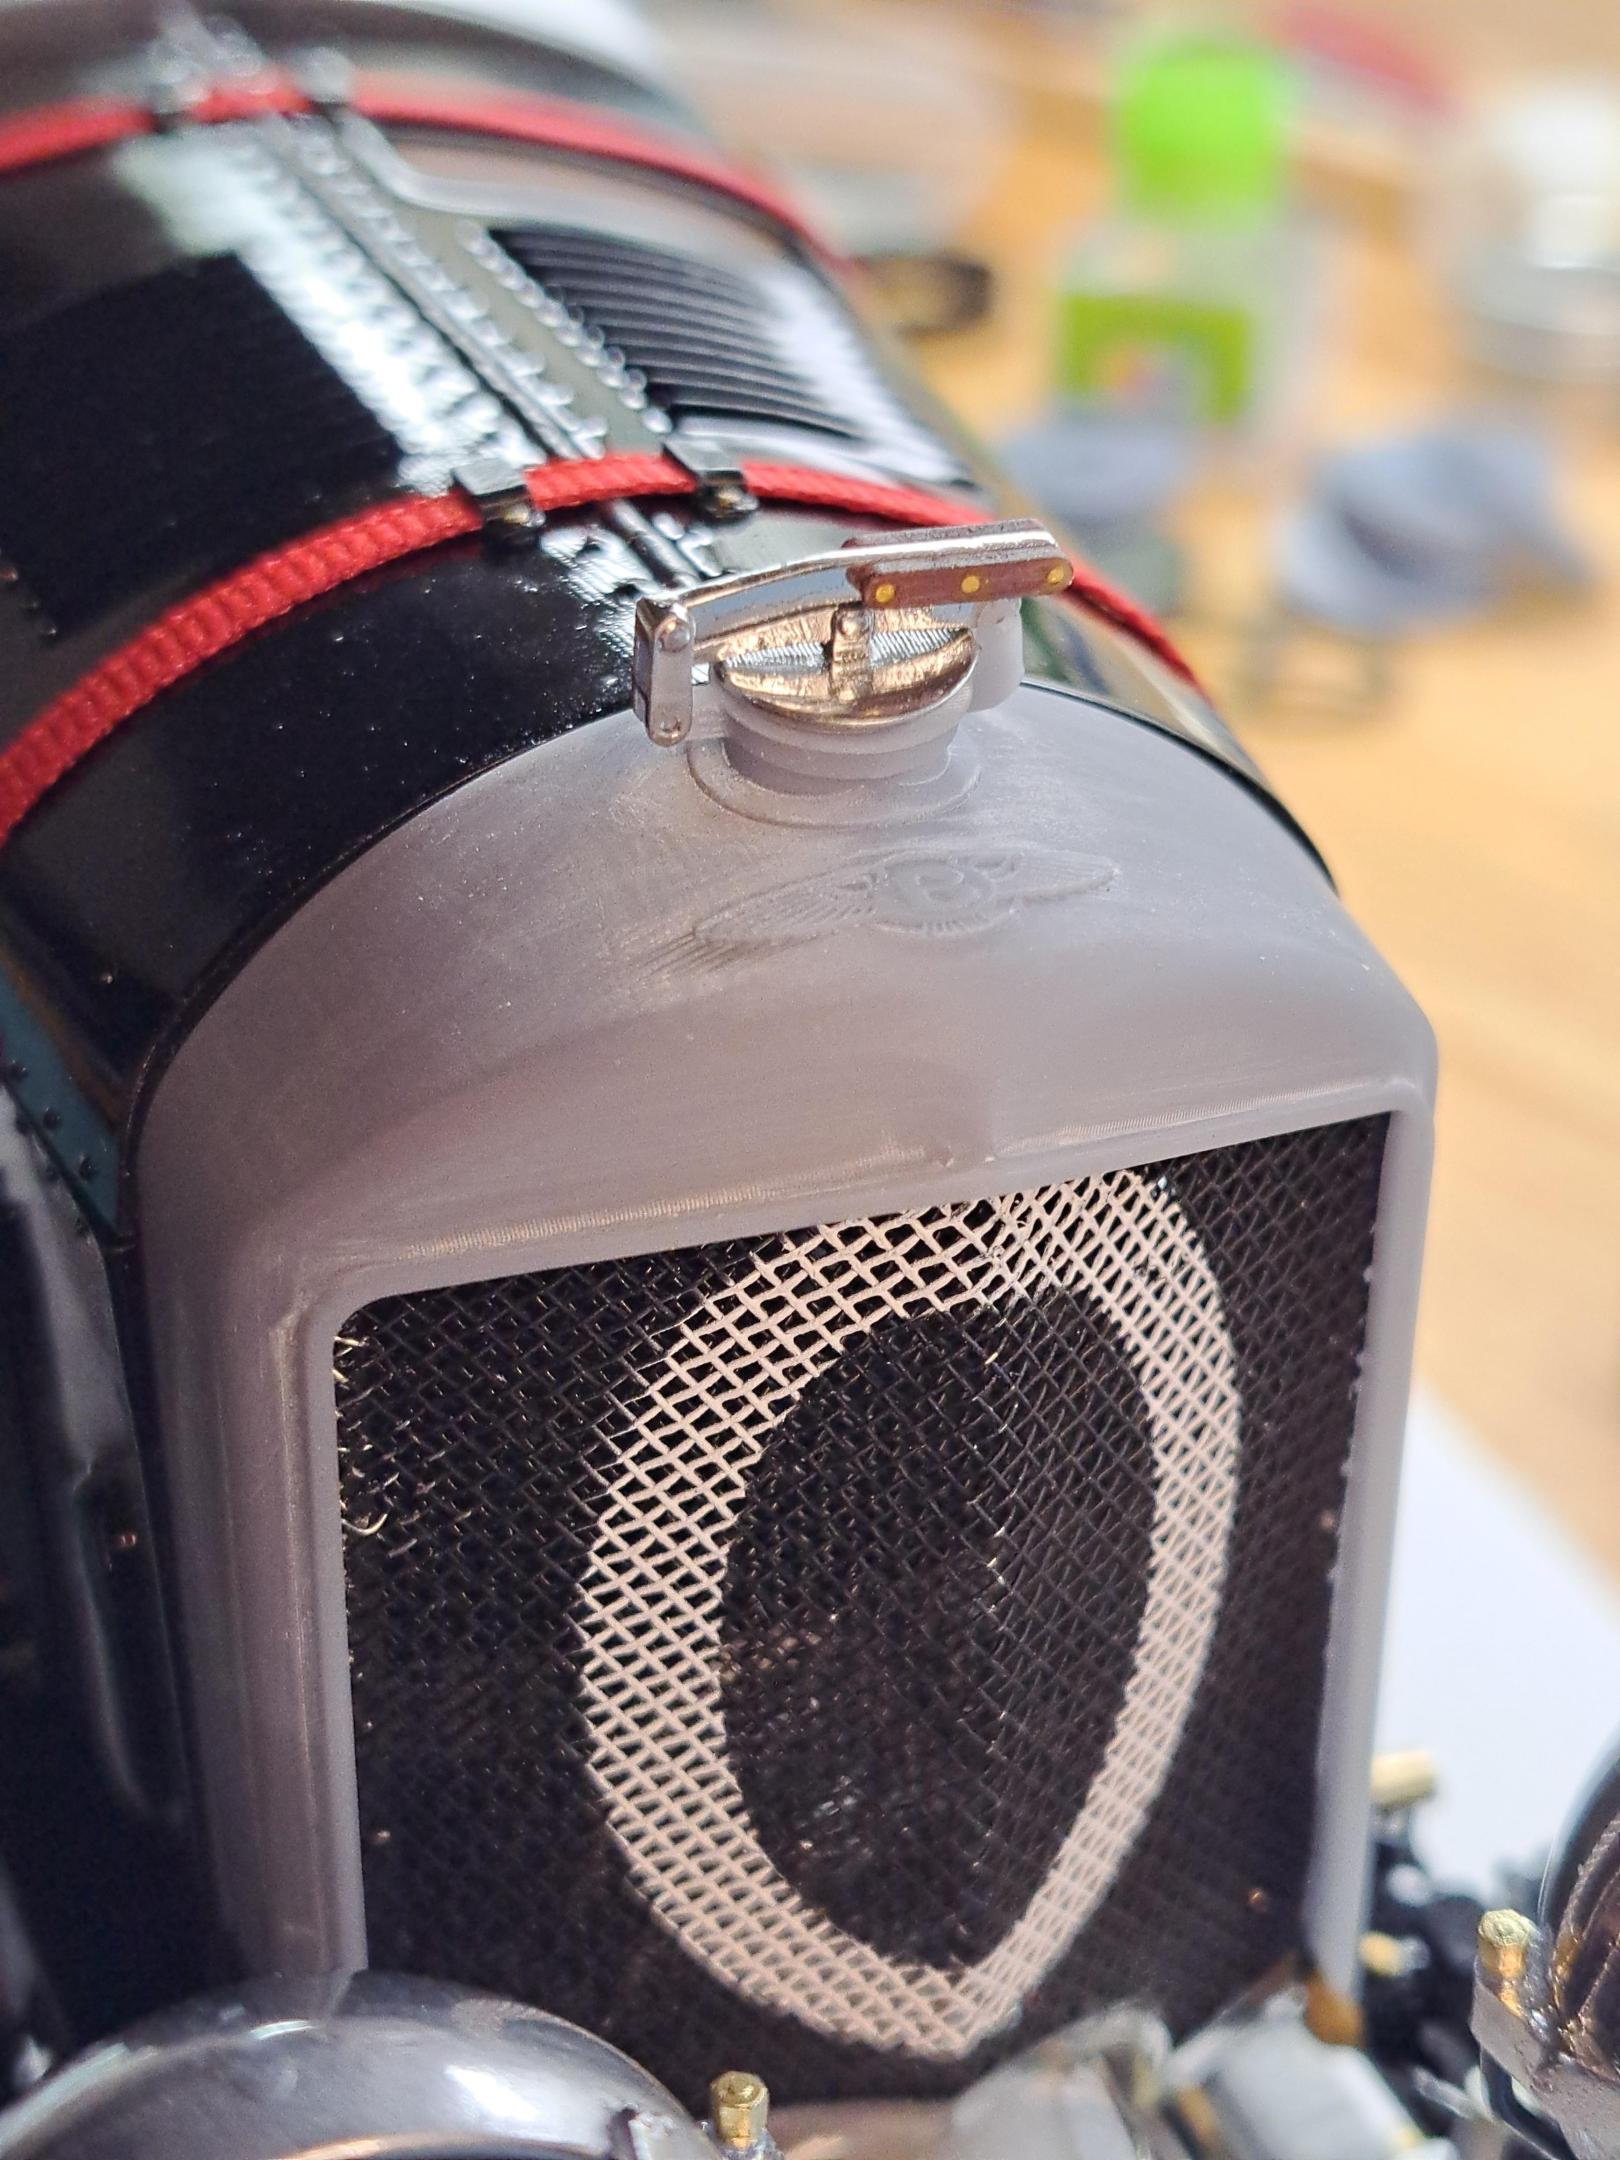
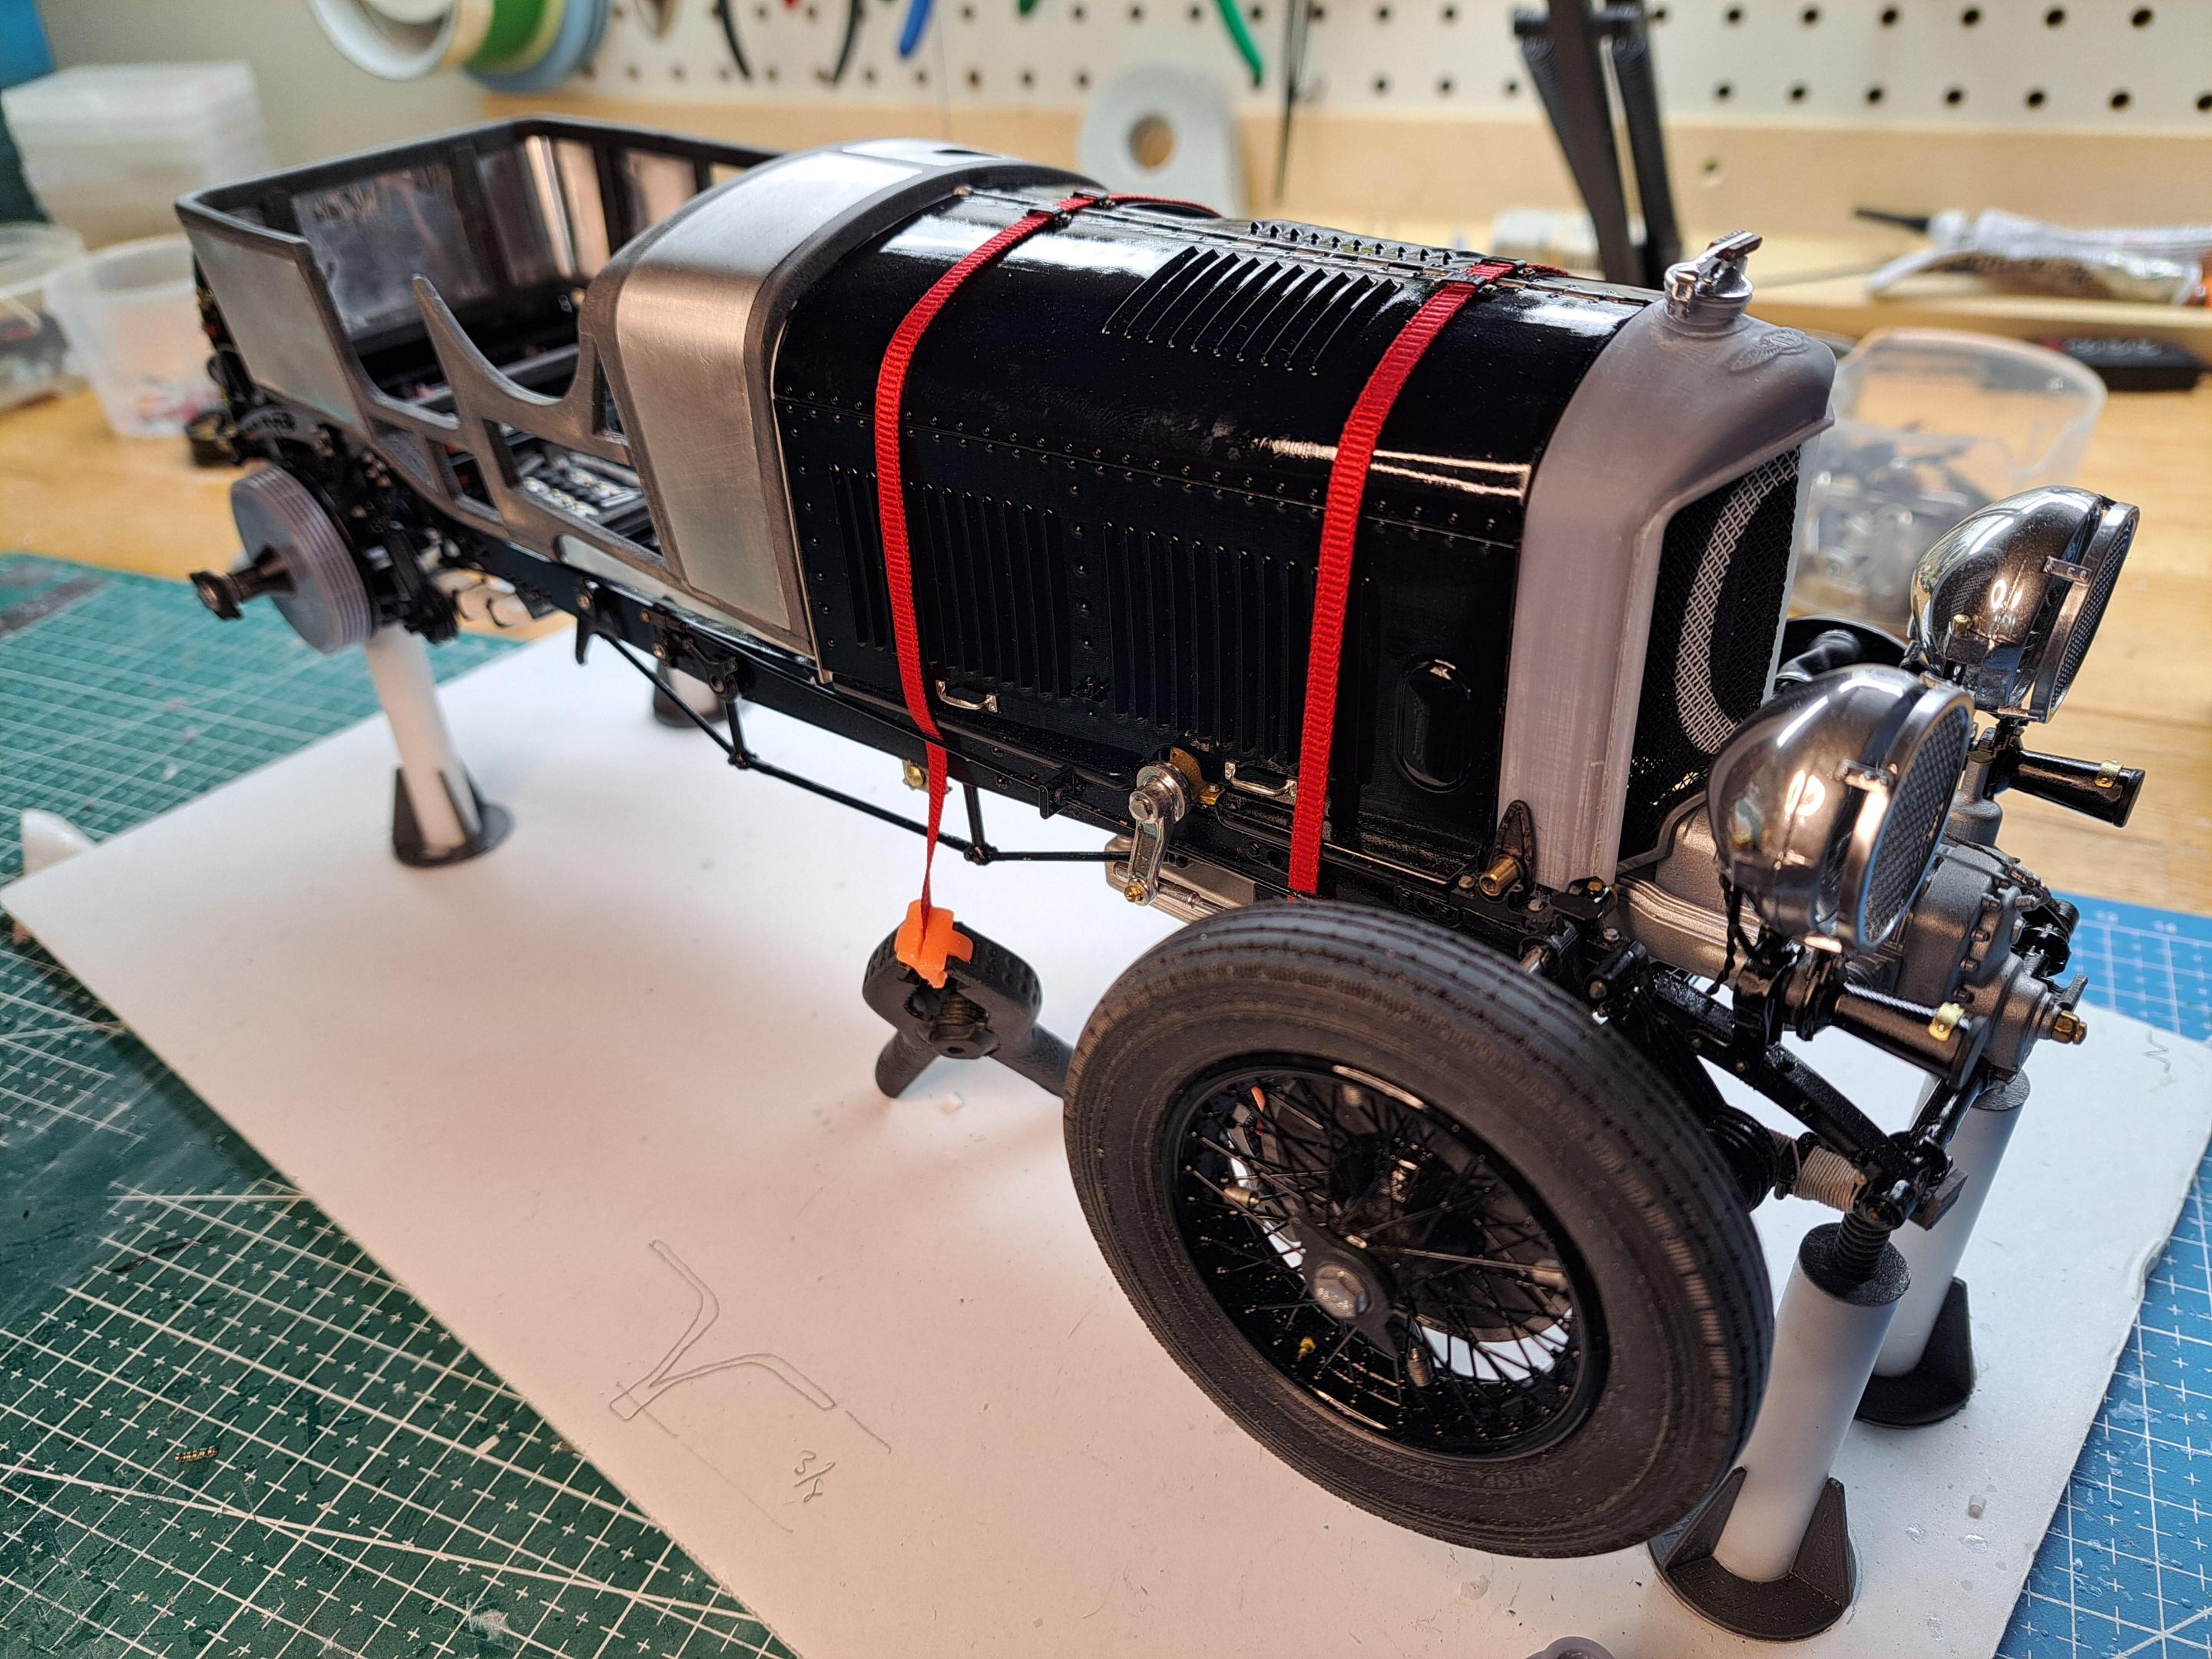
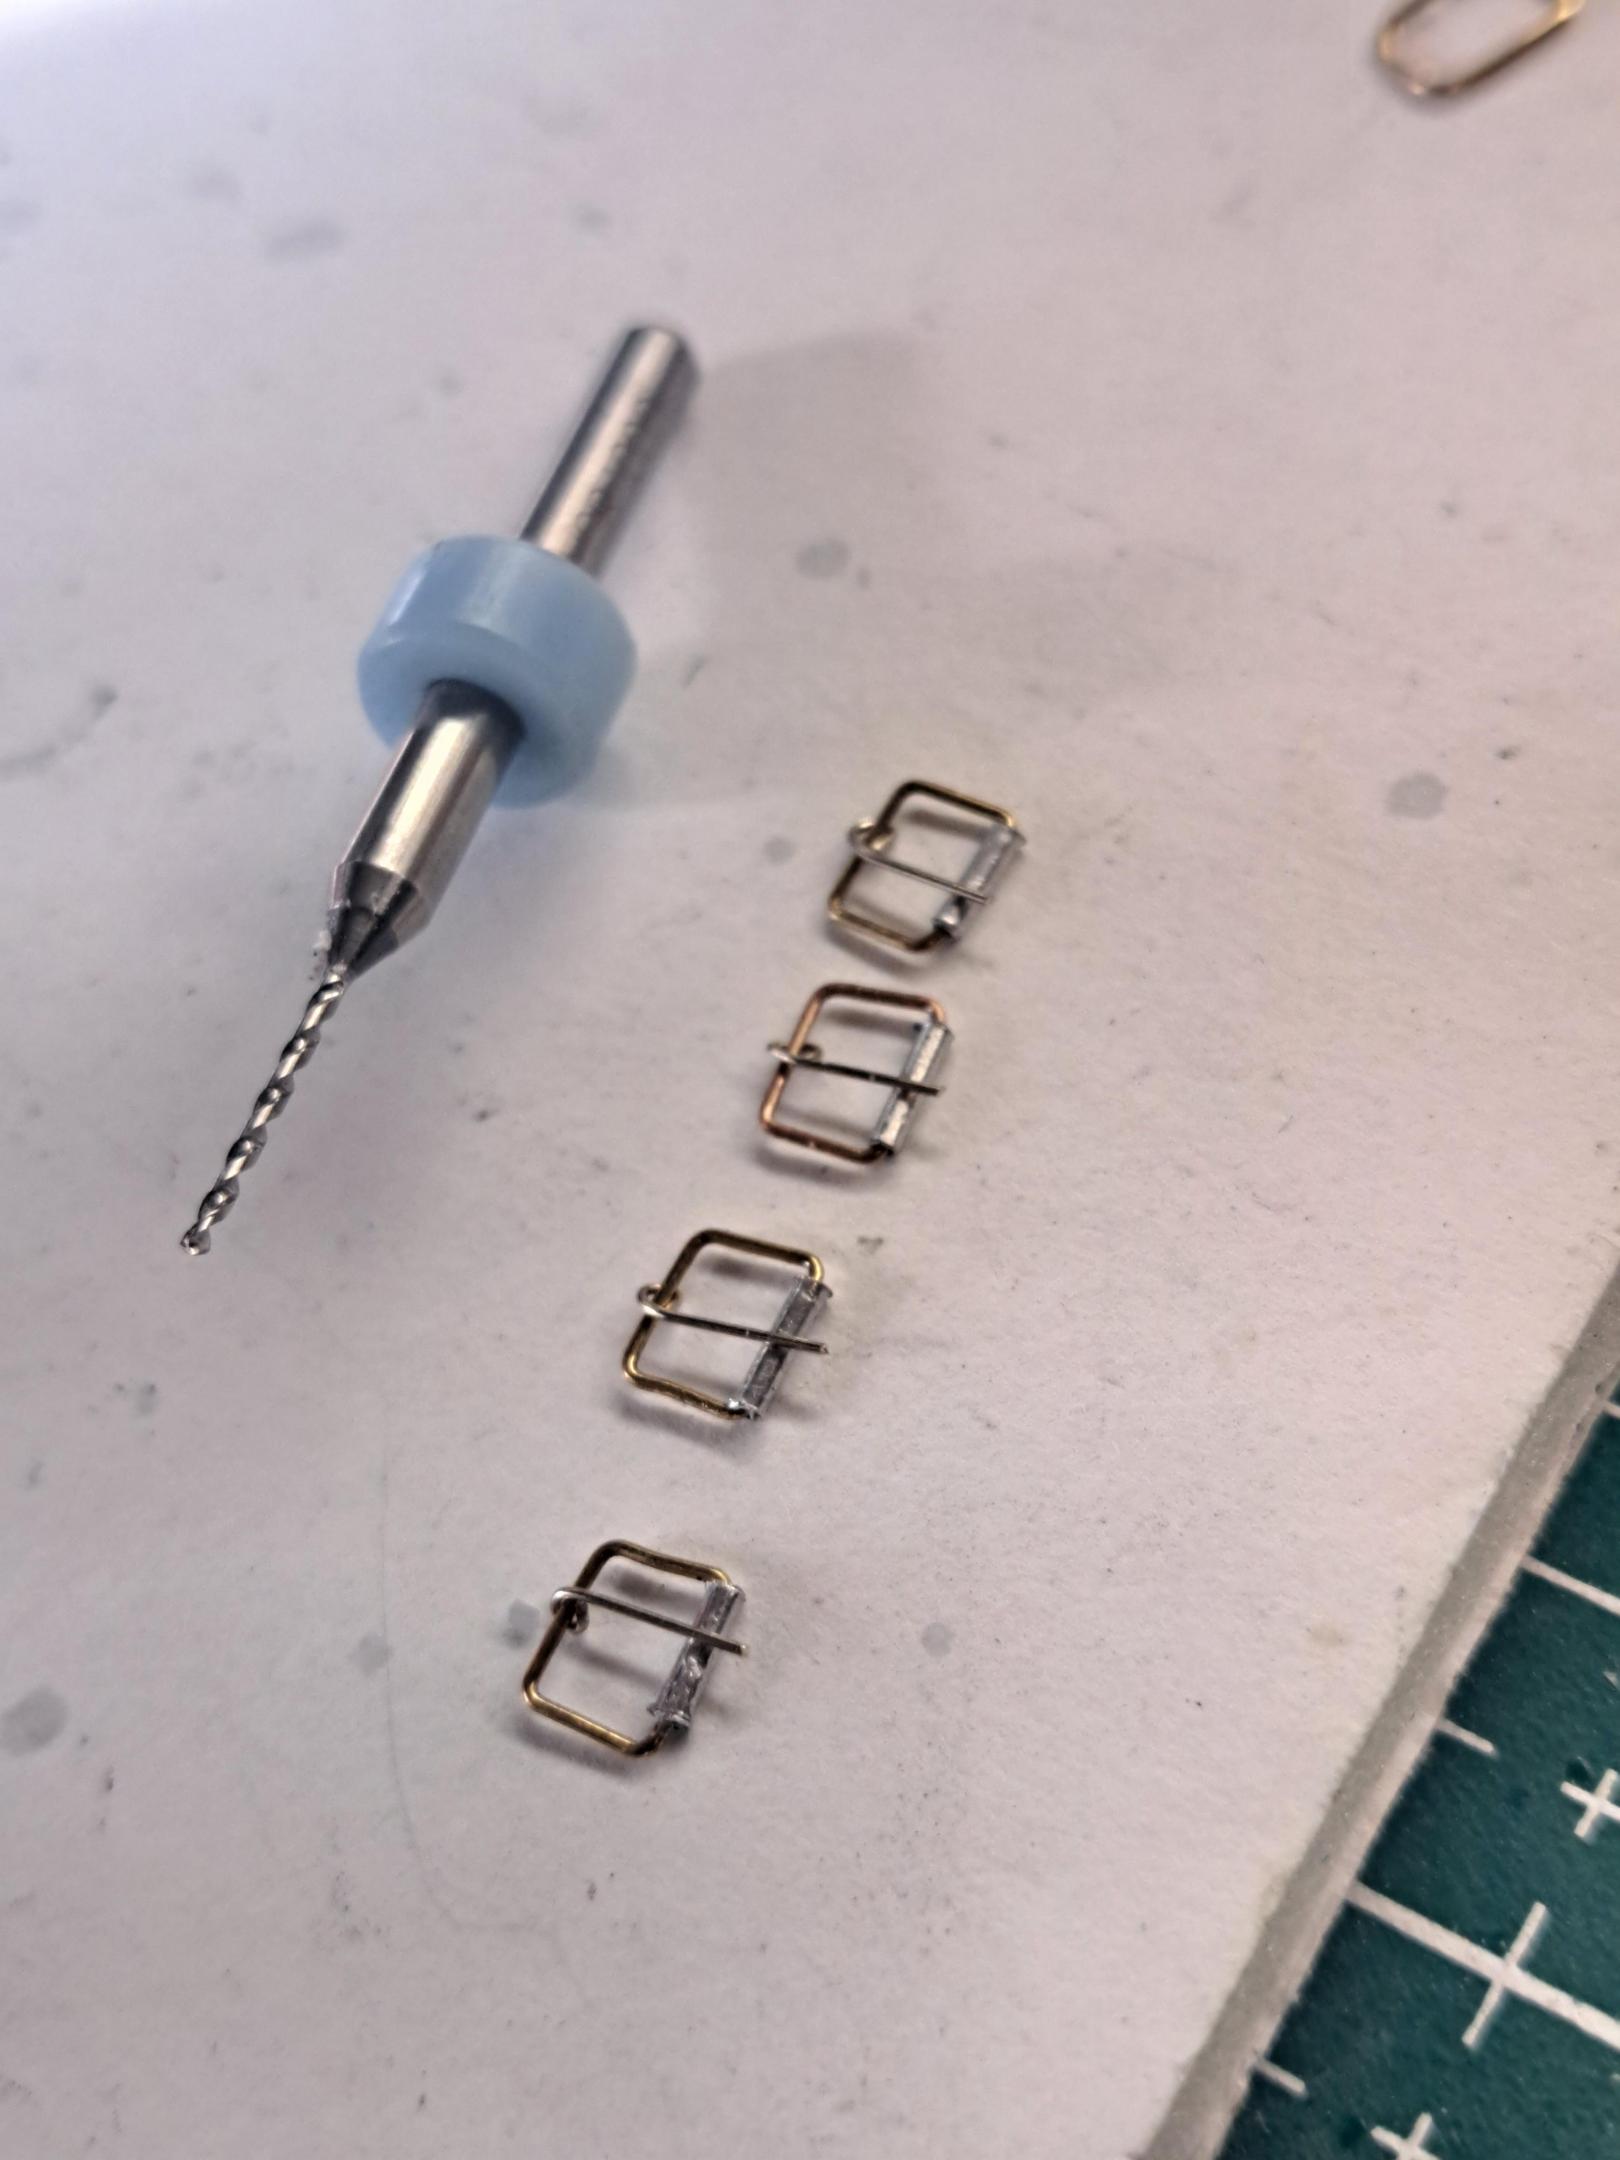
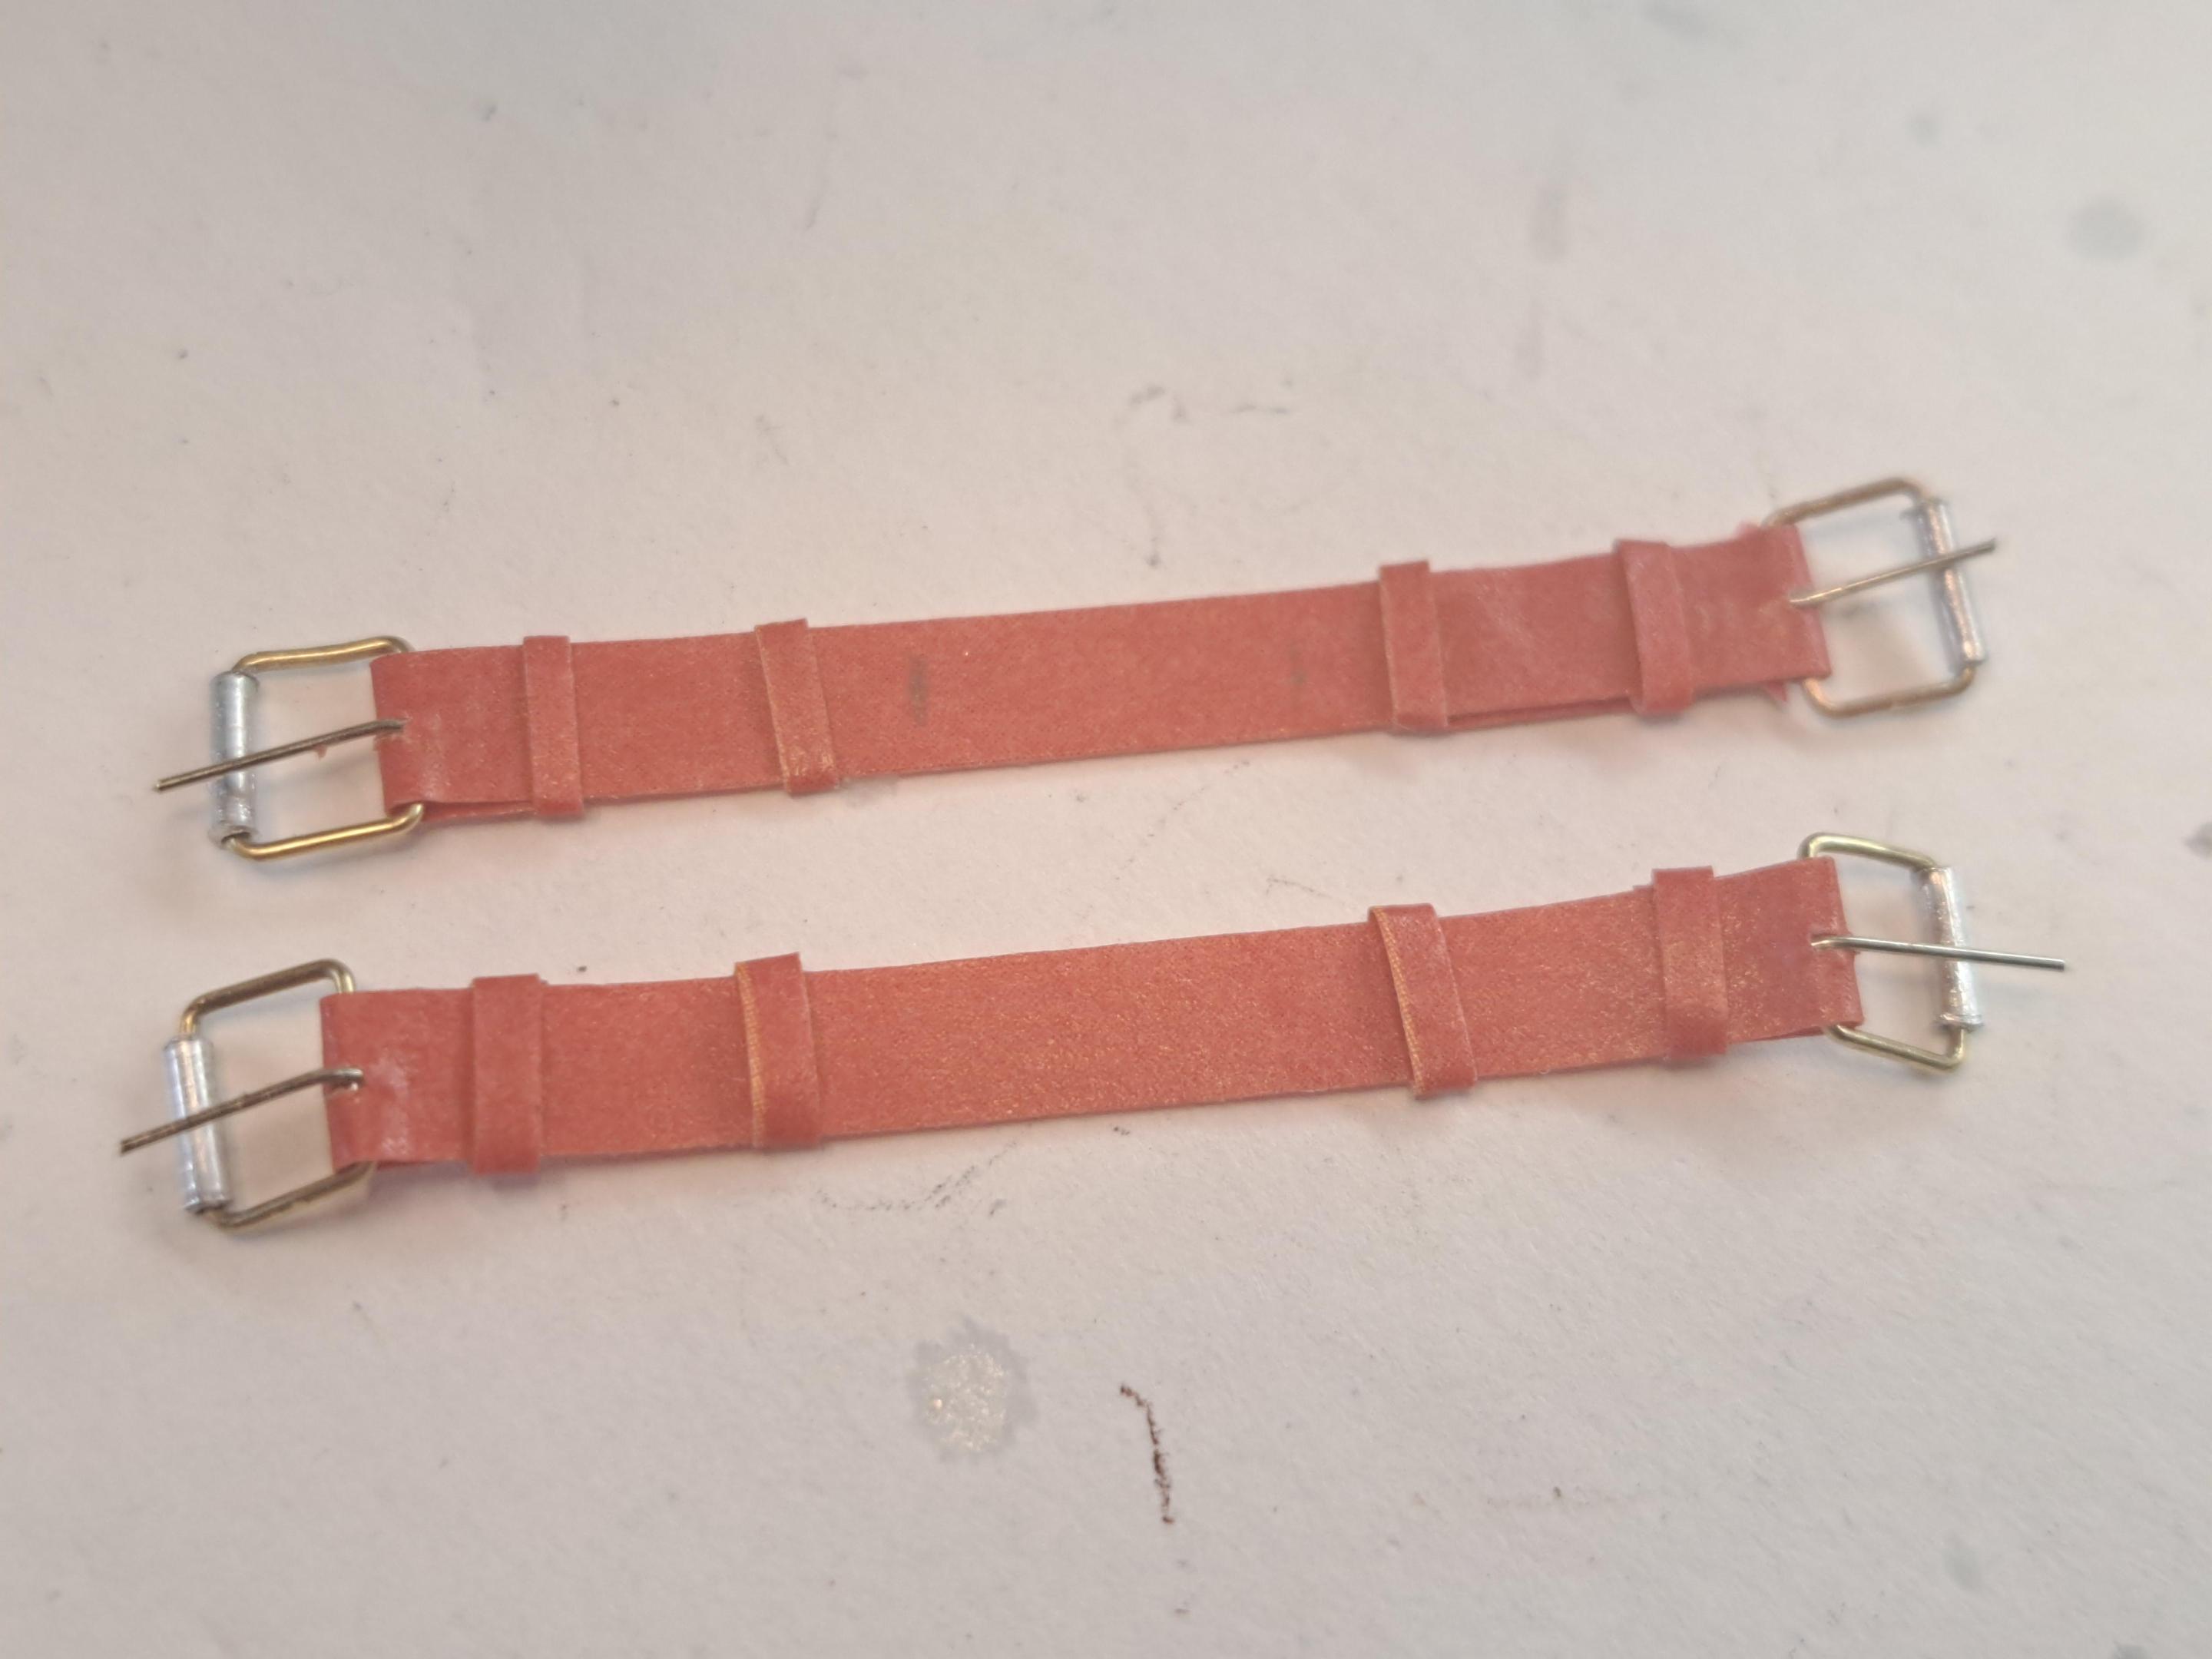
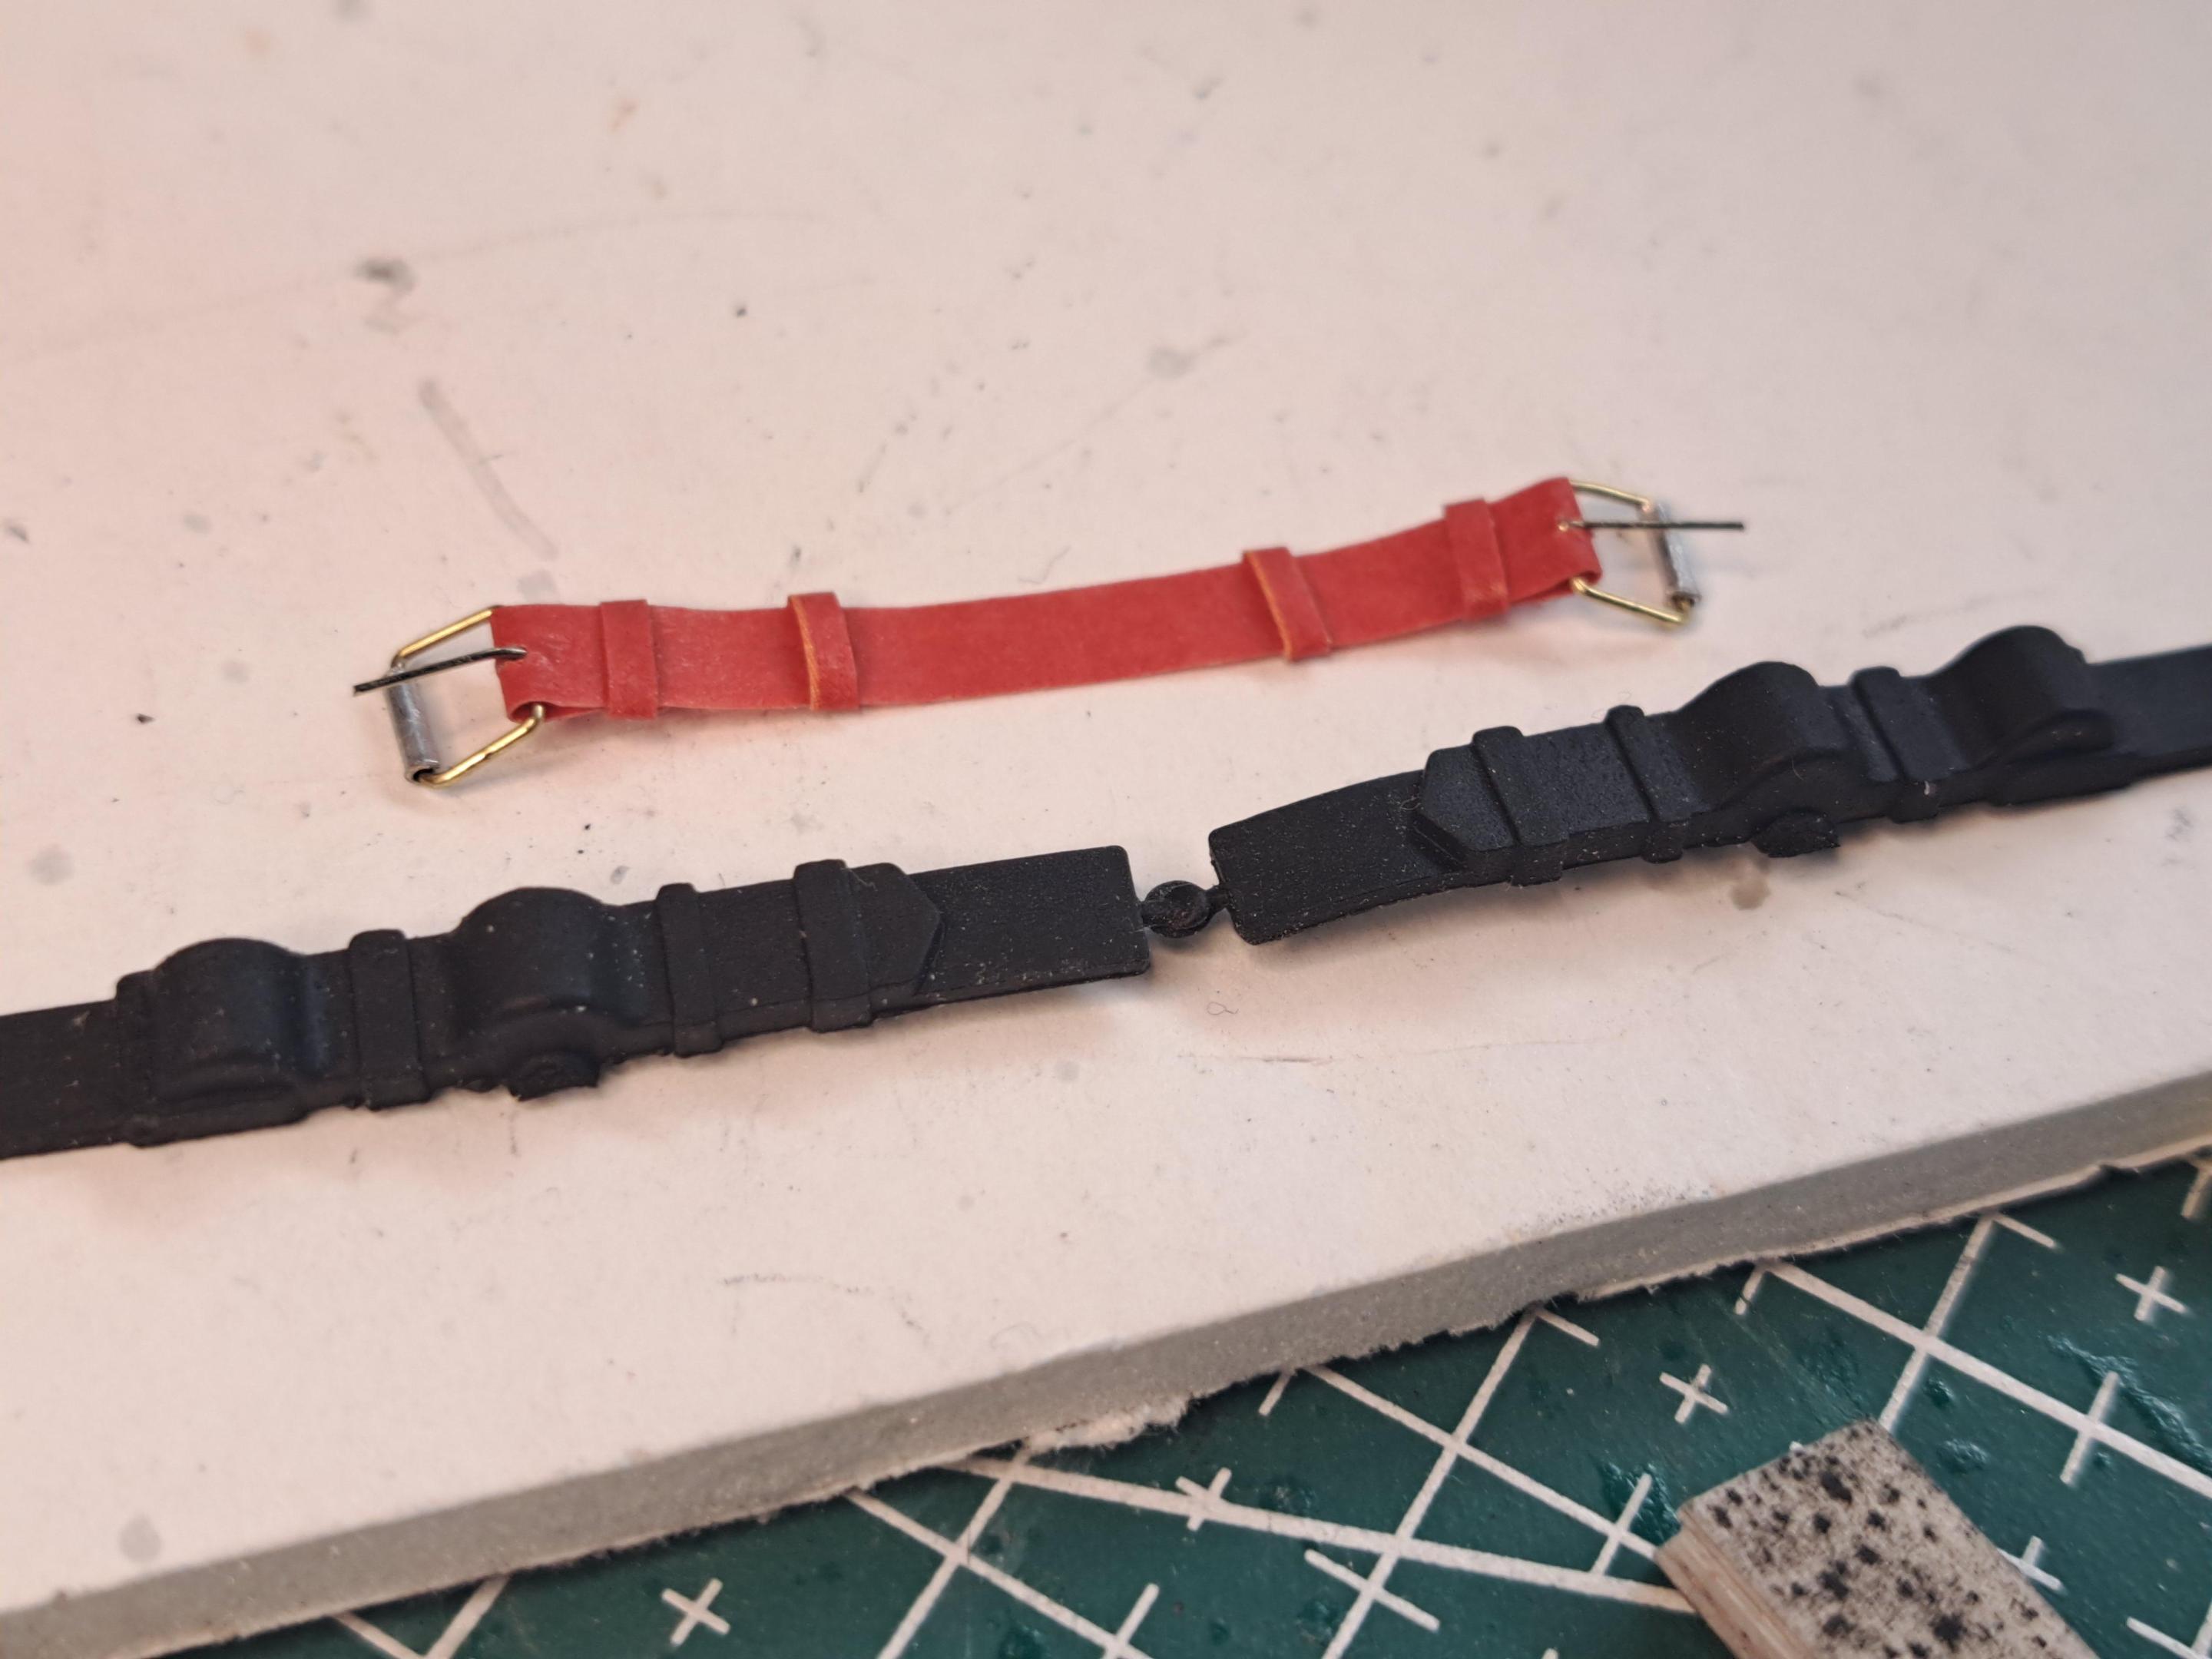
Started work on the hood straps, made tiny buckels and the 2 top straps are done.


This is what the kit provides (black rubber)

 
Back
Top