1930 Bentley Blower by Aifix 1/12 build log

Printed some more parts for the display case. Printing these parts proves to be more complicated then I originaly thought, but I think the final result should be worth it.

A bunch of parts


Sprinkler head


20240324_202907.jpg.6347a2571e873ee8736b0774698a3092.jpg
 
Printed some more parts for the display case. Printing these parts proves to be more complicated then I originaly thought, but I think the final result should be worth it.

A bunch of parts


Sprinkler head


20240324_202907.jpg.6347a2571e873ee8736b0774698a3092.jpg
Following in your fathers footsteps and making your own valves. :D
 
Started some sub assemblies on the display case today.

All 5 trusses are glued


4 H columns

20240325_214818.jpg.769bd64822db565430f9931e6f9d9f80.jpg


They were too long to print in one piece so I did them in 2. I added a locating feature at the ends of both half to assure a good alignment.


Did the large gate valve assy


And the 3 sprinkler pipes


This is the only gate valve from my father's inventory that I could fit, there's a small part of him in this.


On an other topic, I found this really old and beat up Pocher rolls royce at my local hobby shop. It's missing many parts. I'm thinking it could be an interesting project, total dismantle, refurbishing, and adding some of my special festures to it. But I would need to get for next to nothing... to be continued...

20240325_105955.jpg.84f4e6fee93eb9365906533c3783c20e.jpg


For me, leaving it as is would be boring. I restored a Triumph TR6 back in 2006 and liked the project very much. I would like to do the same with the rolls. There is something extremely gratifying in taking something that at first glance seems dead and with no value and to bring it back to life.
 
I really like that Rolls for your next build, possibly would be even more of a project then the Bentley

Those 'H' columns - did you add riveted tie plates at the joints or just glue and finish a a single length of steel?
 
I really like that Rolls for your next build, possibly would be even more of a project then the Bentley

Those 'H' columns - did you add riveted tie plates at the joints or just glue and finish a a single length of steel?
Dave, at about 10 feet in lenght these columns would be made out of 1 piece so that's how I made them, no plates.

I started painting the different components and fabricated the front and back panel frames. I received 1mm thick plexiglass. I need a thin plexiglass for the curved roof, I'll see how this thickness works for the side panels. I also assembled the electrical box with the 2 switchs.

Here are some shots.

Painted sprinkler pipes

20240326_200548.thumb.jpg.ae912c40d592391052a9b486a0d1f514.jpg

Sprinkler head

20240326_200620.jpg.cc2064be80c2637e301ccf2607e795c1.jpg


Main gate valve painted, l tried to give it a cast look (rugged). I ran out of red paint, wiil get more tomorrow.

20240326_201541.thumb.jpg.77a6e87d23edc49e2d25af6ee63e3345.jpg

The lights painted black with white interior. I might try to simulate some dust on it. Also painted the connection boxes.

20240326_085658.thumb.jpg.7d6eaac4ec61e5085be79061f6c213cb.jpg

20240326_200427.thumb.jpg.92b38f47be3acb1ea38961789b34c2b2.jpg

20240326_200521.thumb.jpg.1b0e9b52b1cb80e19014167cfea0c230.jpg

Electrical box painted and assembled

20240326_201654.thumb.jpg.8925d6a846777d2eebb52c8b9046103a.jpg

20240326_200949.thumb.jpg.8b055add915db9c143039613ceb97cb9.jpg

Working switchs

20240326_200840.thumb.jpg.26337587794b83533187ae8557235a19.jpg
View attachment 20240326_200858.mp4
View attachment 20240326_200805.mp4
 
The display case structure is glued up. I should be ready to paint it shortly. I temporarily installed the pipes and lights and placed the car in to see what it will look like. I have to say that I'm very happy with the result.

Here's a screen shot of the 3d model

PRESENTATION10.jpg.cfa416ec7a298ec9050d0b9a3312489d.jpg


And a few pictures of my set up


I still need to do some research on how to print the picture of the real car on a plastic film of some sort and to have it translucide.
 
Could you use the acetate sheet that is made for printing things on t shirts and the like? It is smooth on one side but rough on the other to allow printing. Otherwise it is translucent.
 
I started the final assembly of the display case, so far so good! I'm waiting for some .5mm dia electrical wire so while I'm waiting, i'm doing the control box wiring. I had a small CR 2032 button cell box but i'd rather use CR 2450 cells which are bigger. So using the inerts of the box I had, I designed a bigger one to suit the bigger cells.

Here are a few pictures of the display case so far

20240404_084600.thumb.jpg.e72ddf98626dcfb39364a50b853ec817.jpg

20240404_084611.thumb.jpg.2226b2def5558185effcc14a96da85fa.jpg

20240404_084620.thumb.jpg.16fb2f6de27b1598e6aafac61e6c5641.jpg

20240404_084628.thumb.jpg.80ed460e07e3a9a0bf44dc1b6d2ad41e.jpg

and the battery box

20240404_162803.thumb.jpg.02079c14ceada3780e8d88f2392fd683.jpg

The black one is for the small cells, the clear one I printed

20240404_163152.thumb.jpg.a738898dee3317b30eab78de3dc912c4.jpg

20240404_163214.thumb.jpg.179f4e9f896de91ab77429db5999c6c1.jpg

20240404_164037.jpg.bc37846d49594e036b7f5e0a72f8068c.jpg


And inside the control panel

20240404_164049.thumb.jpg.2901b9dd60d7e0fcb87691a80764b03e.jpg
 
Did a bit more work on the electrical cabinet. The model will be hooked up to this cabinet but I want to be able to unhook it if I need to remove the model from the display case. So I modeled and printed a miniature multi pin connector complete with locking latchs. I've used these type of connectors many time on machines when it was necessary to separate one piece of equipement from another, exactly what I want to do here.

All connections to the battery box and switchs are done


Here's the cable connector on the cabinet


And the multi pin connector


20240406_195324.jpg.3530fd6ae555c1aedc69cd8b550f0127.jpg


20240406_194827.jpg.b79893e6c91076829256bccb1be073be.jpg
 
The case is pretty much finished, l'm still waiting for my .5mm electrical wire order to come in to do the lighting.

So while I'm waiting, I went back to the model itself. Like I said before, the only thing left in the body.

Here's a list of what as to be done

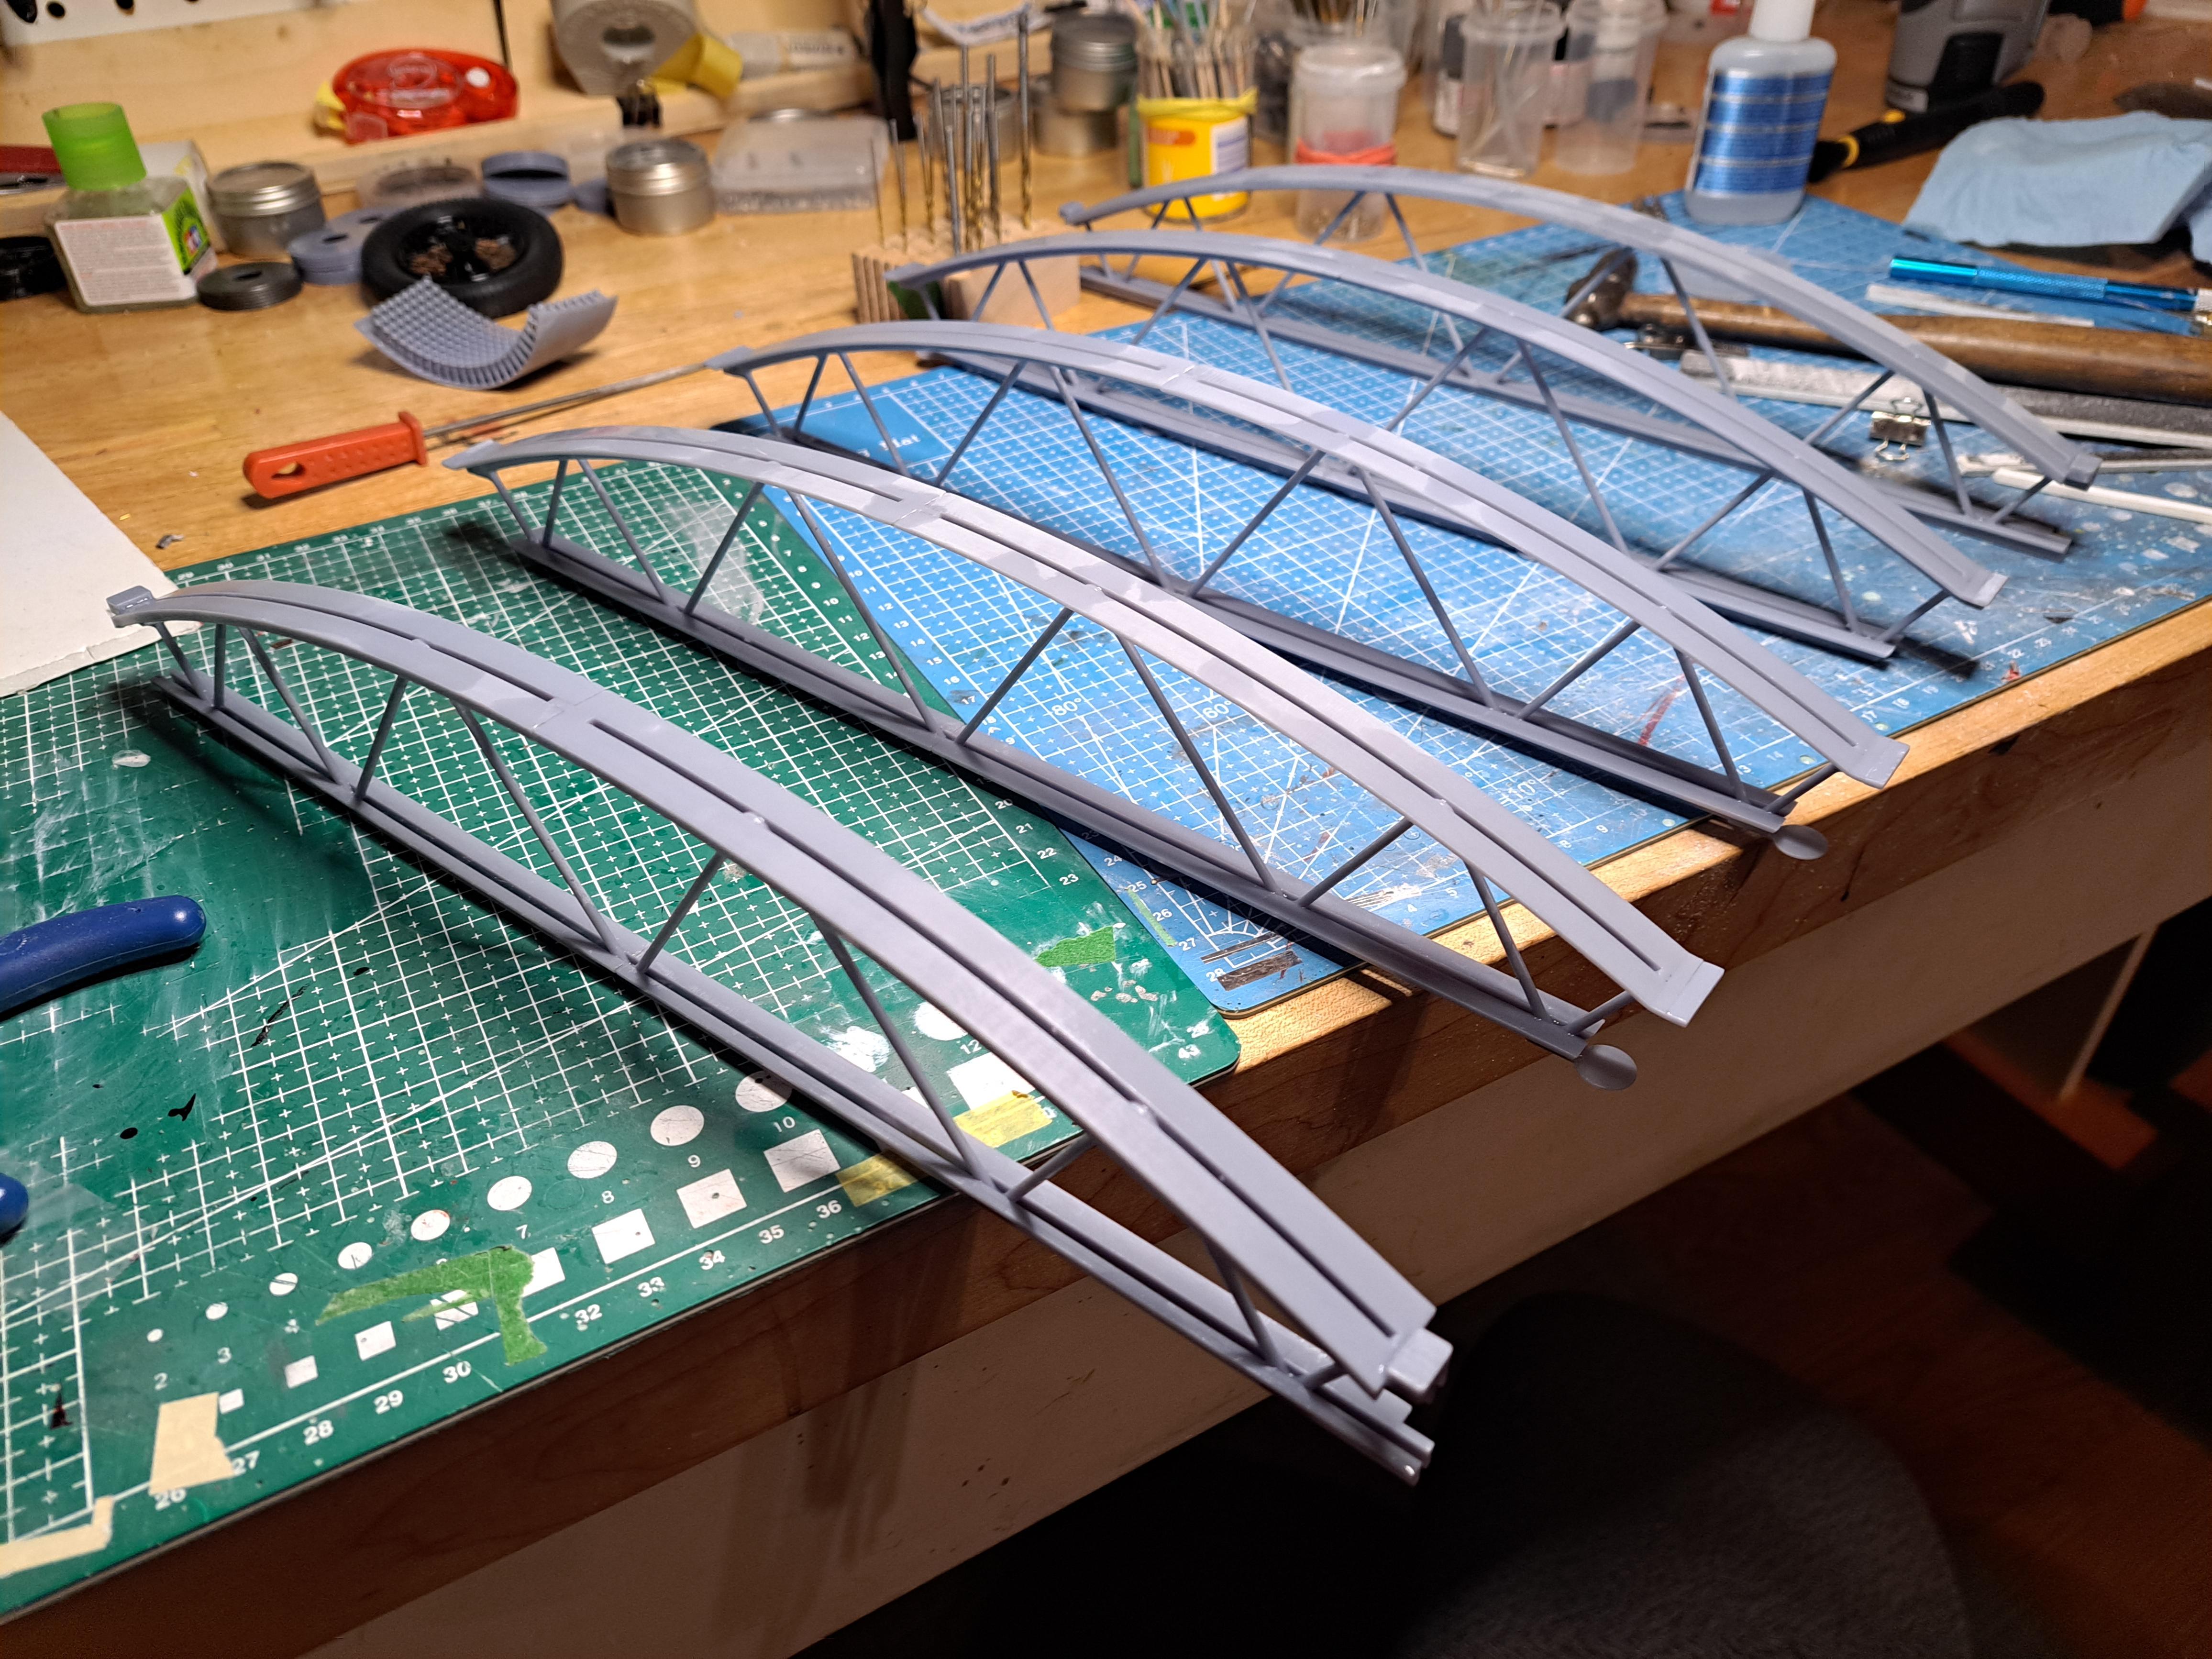
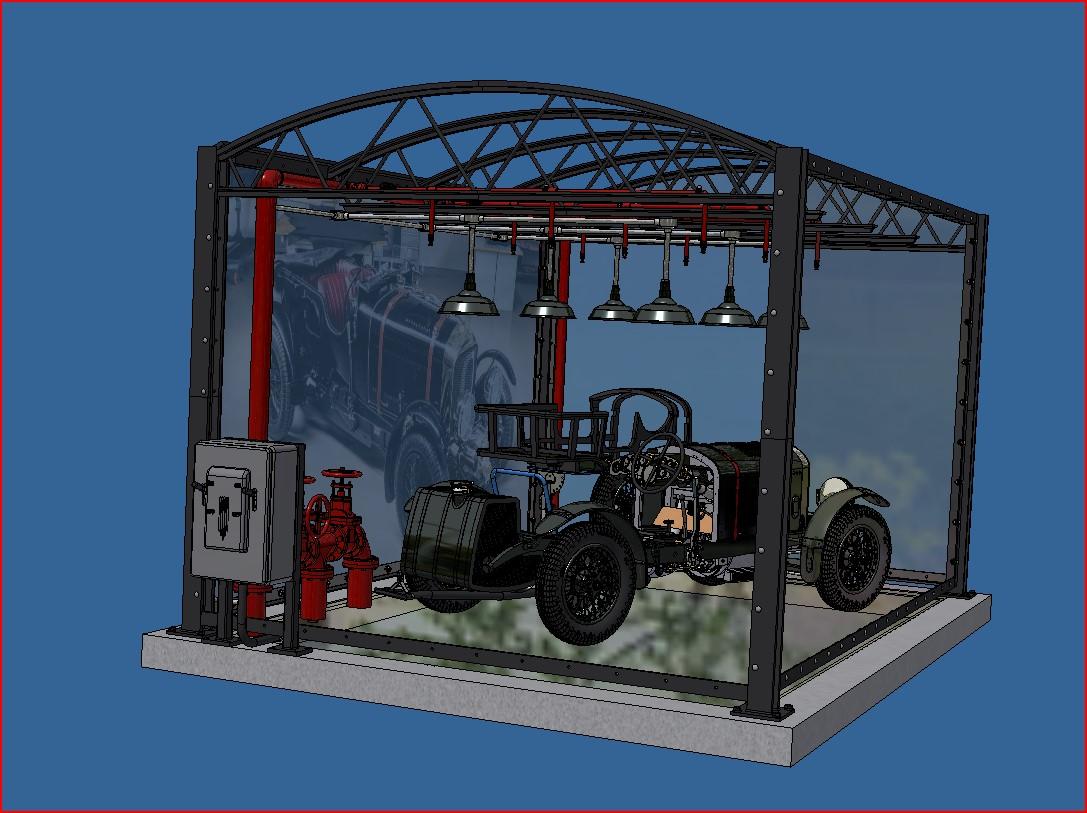
1- reprint a new body with full walls and all missing features (hinge cut-outs, holes to locate mesh screen, visers and soft top frame)

2- design mesh screen and visor mount

3- design soft top frame

4- wrap body with rexine like material (I've done a few test and i think I have a good material)

5- make leather coverded seats

6- make all interior panel and fittings

7- make dashboard

8- make wood floor boards

....

So as you can see, I'm closer to the end but still have lots to do. On May 10th, lt will make 1 year since I started this project, and I see at least another 3 months to complete.

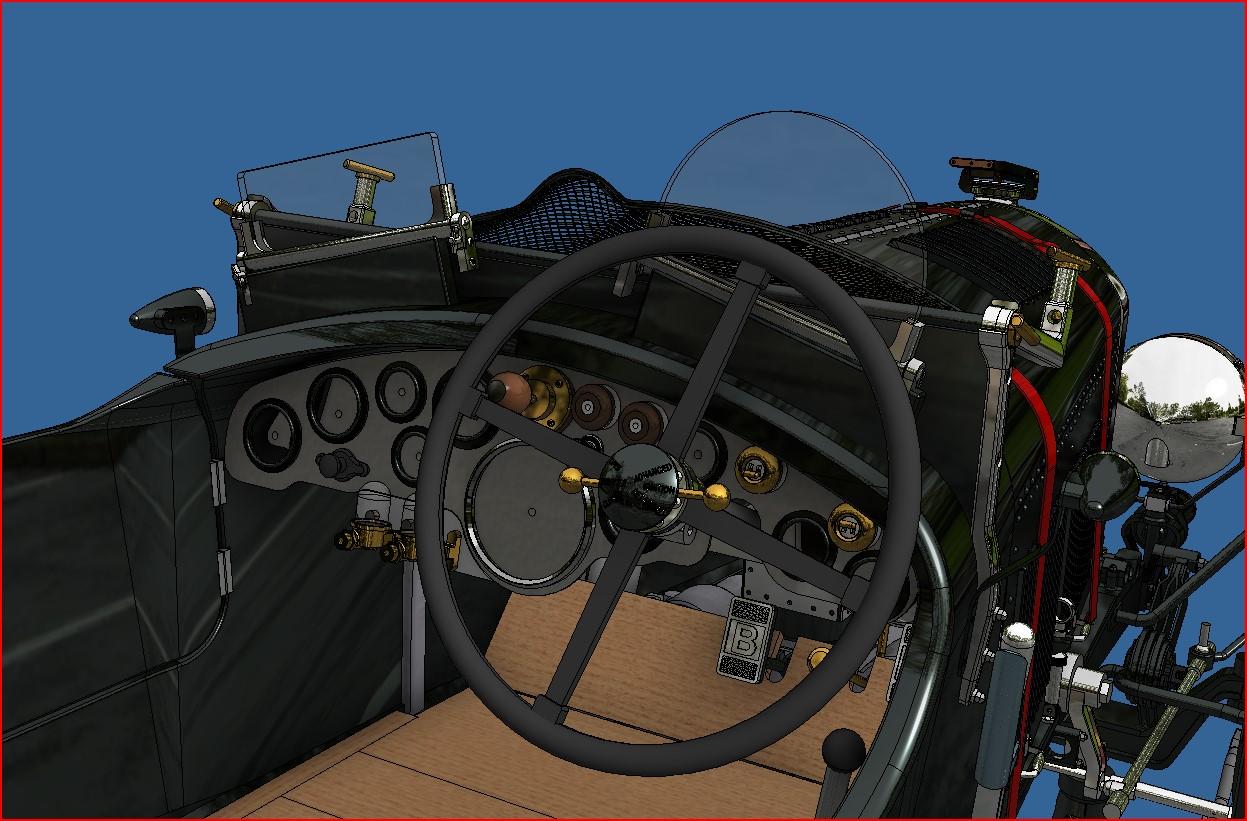
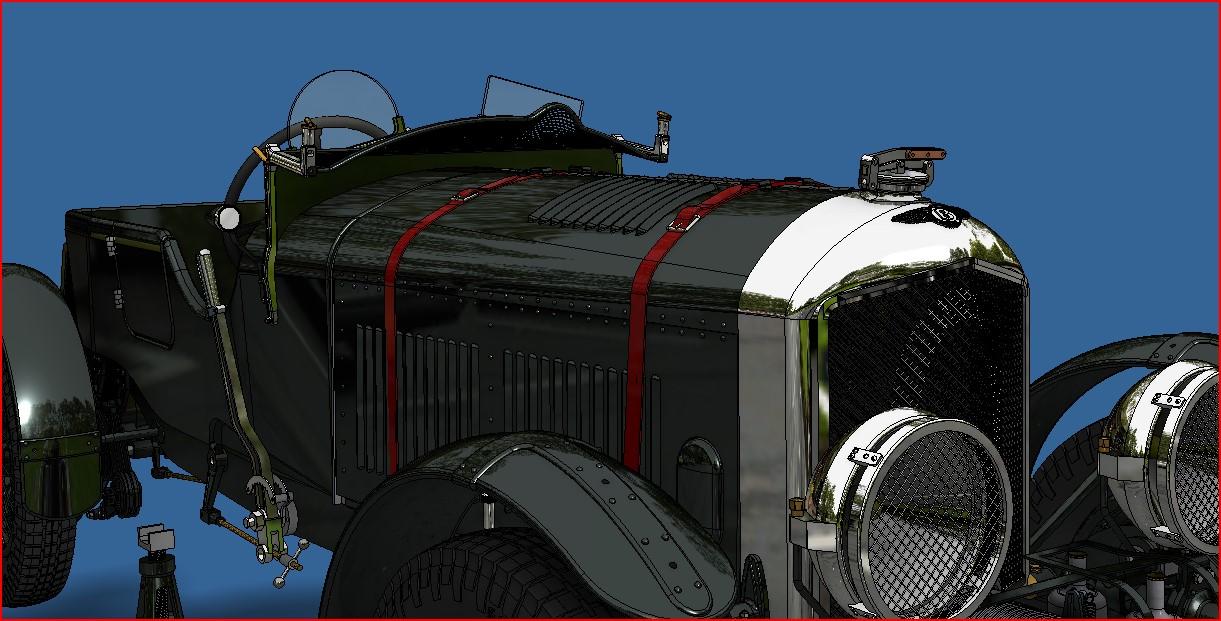
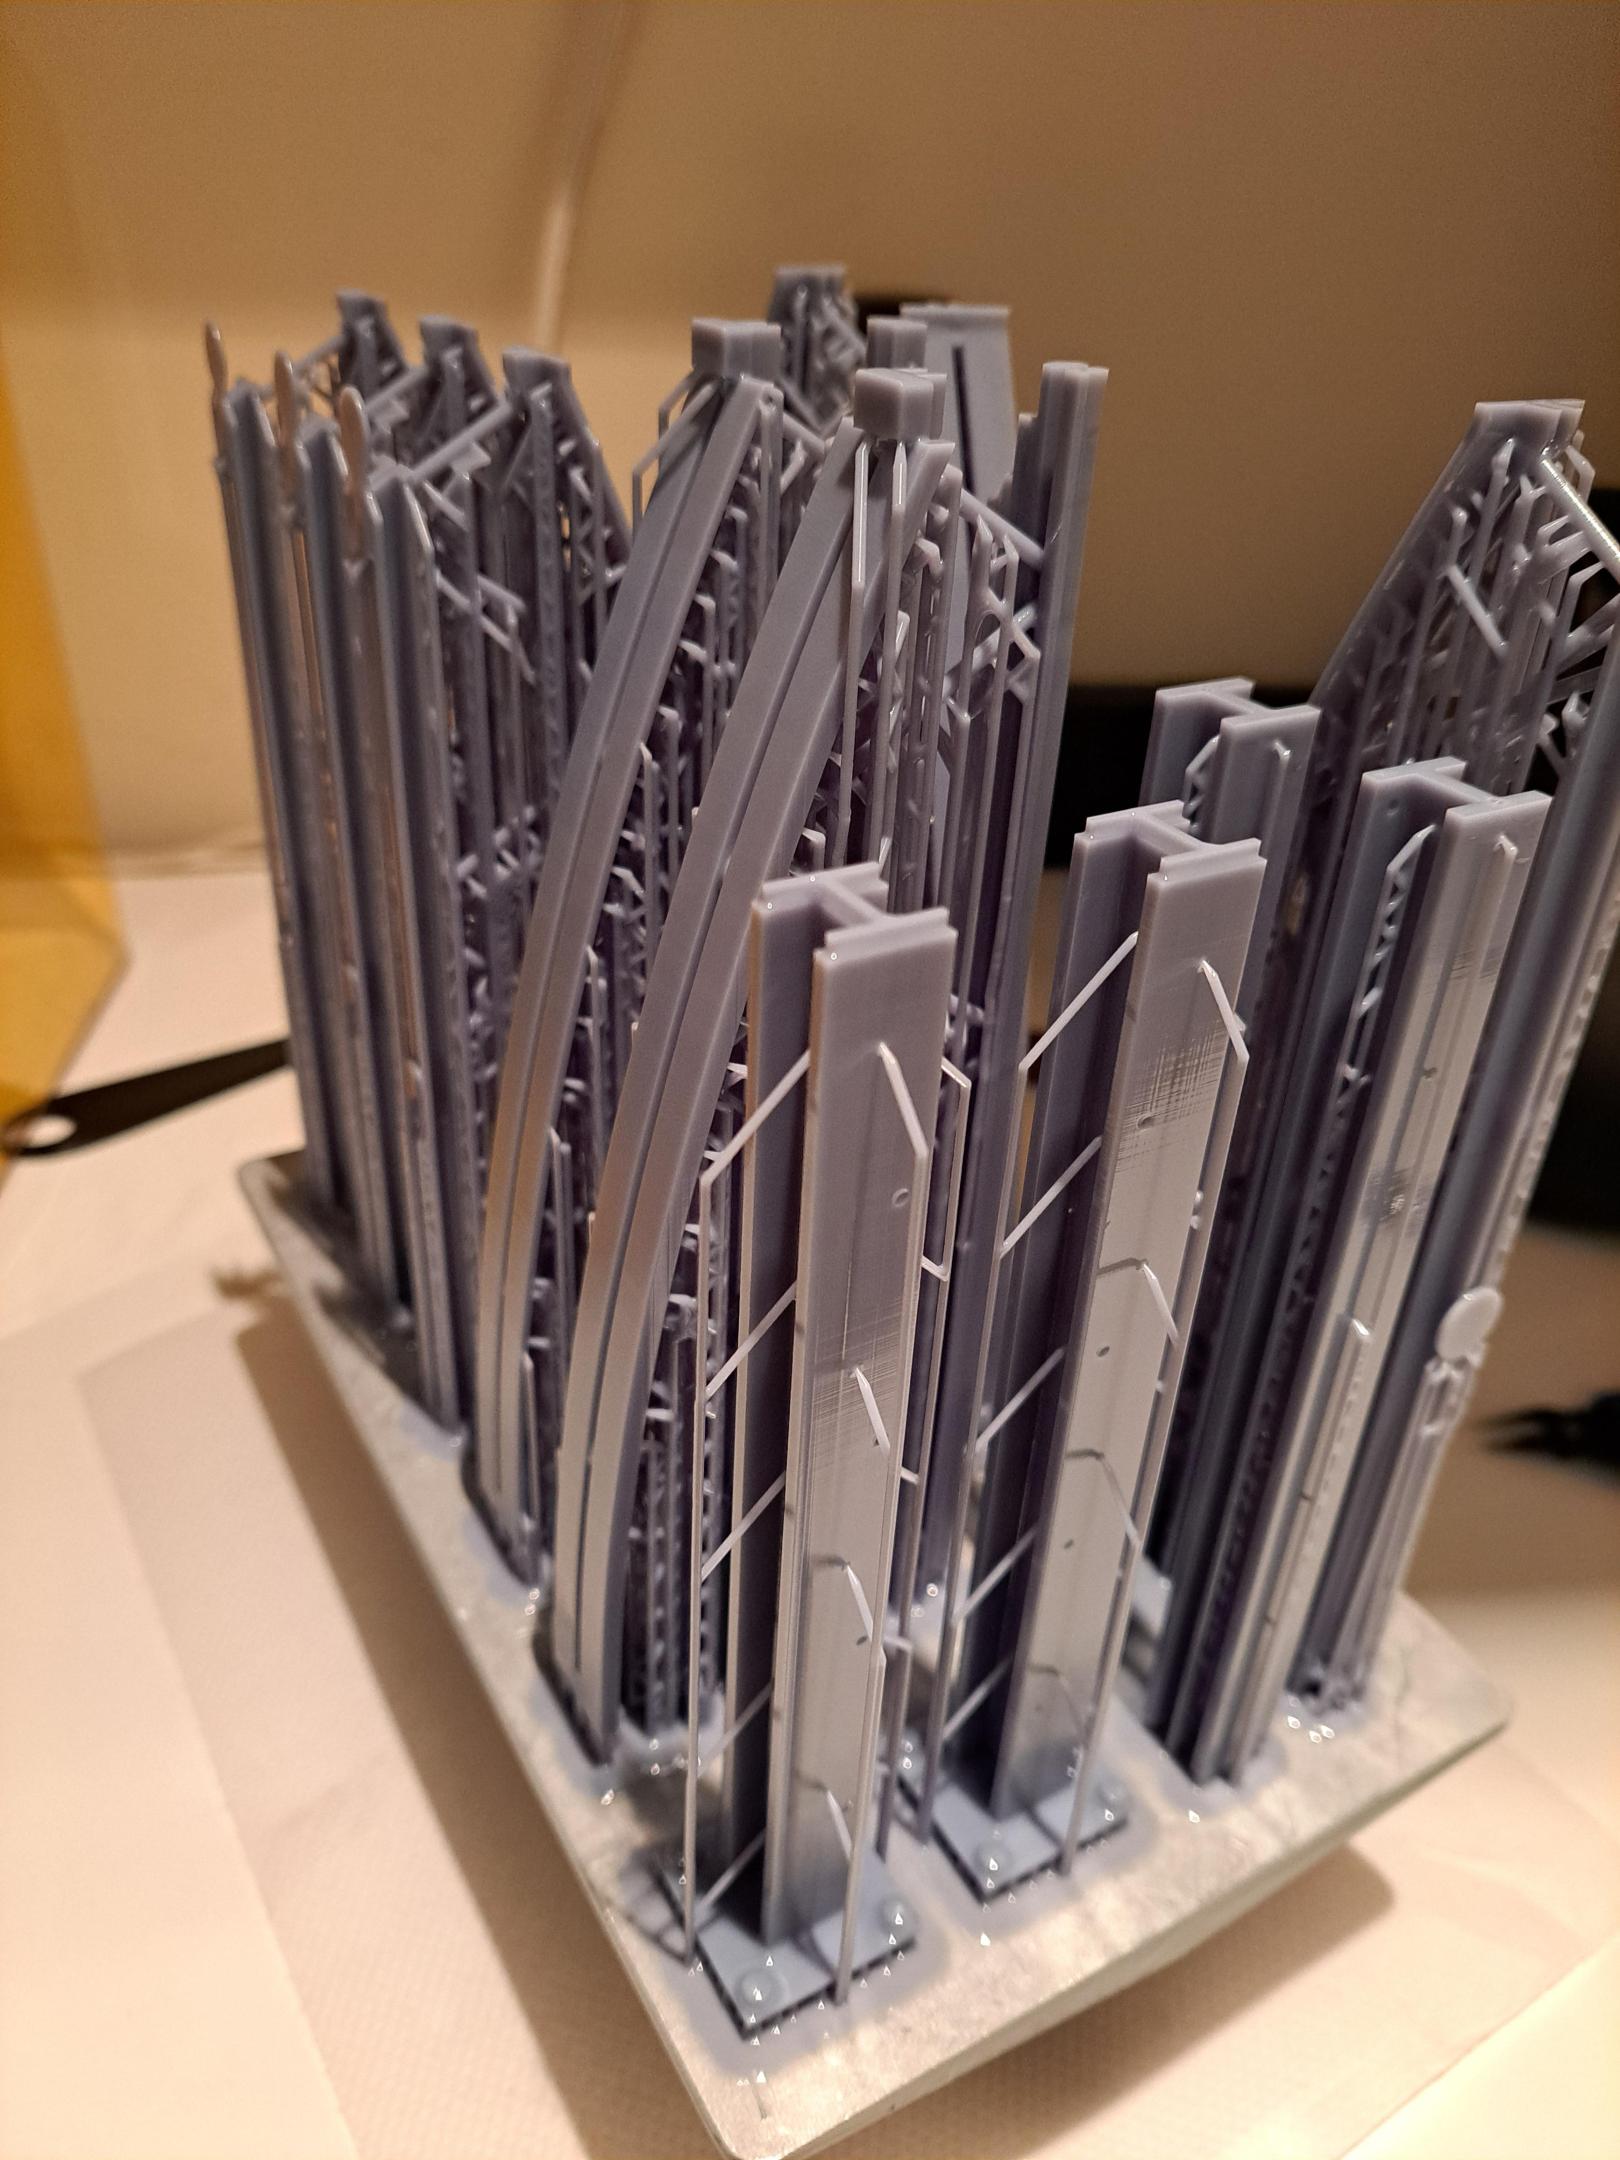
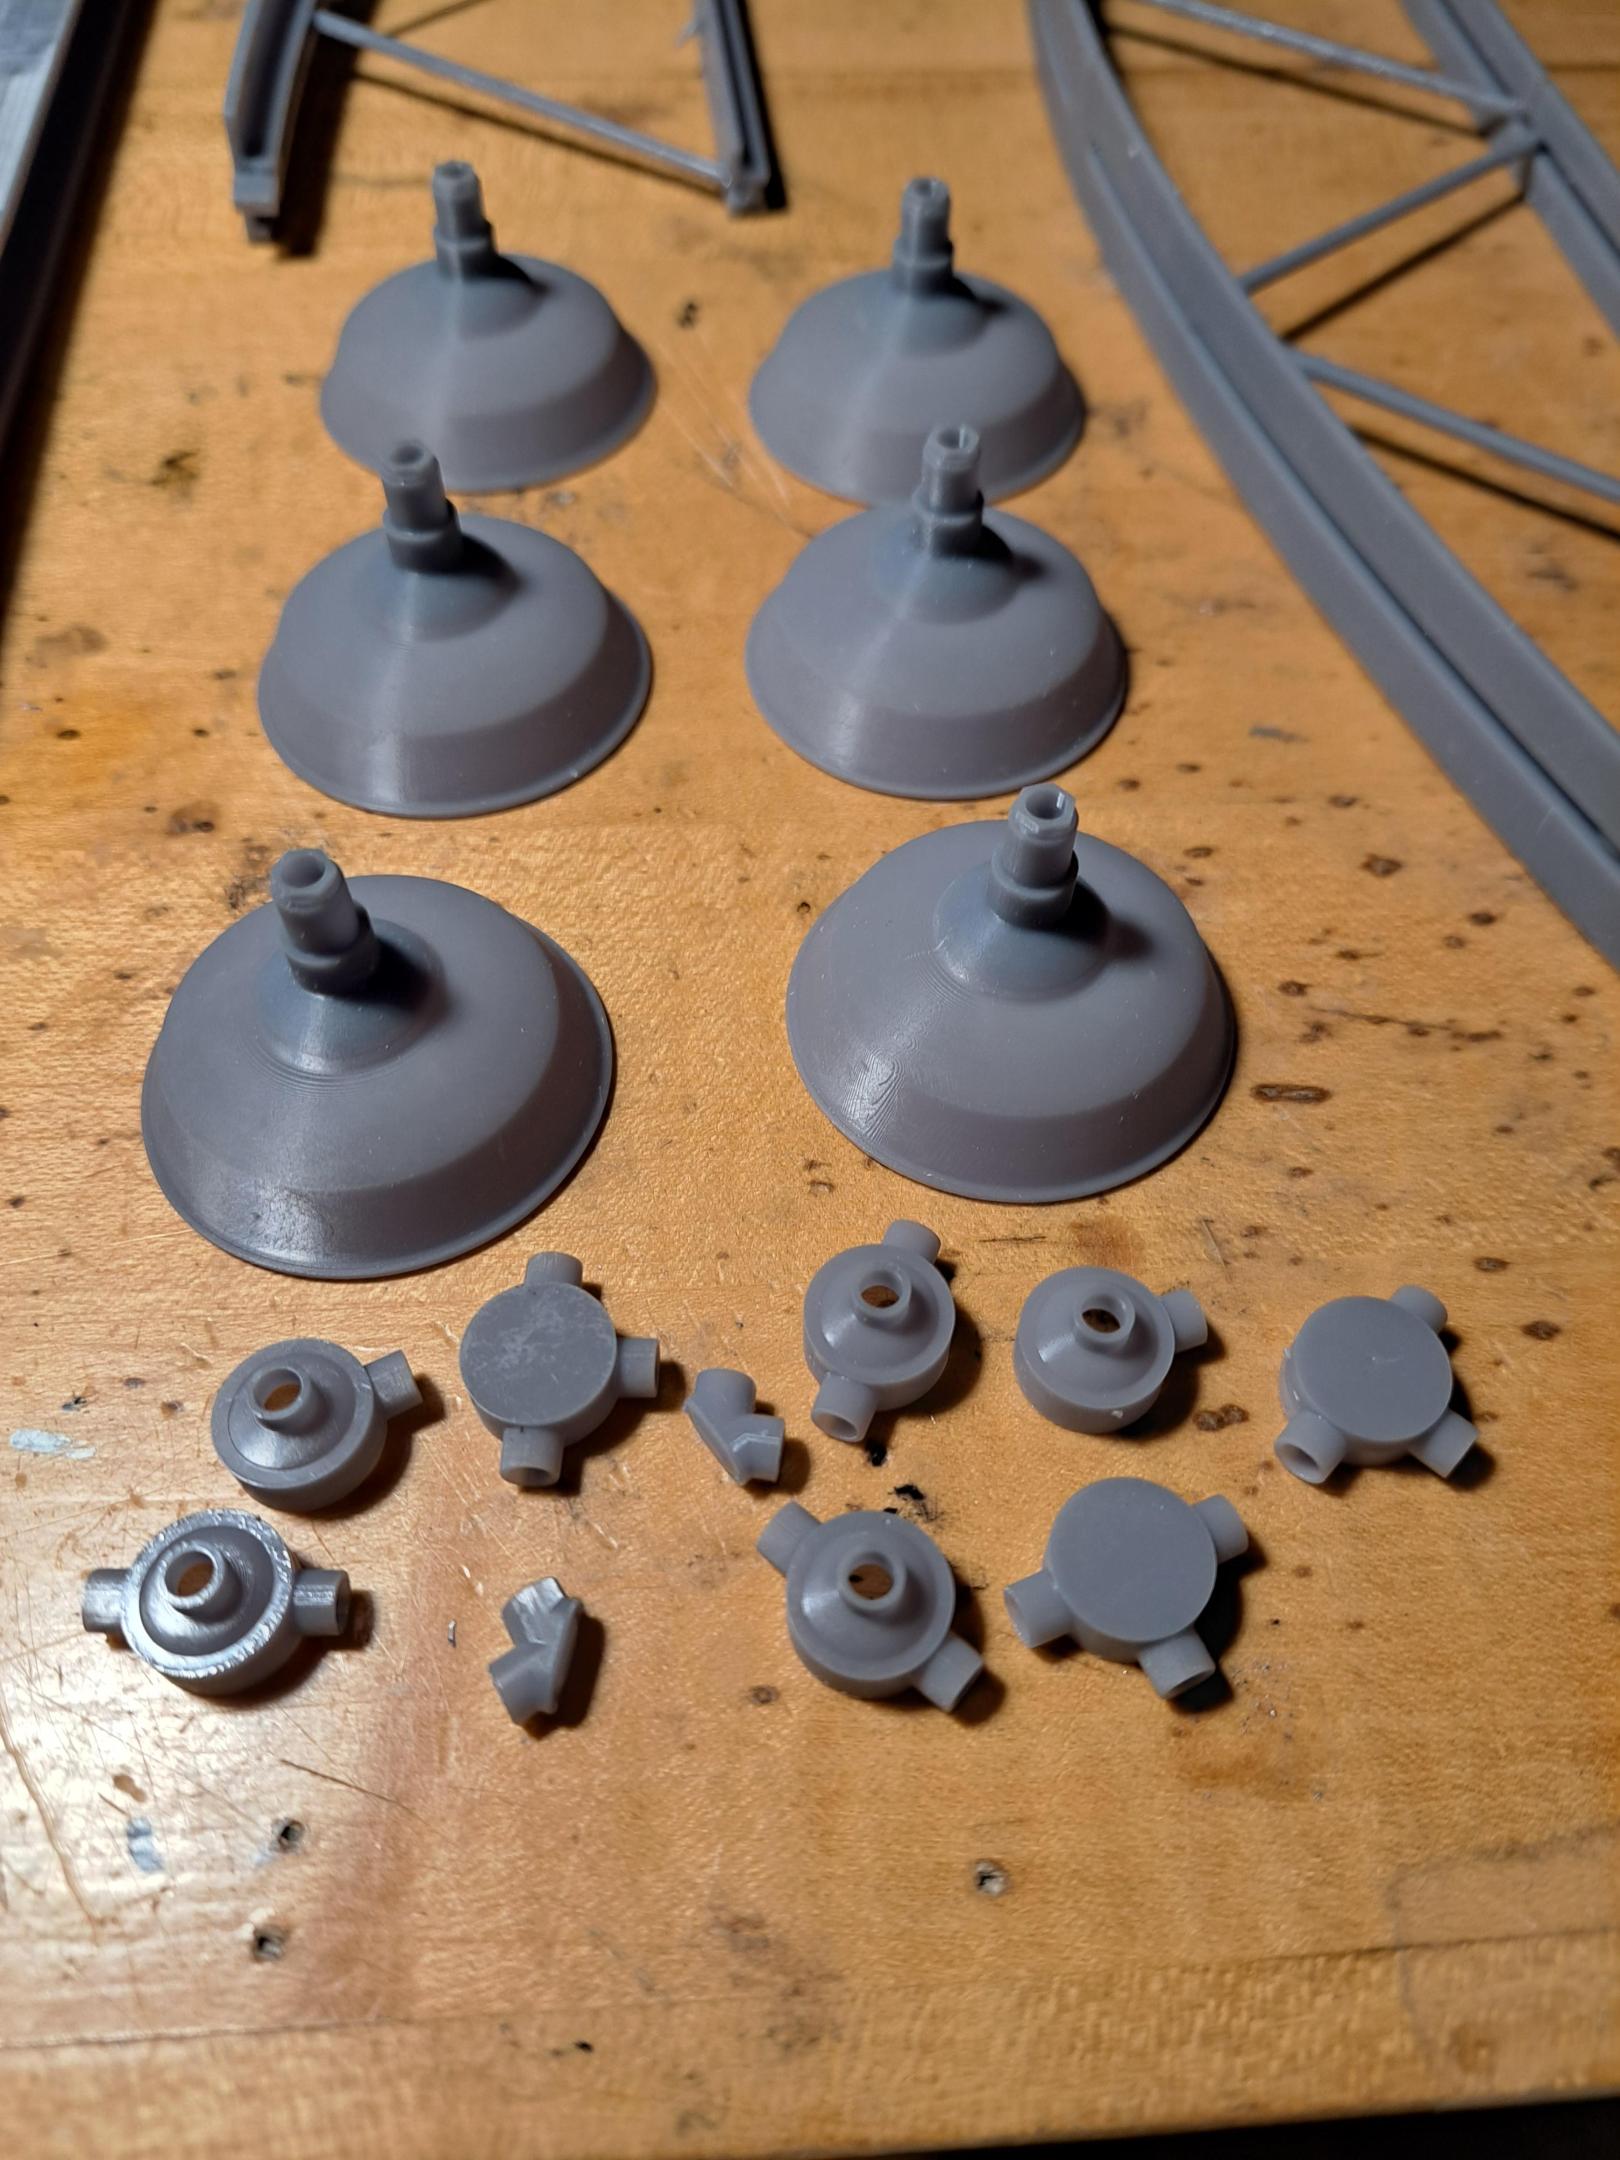
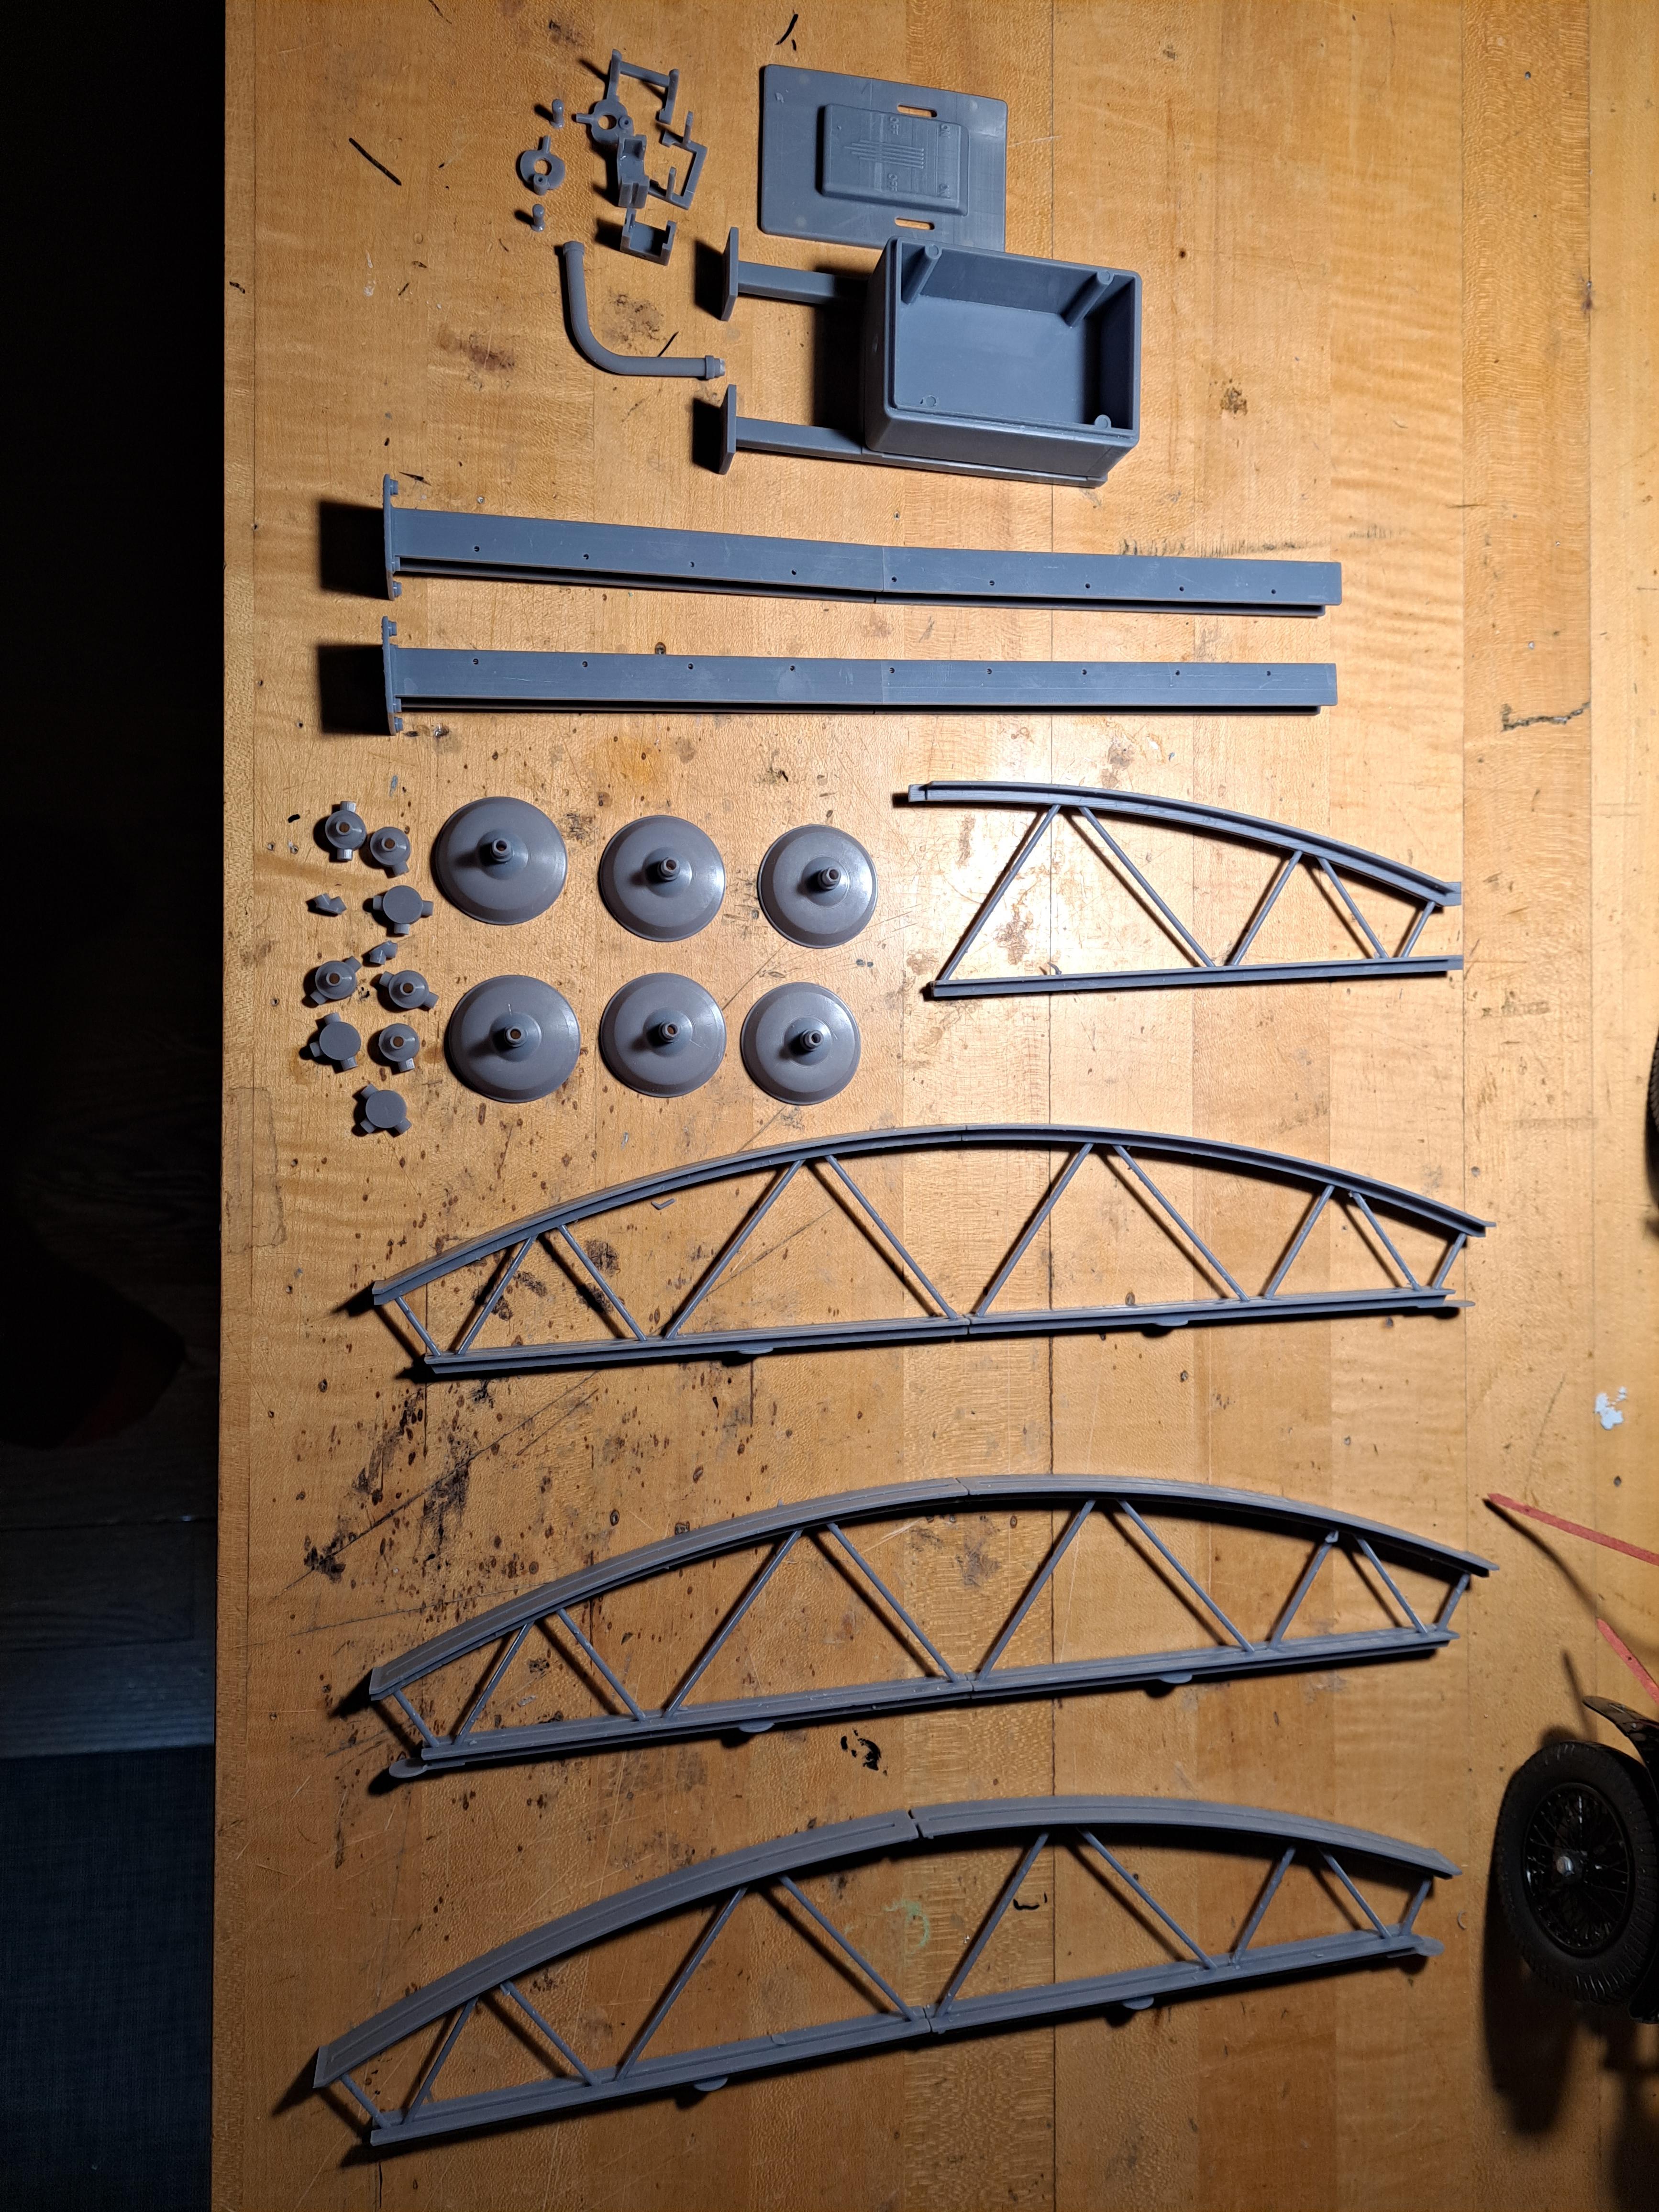
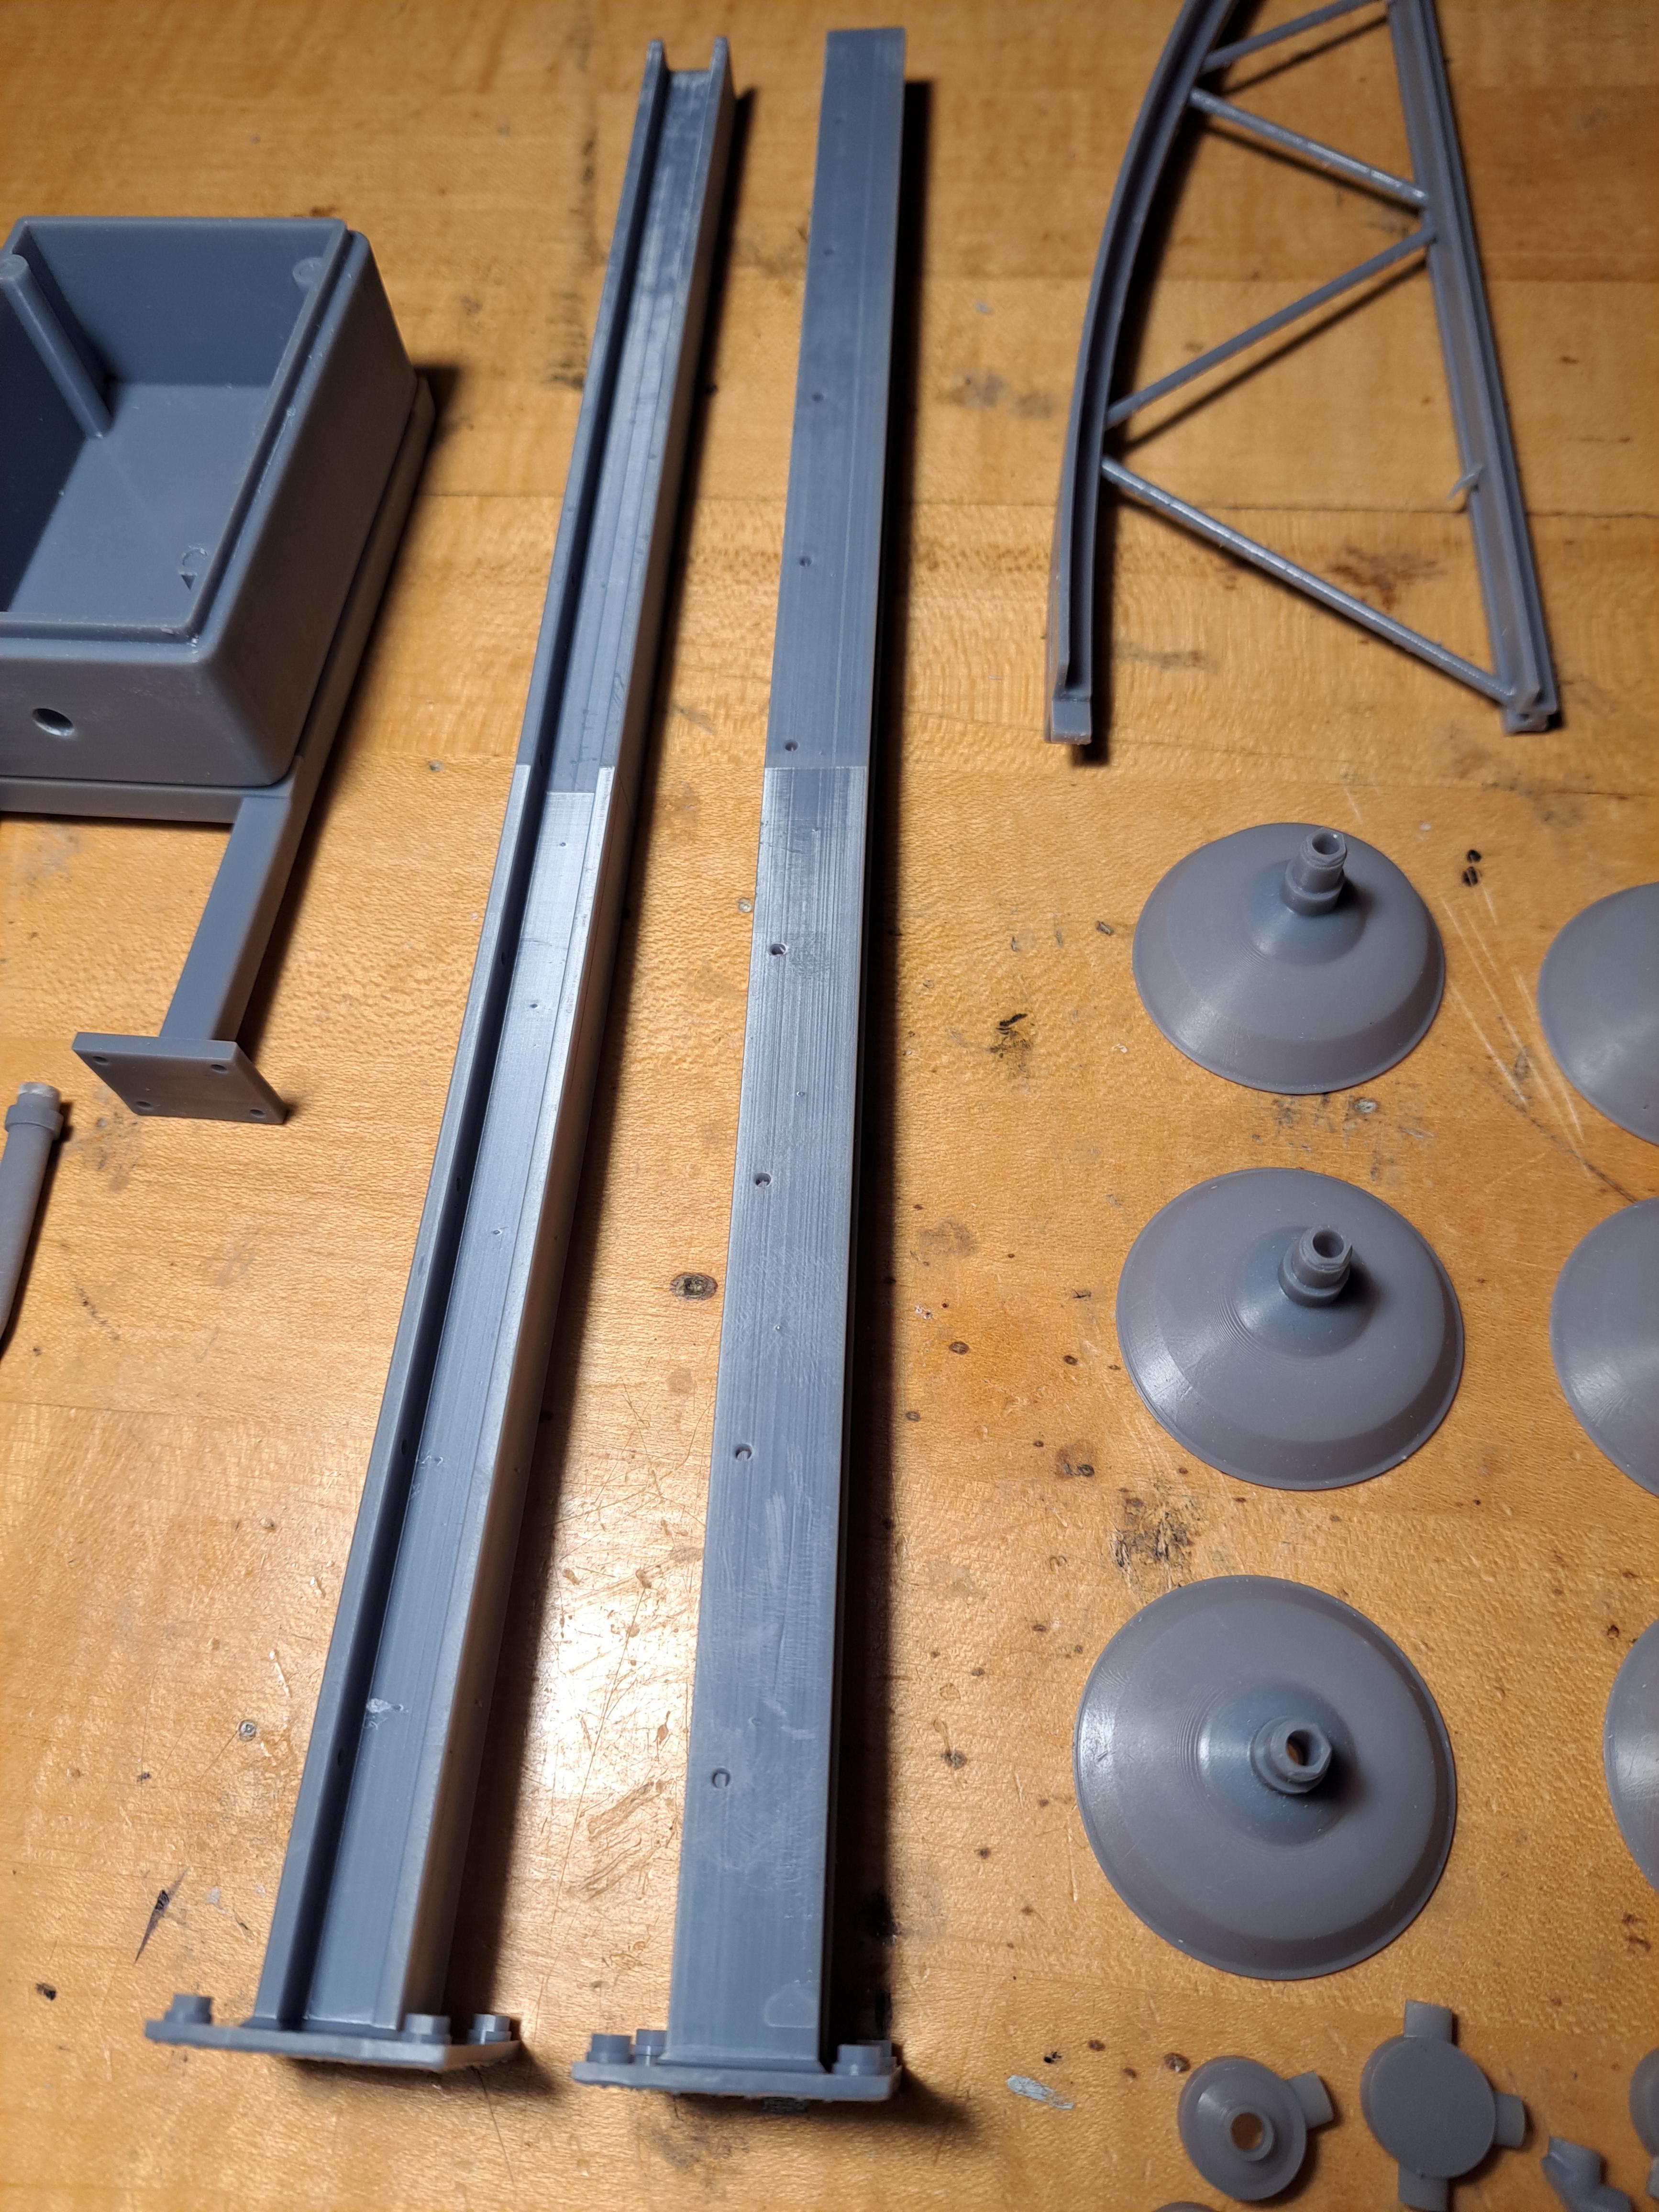
Here are a few pictures of what as been done so far.

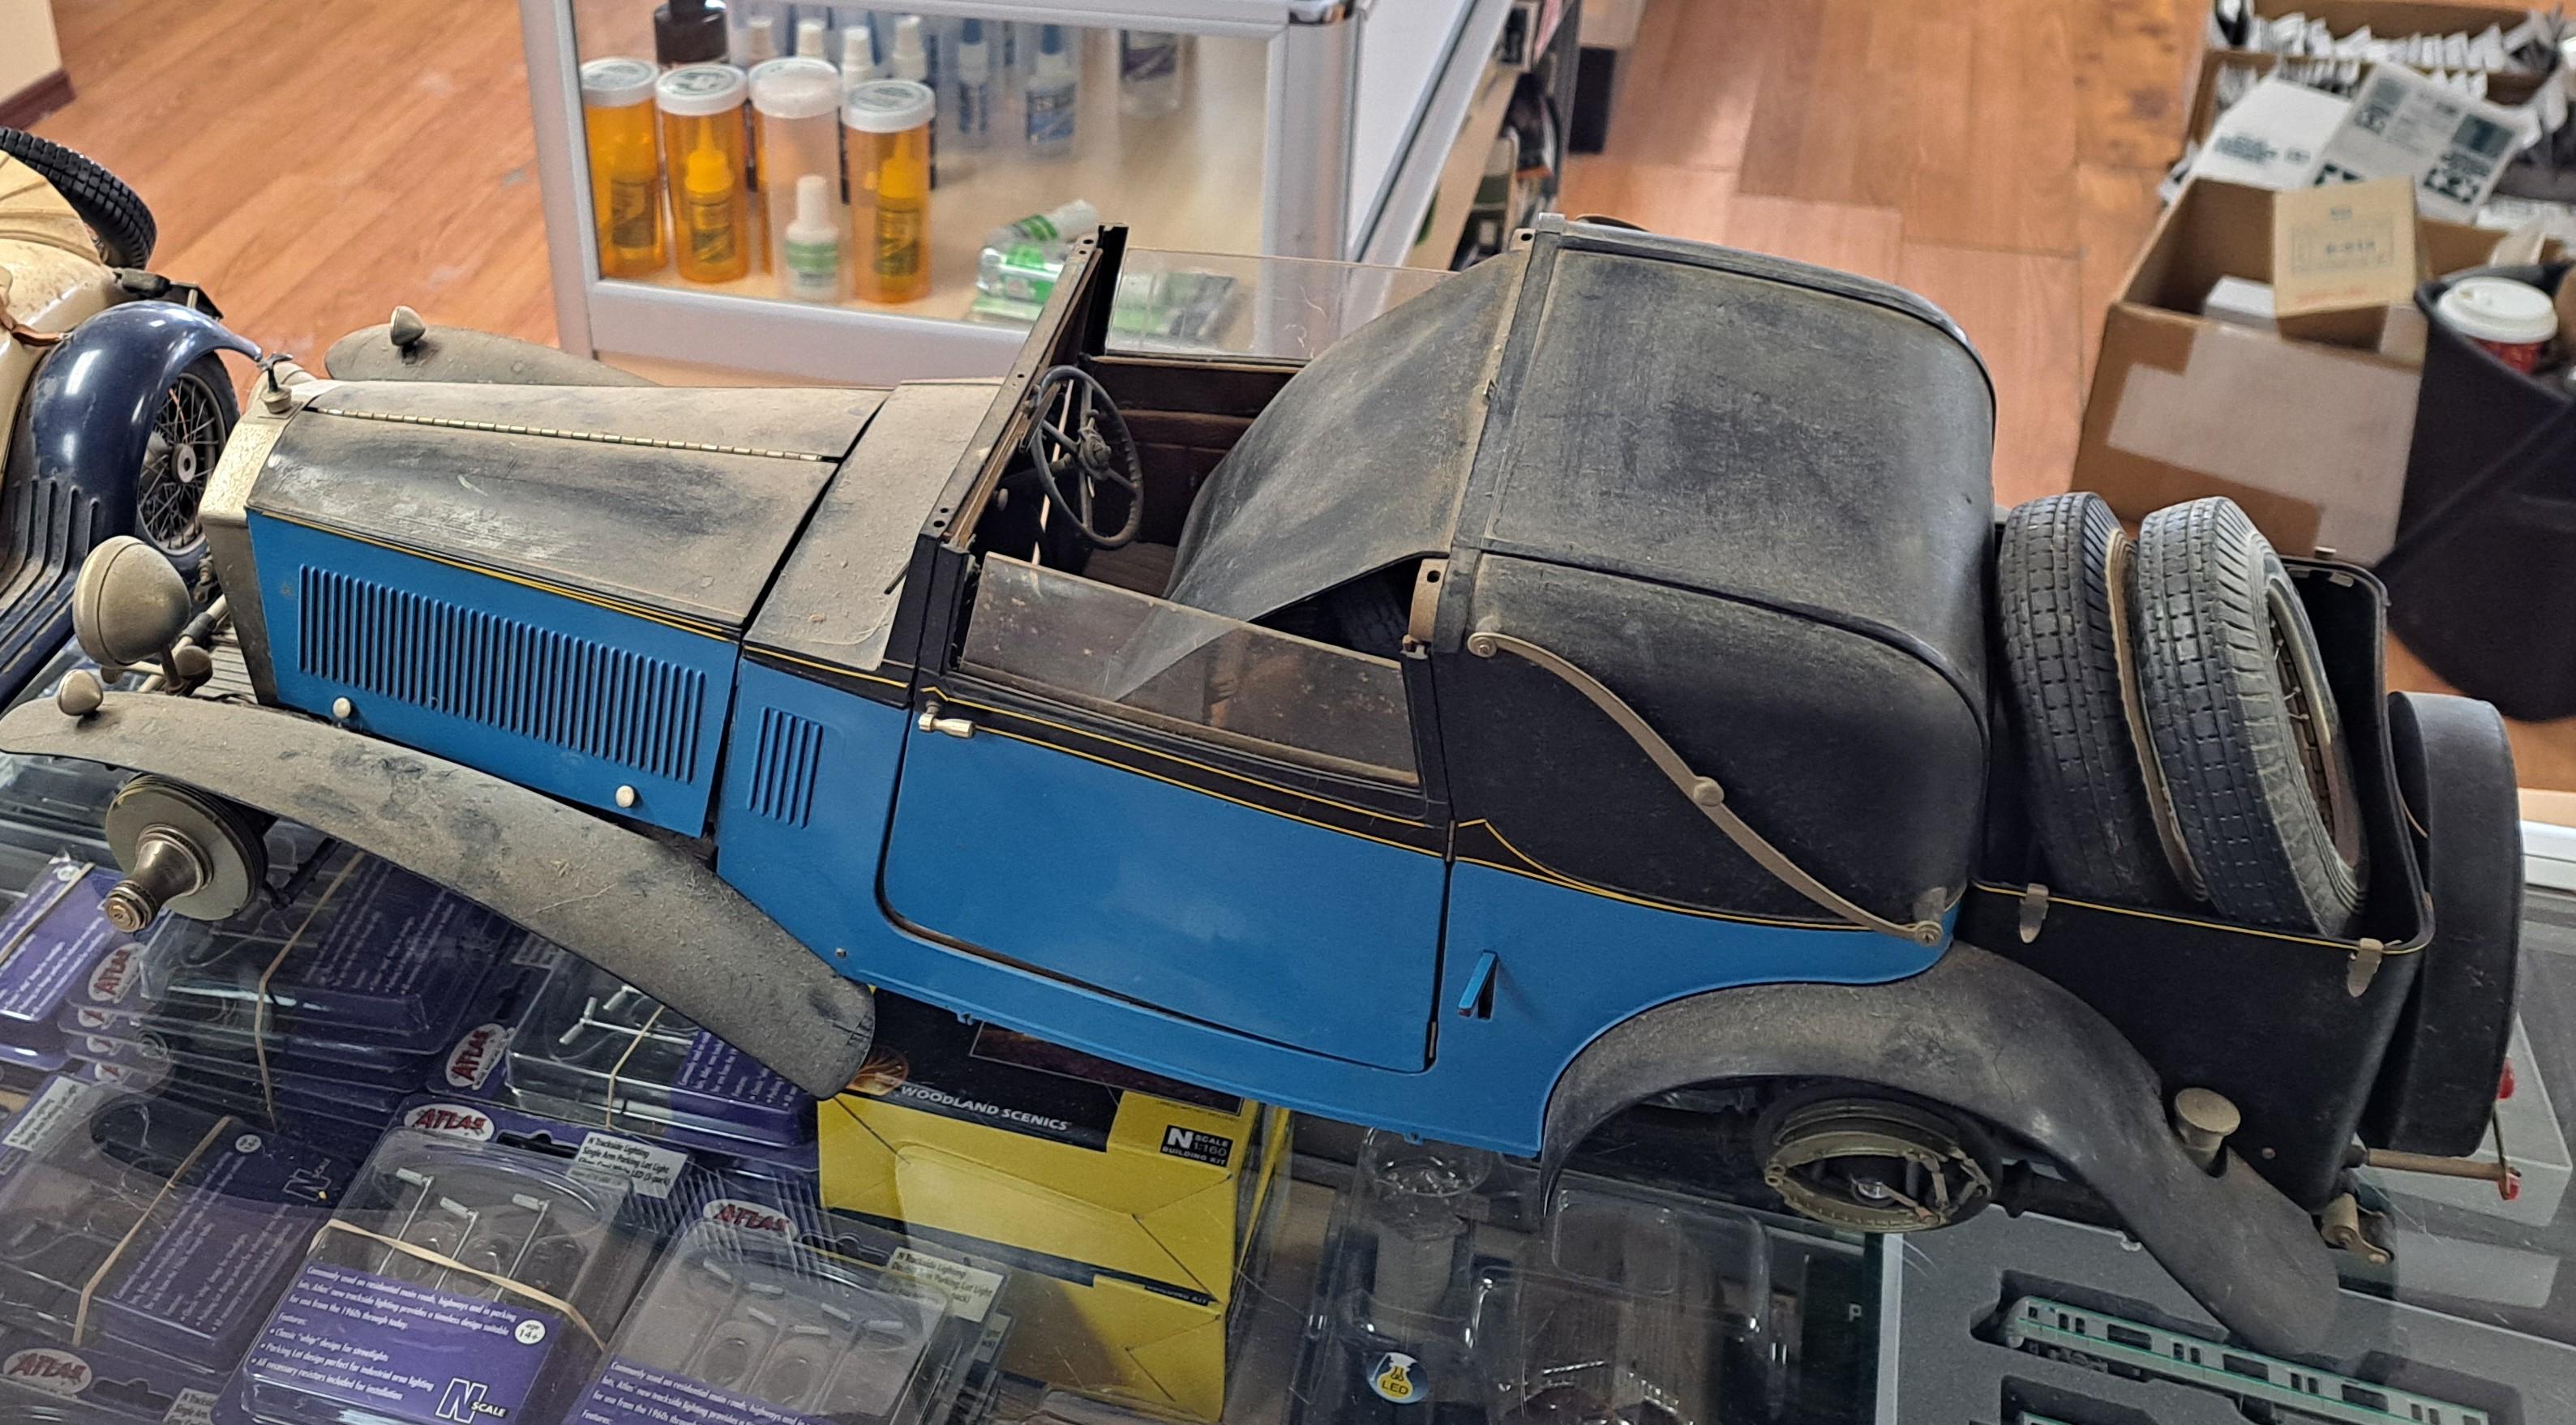
I did some wrapping test using the kit's body. I tried a very thin black leather on the passager side and a 4 way sstretch glossy fabric on the drivers side. Althougt the leather is nice and very easy to work with, I find that the glossy fabric better mimics the rexine.

Leather


Glossy fabric


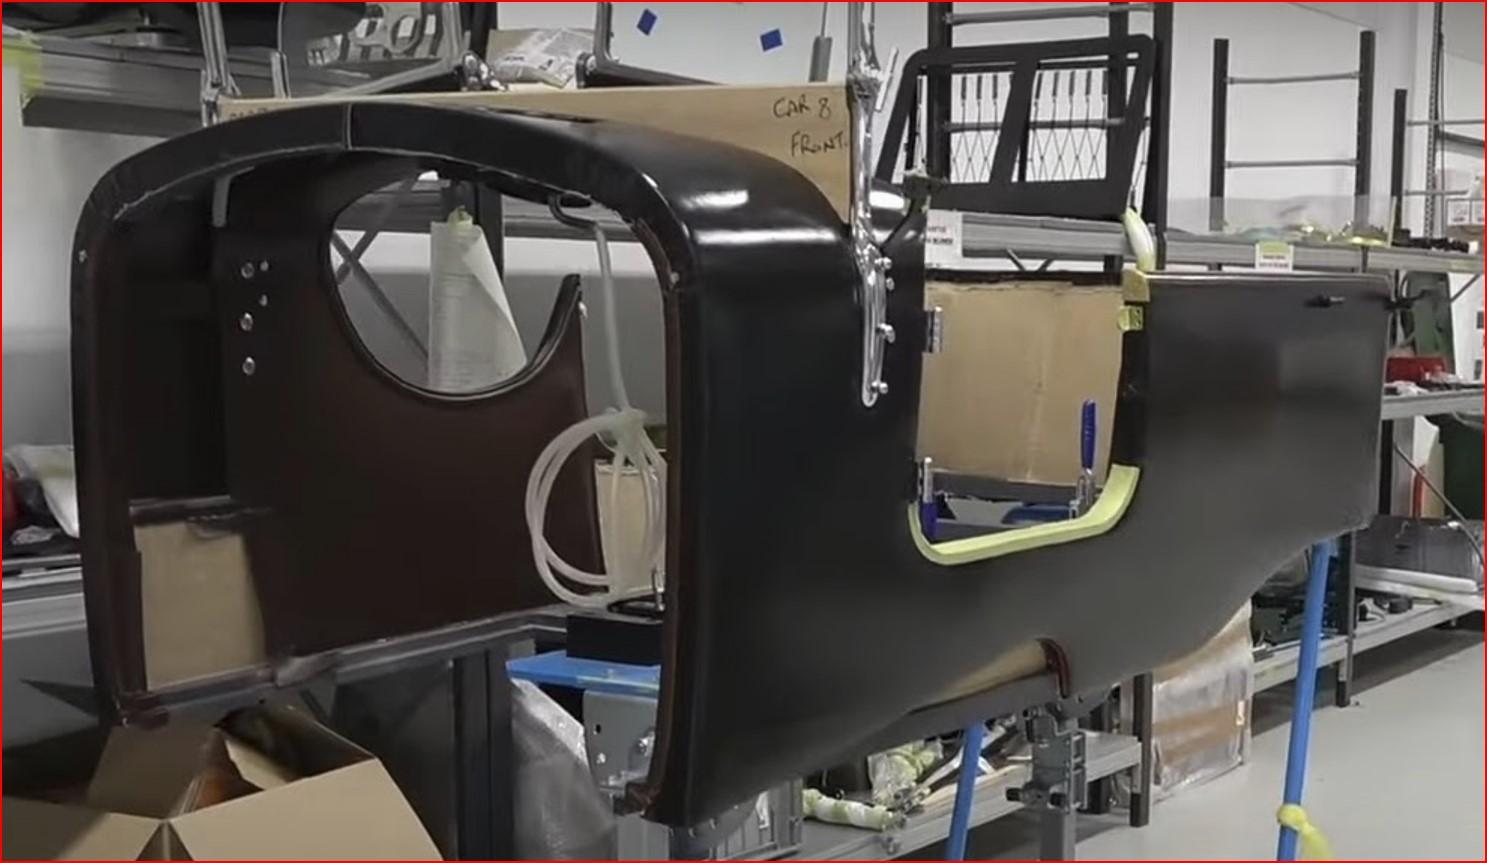
actual rexine coverded body

Capturedcran2024-04-12205433.jpg.d15c15f2cd9e87230a6cd76dafdc34e7.jpg


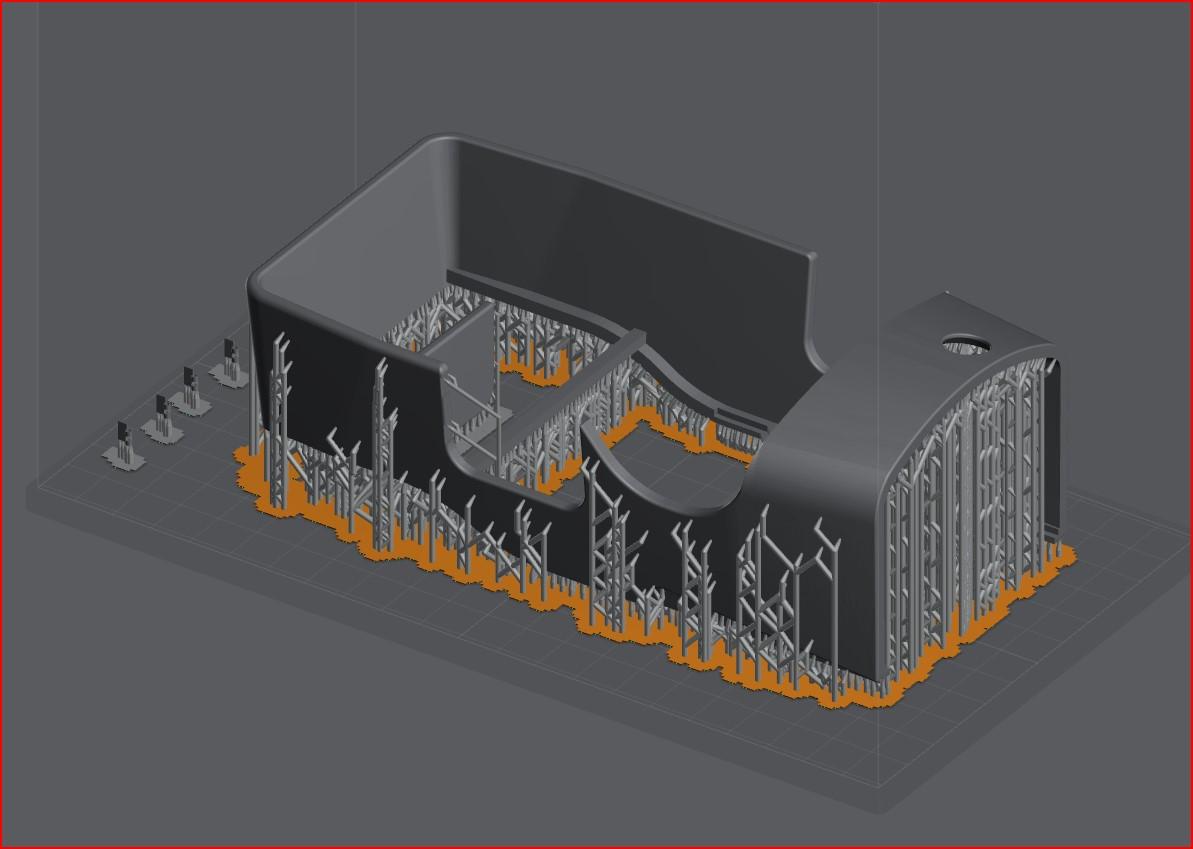
I've test printed a new body. It has exactly the same shape and size as my other printed body except it has full walls. It will make wrapping much easier. And once finished in and out, no one will see the differrnce.
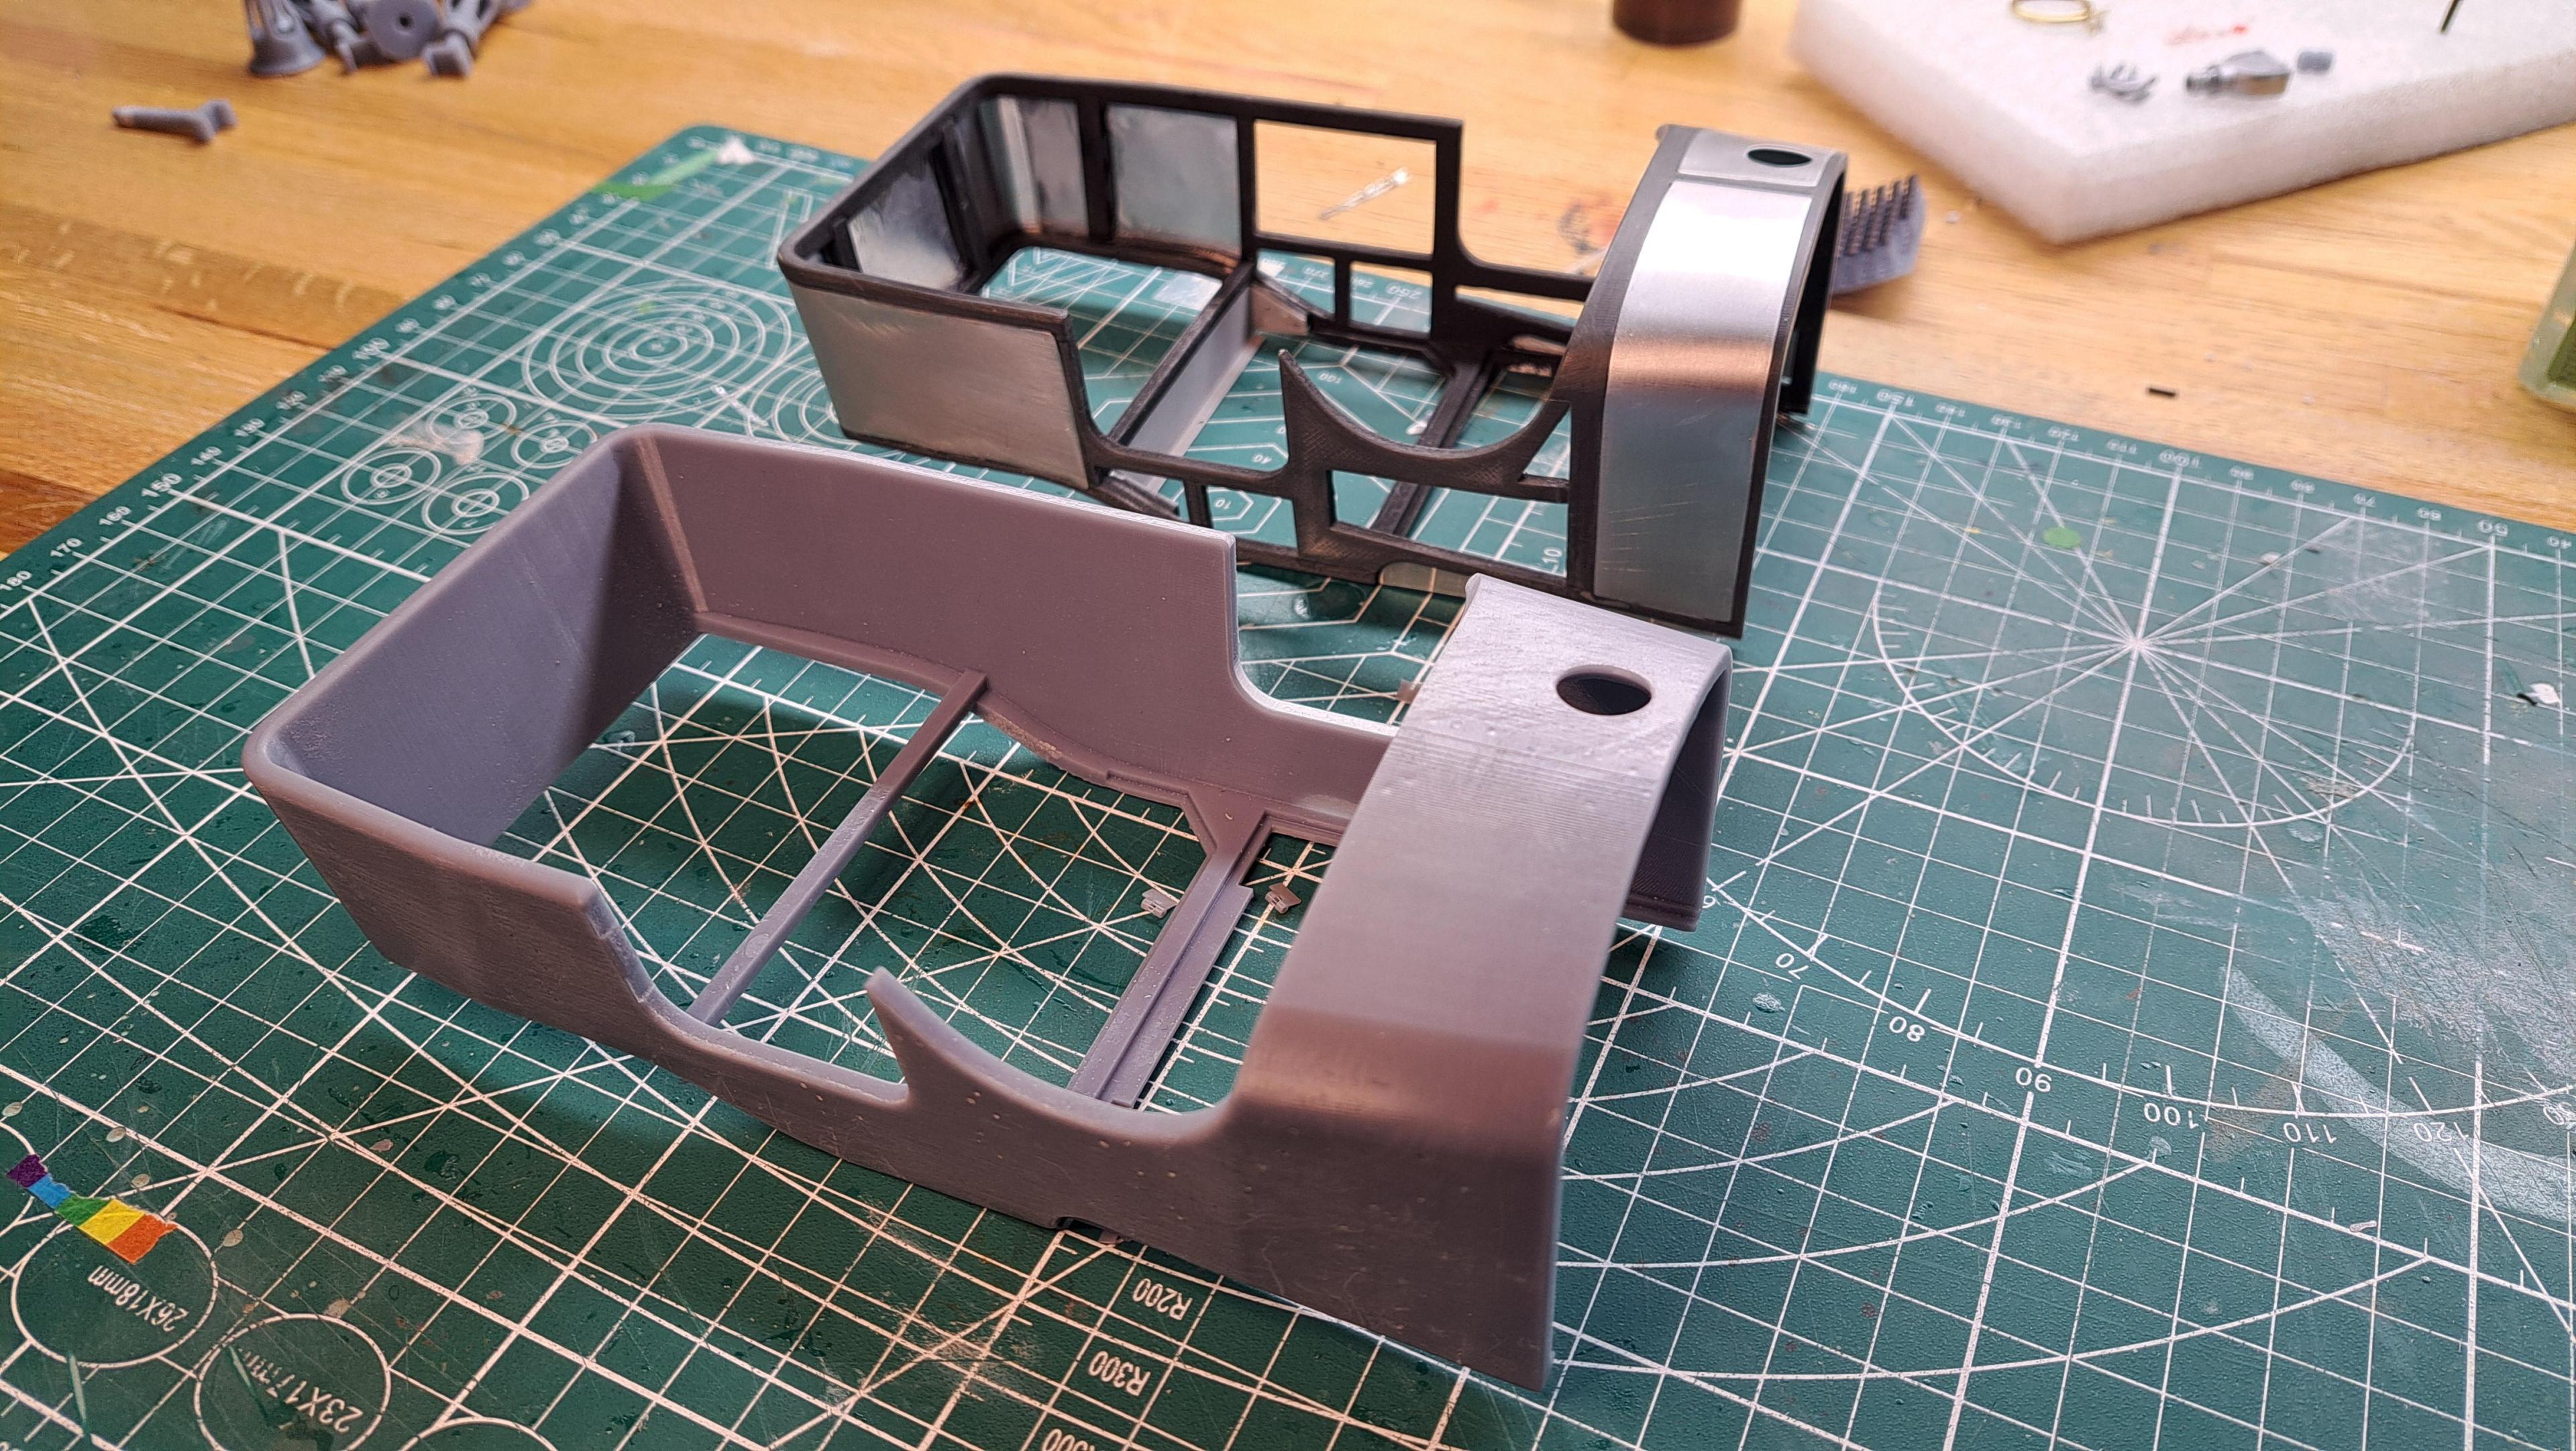


Body in slicer app

Capturedcran2024-04-12205407.jpg.40b78d73be239f941a1a8c5f2ed8e6a8.jpg


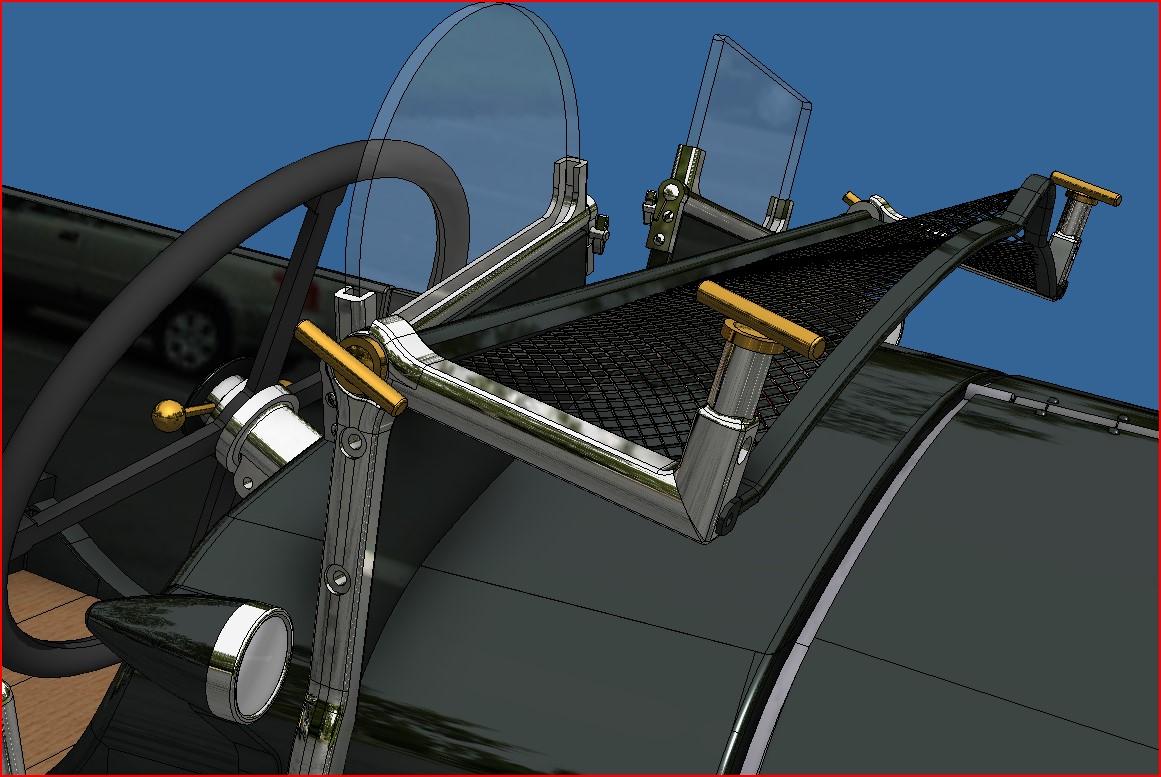
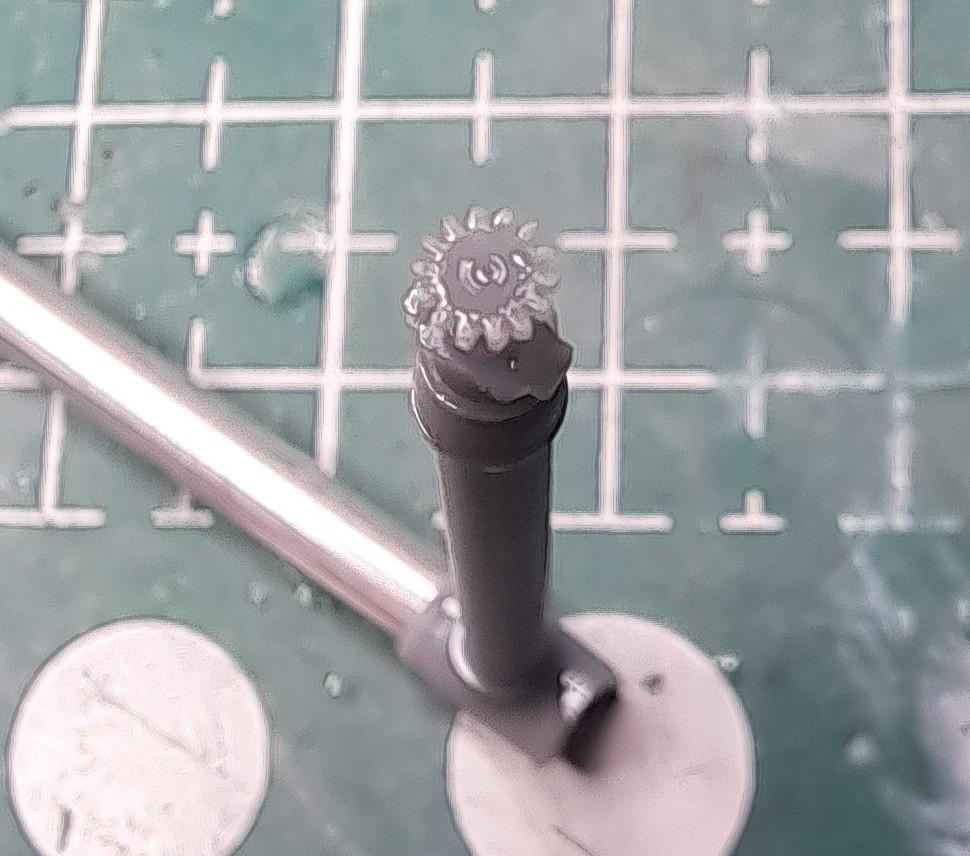
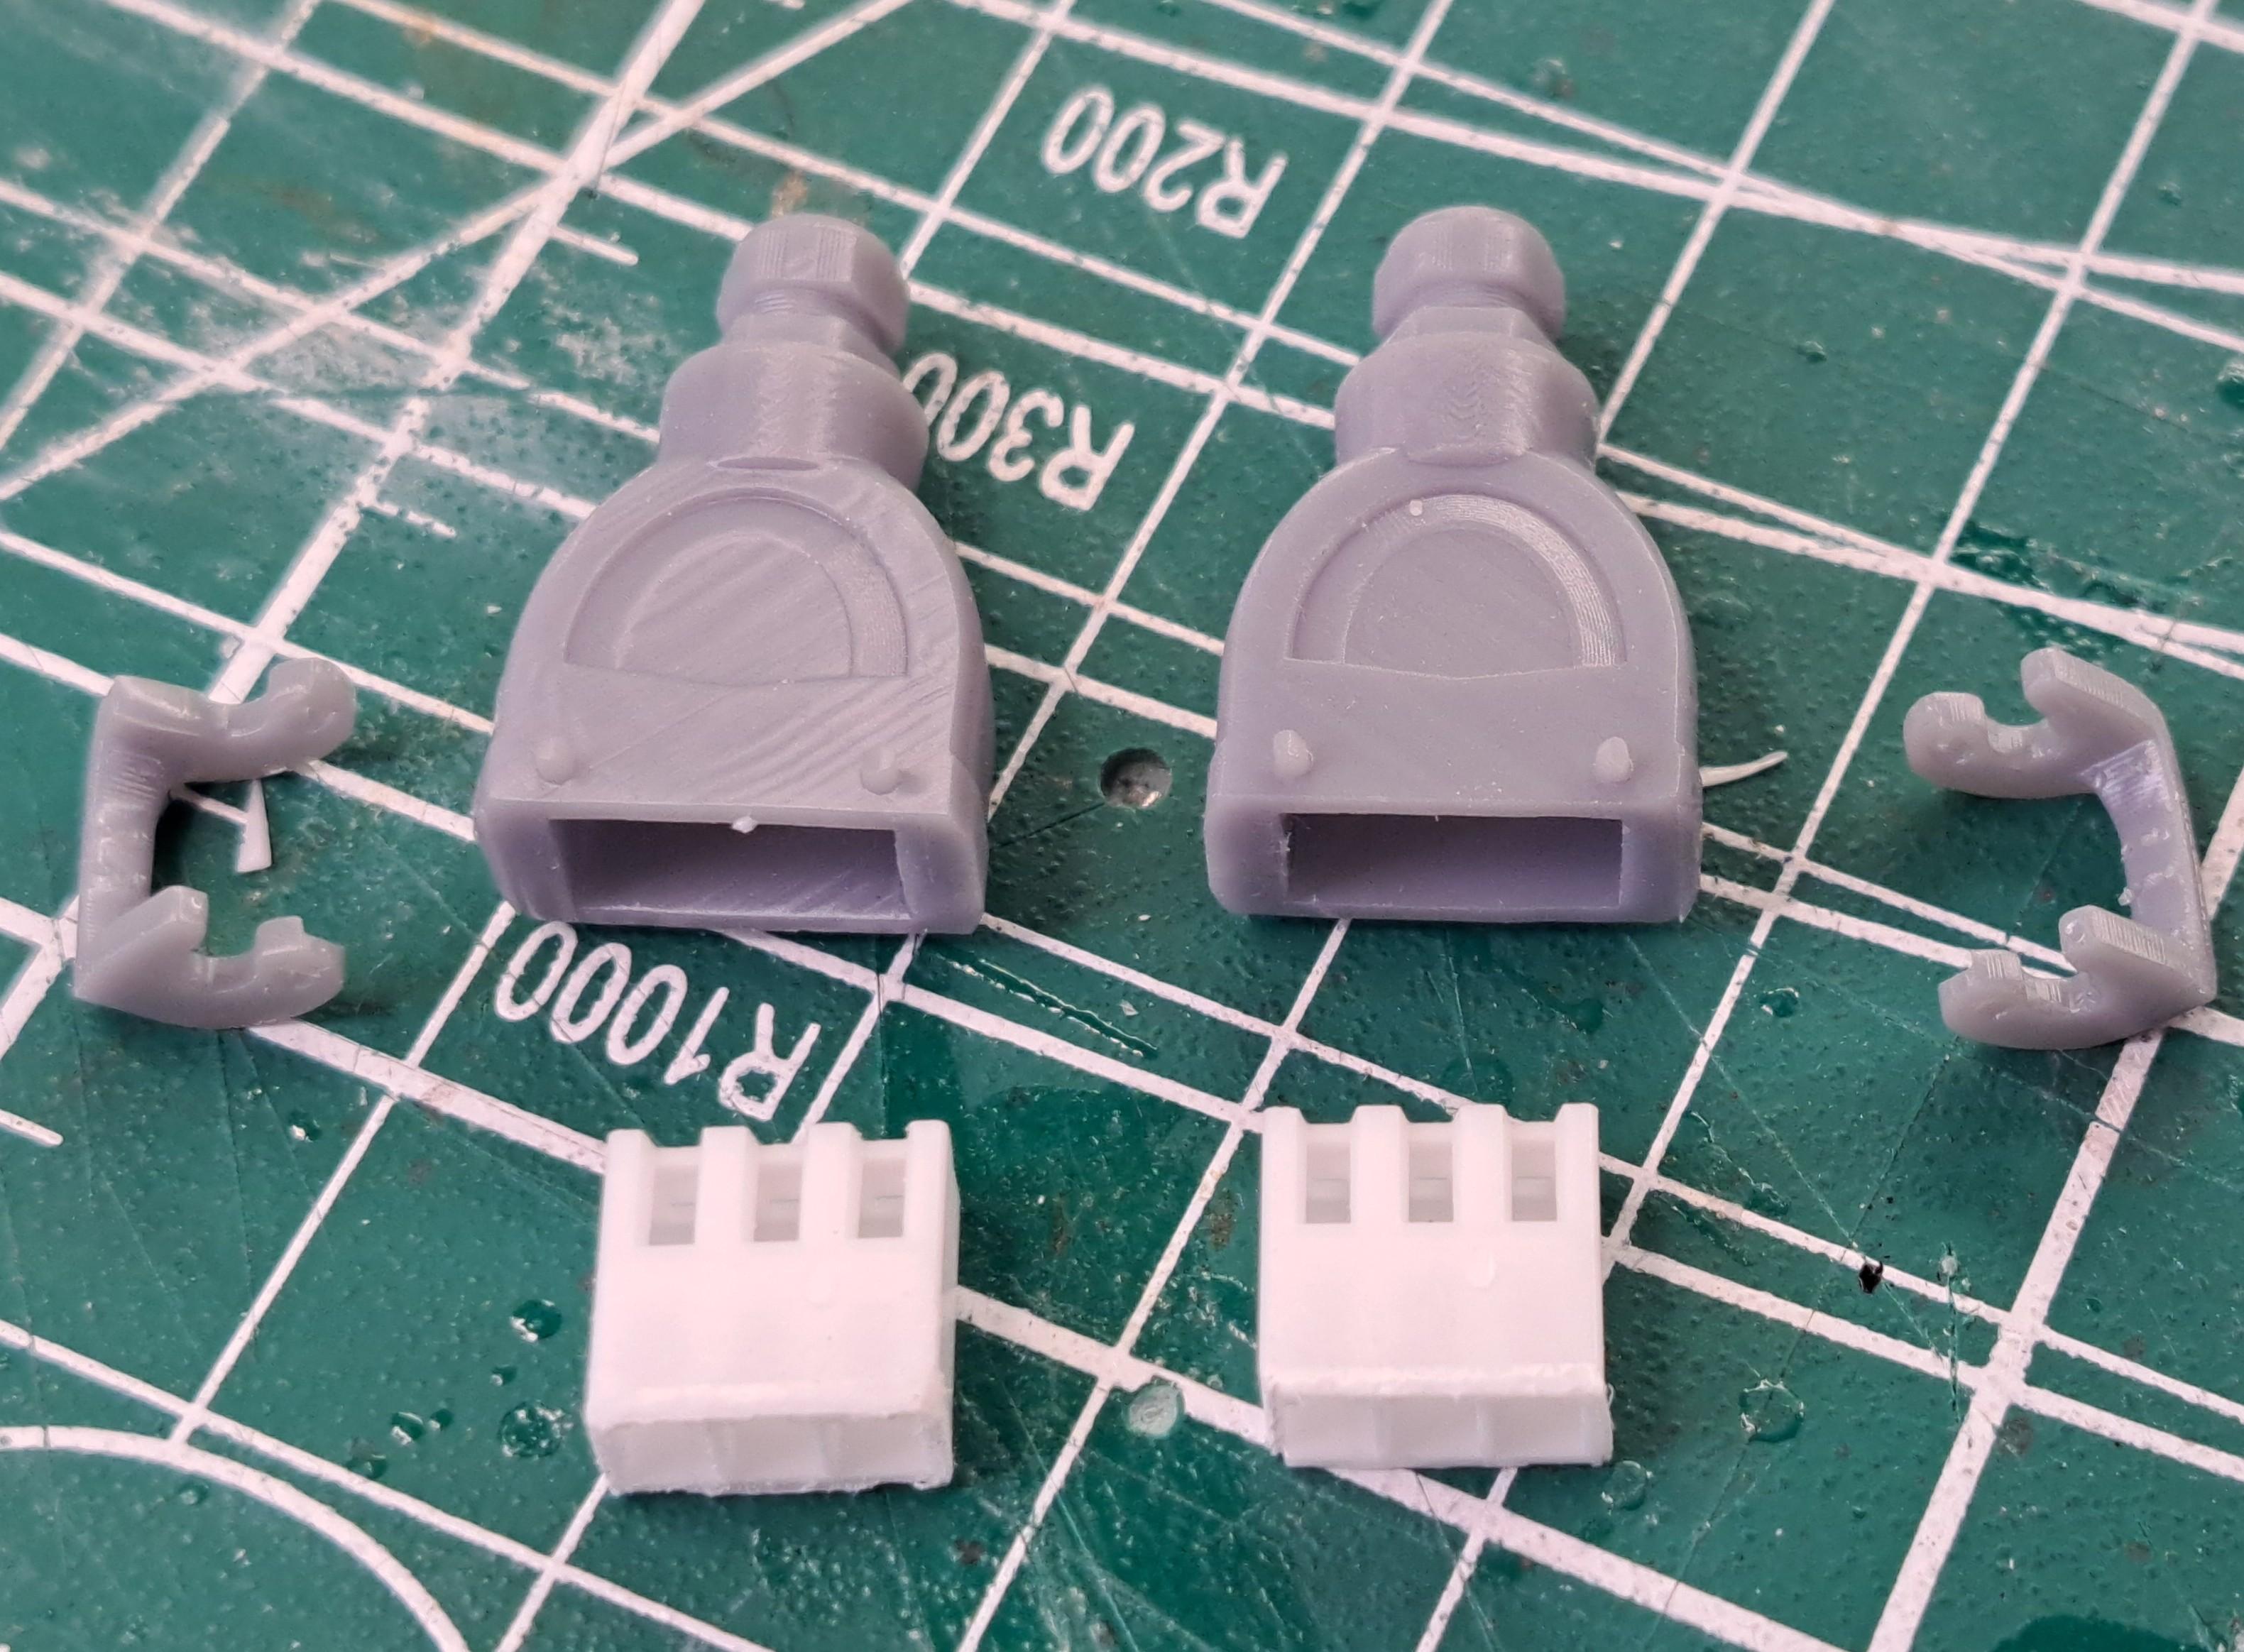
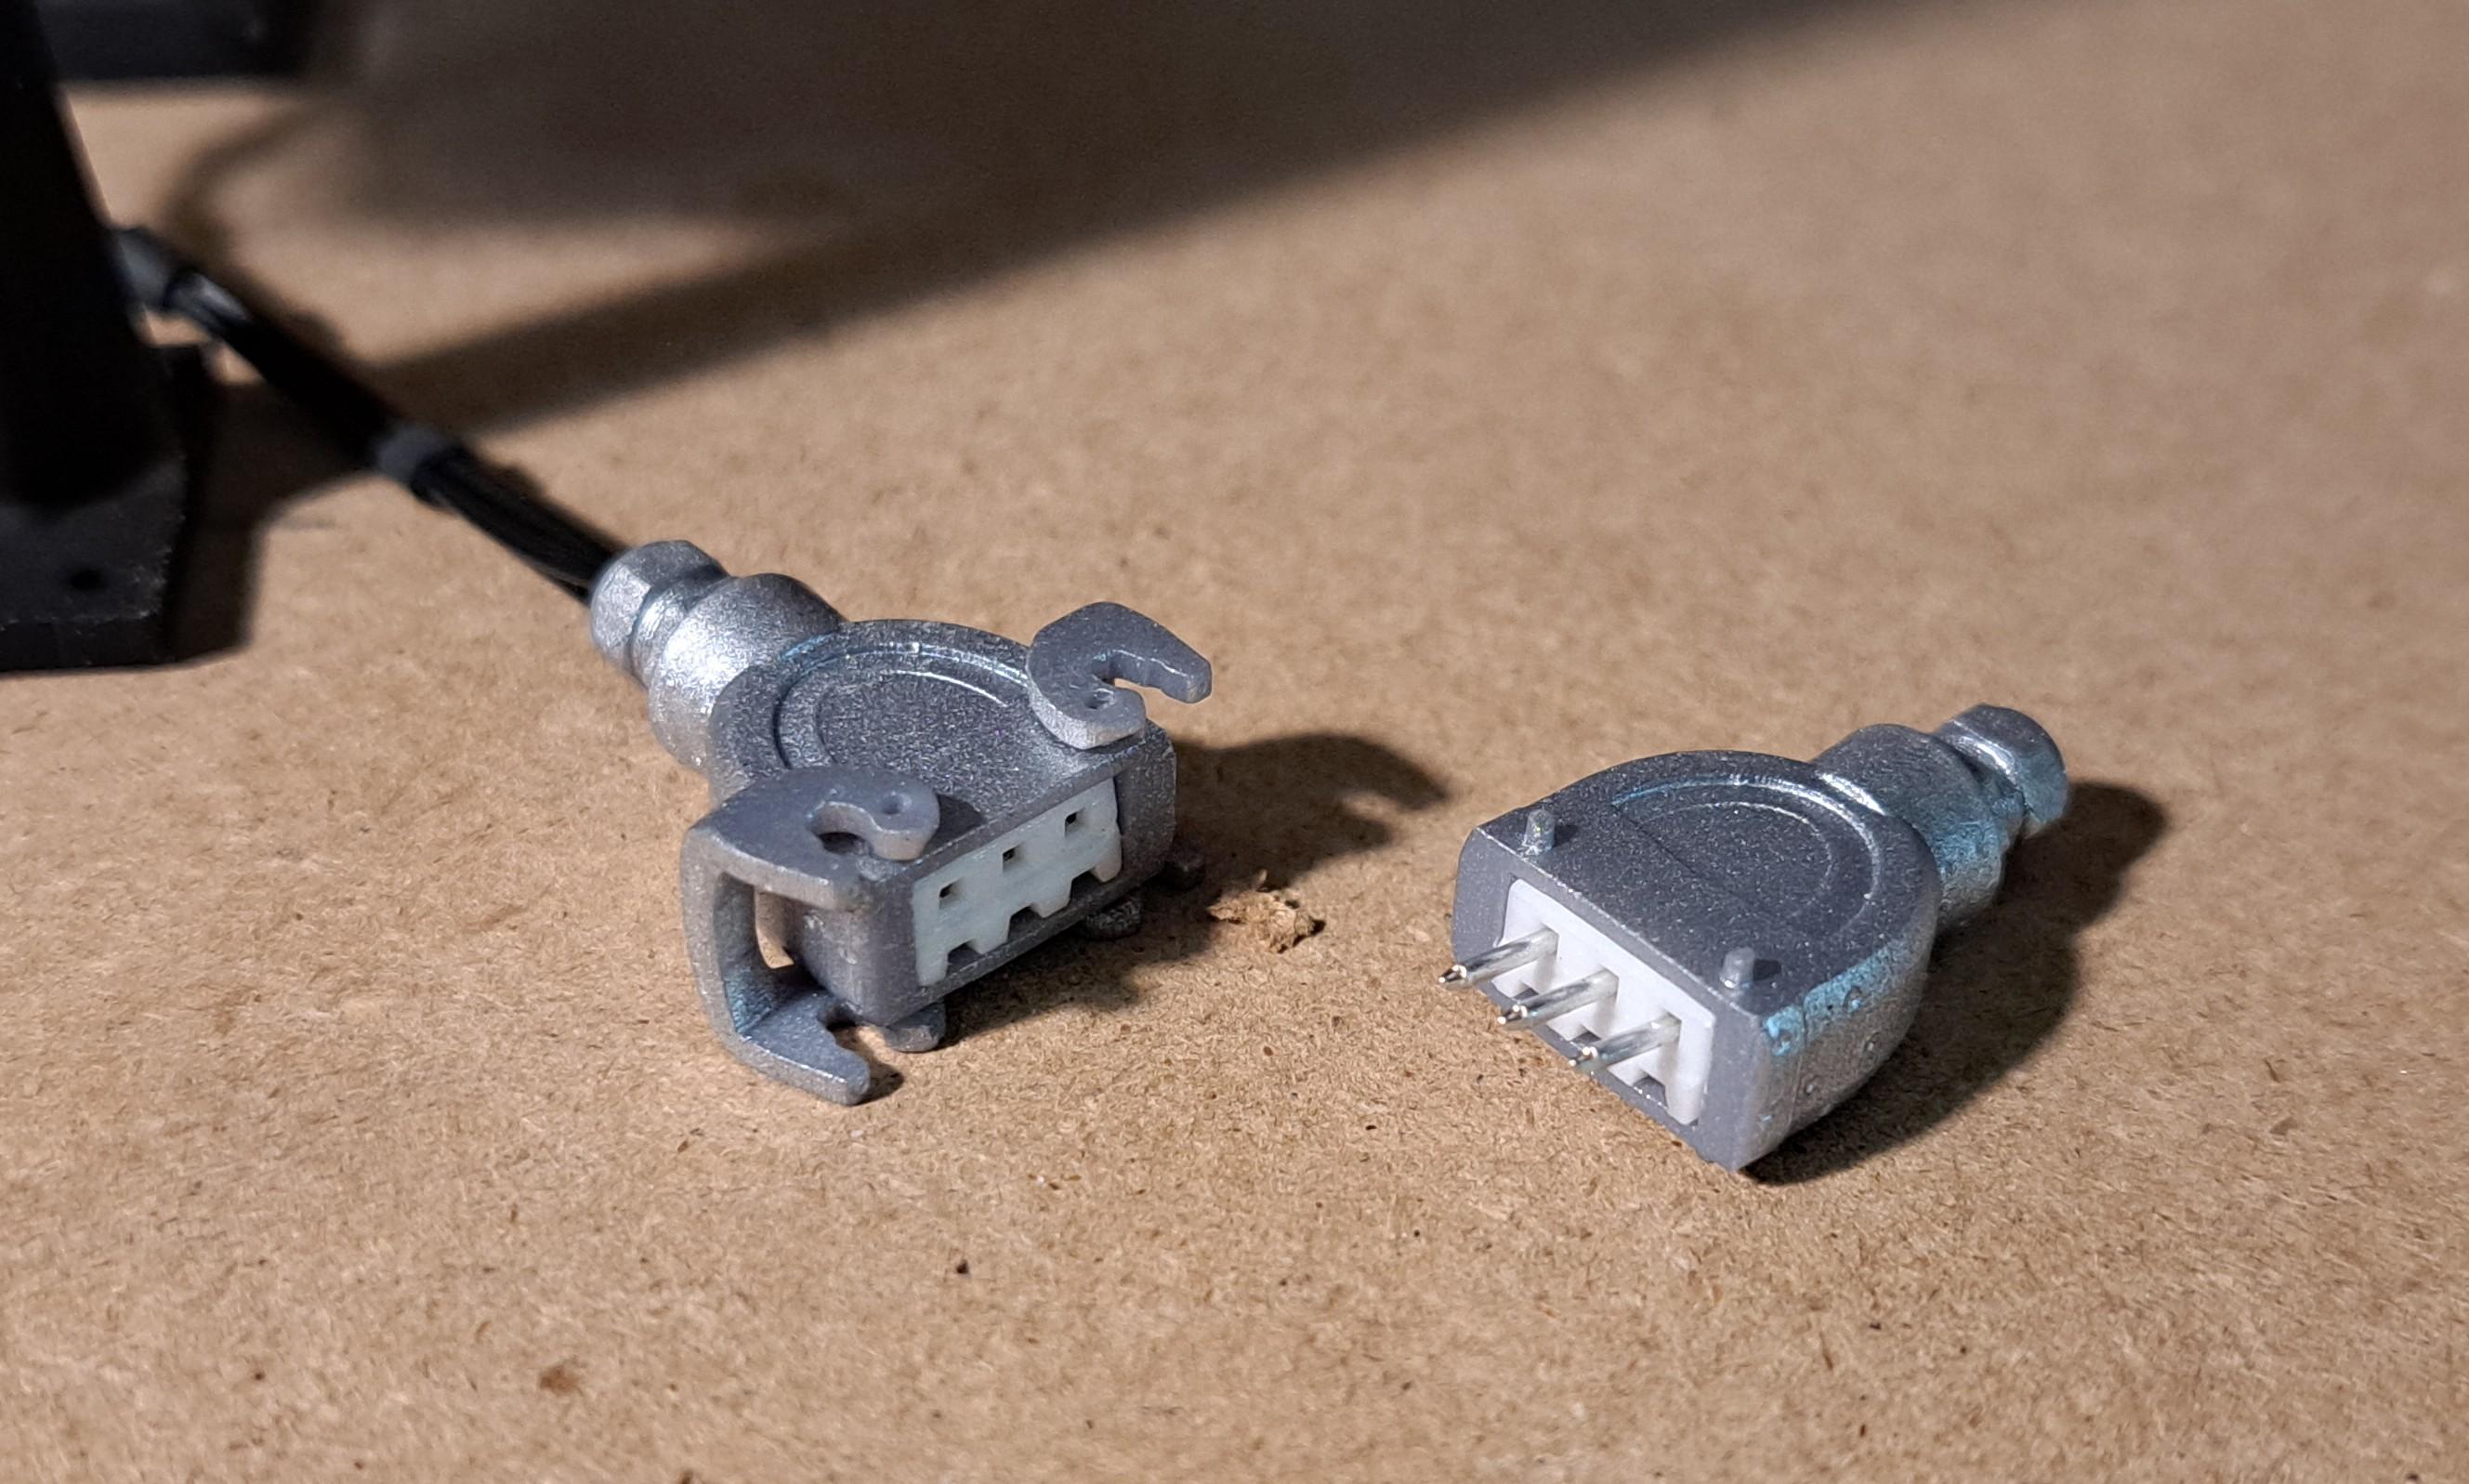
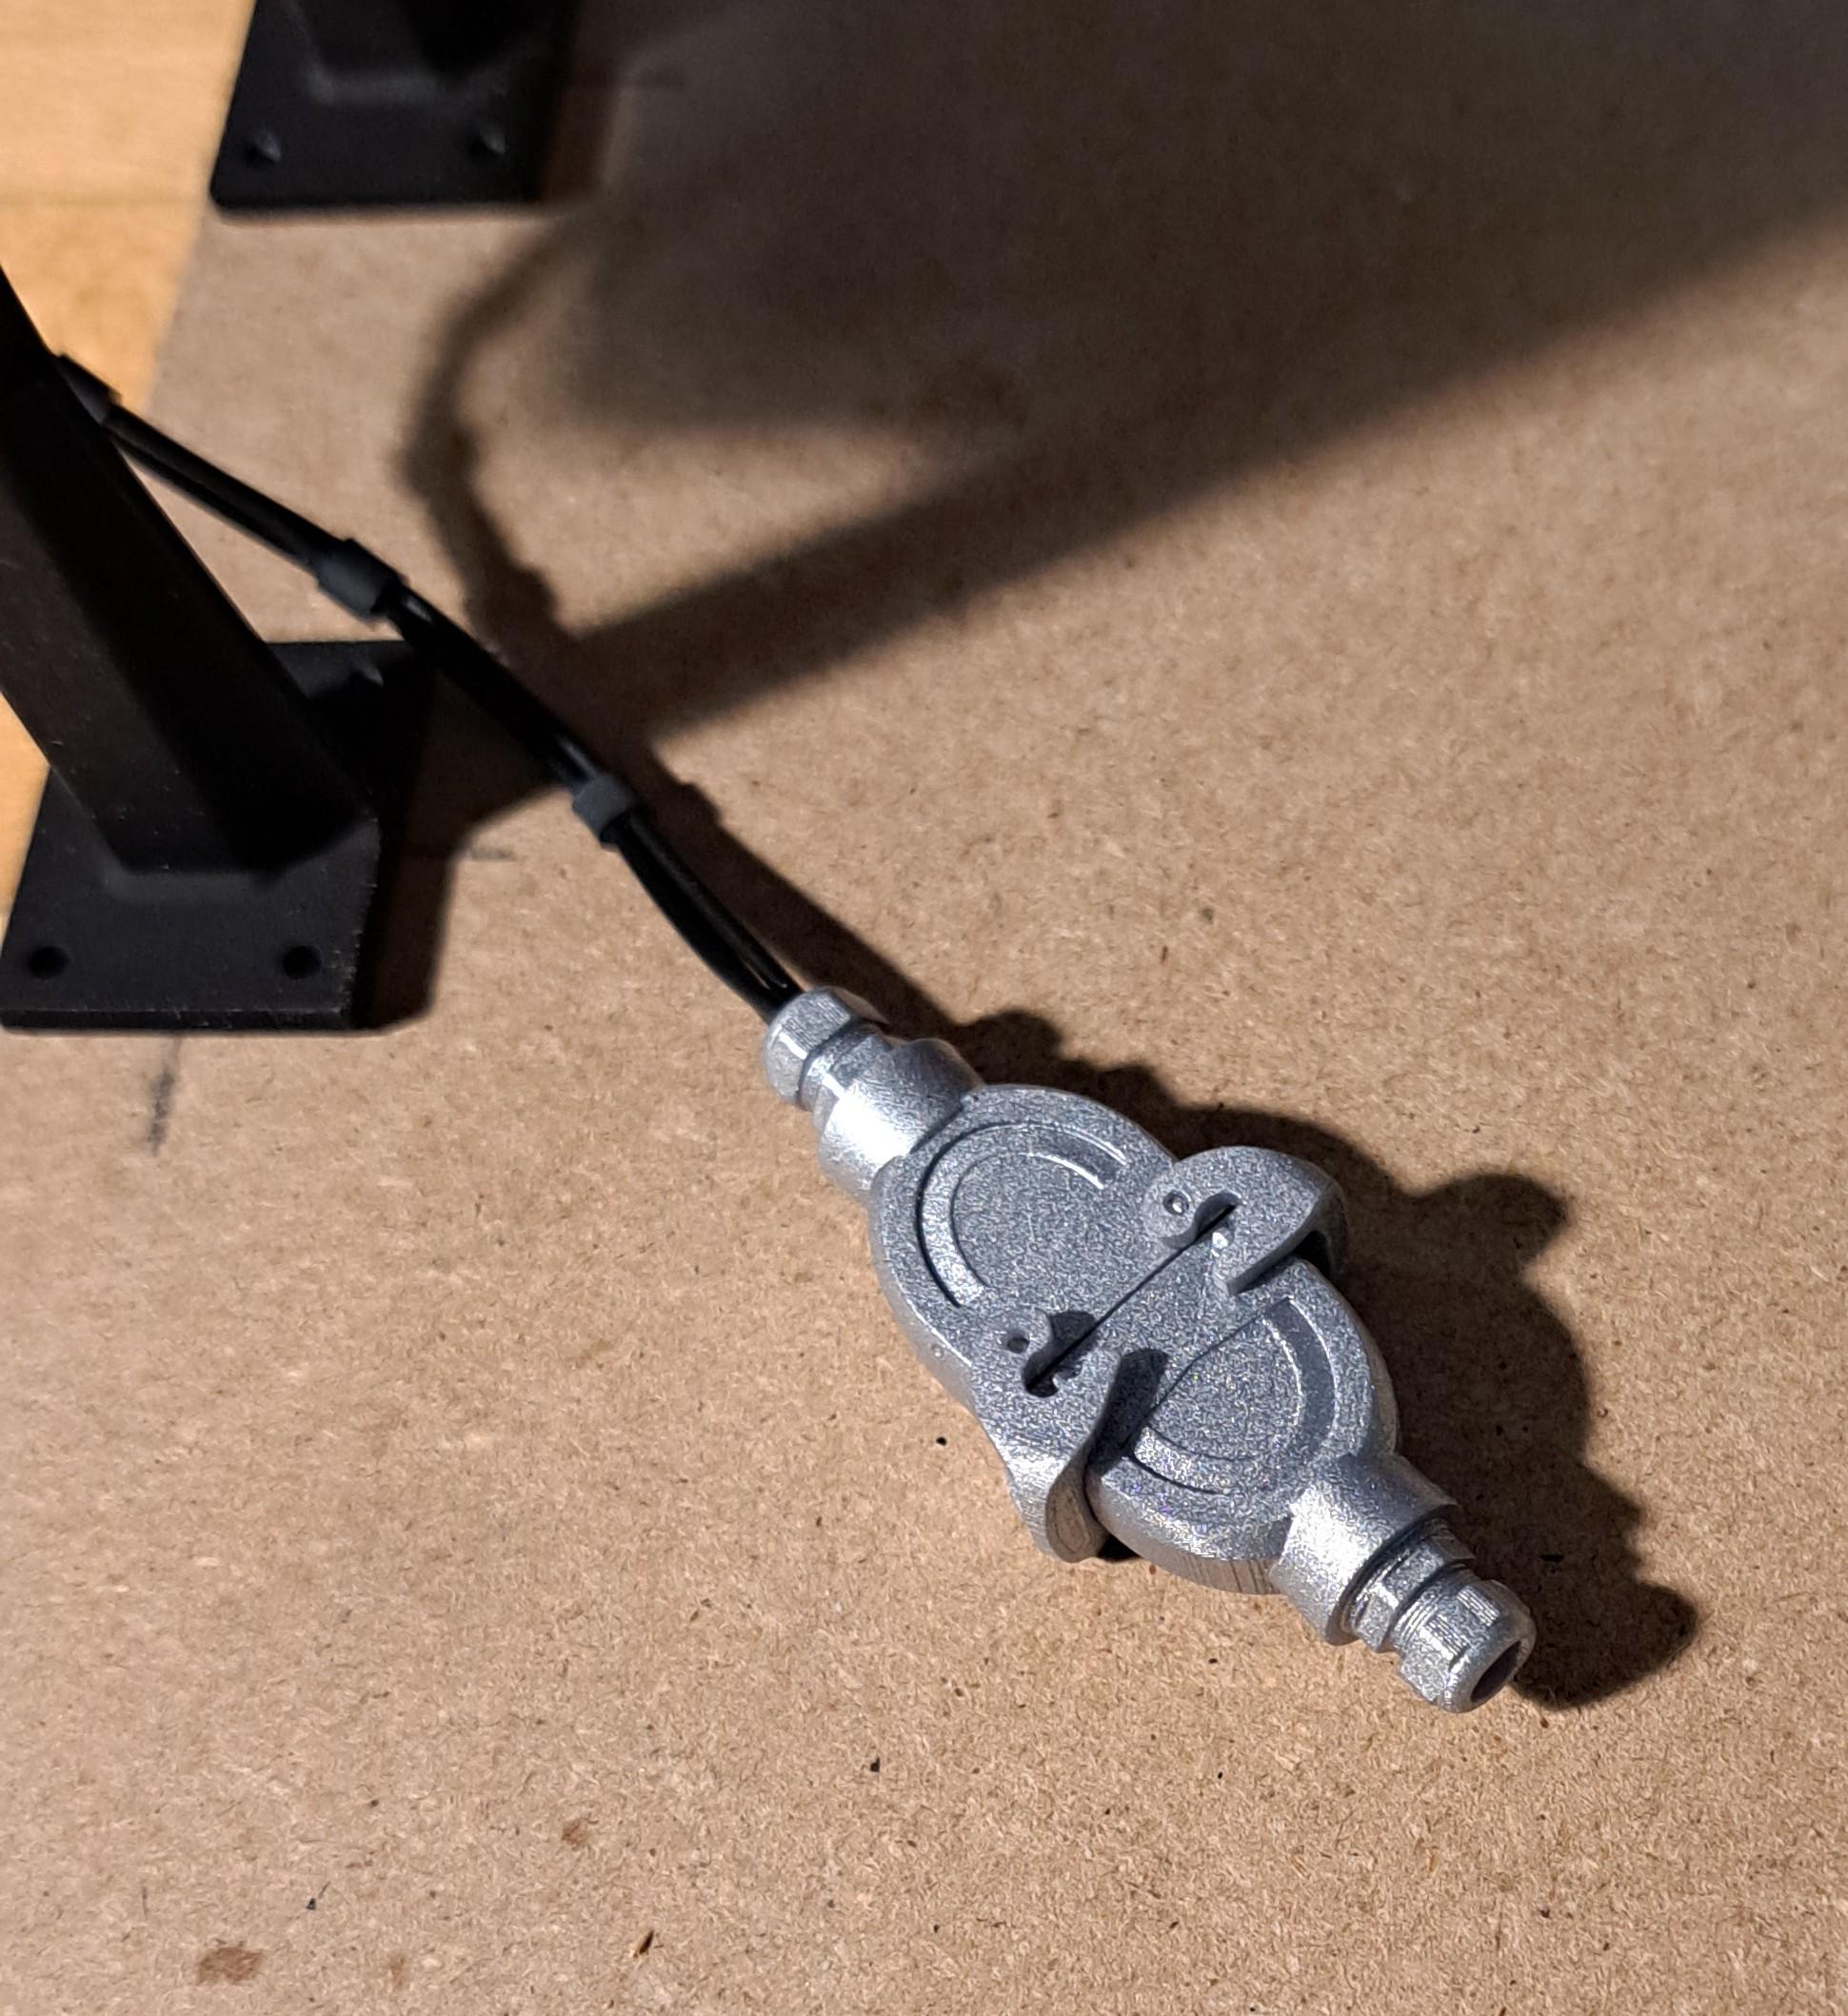
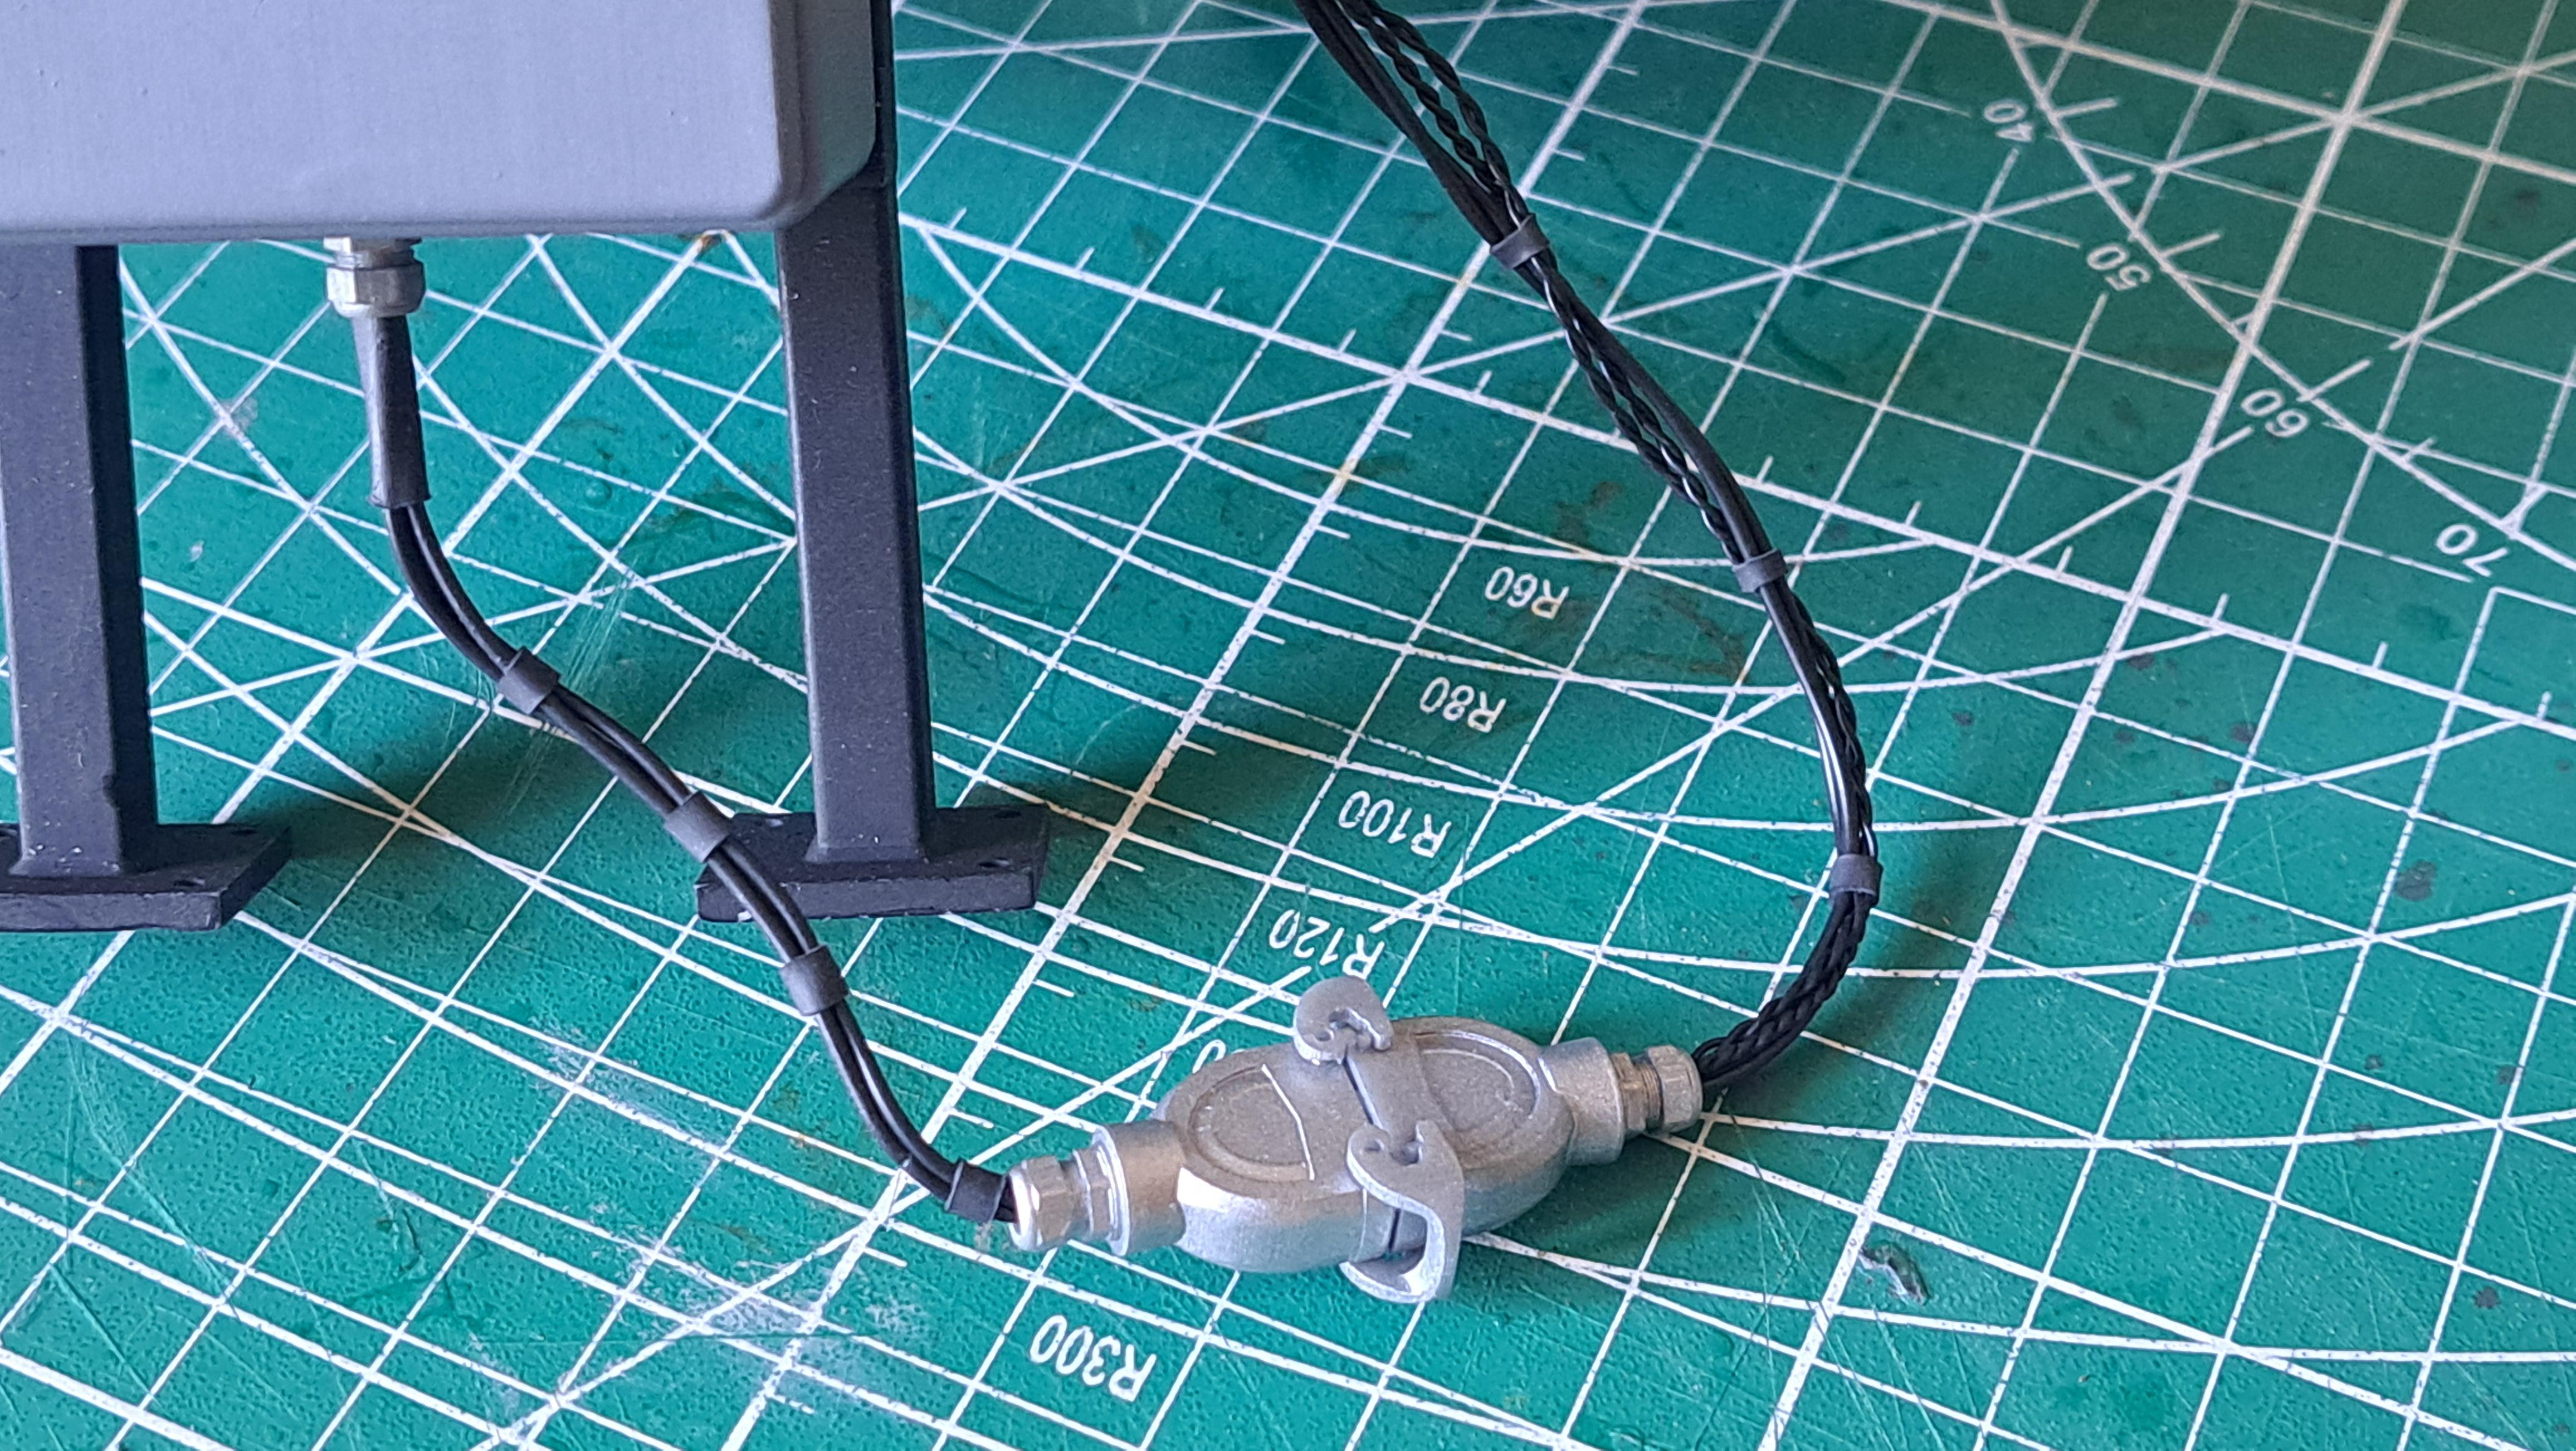
I started modeling the mesh screen mounting brackets
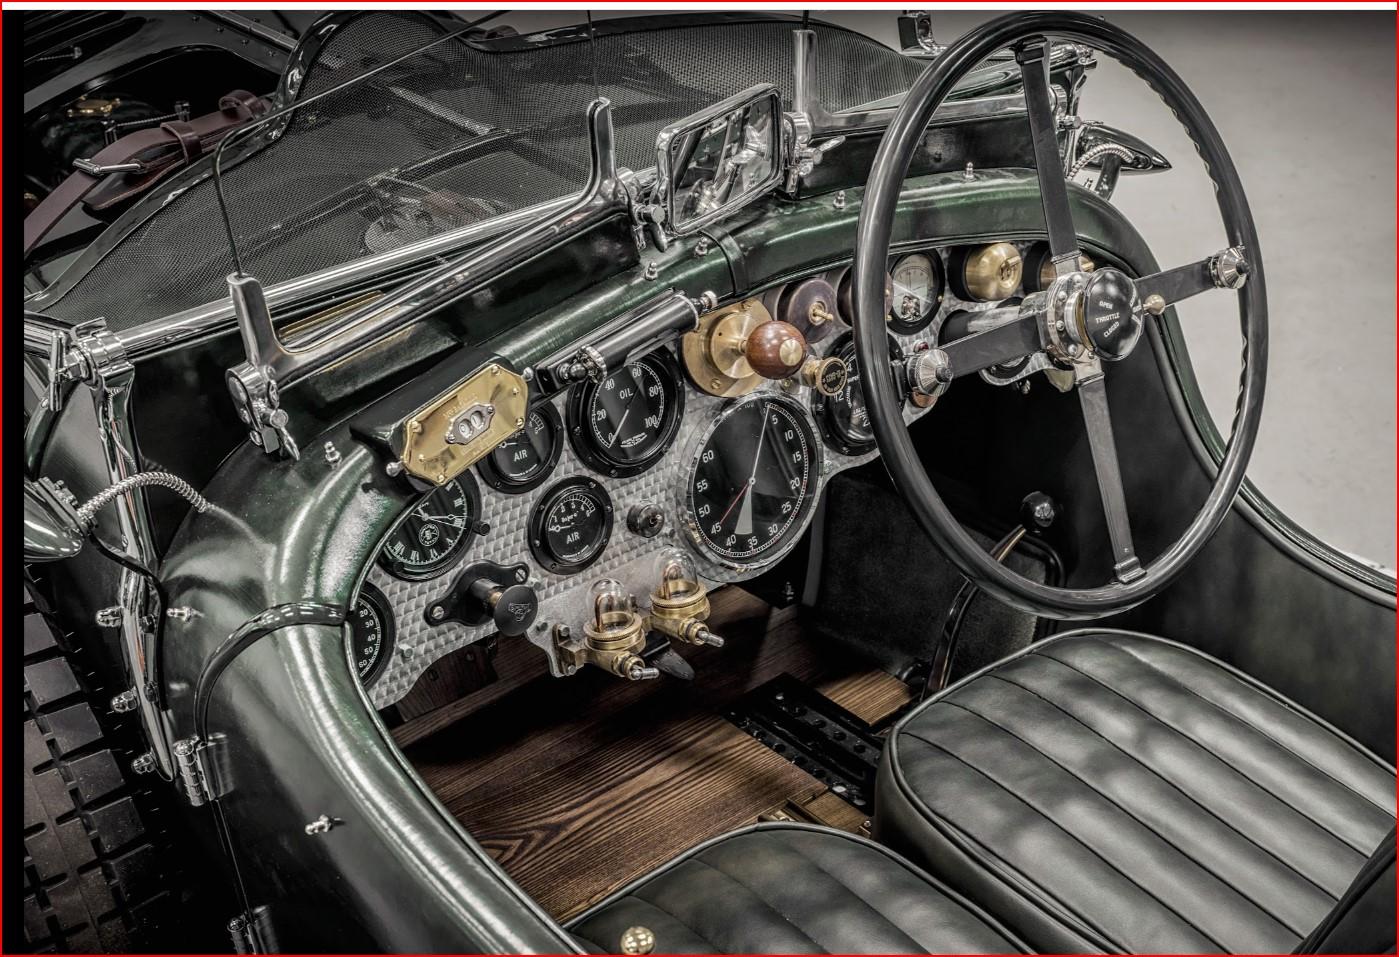
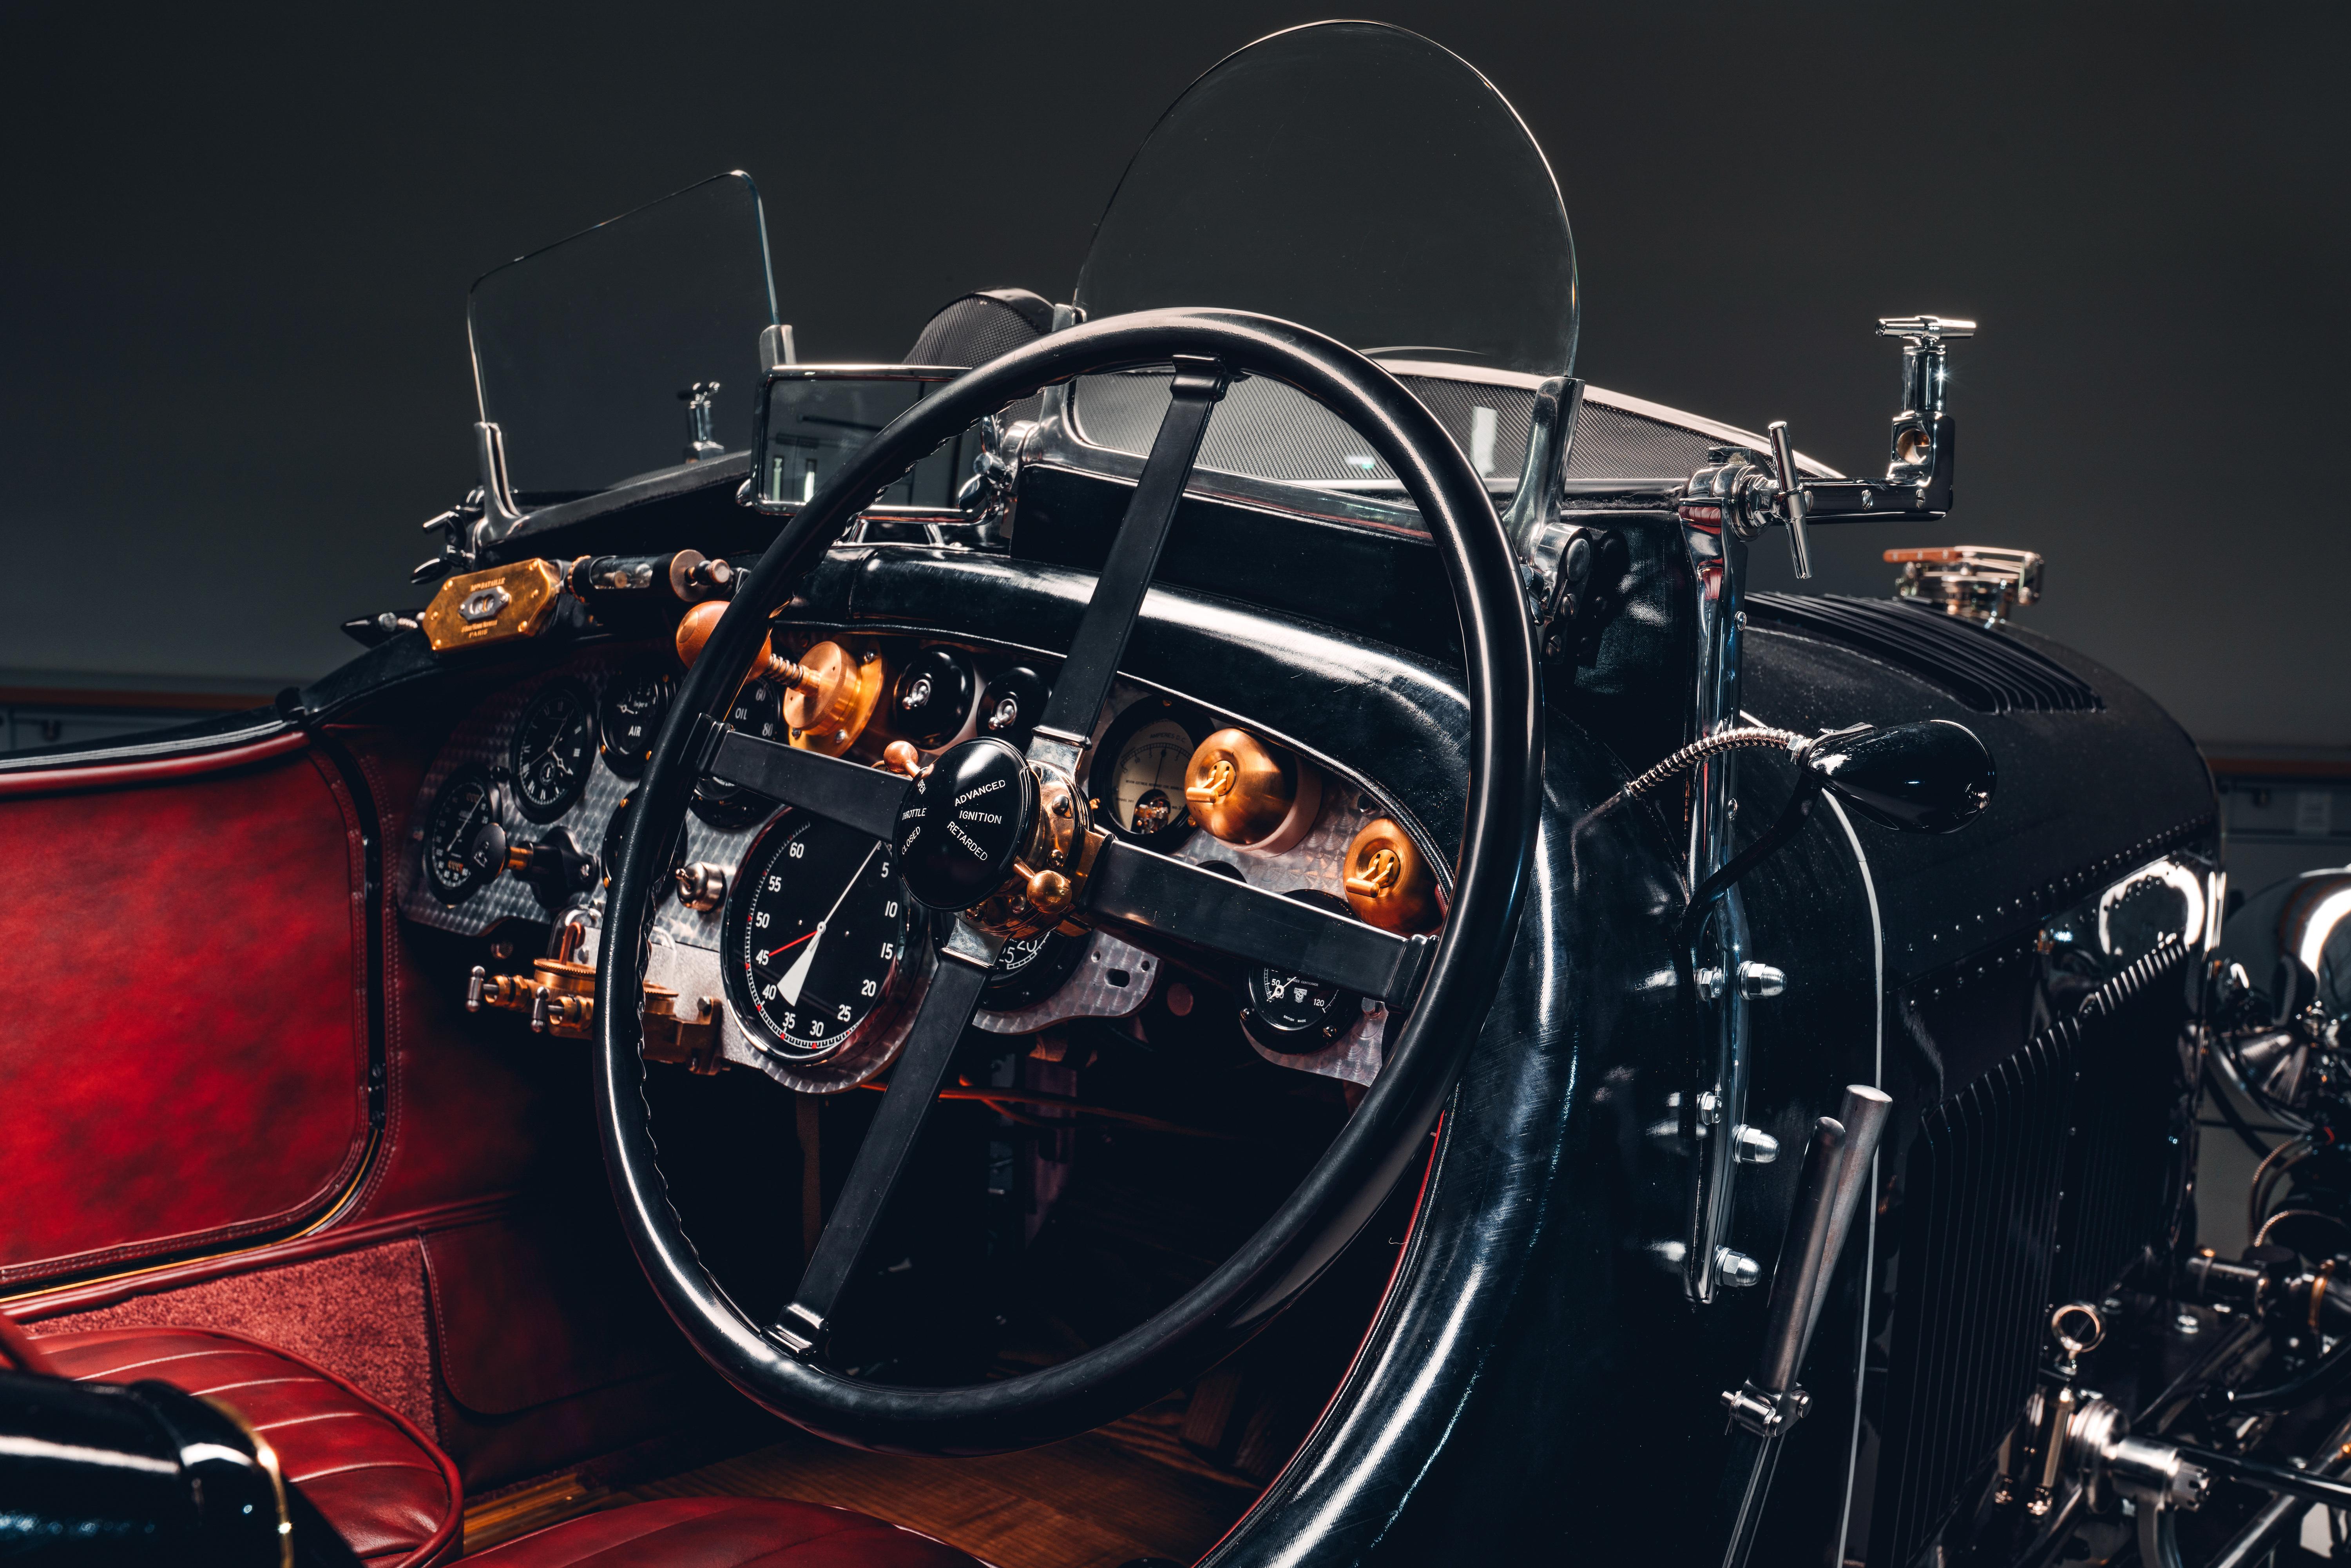
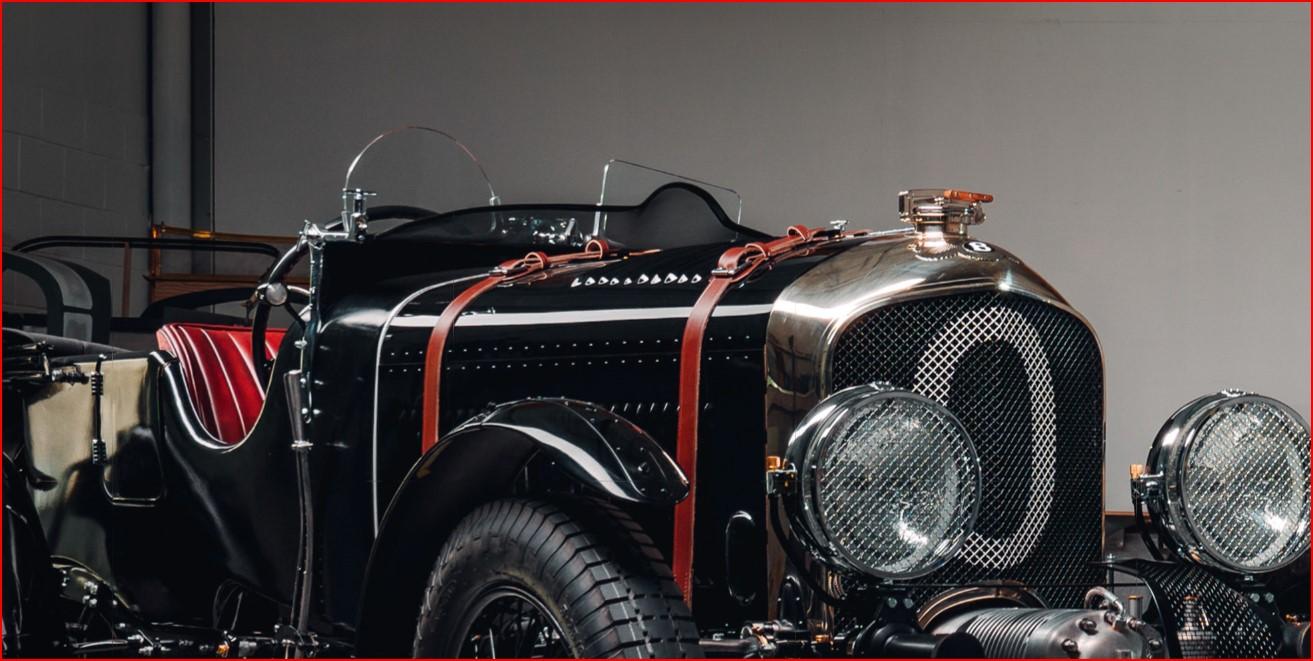
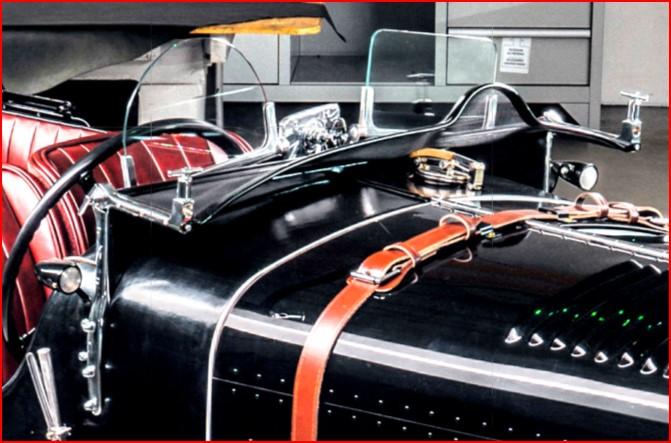
Capturedcran2024-04-12205919(1).jpg.4a61aa236935b41eed1a0e08249bbff9.jpg


The real thing

Capturedcran2024-04-12205902.jpg.d8aecfb48db88b5269c35b69680613ba.jpg
 
Hello Francois,
which slicer are you using? Beyond your experience and positioning it seems the software is doing a decent job.
Thanks and compliments
Luigi
 
I'm using Lychee. I'm still convinced that my print quality could be better, it might ve due to the fact that I'm using a water wash resin and that I'm still fairly new to this.
 
Back
Top