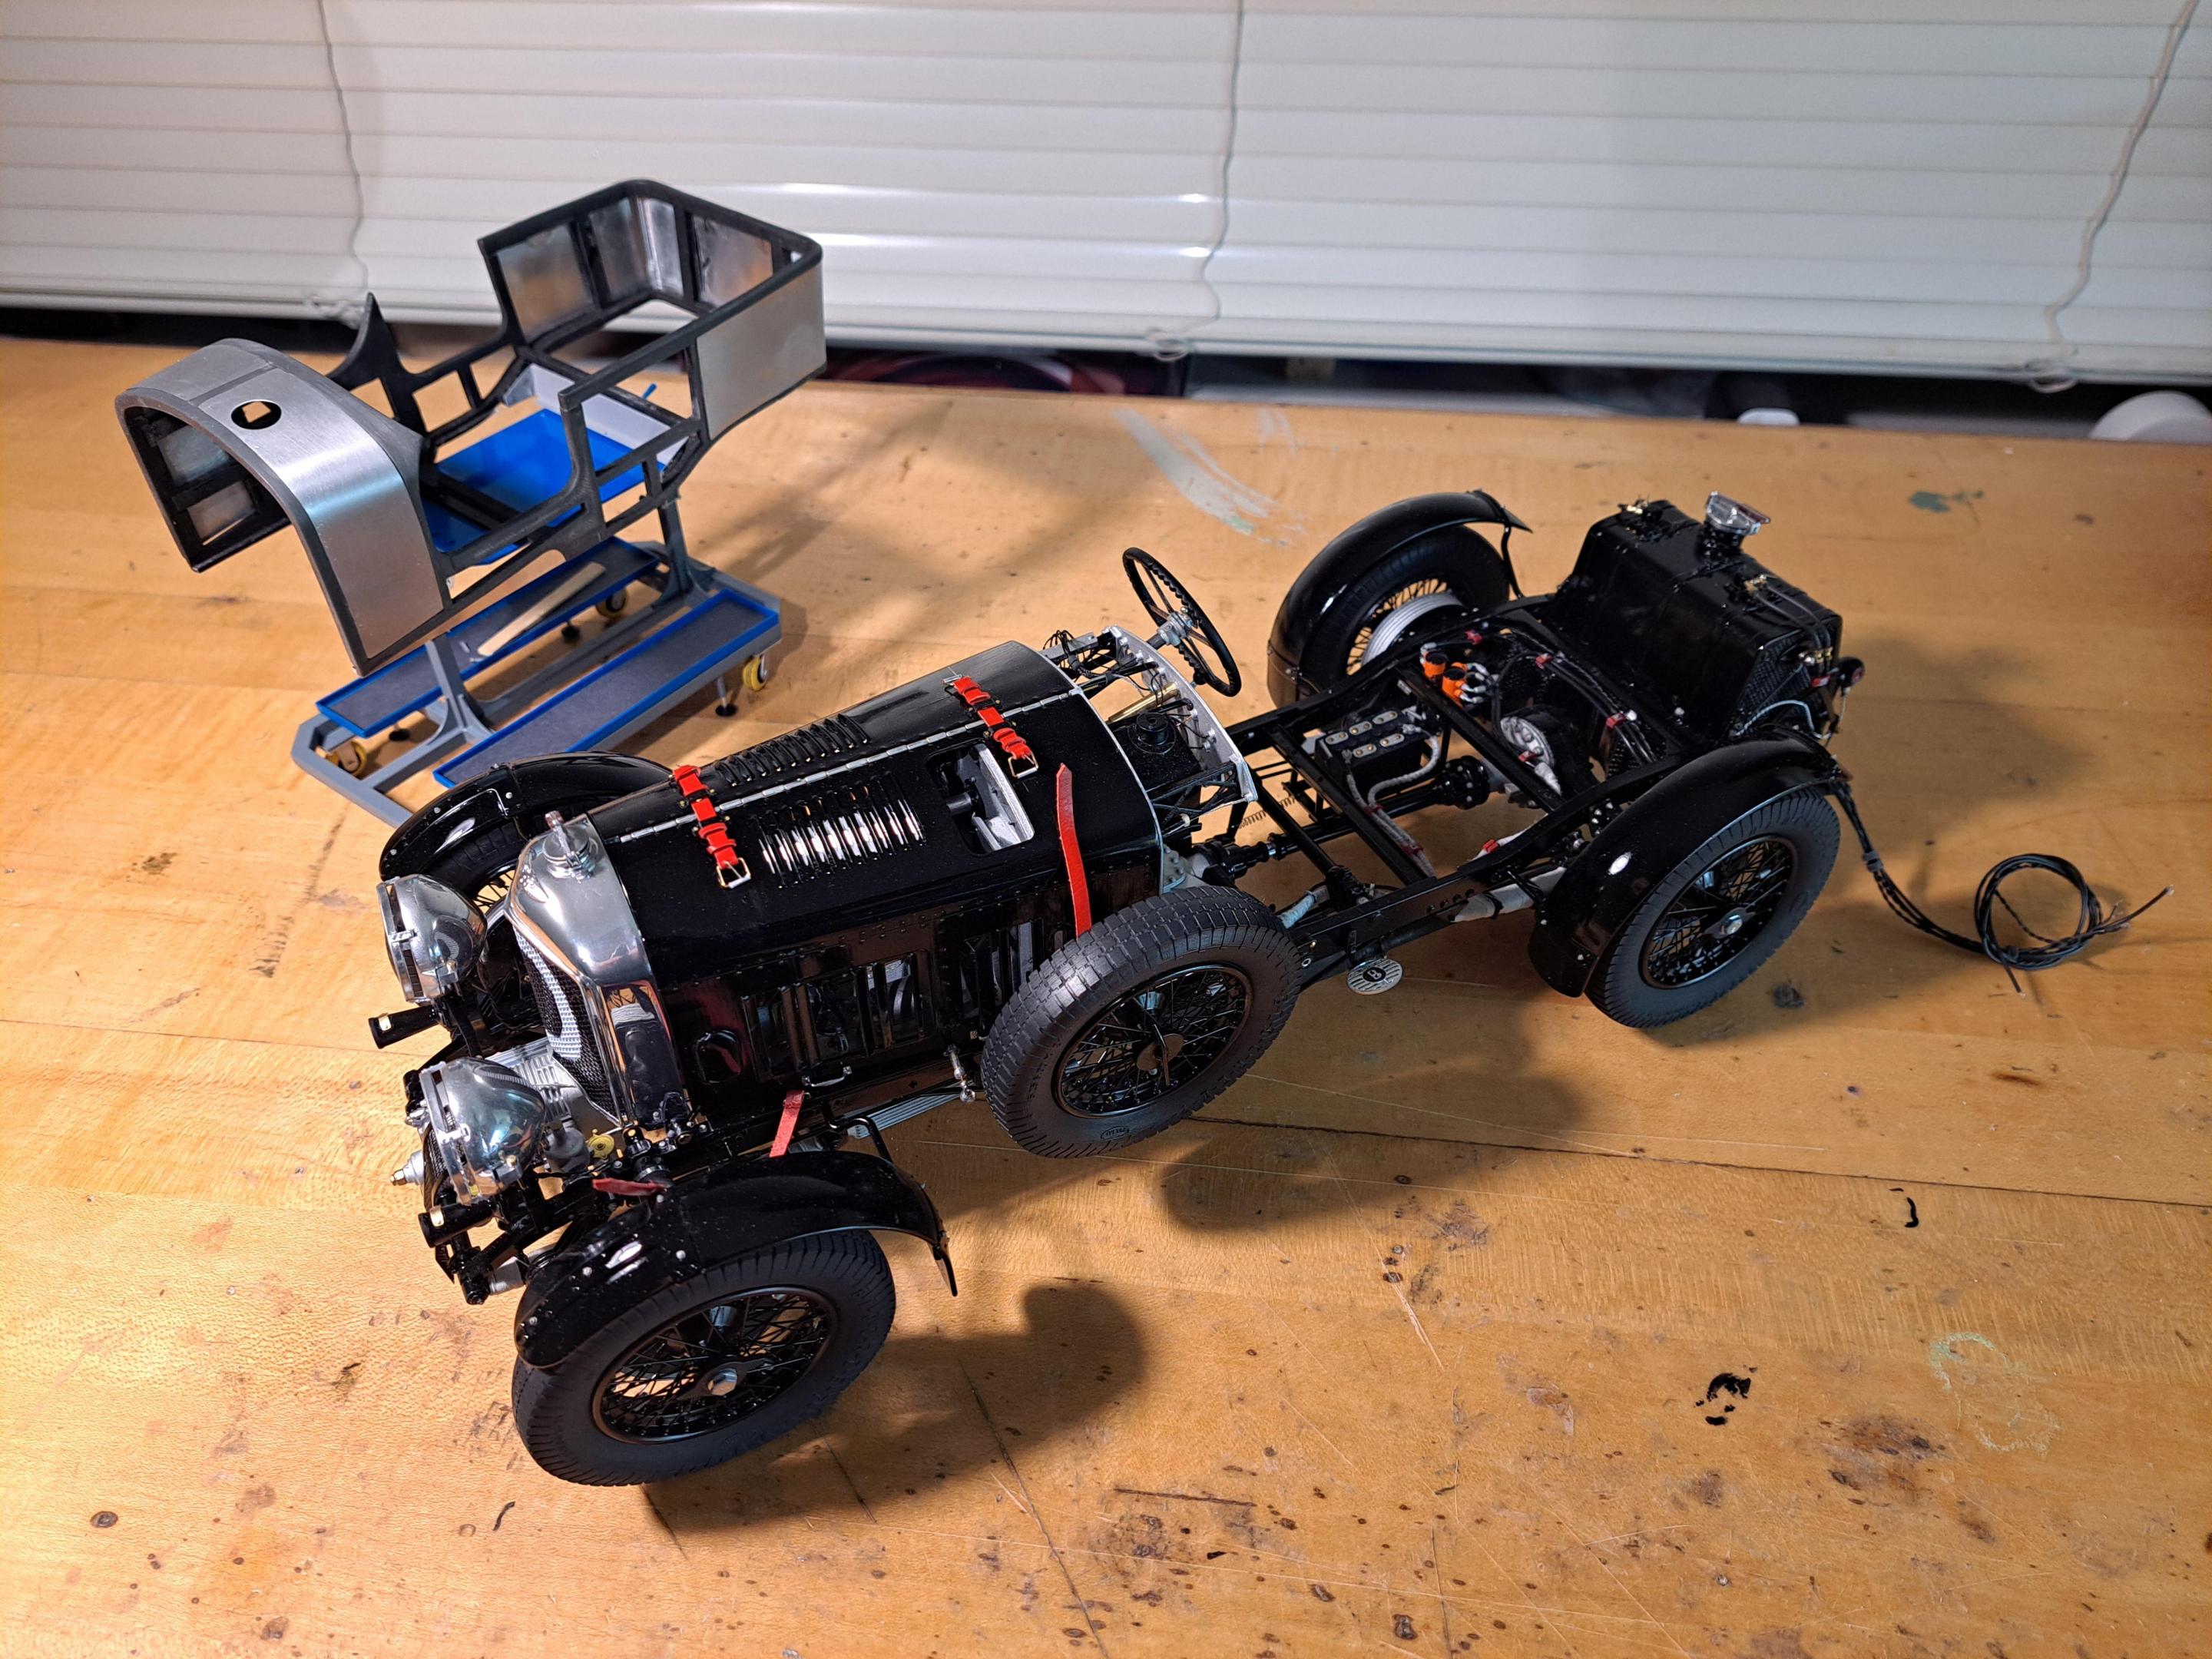
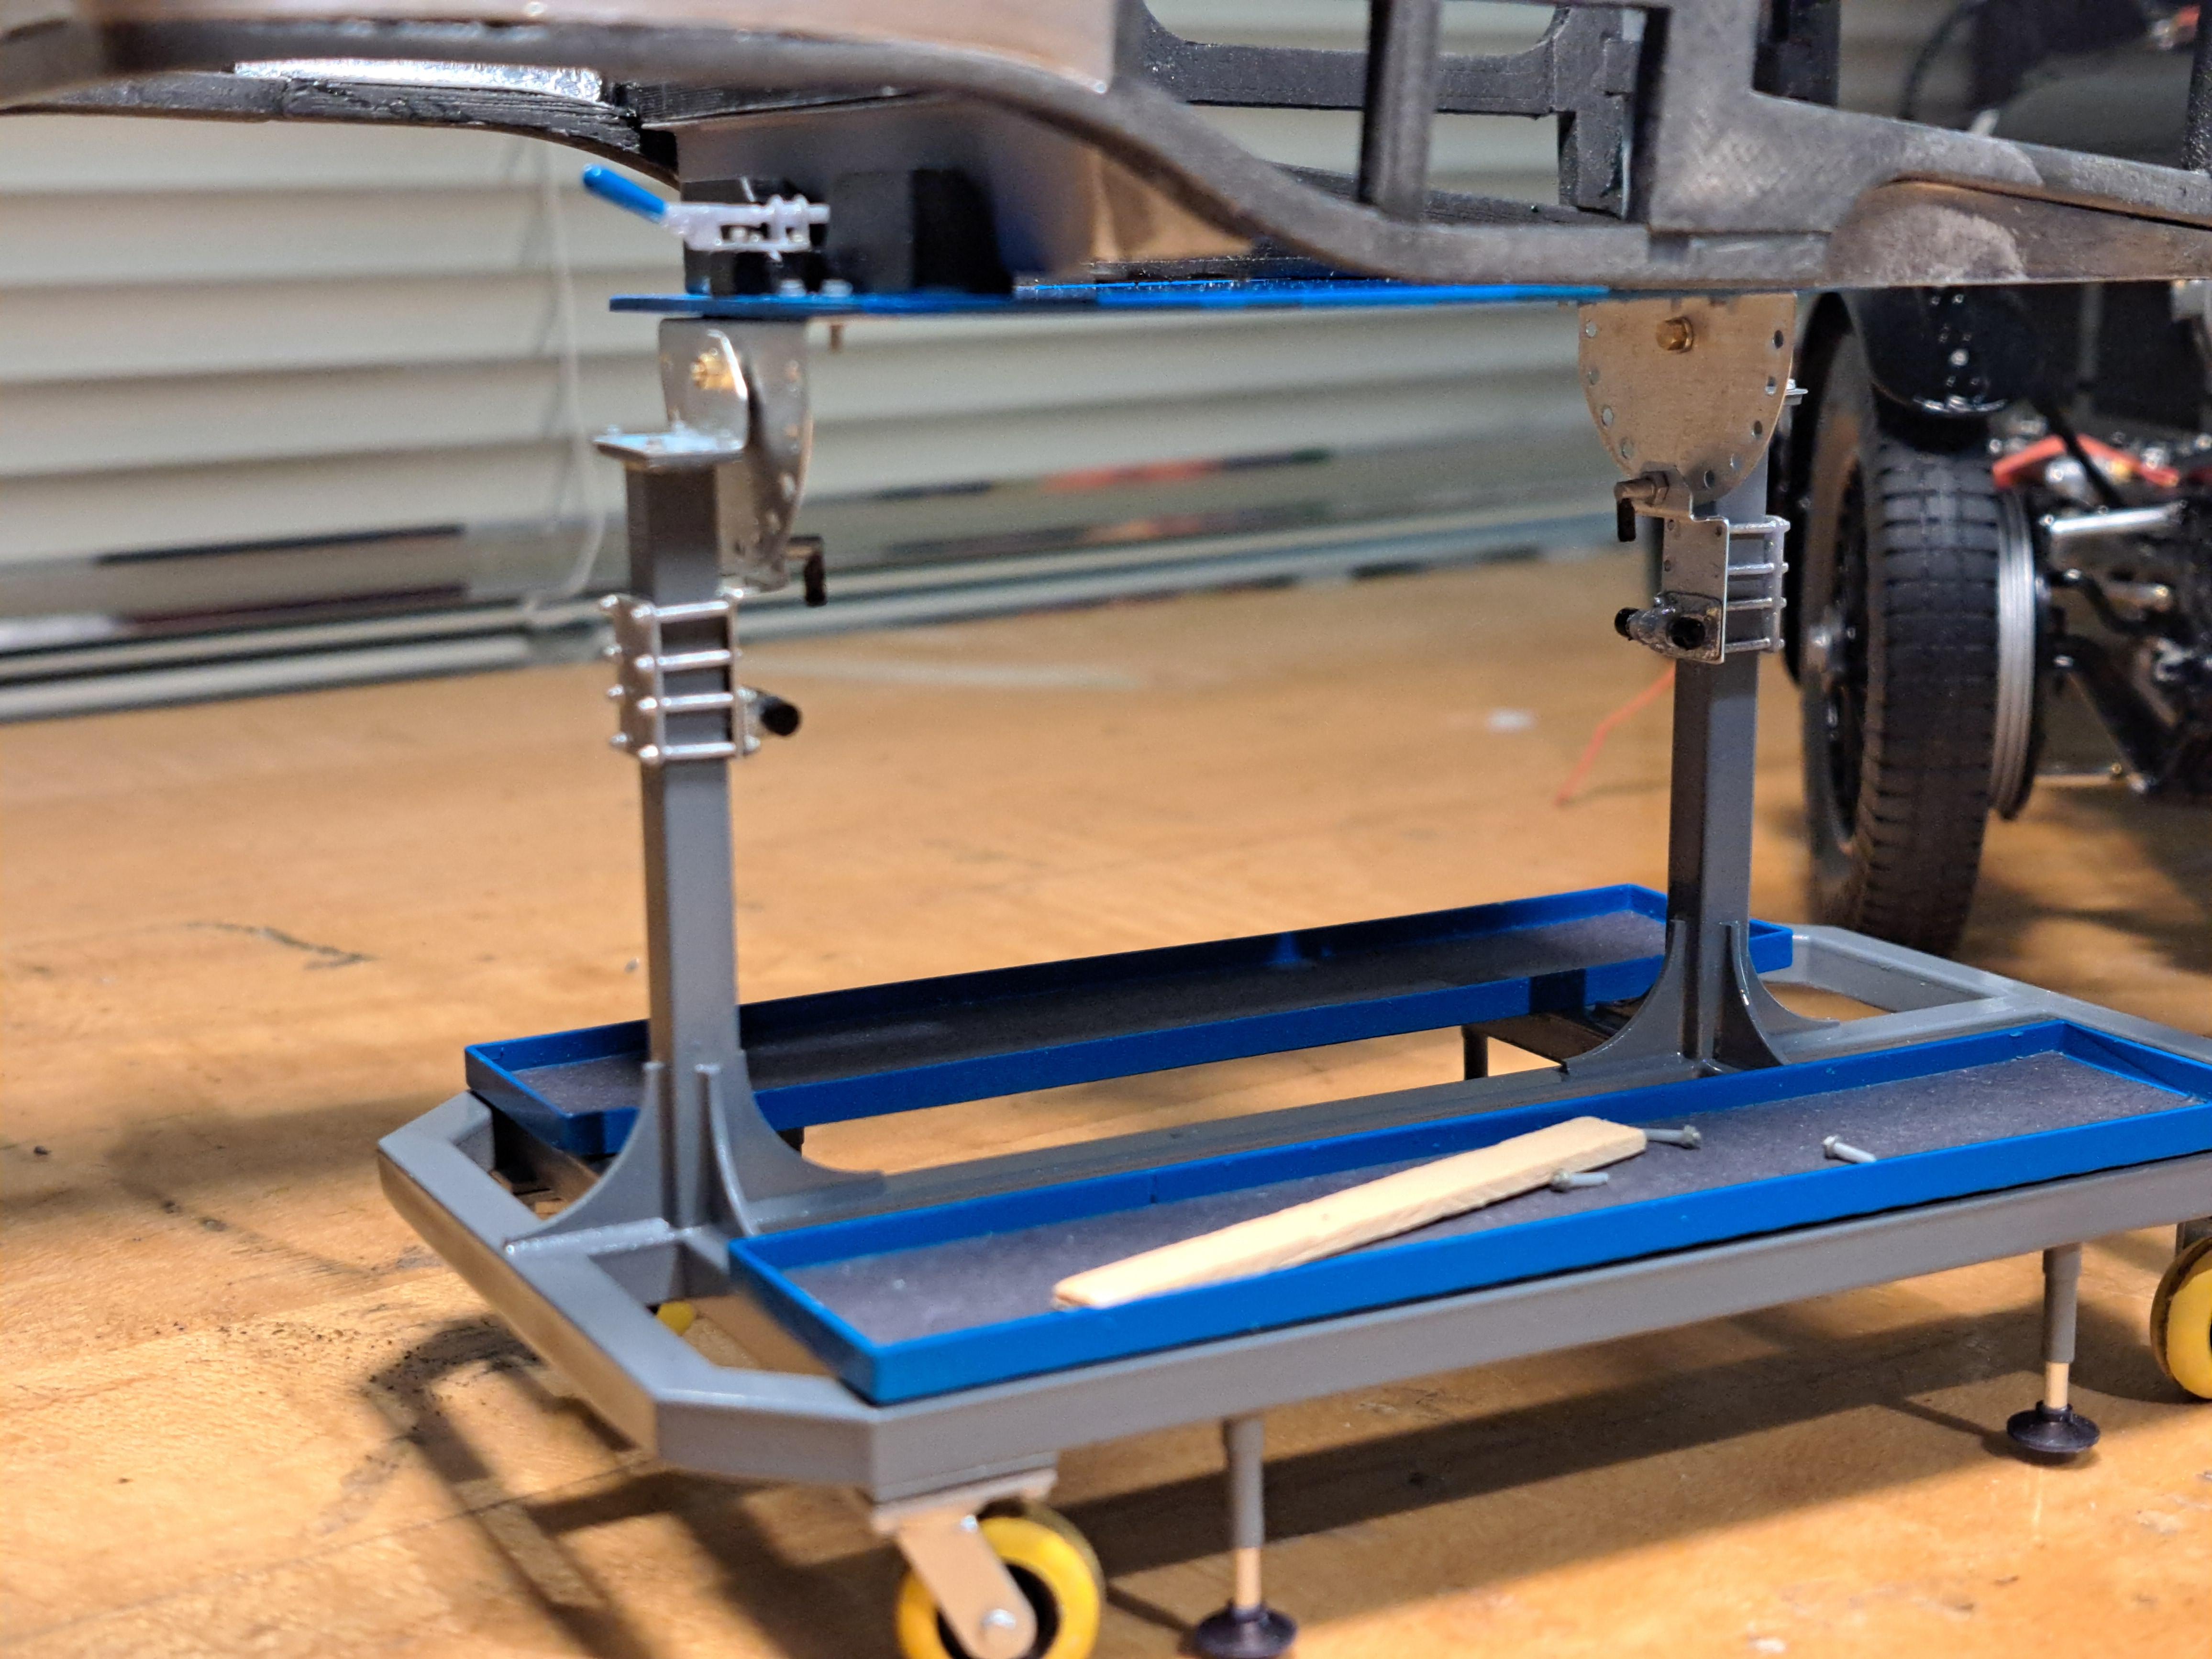
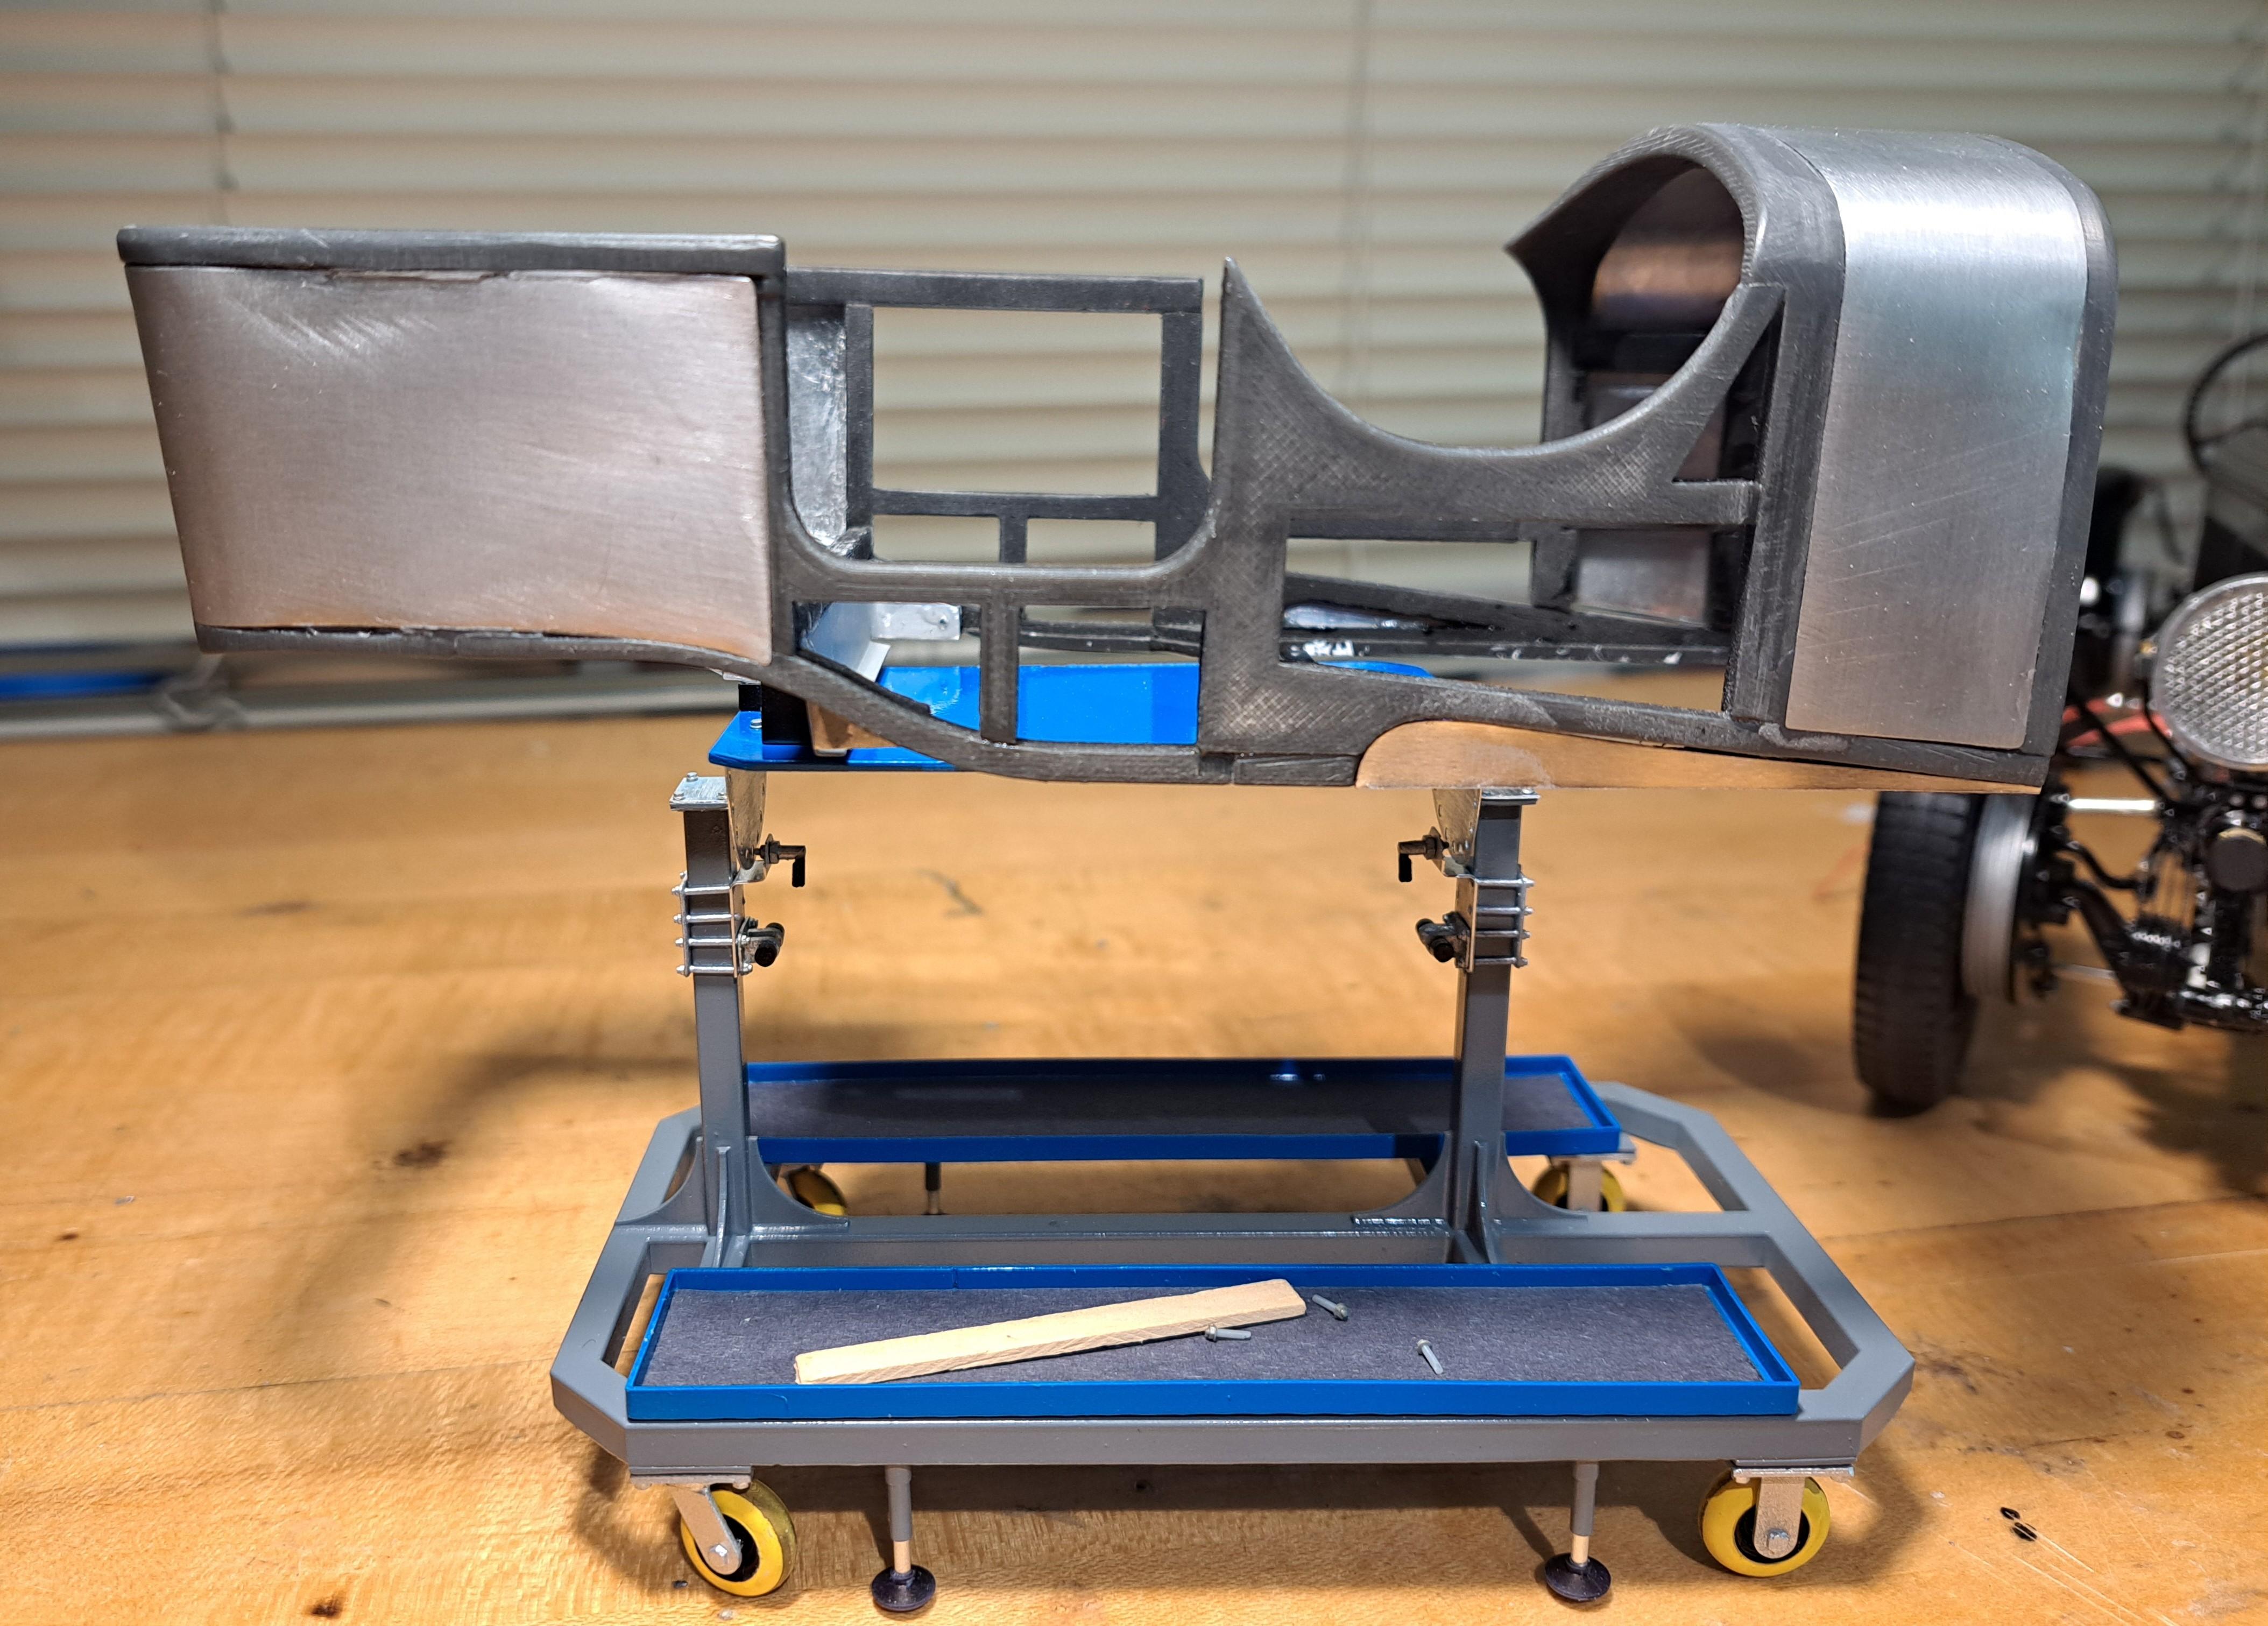
The trolley is completed. Here are some pictures with the tub on it.

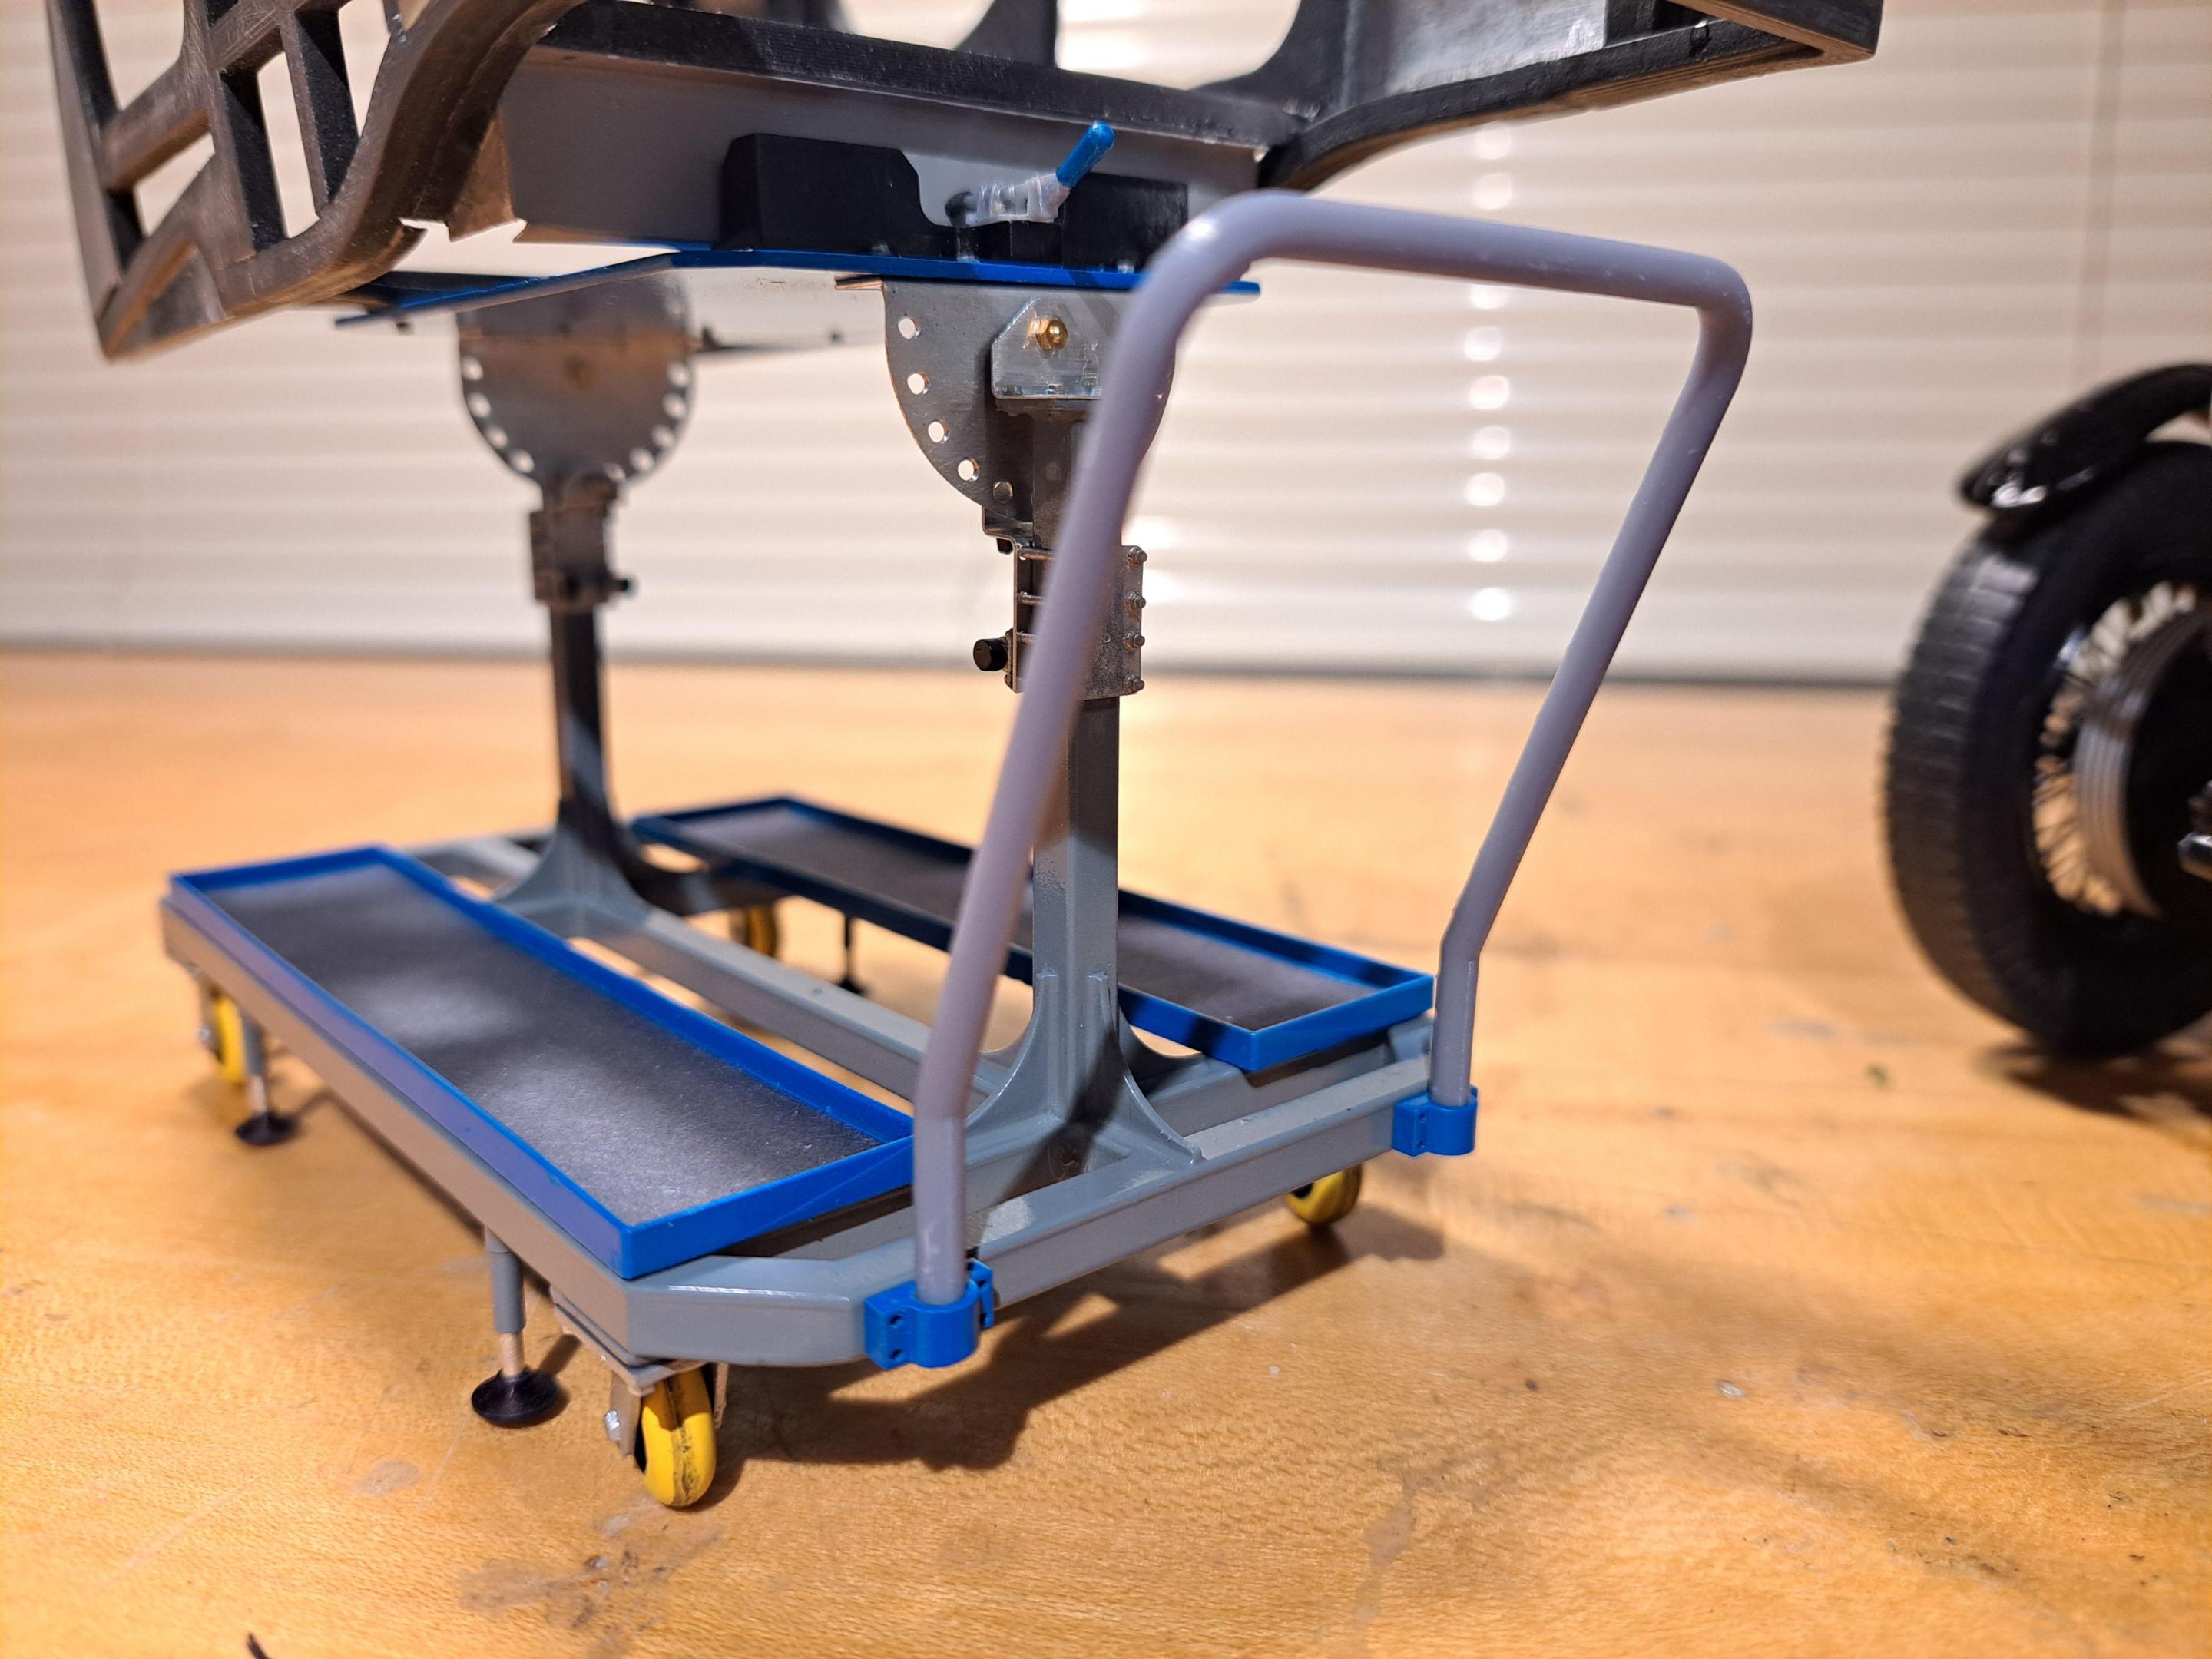

And the real one
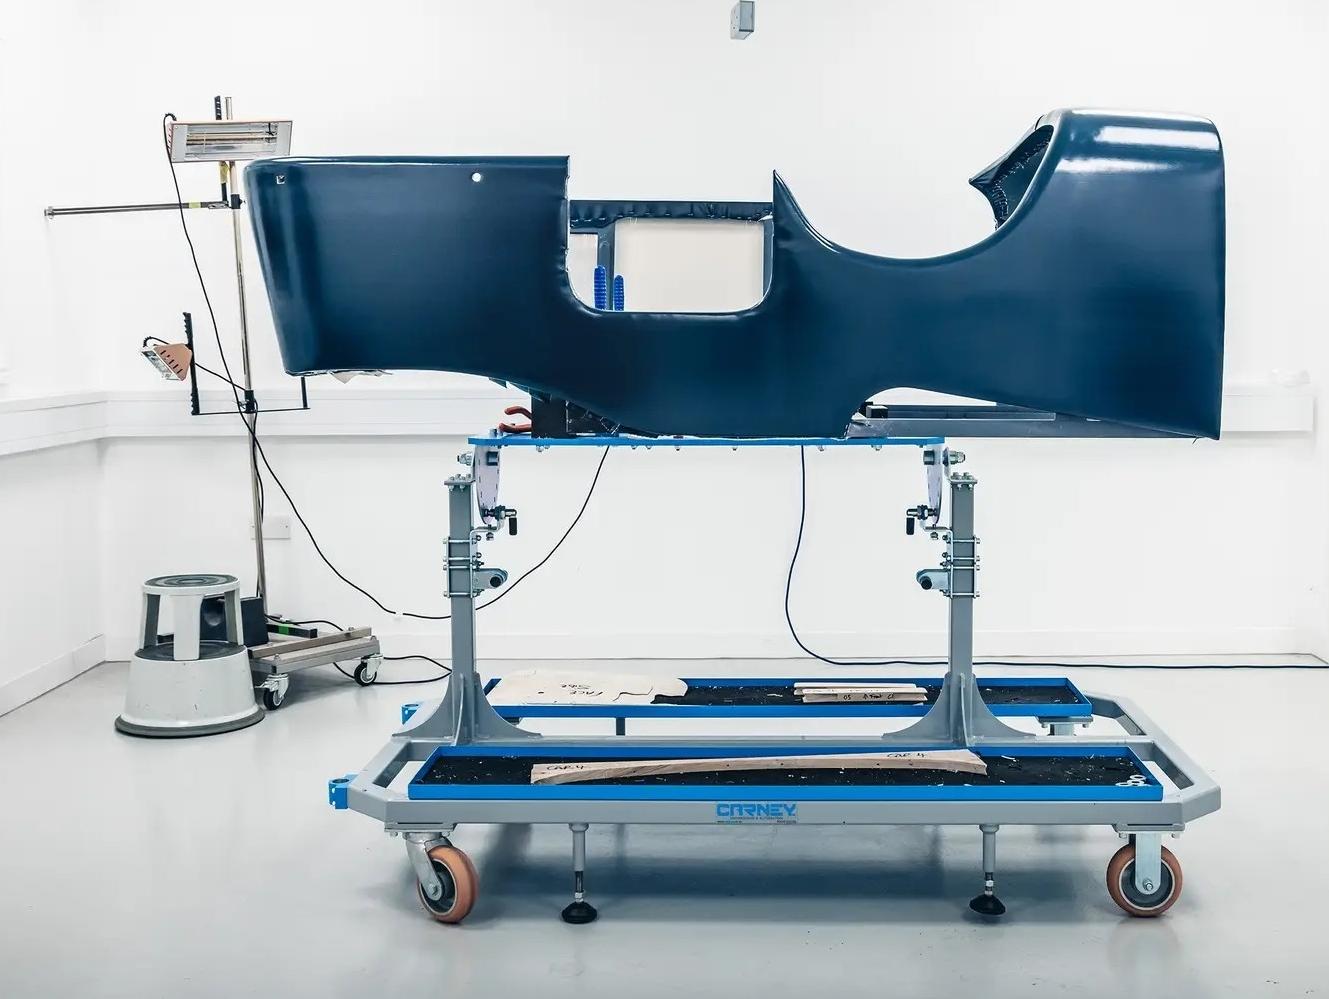
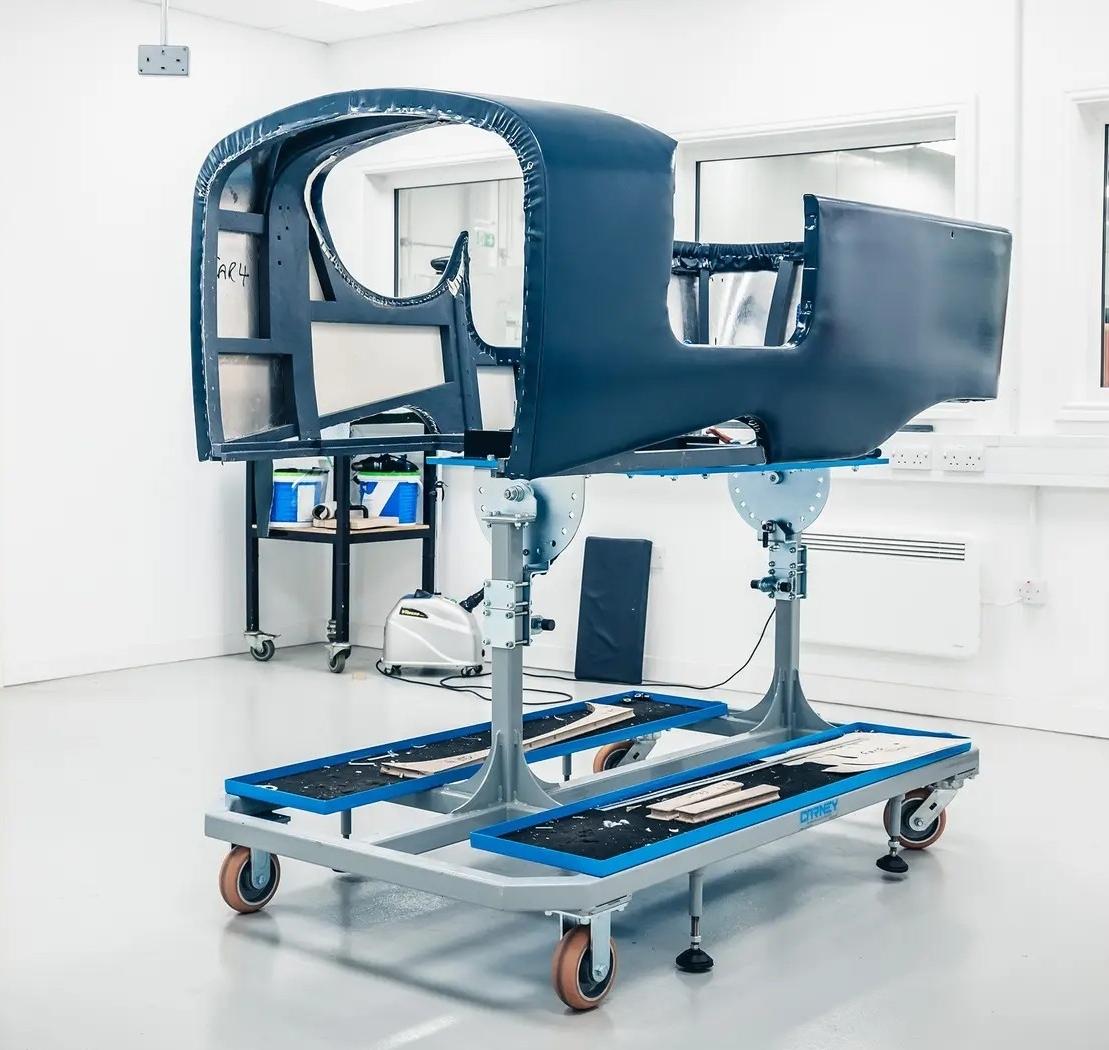


And the real one


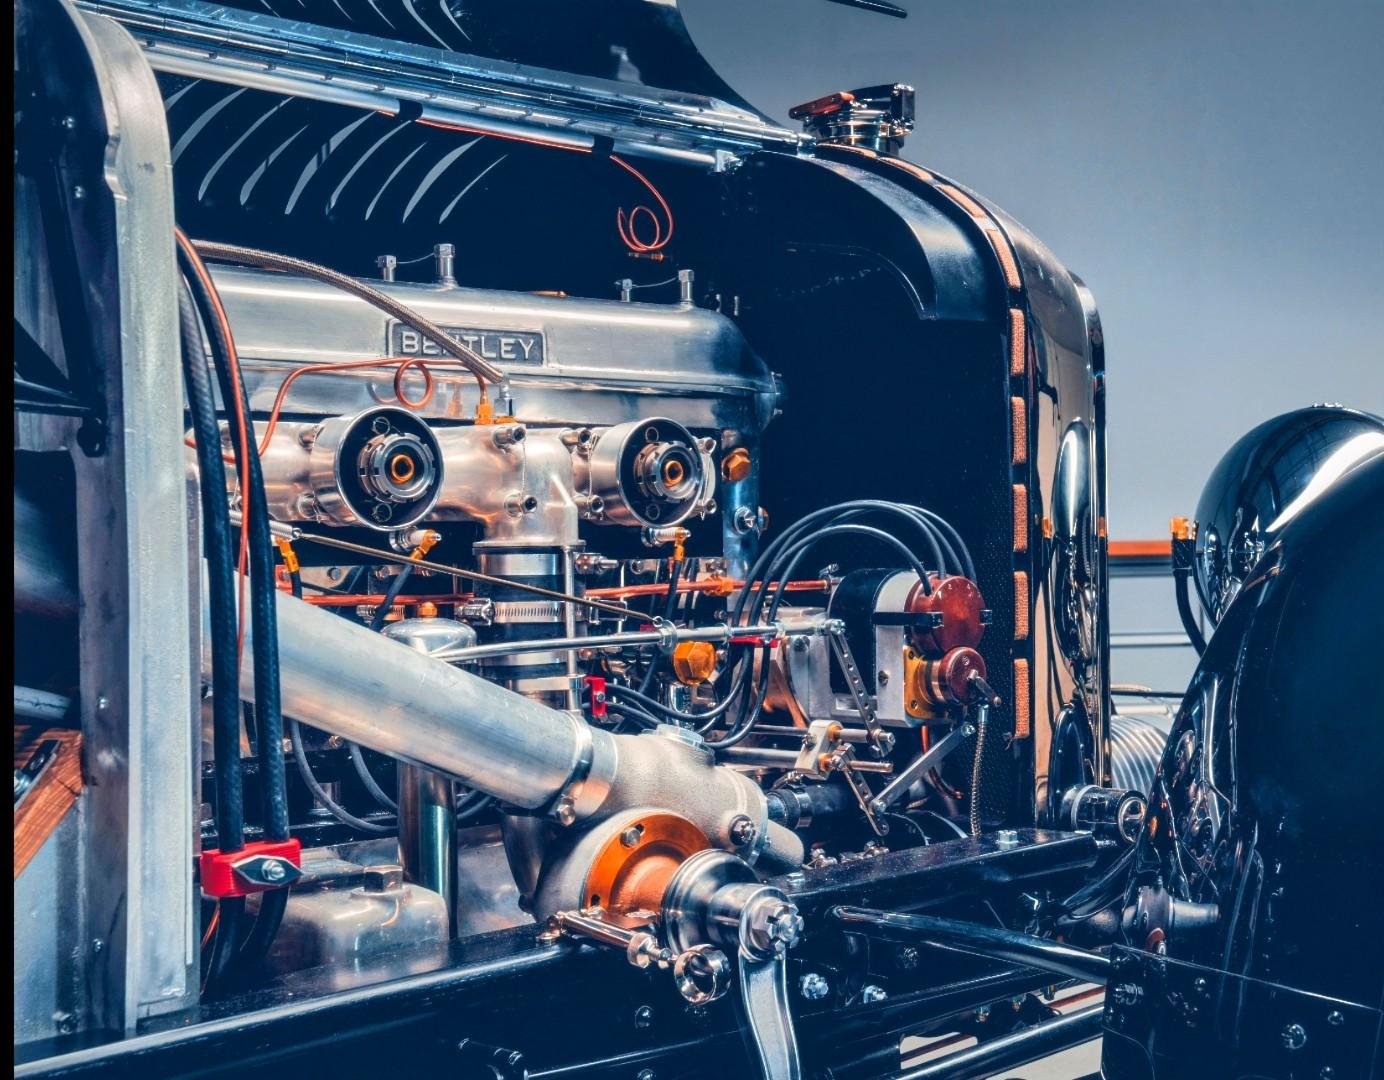
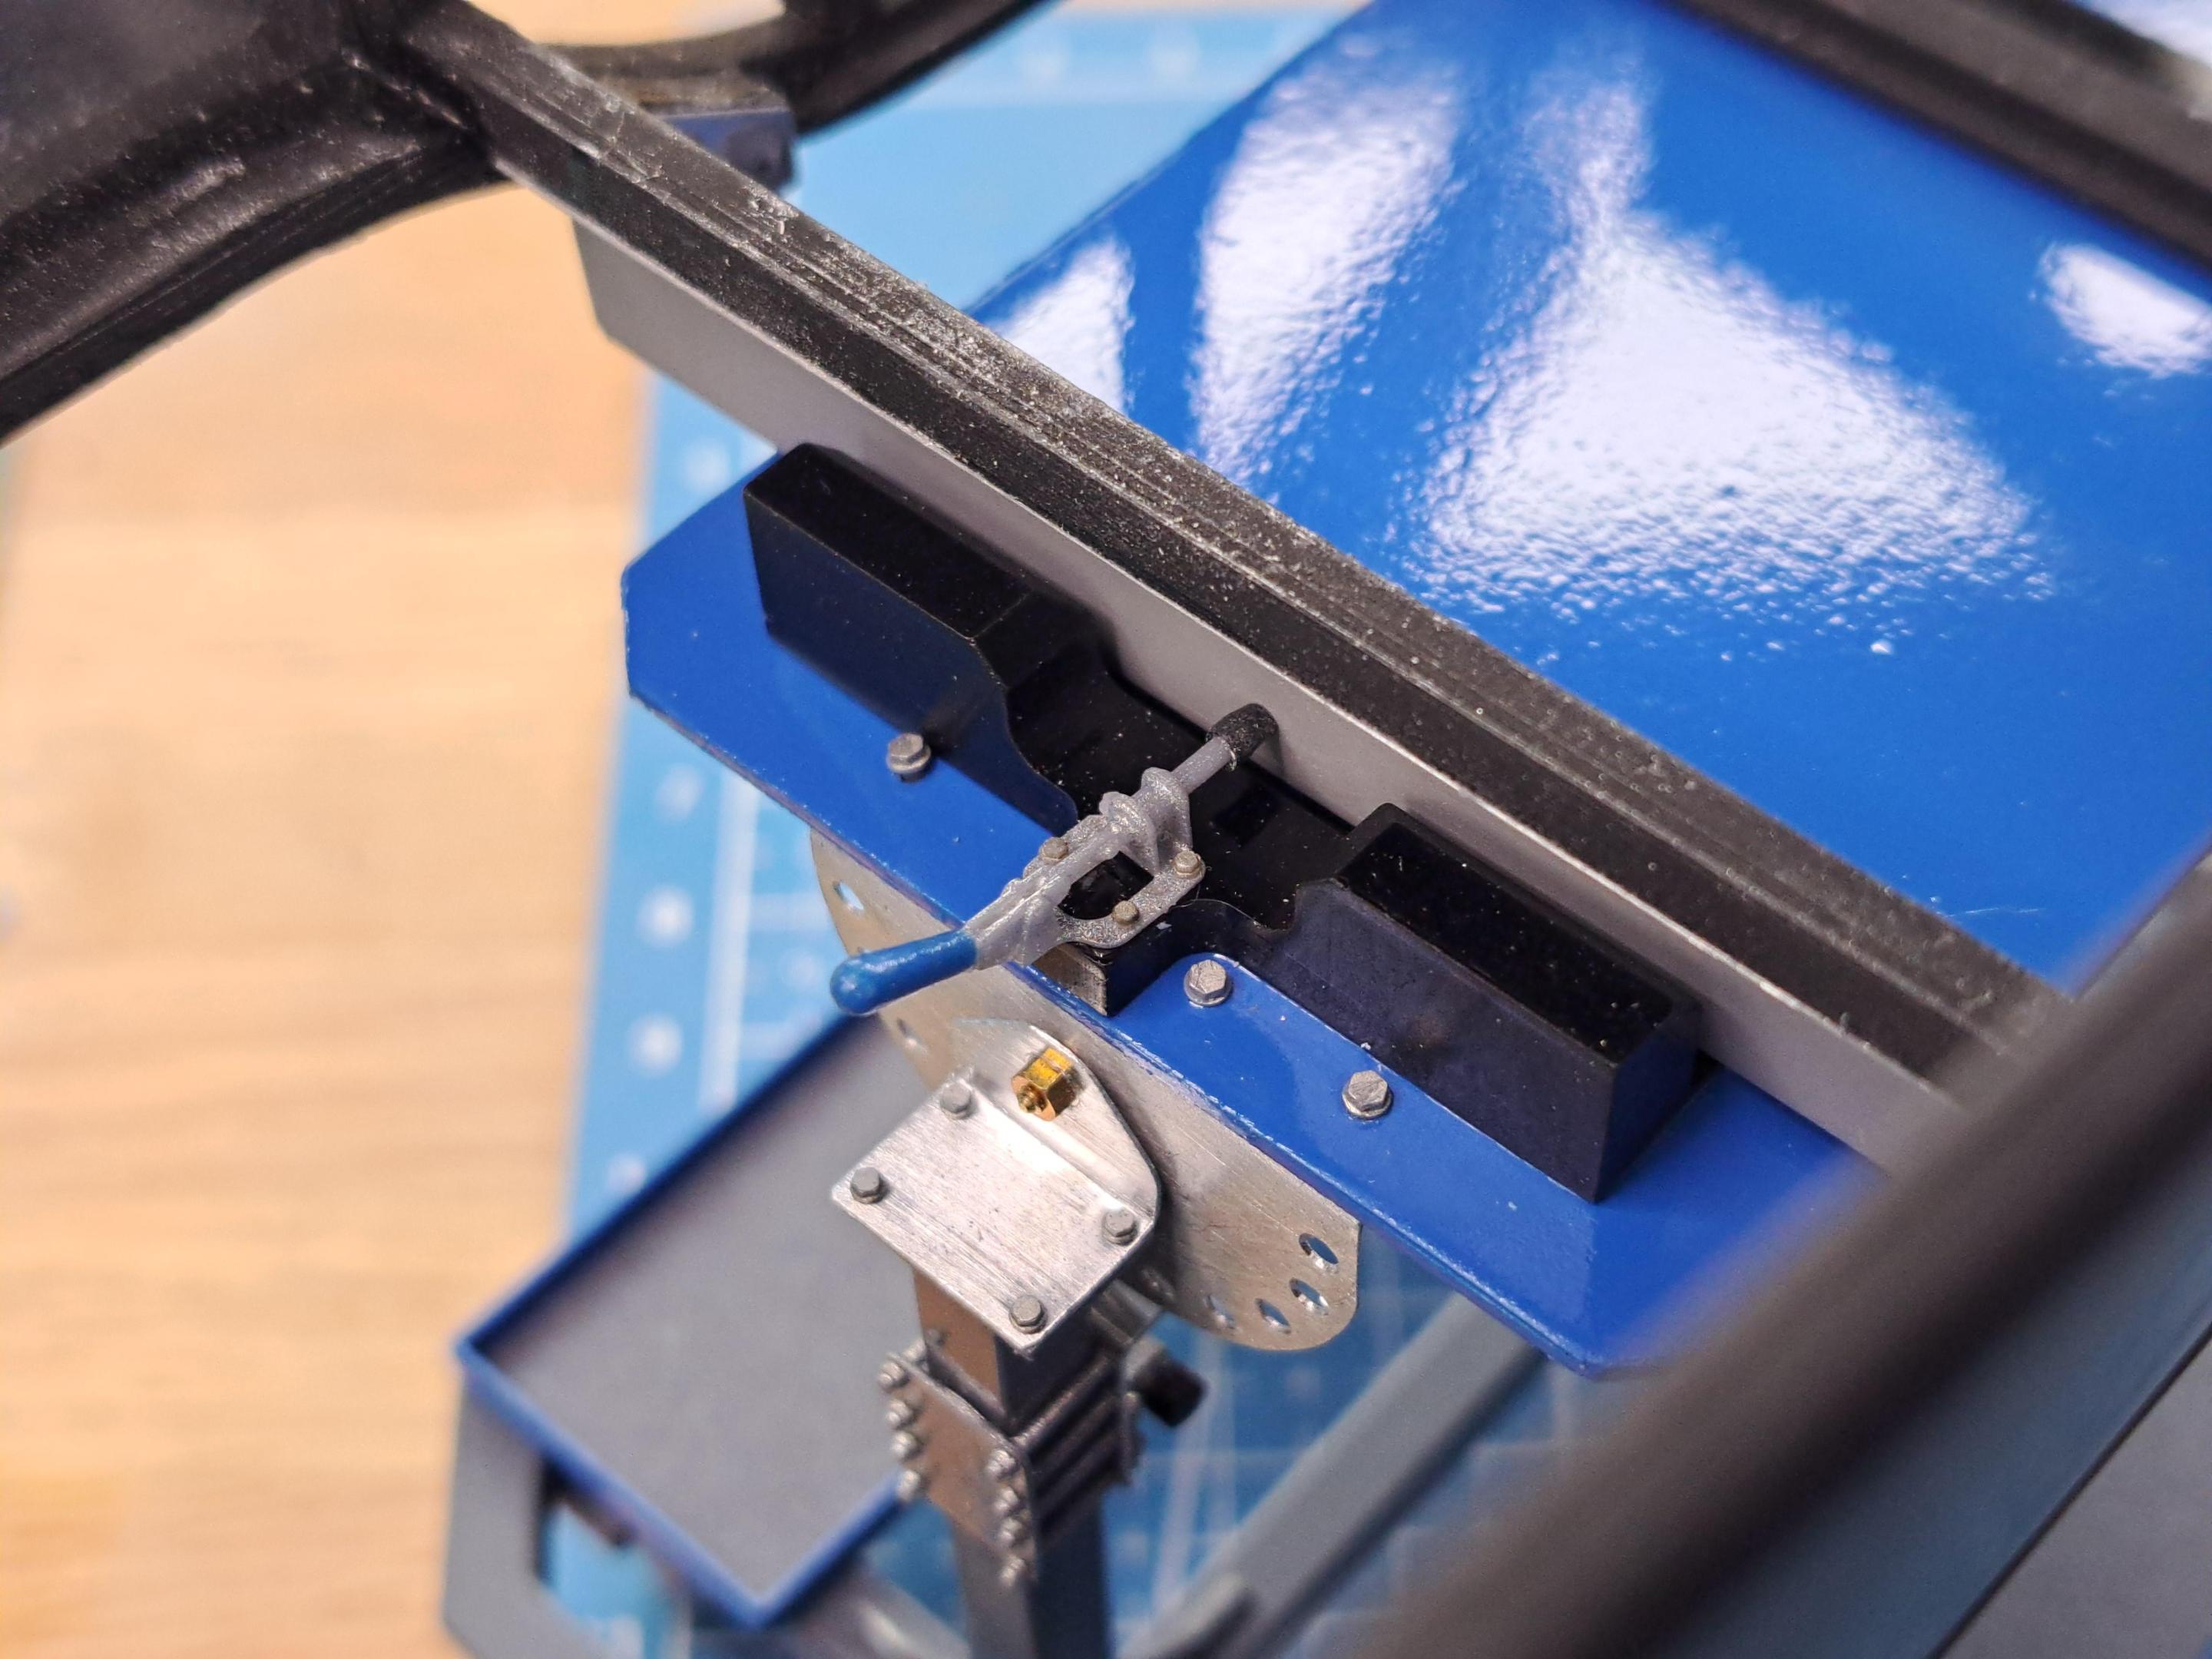
By every added details, it’s looking more and more representative, François. The last 2 pictures gives a nice comparison..One thing I forgot to do is the temp probe wire going from the radiator to the temp gage. Now it's done.
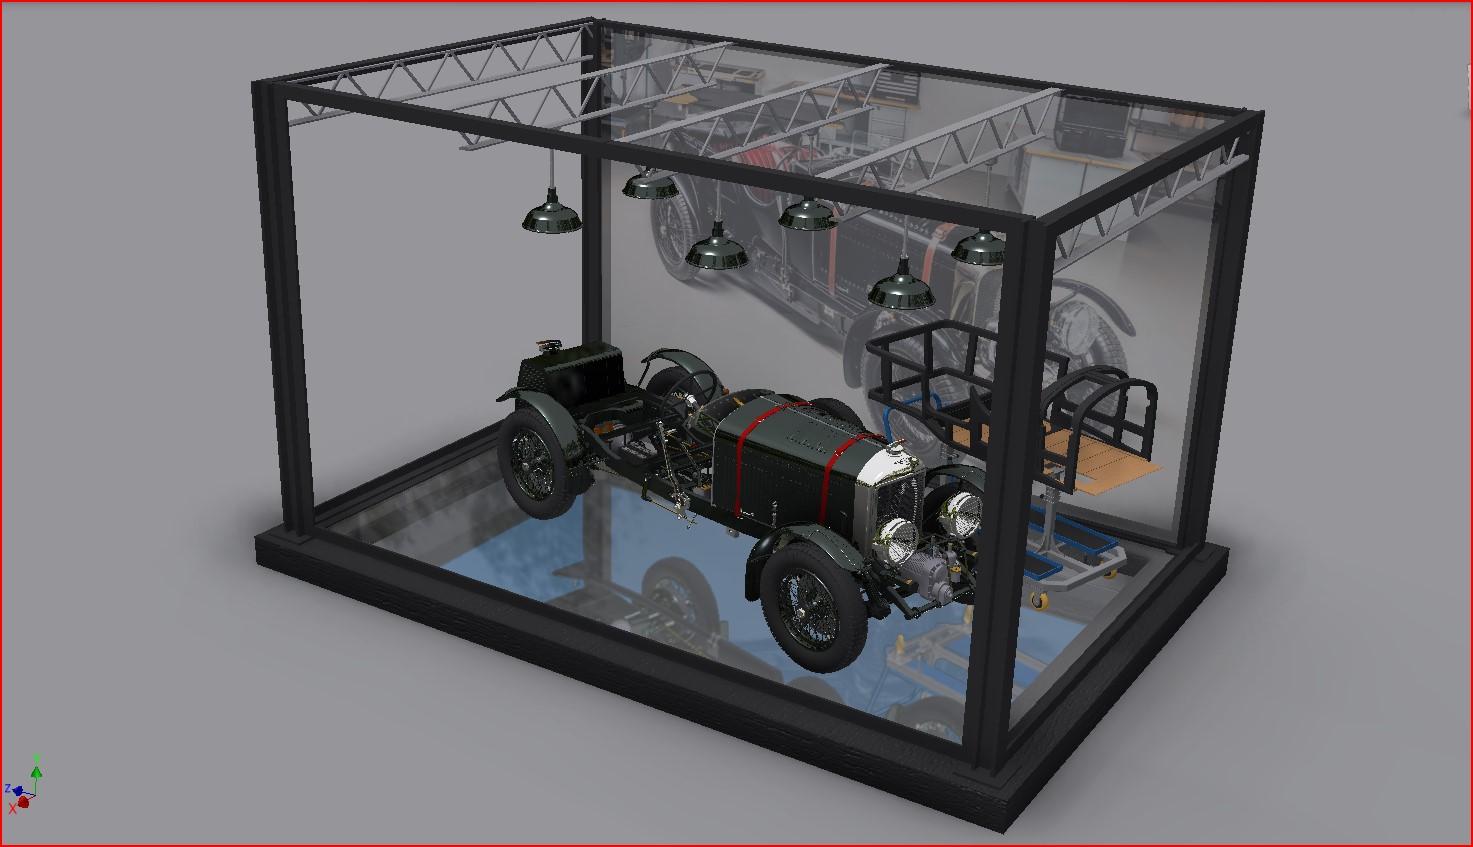
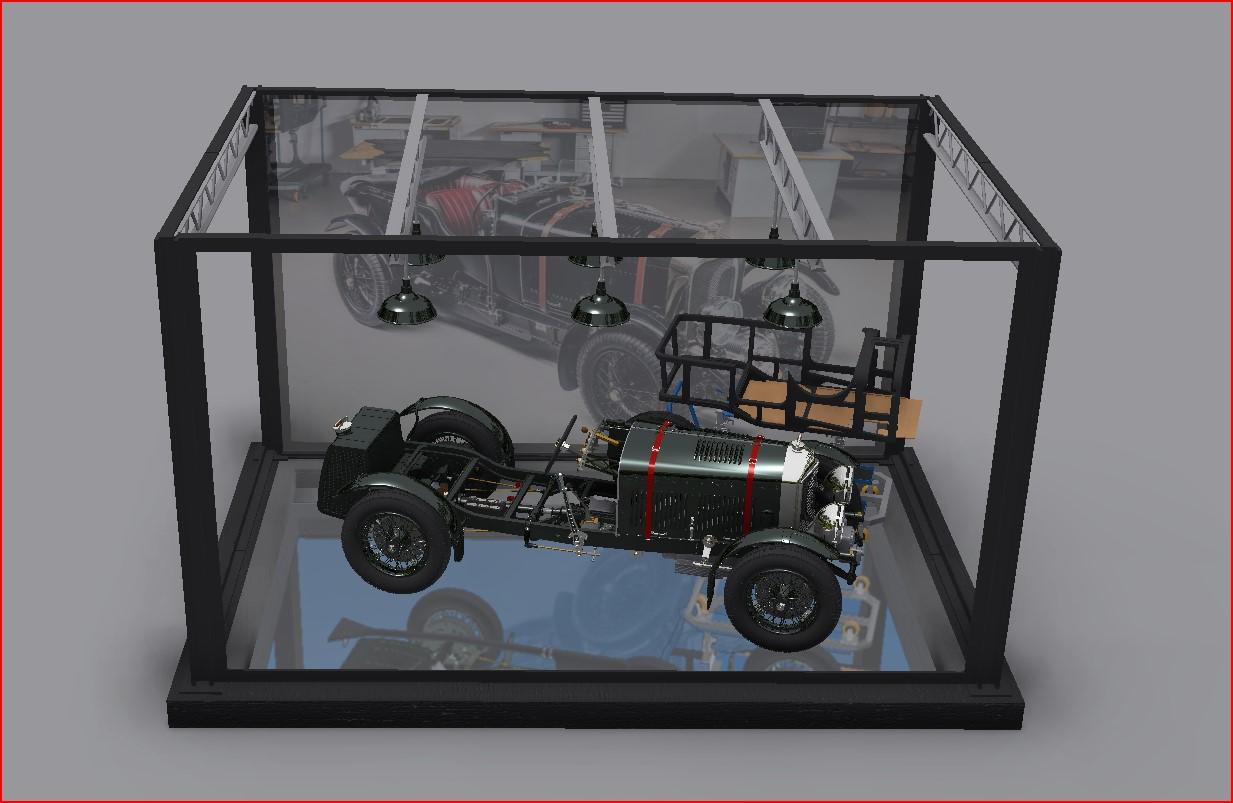
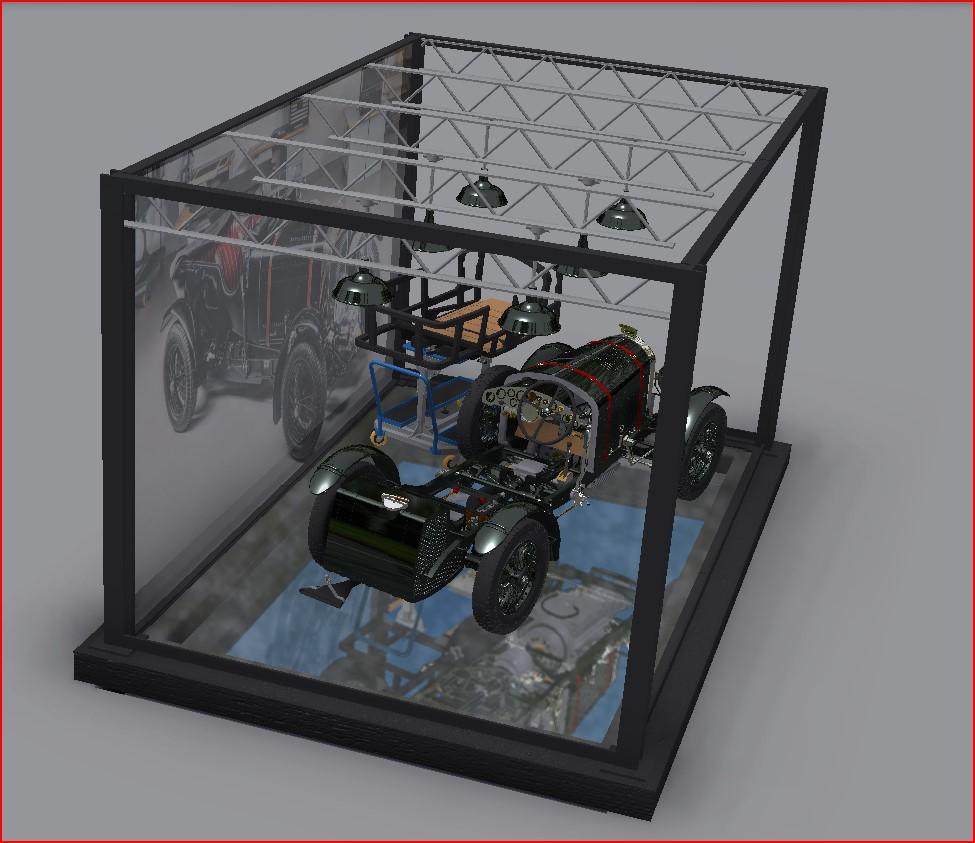
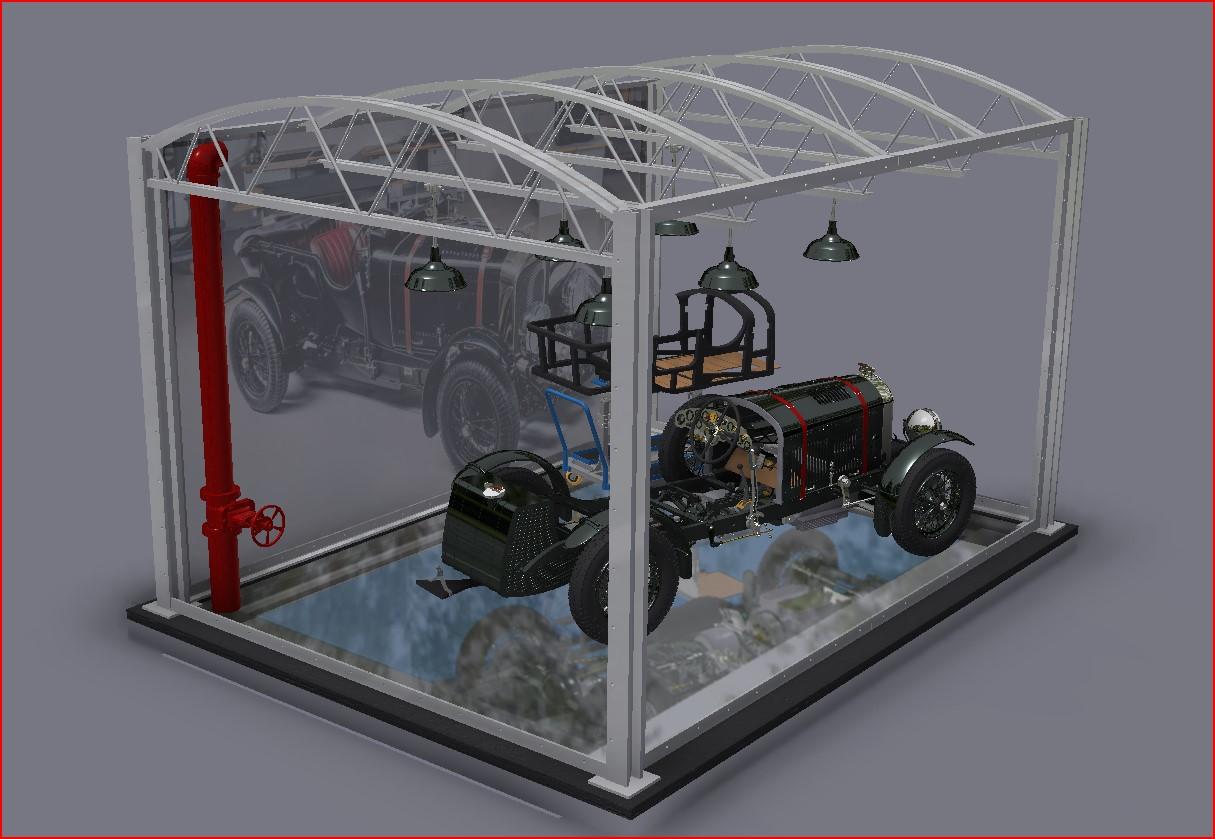
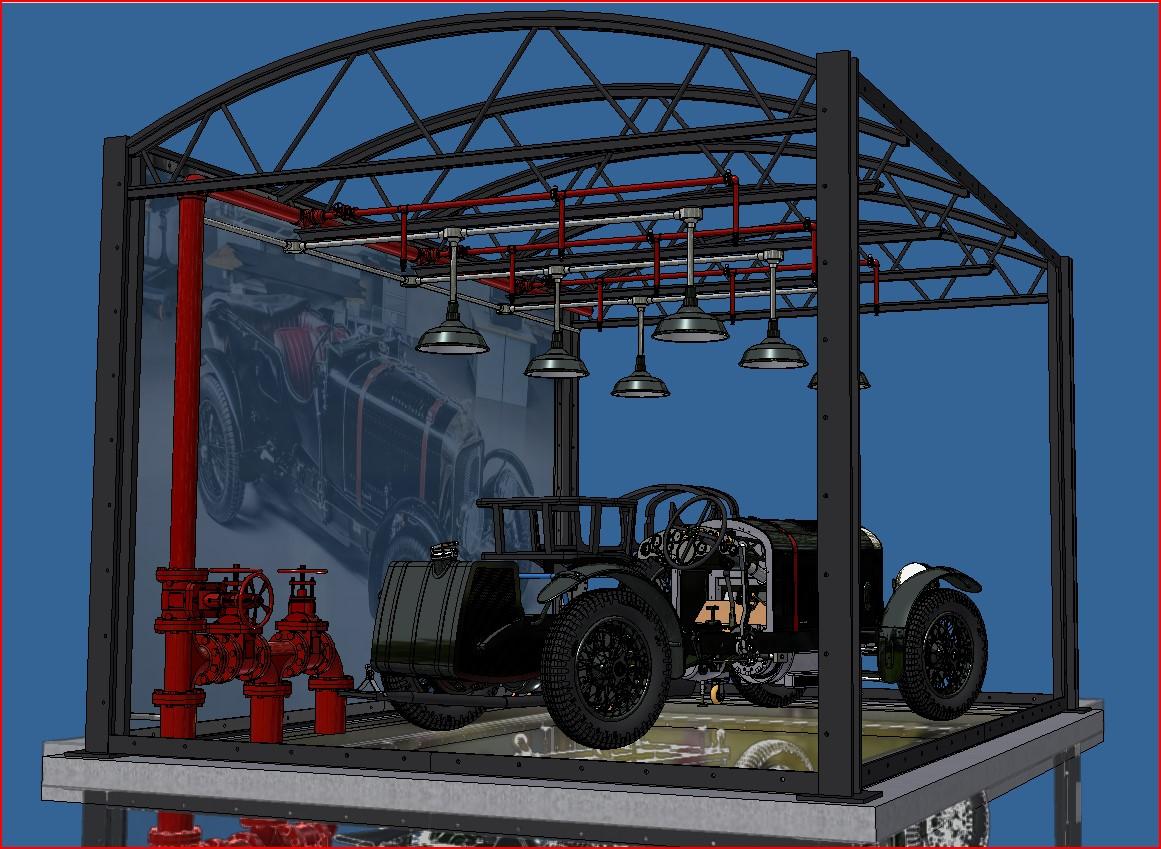
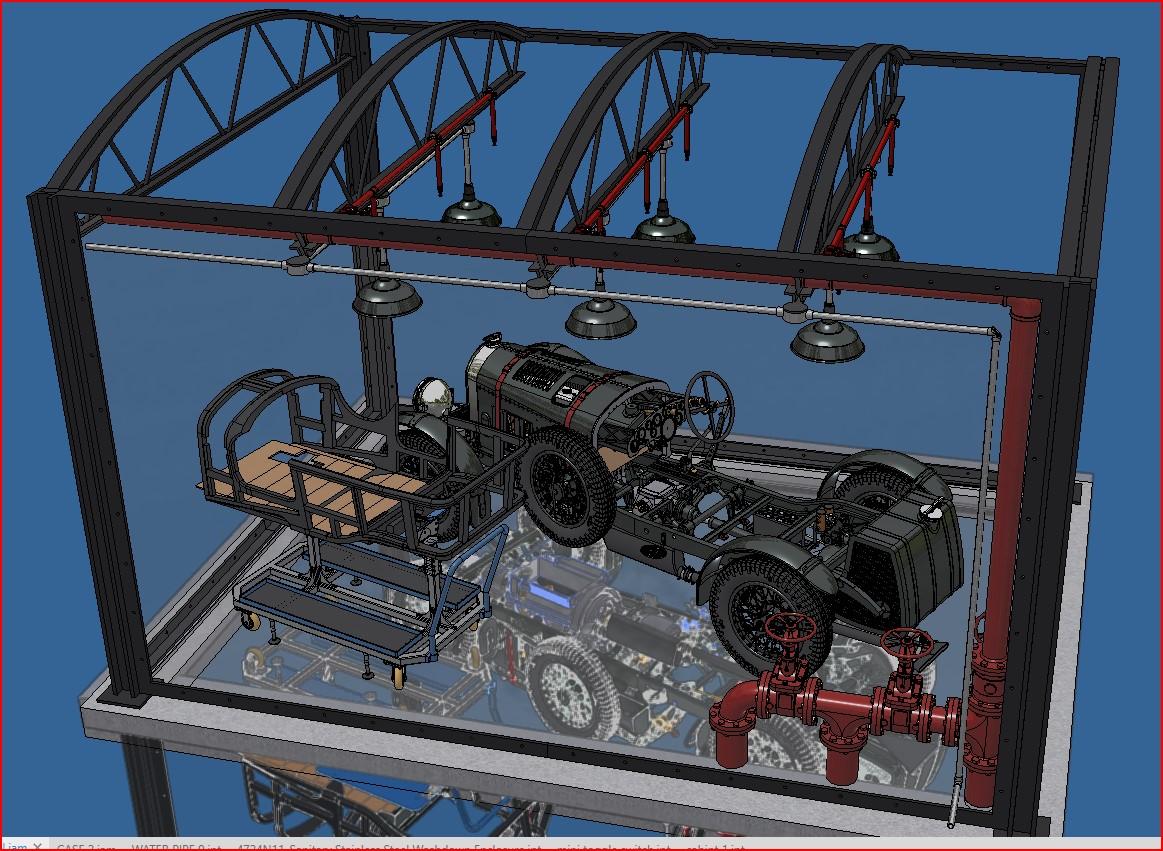
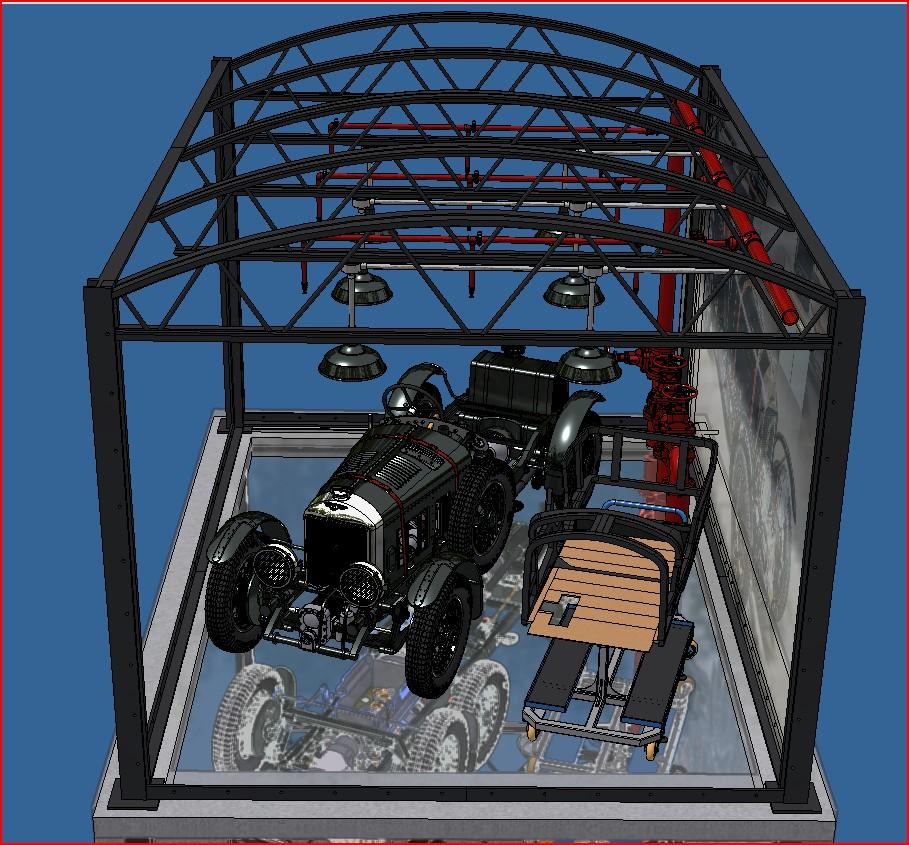
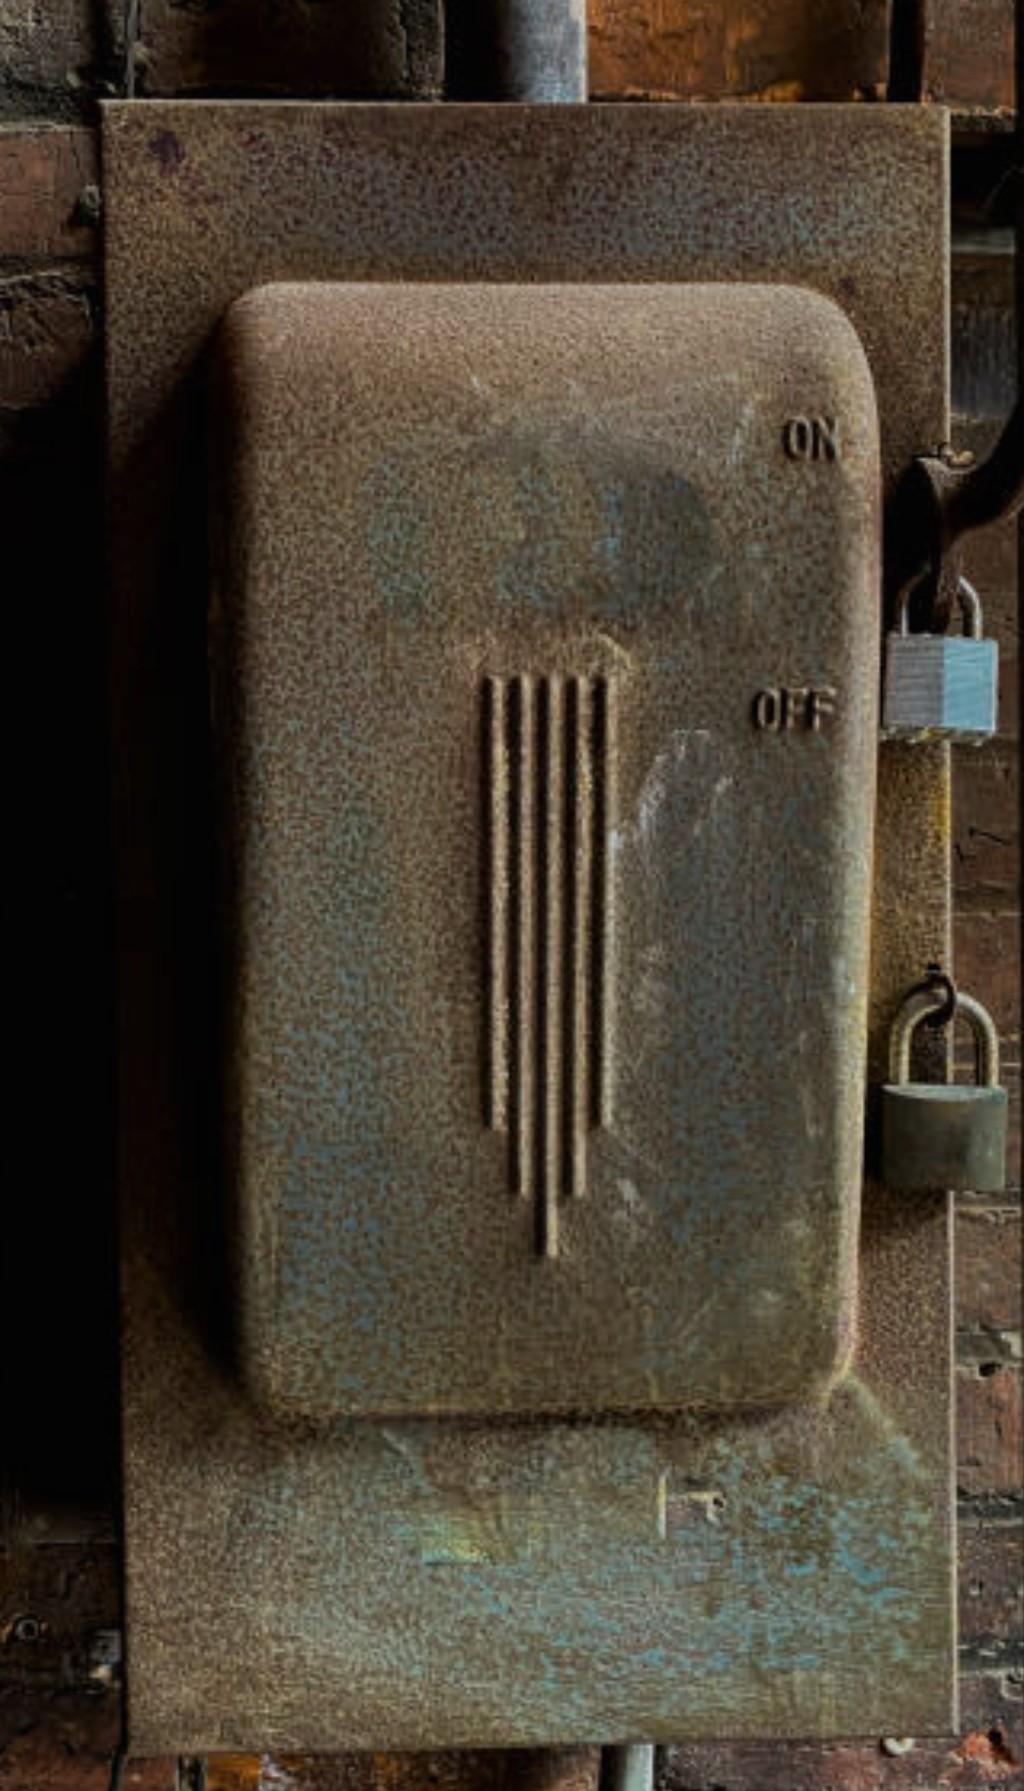
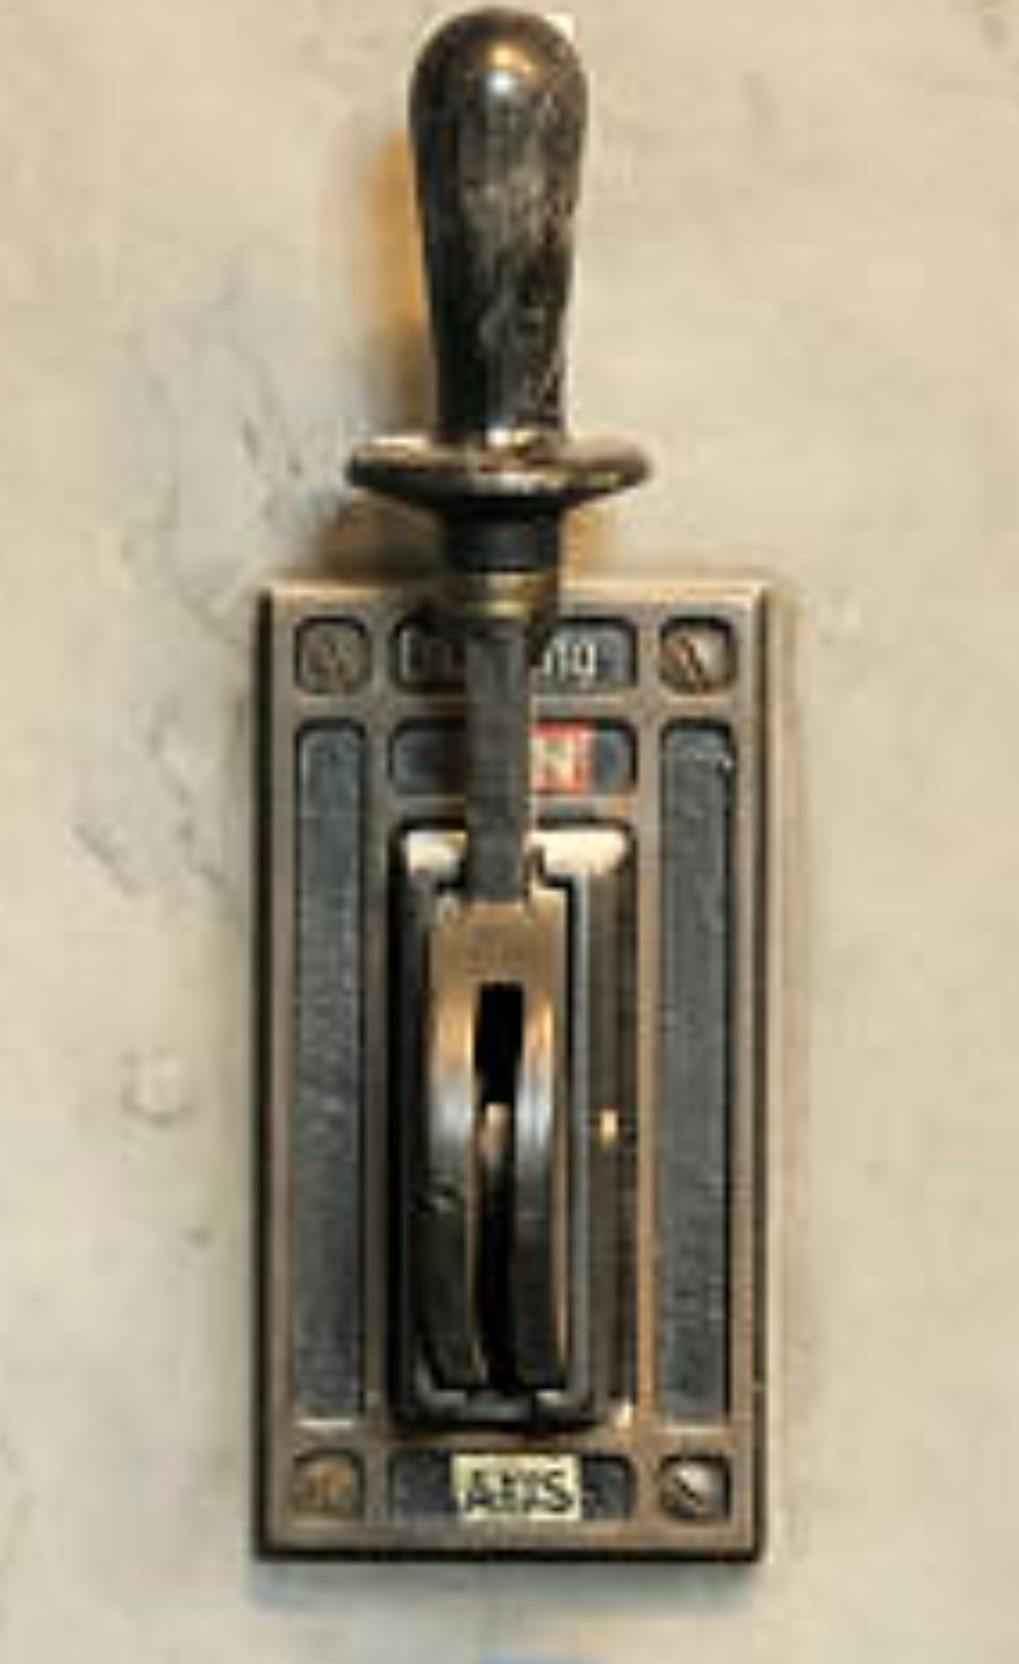
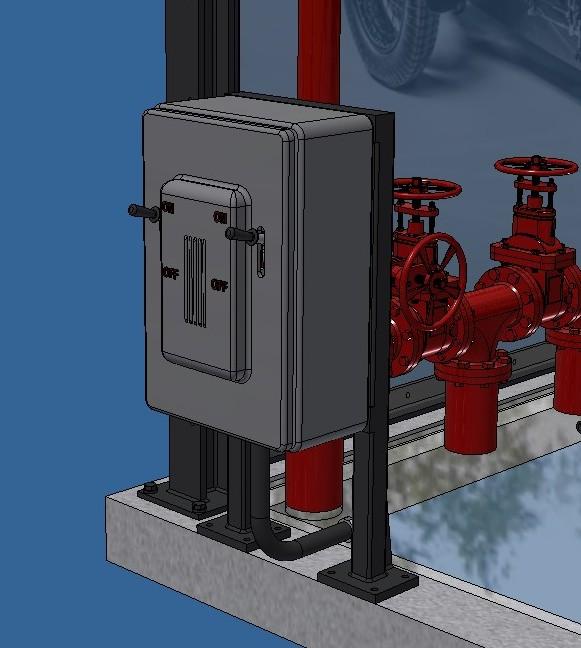
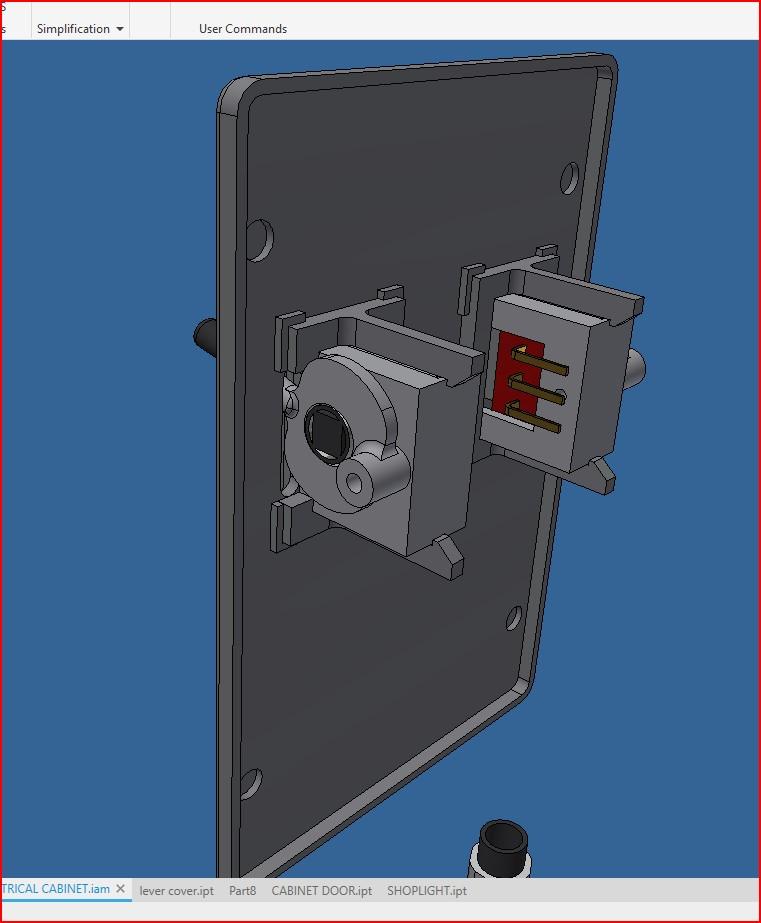
That is a very beautiful show case, François. With a nice reflection that also show the underside.I started modeling the display case. My idea would be to inbed a miror in a simulated concrete base on which there would be a steel structure (really plastic not steel). The structure would have H columns at each corner and 4 angle iron framed plexiglas panels with a bunch of rivets holding the panels in place. I would like to incorporate trusses and working shop lights. I'm thinking of overlaying the rear plexiglas panel with a translucide image of the real car, not sure how that could be done. There would be a control panel mounted on the outside of the display case that would control the shop lights, head lights and motor. Back in the 50's, my father, who was a draftman back then, would make scale models of water piping layout for a company called Canadair (it later became Bombardier aeronautic). I still have a box full of miniature Britannia water valves that he gave me when I was just a kid and that I never used. I would like to incorporate them in the display case some how, maybe a few water lines ? Here are a few screen shots of the display case so far. Not nearly there yet but it give the general idea.
")