A Dutch Fluyt in shell first, reconstructing the "Ghost ship" scale 1:36

Lucky you build a Dutch ship. Ad planks where you want and need. Everything is allowing.
Nice to see you build again. Today I made some rope for the first time again. I will catcher up with the HZ model next week I think.
Hmm... The more I dig, I wonder how much of that belief is actual fact and how much is fiction, popularized as an excuse for the lack of available information.
 
After the demolition of last week I started with the reconstruction of the floor planking at the bow. To reduce the angle of the first bilge plank the floor planks needs to be longer running along the stem. To give you an idea of the task ahead see below picture.
View attachment 439727

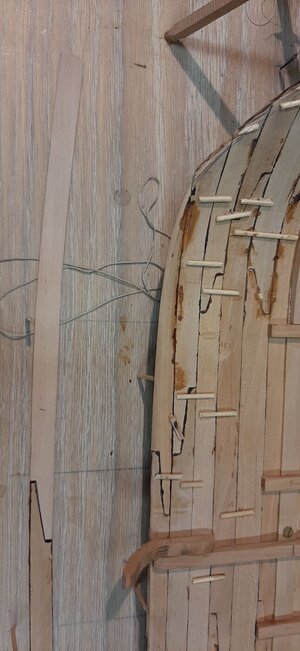
First I need to shorten the floor planks and create scarph joints to add the new planks. Drilling holes at the ends of the scarph joint followed by the japanese saw will do the trick.
View attachment 439728

Then dilluting the glue again with acetone and the plank sections are easily removed. After cleaning with a needle file the planks are ready to receive their new ends.
View attachment 439730
View attachment 439729

I keep the added planks more then long enough so I can trim them when the first bilge plank is fitted.
View attachment 439731

Hopefully this weekend I find some time to fit the remaining floor planks.
A nice solution to create the filling to the new bilge plank, Maarten. Nice scarf joints and a bravo for your use of the Japanese Saw.
Regards, Peter
 
Hi Maarten. My comment was not aimed at your build. I was reacting to Stephan's comment who said that because it's Dutch you can do as you like.
Hi Heinrich, I know but I agree with Stephan. Regarding planking there seems to be no clear system. Using what is available, you aalso see this on other wrecks of smaller ships I have seen. Even on Vasa there is difference in SB and PS planking.
 
Hello Maarten, I am very interested in the plans for the Samuel that you show here. Can you tell me the source?

Best regards
Stephan
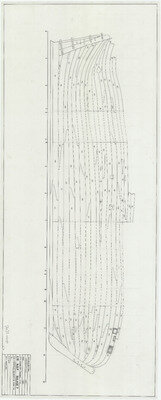
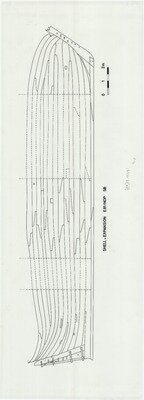
Hi Stephan, these are not plans but archeological drawings of the wreck.
You can find them here.

The wreck of the samuel is called E81.

 
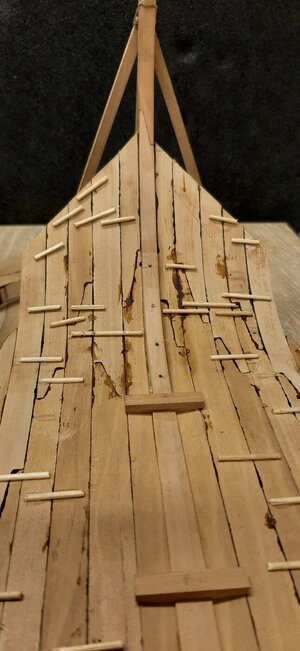
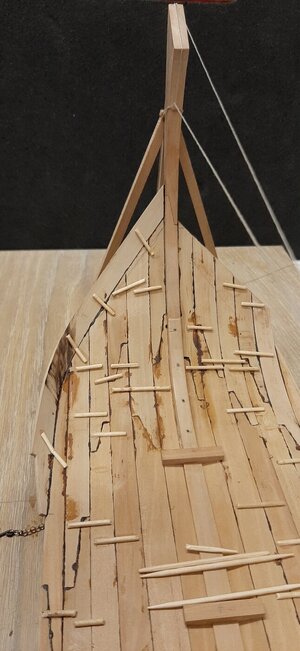
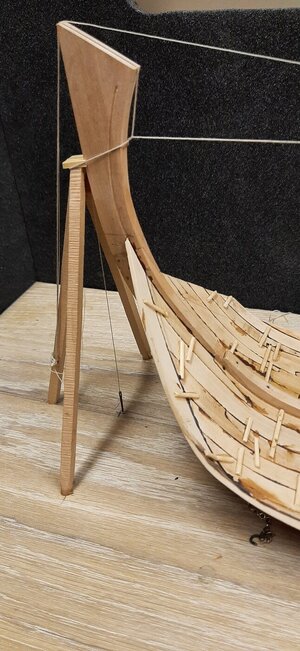
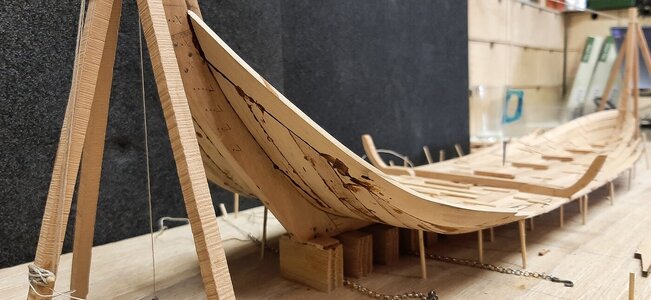
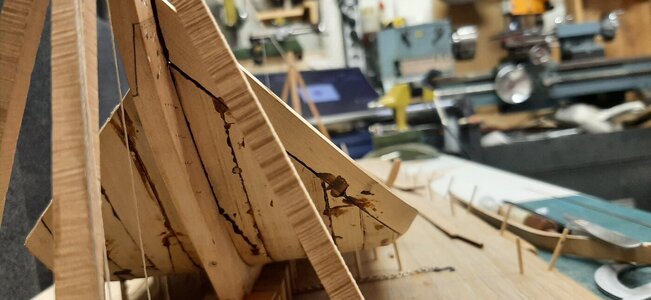
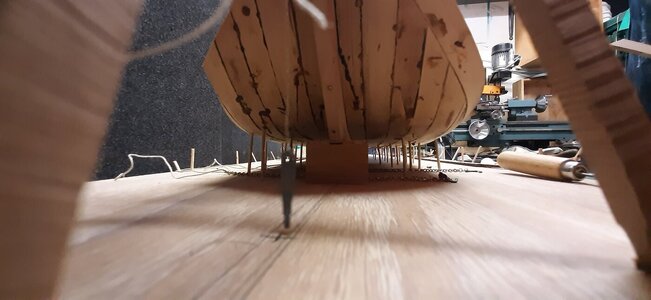
The remaining floor planks in the bow section are fitted.
20240406_162823.jpg

And this time a different approach. I first prepared a plank with a slight curvature. Instead of making a plank to fit my floor shape I now adjust my floor shape to fit my plank.
20240422_191201.jpg

With a japanese saw and a file the floor was shaped to fit the first bended bilge plank. Let call it three times lucky, I am happy how it looks now.
Definately worth the redo.
20240423_084540.jpg20240423_084632.jpg20240423_084754.jpg20240423_084820.jpg20240423_085319.jpg

Next is copy to the SB side.
 
Hi Maarten, the bows shape looks to have smooth transitions as the planks go up the stem. A question popped into my mind; one I have never thought about before. When the real ship was being made, (or any old tall ship for that matter) how did the workers attach the ribs to the bottom planks? On a model you can just flip the hull over and place faux treenails, not so much on the real thing. Of course, I am assuming tree nailing of the planks always starts on the water side.
 
Hi Maarten, the bows shape looks to have smooth transitions as the planks go up the stem. A question popped into my mind; one I have never thought about before. When the real ship was being made, (or any old tall ship for that matter) how did the workers attach the ribs to the bottom planks? On a model you can just flip the hull over and place faux treenails, not so much on the real thing. Of course, I am assuming tree nailing of the planks always starts on the water side.
Hi Daniel,

Tree nails were fitted. The frames were attached to the planks with tree nails. Under the ship on the blocks there is some space to finish the heads of the tree nails. Also the ship was turned on its side to water tighten the hull before the launch. So sufficient options to do this.

Actually I will also fit my tree nails through the frame members to attach them to the planking.
Same for bolting the frames to the keel.
 
The remaining floor planks in the bow section are fitted.
View attachment 443478

And this time a different approach. I first prepared a plank with a slight curvature. Instead of making a plank to fit my floor shape I now adjust my floor shape to fit my plank.
View attachment 443479

With a japanese saw and a file the floor was shaped to fit the first bended bilge plank. Let call it three times lucky, I am happy how it looks now.
Definately worth the redo.
View attachment 443480View attachment 443481View attachment 443482View attachment 443483View attachment 443484

Next is copy to the SB side.
Hi Maarten. That plank has now a much more 'natural' curve. A successful re-do. And I enjoyed the chosen camera angles and focus points.
Regards, Peter
 
The remaining floor planks in the bow section are fitted.
View attachment 443478

And this time a different approach. I first prepared a plank with a slight curvature. Instead of making a plank to fit my floor shape I now adjust my floor shape to fit my plank.
View attachment 443479

With a japanese saw and a file the floor was shaped to fit the first bended bilge plank. Let call it three times lucky, I am happy how it looks now.
Definately worth the redo.
View attachment 443480View attachment 443481View attachment 443482View attachment 443483View attachment 443484

Next is copy to the SB side.
Good morning Marteen, I don’t know much about the construction of a ship, however it seems as if you are building a scale ship exactly the same. Impressive. Cheers Grant
 
It might be a bit early to say, but this planks curvature has a much more natural flow than your earlier attempt. How does this compare to the "Ghost Ship"?
 
Back
Top