- Joined
- Apr 10, 2020
- Messages
- 132
- Points
- 213

Update 6
We've made some more progress, so it's time for an update.
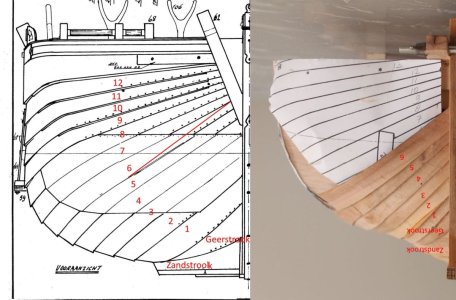
To determine where the strakes should end up on the stems, I came up with the following.
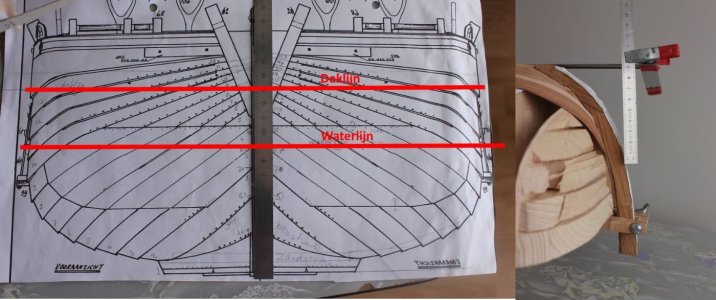
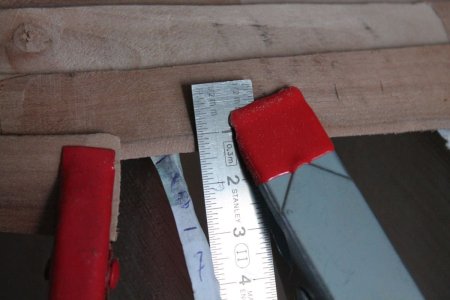
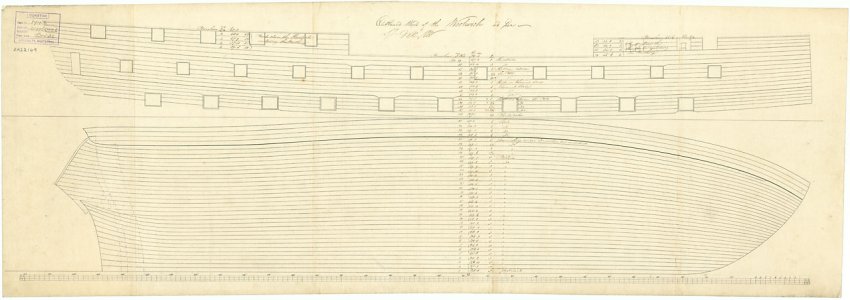
I placed a ruler on the drawing of the bow so that the distances at which the strakes end on the stem can be read from the bottom. This tells me how far above the bottom a particular strake should end.
Then I hung the ruler at that distance on a piece of wood lying on the bottom. The bottom of the ruler then indicates the place where the strakes should end on the stem.
It works, but it's not very convenient. You can put marks on the stem, but at a certain point there are so many marks that you can't tell anymore.
I think a better method is the following:
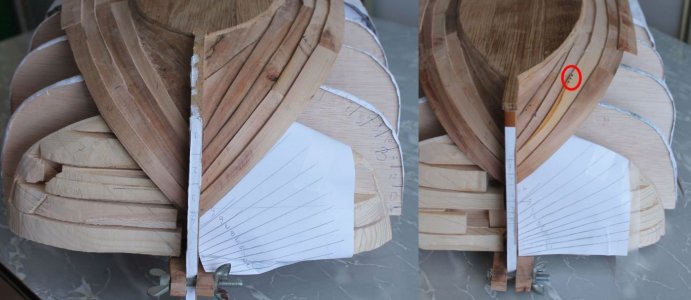
The left side is the bow and the right side is the stern.
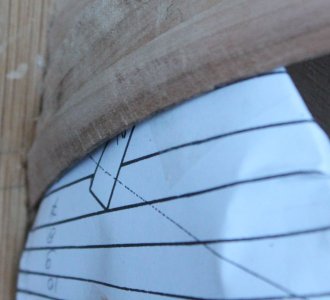
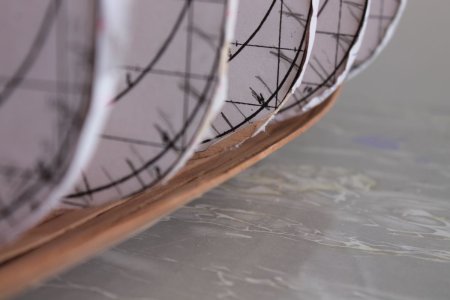
I copied the lines from the drawing onto a piece of paper that I stuck to the frame. The model lies on top of this, allowing me to apply the lines to the model.
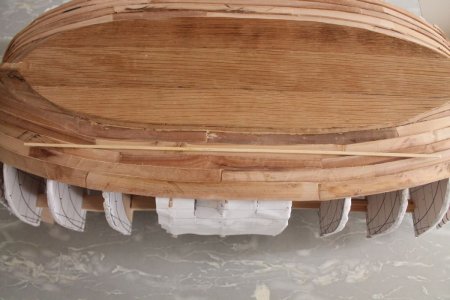
At the stern, you can see three nail heads in the circle. I thought I would apply a series of nails here and there so that I wouldn't have to add a bulk afterwards. That turned out not to be such a good idea, because it meant I had nailed the model to the frame. I was able to pull out three nails, but if there had been a few hundred, it would have been more difficult. So I'll just postpone this until I no longer need the frame.
Now for the current state of affairs.
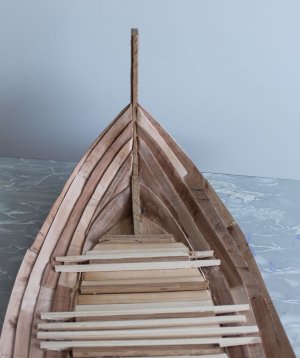
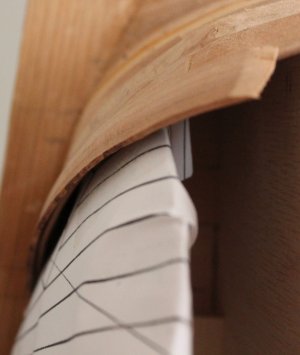
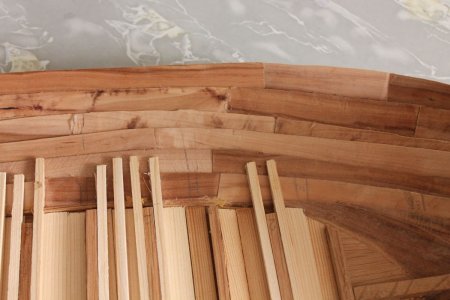
The bow seen from the inside. The coming strakes will be very narrow at the stern and much wider towards the middle, creating a fan pattern.
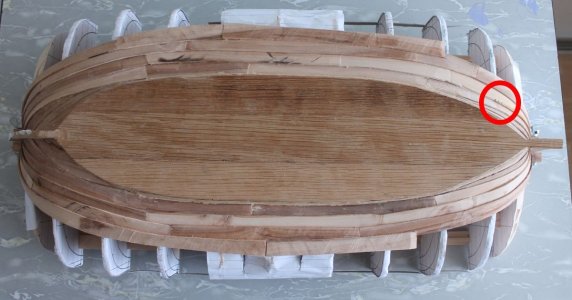
The model seen from below. The three nails are visible in the circle.
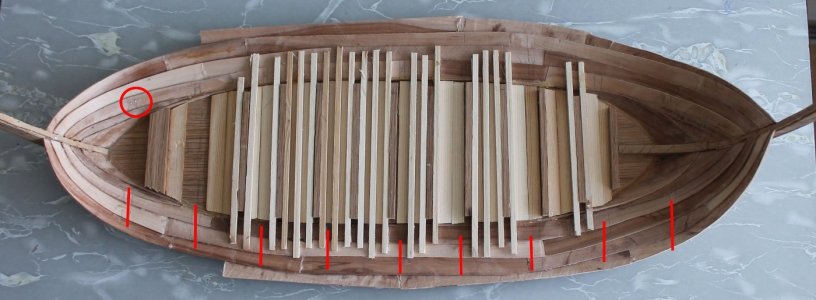
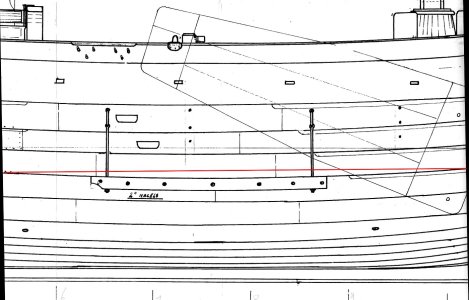
The model seen from the inside. Some more wooden pieces have already been added here. Not everything yet, because the frame must be able to stand on the bottom at the location of the red lines. In the circle again, the three nails and exactly on a red line where the frame is located.
To be continued.
Translated with DeepL.com (free version)
We've made some more progress, so it's time for an update.
To determine where the strakes should end up on the stems, I came up with the following.

I placed a ruler on the drawing of the bow so that the distances at which the strakes end on the stem can be read from the bottom. This tells me how far above the bottom a particular strake should end.
Then I hung the ruler at that distance on a piece of wood lying on the bottom. The bottom of the ruler then indicates the place where the strakes should end on the stem.
It works, but it's not very convenient. You can put marks on the stem, but at a certain point there are so many marks that you can't tell anymore.
I think a better method is the following:

The left side is the bow and the right side is the stern.
I copied the lines from the drawing onto a piece of paper that I stuck to the frame. The model lies on top of this, allowing me to apply the lines to the model.
At the stern, you can see three nail heads in the circle. I thought I would apply a series of nails here and there so that I wouldn't have to add a bulk afterwards. That turned out not to be such a good idea, because it meant I had nailed the model to the frame. I was able to pull out three nails, but if there had been a few hundred, it would have been more difficult. So I'll just postpone this until I no longer need the frame.
Now for the current state of affairs.

The bow seen from the inside. The coming strakes will be very narrow at the stern and much wider towards the middle, creating a fan pattern.

The model seen from below. The three nails are visible in the circle.

The model seen from the inside. Some more wooden pieces have already been added here. Not everything yet, because the frame must be able to stand on the bottom at the location of the red lines. In the circle again, the three nails and exactly on a red line where the frame is located.
To be continued.
Translated with DeepL.com (free version)


